10000+ customer reviews


Trusted by the best brands


@ZDIGITIZING - Real work by real people
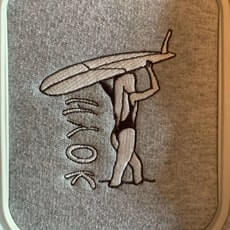


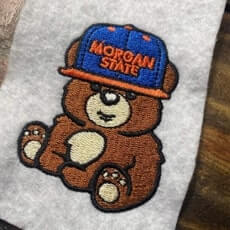


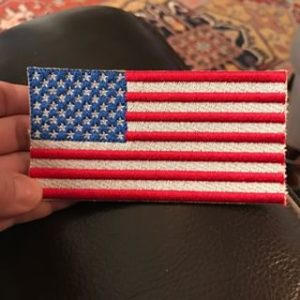


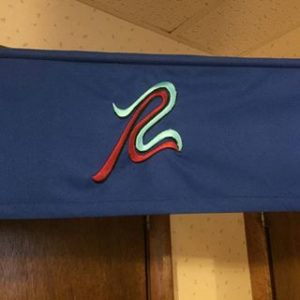


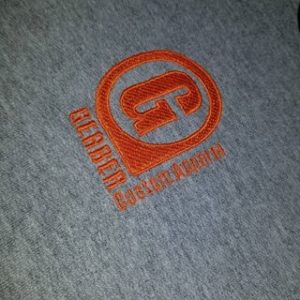


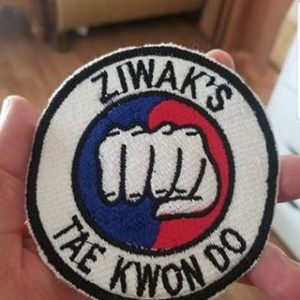


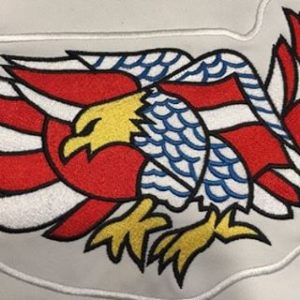

Get machine embroidery digitizing and Vector art service with super fast turnaround & excellent Quality
Frequently Asked Questions
Our standard turnaround time is 4 -24 Hours if there is no urgency, Incase you require urgent then we deliver it within 1-4 hours
We offer flat rates where you will not pay any extra amount for stitch count. We will give you a very reasonable price. You can get a free quote to know the estimate of your design file.
Payments processed through PayPal and stripe. So, you can pay through either PayPal or debit/credit cards. But if you have any difficulty in payment then you can contact us. So, we can provide you the alternative way.
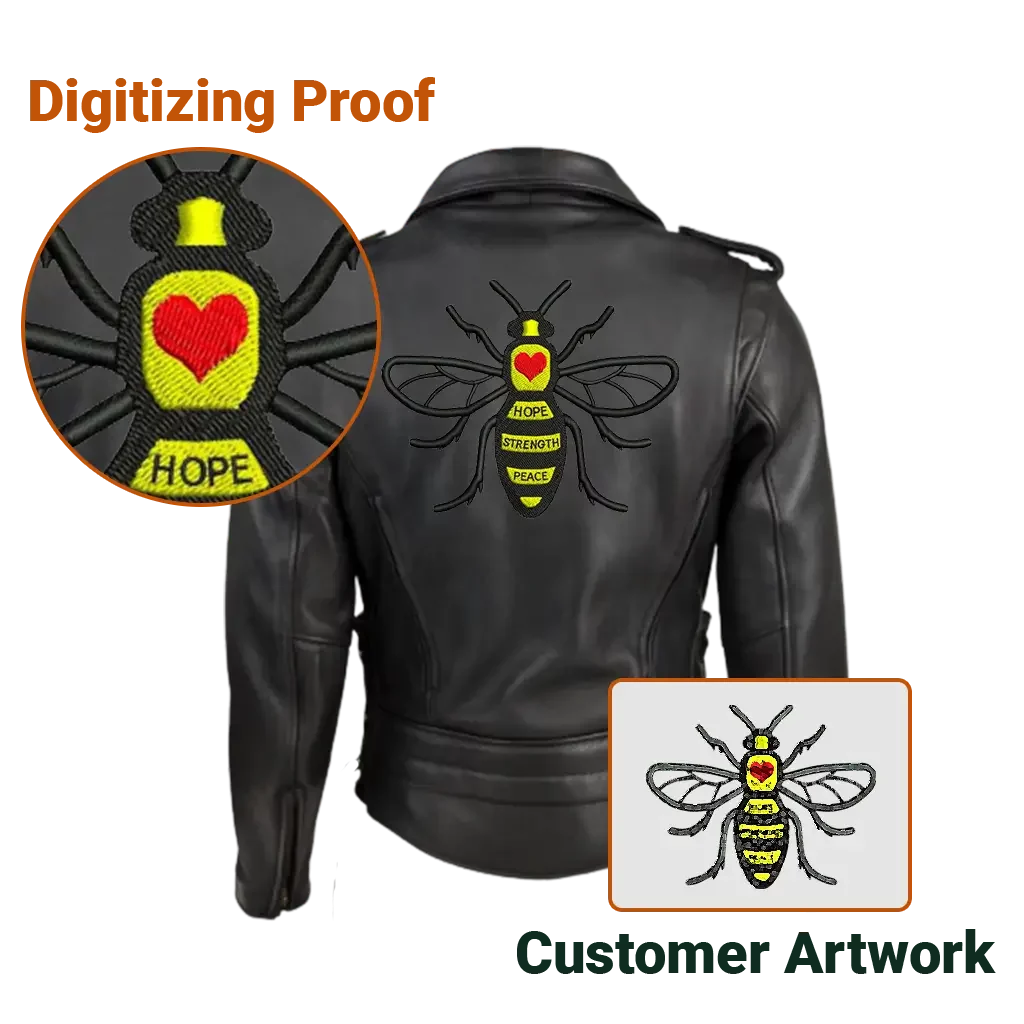
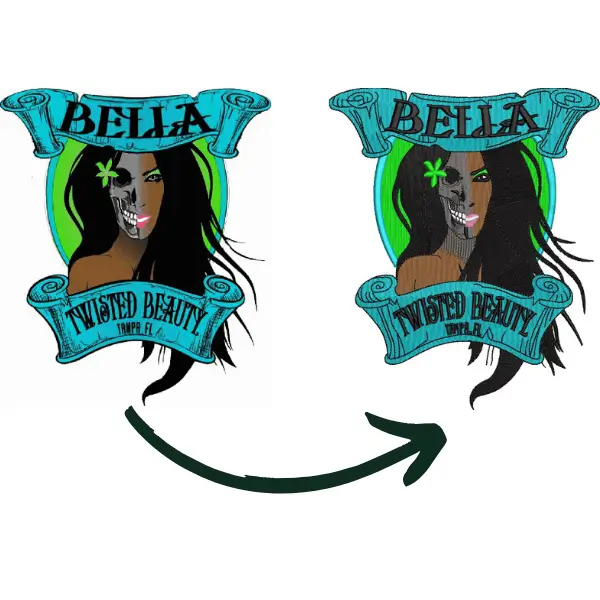
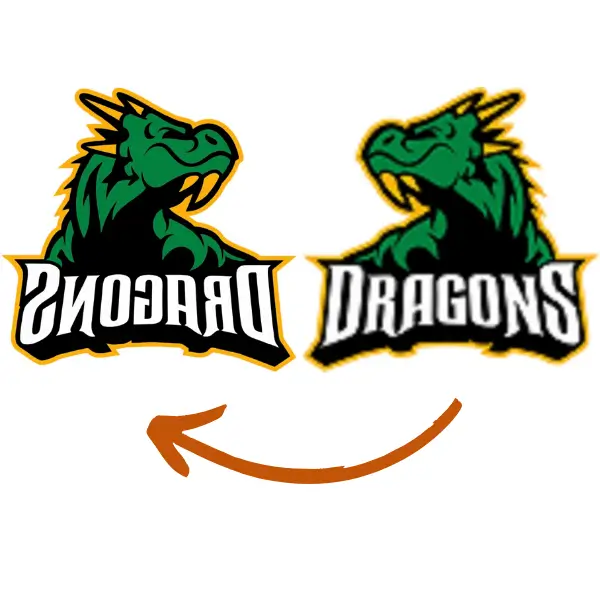
We will provide you a preview of your design file before you can make a payment for it, So you won’t pay unless you see the quality of digitizing. Plus we offer free editing and free design backup.You can also check out reviews of our customers they are fully satisfied with our services.
Yes, We can send you a preview of your machine embroidery design before you make a payment. So you can know the quality of your embroidery digitized design before paying for it.

