Do you want to learn how to machine embroider an apron and create something truly unique? Whether it’s for yourself, a loved one, or a business project, adding embroidery to an apron can make it stand out beautifully. With the right tools, techniques, and a bit of practice, you can turn a plain apron into a personalized masterpiece.
In this guide, I’ll walk you through simple and effective steps to help you embroider an apron like a pro. From choosing the best materials to finishing touches, you’ll have all the tips you need for a professional-looking apron that showcases your creativity. Let’s get started!
How to Machine Embroider an Apron Like a Pro?
Materials and Tools Needed for Apron Embroidery
Before starting your custom apron embroidery project, gather the right materials and tools to ensure a smooth process.
- Fabric (Cotton)
- Embroidery Thread (Polyester)
- Cutaway Stabilizer
- Embroidery machine
- Design software
- Scissors
- Fabric markers or chalk
- Iron and ironing board
- Needles
- Bobbins
- Measuring tape or ruler
1. Fabric
Cotton is a popular choice for aprons due to its breathability, comfort, and durability. It is easy to clean and effective at absorbing moisture, making it suitable for various kitchen tasks. Lightweight cotton is great for ease of movement, while heavier weaves provide added durability.
2. Embroidery Thread
Polyester thread is recommended for its strength, colorfastness, and resistance to fading. It holds up well under frequent washing and is less likely to fray, making it an ideal choice for machine embroidery on aprons.
3. Cutaway Stabilizer
Cutaway stabilizer is best for apron embroidery as it provides excellent support for the fabric during stitching. It minimizes puckering and ensures that the design maintains its shape after washing, making it suitable for dense or intricate embroidery designs.
4. Embroidery Machine
When selecting the best embroidery machine for apron embroidery, consider several key features that will enhance your crafting experience. Look for a machine with a sufficient embroidery area, ideally at least 5″ x 7″, to accommodate larger designs without needing constant repositioning. Additional features like an automatic needle threader, built-in designs, fonts, thread cutting, and variable speed control ensure a professional finish.
5. Design Software
Design software enables you to create, edit, and customize embroidery designs on your computer, making it easy to perfect your design before transferring it to your embroidery machine. Popular choices include Brother’s PE-Design, Embrilliance, and Hatch Embroidery.
6. Scissors
Sharp fabric scissors are essential for trimming threads and stabilizers cleanly. A pair of small embroidery scissors with pointed tips can help reach tight areas around intricate designs.
7. Fabric Markers or Chalk
These tools are crucial for marking the placement of your design on the apron fabric before you begin stitching. Use fabric markers that are water-soluble or chalk that can easily be brushed off after embroidery.
8. Iron and Ironing Board
Pressing the fabric before starting your project ensures that it lies flat without wrinkles, which can affect the quality of your embroidery. An iron can also be used after completing the embroidery to give the apron a polished look.
9. Needles
Use specialized embroidery needles with a larger eye designed to accommodate thicker threads without causing damage to the fabric. A size 75/11 or 90/14 needle is typically suitable for most cotton fabrics.
10. Bobbins
Ensure you have enough bobbins compatible with your machine, filled with matching thread colors to avoid interruptions during your project.
11. Measuring Tape or Ruler
Accurate measurements are key to successful embroidery placement. A flexible measuring tape or clear ruler helps ensure that your design is centered properly on the apron.
Embroidery Digitizing & Vector Art Services

Looking for embroidery digitizing and vector art services that are affordable and reliable? We offer fast turnaround time, guaranteed quality, and the option to preview your design before payment, we make sure you get exactly what you need. Your satisfaction is our top priority, and we’re dedicated to delivering the best results. Don’t wait—try ZDigitizing today and see the difference in quality and service!
Embroidery Digitizing & Vector Art Services
Looking for embroidery digitizing and vector art services that are affordable and reliable? We offer fast turnaround time, guaranteed quality, and the option to preview your design before payment, we make sure you get exactly what you need. Your satisfaction is our top priority, and we’re dedicated to delivering the best results. Don’t wait—try ZDigitizing today and see the difference in quality and service!
Step-by-Step Process to Machine Embroider an Apron
Follow these detailed steps to create a beautifully embroidered apron designs that looks professional and polished.
Step 1: Choose and Prepare Your Design
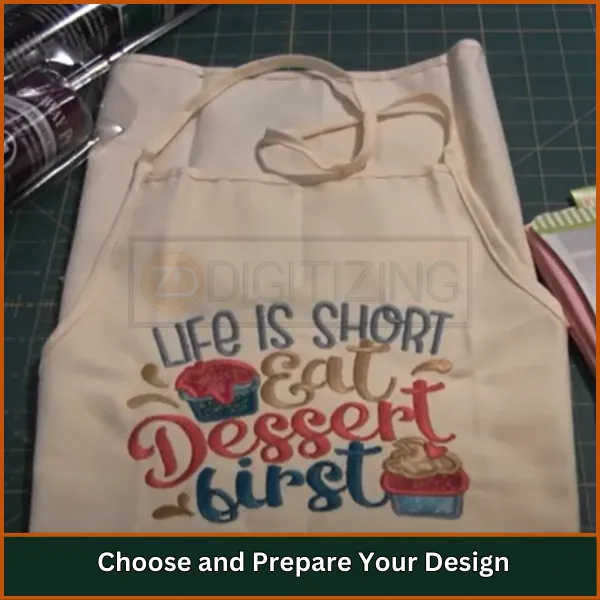
Select an embroidery design that matches your apron’s purpose. Use embroidery software to edit or digitize the design, ensuring it’s the right size and format for your machine. If you’re unfamiliar with digitizing, you can purchase pre-digitized designs from our online store.
Tip: Print a template to visualize the placement on the apron.
Step 2: Prepare the Apron
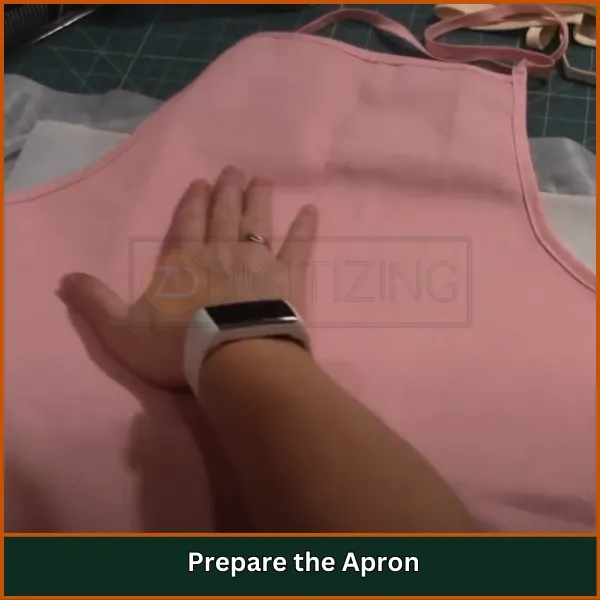
Fold the apron in half lengthwise and press it lightly to create a center crease. This crease will help you find the exact center point for positioning your design.
Step 3: Secure the Stabilizer and Apron in the Hoop
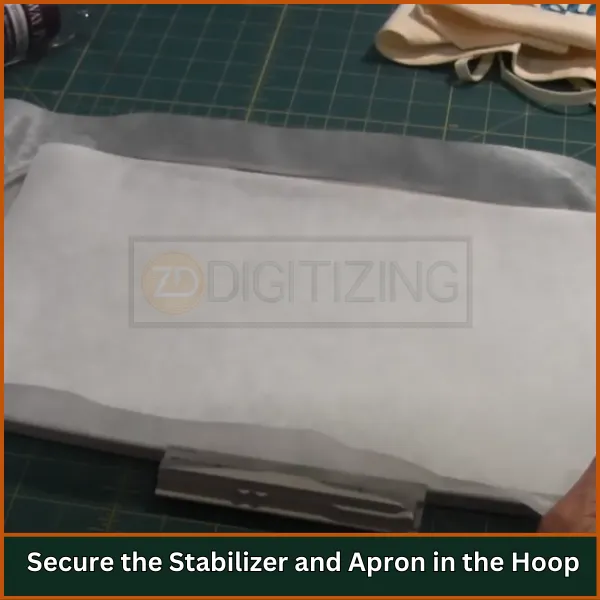
Hoop a tearaway or cutaway stabilizer first, ensuring it is taut but not stretched. Then, position the apron over the stabilizer in the hoop, making sure the design area is centered. Use painter’s tape or clips if necessary to hold everything in place before securing the hoop.
Step 4: Load Your Design into the Machine
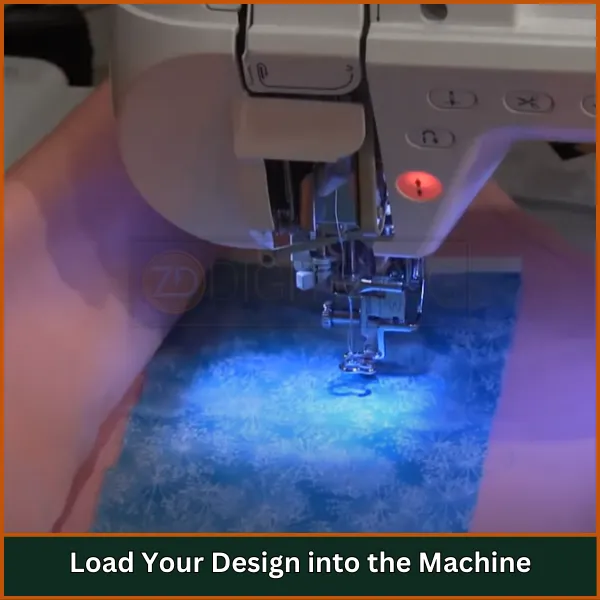
Transfer the chosen design to your embroidery machine via USB or other compatible methods. To machine embroider an apron, attach the hoop securely to the machine and ensure the fabric and stabilizer are flat and properly centered.
Step 5: Align the Needle with Your Design
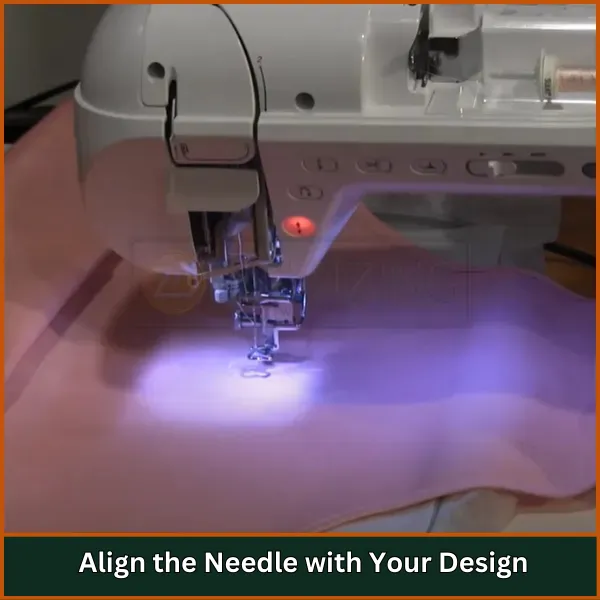
Use the machine’s controls to move the needle until it is positioned at the center of your design. Proper alignment is essential to ensure the design stitches correctly.
Step 6: Remove Pins and Start Embroidery
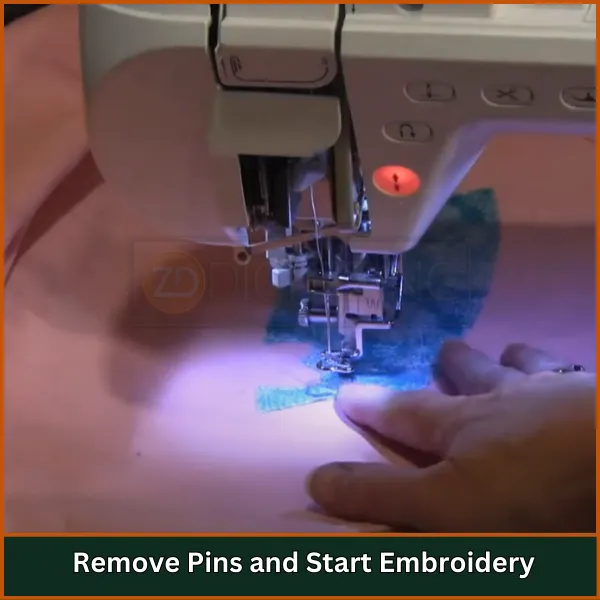
Carefully remove the pins holding the design template in place before starting the embroidery. Follow your machine’s instructions to begin stitching, keeping an eye on the process.
Step 7: Monitor the Embroidery Process
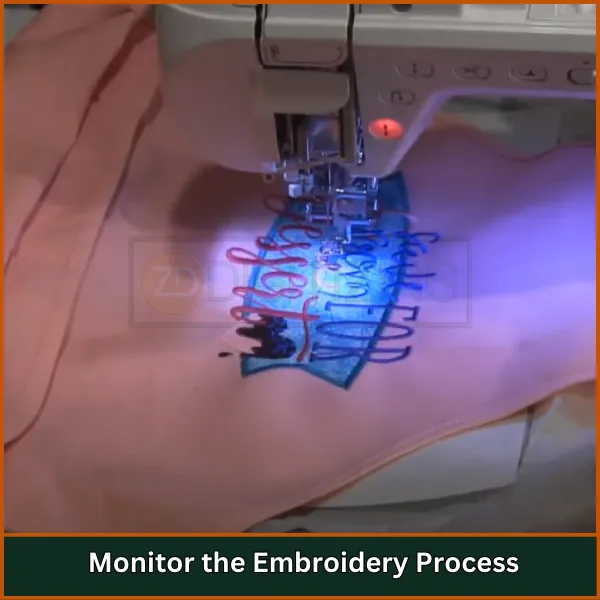
Stay close to the machine as it stitches your design. Be prepared to change thread colors if your design has multiple shades and ensure everything is running smoothly.
Step 8: Finish Embroidery and Remove from Hoop
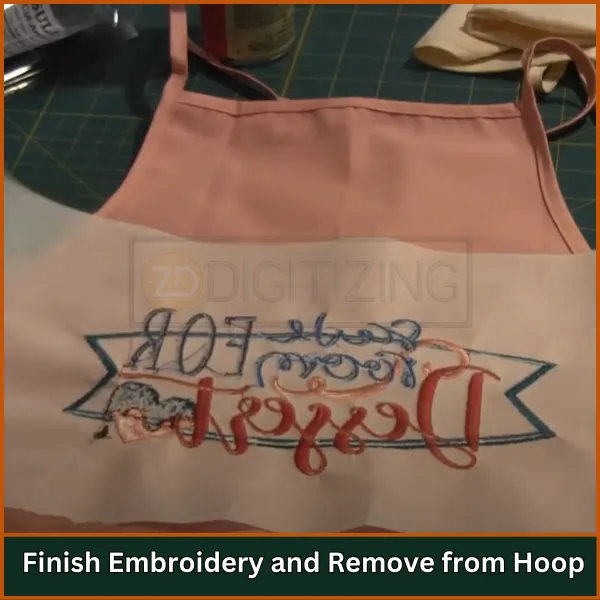
Once the design is complete, detach the hoop from the machine. Carefully trim any loose threads and remove the stabilizer from the back of the apron.
Step 9: Press and Finalize Your Apron
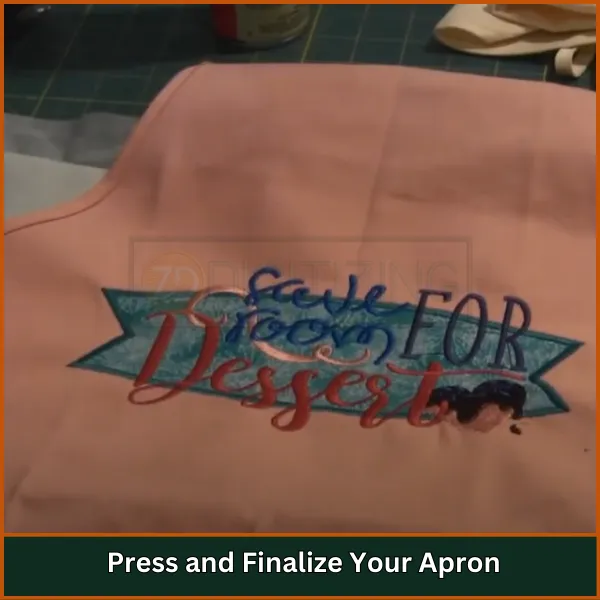
Use an iron to press the apron gently, smoothing out wrinkles. Place a pressing cloth over the embroidery to protect it while ironing for a professional finish. Your custom embroidered apron is now complete!
Tips to Machine Embroider an Apron Successfully
Looking for apron embroidery tips to achieve flawless results? Follow these expert suggestions to enhance your embroidery experience.
- Choose the Right Fabric: Opt for sturdy fabrics like cotton or polyester that withstand frequent washing and provide a stable base for embroidery.
- Use Appropriate Stabilizer: Select a medium tearaway stabilizer to support the fabric during stitching, ensuring it covers the entire embroidery area for stability.
- Center Your Design: Measure and mark the center of the apron to ensure the design is perfectly aligned horizontally and vertically.
- Hooping Technique: Hoop the stabilizer first and float the apron on top to prevent distortion and allow easier adjustments during stitching.
- Monitor Machine Settings: Regularly check machine tension and settings to avoid thread breaks or uneven stitching for a polished finish.
- Keep Threads Organized: Use a thread chart or organize threads by color sequence to streamline changes and maintain efficiency.
- Press Before and After: Iron the apron before starting to remove wrinkles and after finishing to give it a crisp, professional look while protecting the embroidery.
- Trim Excess Stabilizer Carefully: Remove any excess stabilizer from the back of the design to prevent bulkiness and ensure a clean finish.
- Practice Patience: Take your time during design positioning and stitching to achieve the best results without rushing.
- Experiment with Designs: Test different designs and placements on scrap fabric before working on the final apron to refine your technique and build confidence.
Embroidery Digitizing & Vector Art Services

Looking for embroidery digitizing and vector art services that are affordable and reliable? We offer fast turnaround time, guaranteed quality, and the option to preview your design before payment, we make sure you get exactly what you need. Your satisfaction is our top priority, and we’re dedicated to delivering the best results. Don’t wait—try ZDigitizing today and see the difference in quality and service!
Embroidery Digitizing & Vector Art Services
Looking for embroidery digitizing and vector art services that are affordable and reliable? We offer fast turnaround time, guaranteed quality, and the option to preview your design before payment, we make sure you get exactly what you need. Your satisfaction is our top priority, and we’re dedicated to delivering the best results. Don’t wait—try ZDigitizing today and see the difference in quality and service!
Conclusion: Make Your Apron Embroidery Stand Out
Learning how to machine embroider an apron can help you create something truly unique and special. With the right tools and steps, you can turn any apron into a beautiful, personalized piece.
At ZDigitizing, we make embroidery easier for you by providing top-quality digitizing services. Our services are affordable, with a super-fast turnaround time, and we guarantee the best results. We also offer a preview option so you can see your design before it’s stitched.
If you’re a first-time customer, you’ll get an exclusive 50% discount on your first order. Let us help you make your apron embroidery project a success!
👉 Click here to start your order today!
FAQs
The best fabrics for machine embroidering an apron are cotton or polyester. These materials are durable, easy to work with, and provide a stable base for embroidery designs.
Yes, using a stabilizer is essential to support the fabric during stitching. A cutaway or tearaway stabilizer works best to prevent puckering and keep the design intact.
A single-needle or multi-needle embroidery machine with at least a 5″ x 7″ hoop size is ideal for apron embroidery. Look for features like automatic threading and built-in designs for easier stitching.
Fold the apron in half lengthwise to find the center crease. Use fabric markers or chalk to mark the design placement, ensuring it’s aligned with the apron’s chest area.

