Do you want to learn how to embroider on a puffy vest without any trouble? Embroidering on a puffy vest can seem hard, but it’s actually simple if you know the right steps. In this guide, I will show you how to prepare your vest, choose the right stabilizers, and place your design perfectly. Whether you’re making a gift or adding a personal touch to your vest, you’ll find this guide easy to follow.
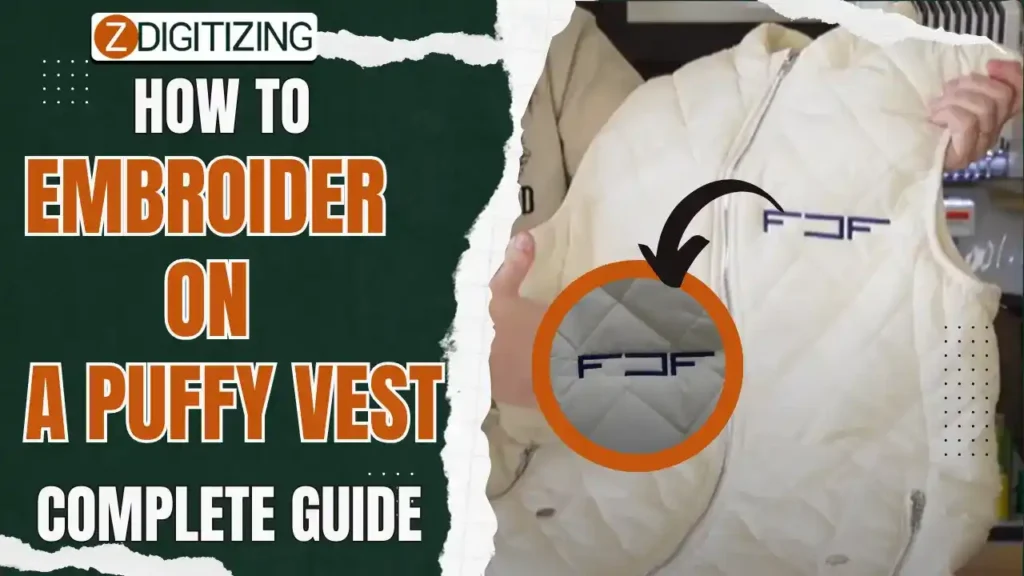
Don’t worry about the thick or fluffy fabric—I’ll make it simple for you. By the end, you’ll know how to create beautiful designs on your puffy vest that look neat and professional. Let’s begin!
How to Embroider on a Puffy Vest | Complete Guide
Materials Needed for Embroidering a Puffy Vest
If you’re wondering how to embroider on a puffy vest, having the right materials is essential for achieving a flawless finish. Below is a list of materials you’ll need:
- Puffy Vest
- Embroidery Machine
- Embroidery Thread (Polyester Thread)
- Embroidery Design (Bold and Simple Designs)
- Stabilizers (Cut-Away Stabilizer)
- Temporary Adhesive Spray (optional)
- Embroidery Hoop
- Fabric Marking Tool
- Scissors
Embroidery Digitizing & Vector Art Services
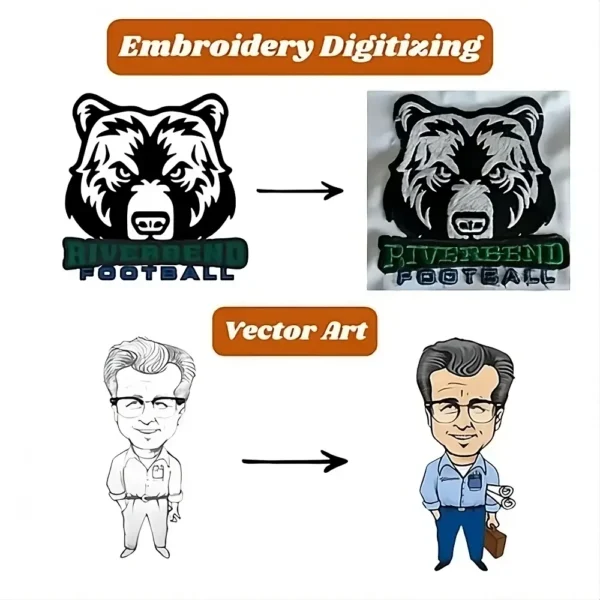
Looking for embroidery digitizing and vector art services that are affordable and reliable? We offer fast turnaround time, guaranteed quality, and the option to preview your design before payment, we make sure you get exactly what you need. Your satisfaction is our top priority, and we’re dedicated to delivering the best results. Don’t wait—try ZDigitizing today and see the difference in quality and service!
Embroidery Digitizing & Vector Art Services
Looking for embroidery digitizing and vector art services that are affordable and reliable? We offer fast turnaround time, guaranteed quality, and the option to preview your design before payment, we make sure you get exactly what you need. Your satisfaction is our top priority, and we’re dedicated to delivering the best results. Don’t wait—try ZDigitizing today and see the difference in quality and service!
1. Puffy Vest
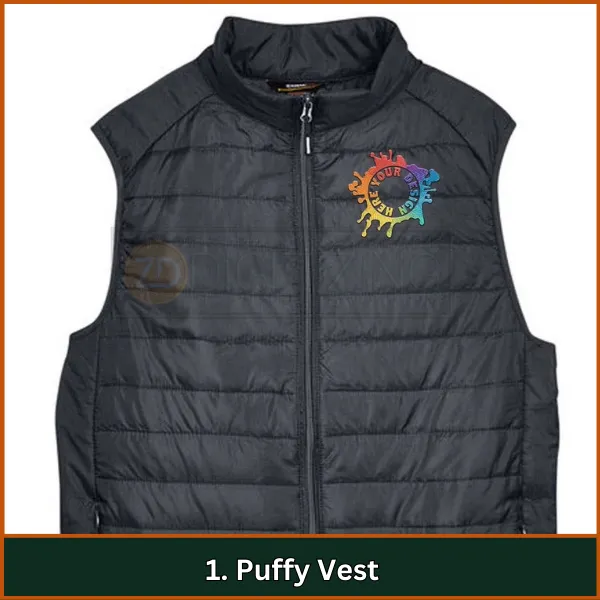
Choose a high-quality puffy vest made from materials like nylon or polyester. These fabrics provide a smooth surface for embroidery and are durable enough to handle stitching without losing structure.
2. Embroidery Machine
Use a reliable embroidery machine that supports thicker fabrics and multiple layers. Machines with adjustable speed and automatic tension control ensure consistent results on puffy vests.
3. Embroidery Thread
Polyester thread is ideal for embroidery on puffy vests due to its strength and resistance to fading. It is durable enough for frequent washing and resists breaking during stitching on thick materials.
4. Embroidery Design
Bold and simple designs work best for puffy vests. Patterns with large fill stitches or outlines stand out and avoid getting lost in the vest’s texture.
5. Stabilizers
Stabilizers are essential backing materials that support the fabric during embroidery to prevent distortion:
- Tear-Away Stabilizer: Easily removed after stitching, suitable for lightweight fabrics.
- Cut-Away Stabilizer: Provides more support and remains under the design, ideal for stretchy or puffy fabrics.
- Wash-Away Stabilizer: Dissolves in water, perfect for delicate fabrics or intricate designs where no backing should remain.
6. Temporary Adhesive Spray (optional)
This spray secures the fabric to the stabilizer, preventing movement during embroidery, which is especially helpful for thicker materials.
7. Embroidery Hoop
Choose a hoop that matches your design size and can handle the vest’s thickness. A properly fitted hoop stabilizes the fabric for precise stitching.
8. Fabric Marking Tool
Use a fabric-safe marker or chalk to outline the placement of your design. Ensure it doesn’t leave permanent marks on the vest.
9. Scissors
Sharp embroidery scissors are essential for trimming threads and stabilizers neatly, giving your project a professional finish.
How to Embroider on a Puffy Vest: Step-by-Step Process
Learn embroidery on a puffy vest with this detailed step-by-step guide. Follow these instructions to achieve a professional and flawless embroidery finish.
Step 1: Choose the Design Placement
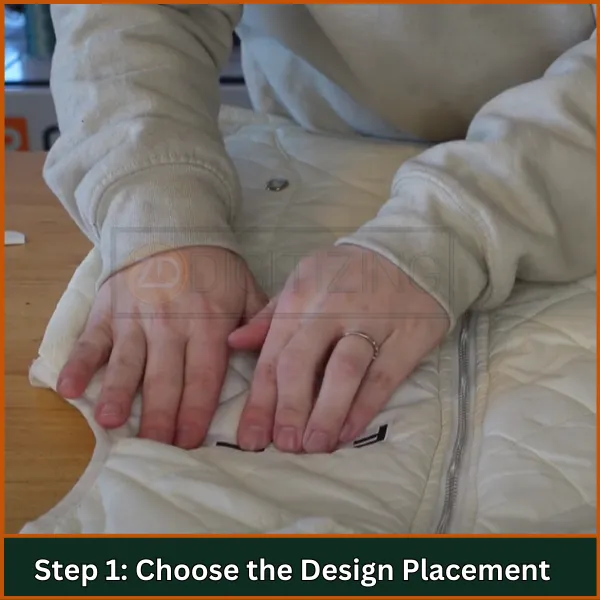
Decide on the perfect spot for your embroidery designs for puffy vest. Popular areas include the left chest for monograms or the back for larger designs. Use a fabric marking tool to mark the center point of the design on the vest.
Step 2: Prepare the Embroidery Hoop
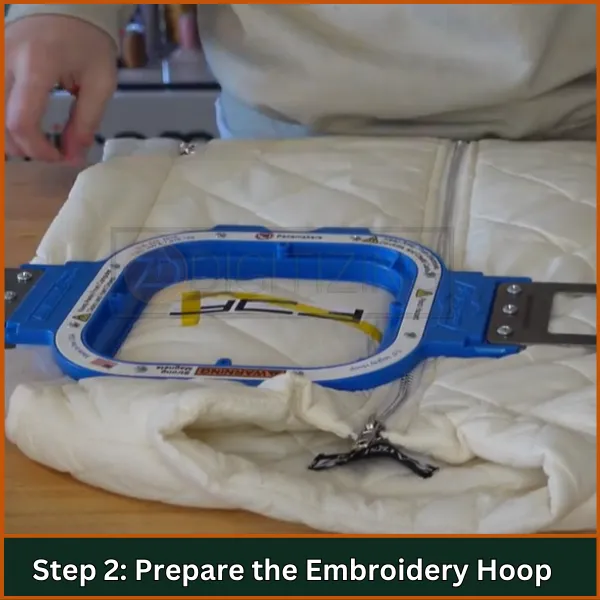
Hoop a sticky back tear-away stabilizer, then score and peel off the paper to reveal the adhesive surface. This sticky surface will help secure the puffy vest during the embroidery process.
Step 3: Align and Secure the Vest
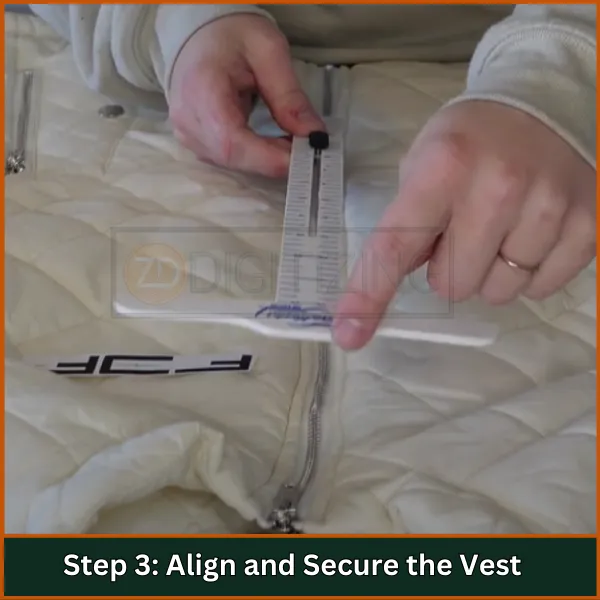
Fuse a piece of cut-away stabilizer to the back of the vest, aligning it with your marked design area. Fold the vest along the center line to ensure symmetrical placement, then smooth it onto the sticky stabilizer and secure with pins outside the embroidery area.
Step 4: Attach the Hoop to the Machine
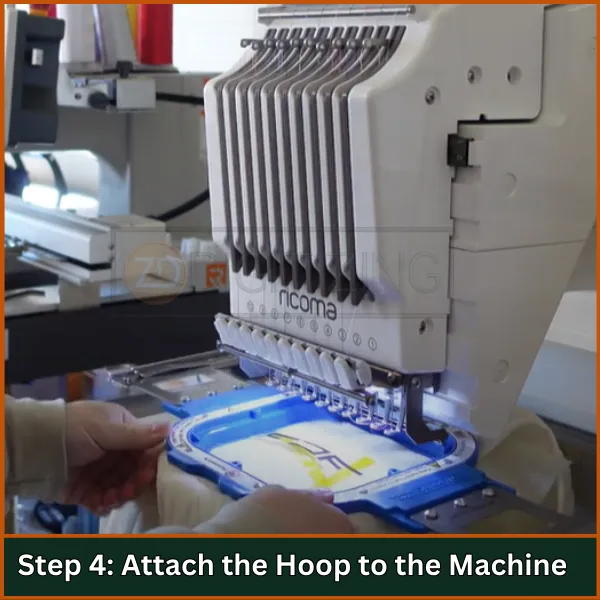
(Optional) Place a water-soluble topper over the design area for added stability. Attach the prepared hoop to your embroidery machine, ensuring the design area is correctly aligned.
Step 5: Check Design Orientation
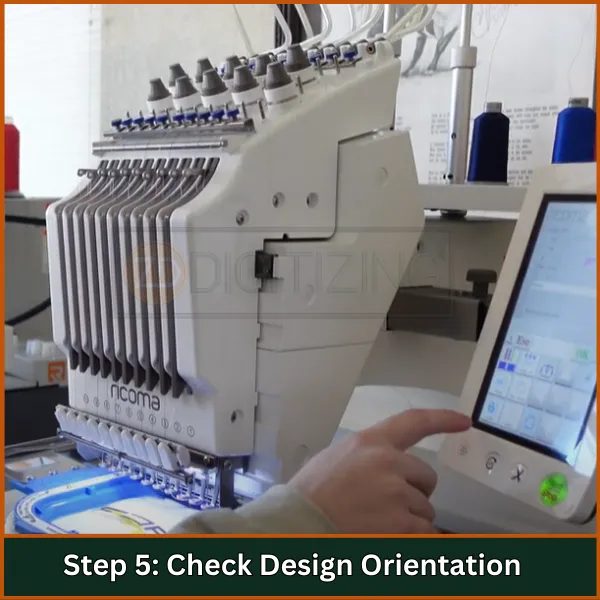
Double-check the orientation of your design on the machine to ensure it matches the placement marks on the vest. This prevents stitching errors.
Step 6: Start Embroidering
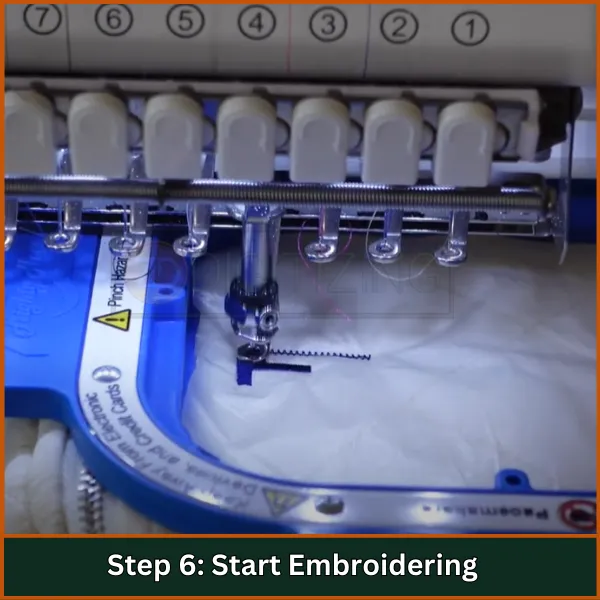
Begin with a basting box stitch if your machine supports this feature to ensure the placement is correct. Proceed to embroider your main design once everything is confirmed.
Step 7: Monitor the Stitching Process
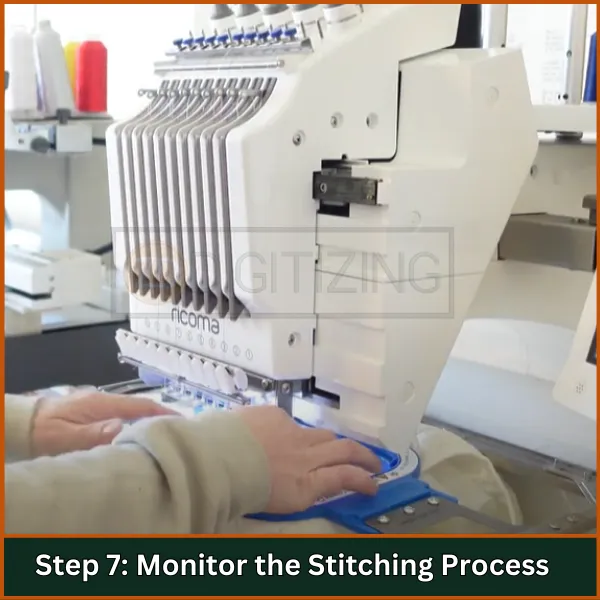
Carefully monitor the embroidery process to promptly address issues like thread breaks or misalignment.
Step 8: Finish and Remove from Hoop
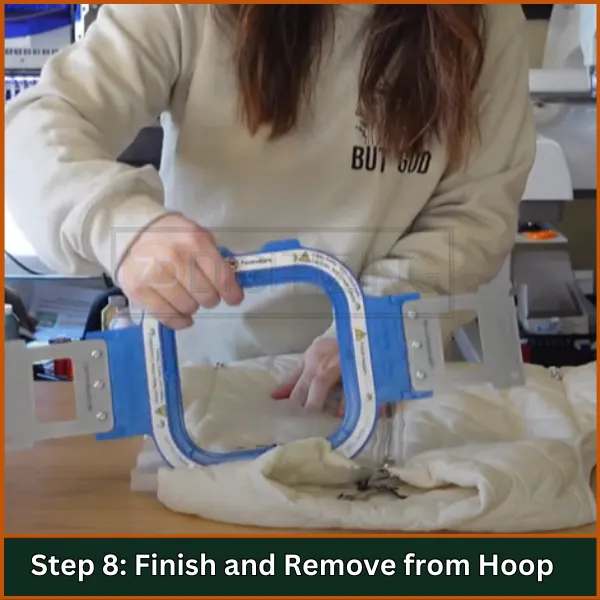
After stitching is complete, gently remove the vest from the hoop. Tear away any excess stabilizer and remove basting stitches or the water-soluble topper.
Step 9: Final Touches
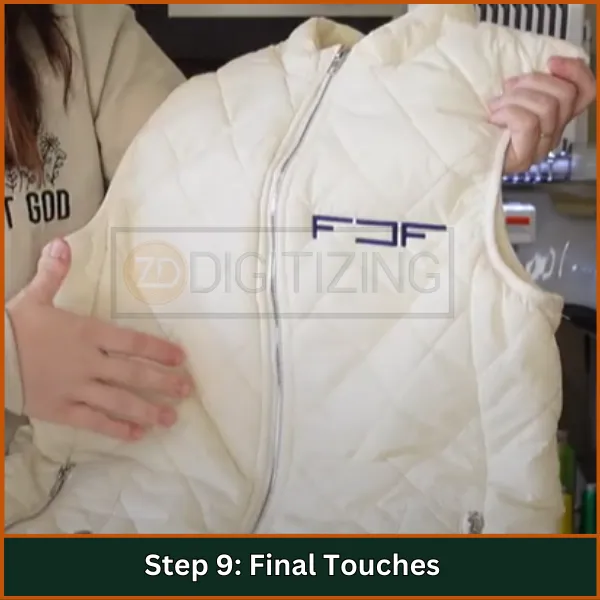
Trim any loose threads and clean up any remaining stabilizer. Ensure the back of the design is smooth and neat for a professional finish.
Step 10: Care Instructions
Follow the care instructions for your embroidered vest to maintain its quality and appearance over time. Machine wash gently and avoid harsh detergents to preserve the embroidery.
Tips for Success in Puffy Vest Embroidery
Mastering how to embroider on a puff vest requires some key tips to ensure a flawless and professional result. Follow these tips to make your embroidery stand out:
- Choose the Right Stabilizer: Always use a cut-away stabilizer for firm support. It prevents the design from distorting and ensures durability over time.
- Opt for Bold Designs: Stick to bold, simple designs with large fill stitches that won’t get lost in the texture of the vest.
- Use Polyester Threads: Polyester threads are strong and resist fraying or breaking, making them ideal for thicker fabrics like puffy vests.
- Mark Your Design Placement Accurately: Use a fabric-safe marking tool to ensure precise placement of your design. Double-check alignment before stitching.
- Secure the Vest Properly: Make sure the vest is flat and smooth on the hoop, using temporary adhesive spray or pins to avoid shifting during stitching.
- Add a Topping Stabilizer if Needed: For textured puff vests, a water-soluble topper can prevent stitches from sinking into the fabric.
- Monitor the Embroidery Process: Keep an eye on the stitching to address issues like thread breaks or misalignment immediately.
- Test on Scrap Fabric First: Practice on a similar material before embroidering on the vest to perfect your settings and technique.
- Trim Threads Neatly: After embroidery, clean up any loose threads for a polished and professional appearance.
- Follow Care Instructions: Gently wash the vest to preserve the embroidery and maintain its vibrant look over time.
Embroidery Digitizing & Vector Art Services

Looking for embroidery digitizing and vector art services that are affordable and reliable? We offer fast turnaround time, guaranteed quality, and the option to preview your design before payment, we make sure you get exactly what you need. Your satisfaction is our top priority, and we’re dedicated to delivering the best results. Don’t wait—try ZDigitizing today and see the difference in quality and service!
Embroidery Digitizing & Vector Art Services
Looking for embroidery digitizing and vector art services that are affordable and reliable? We offer fast turnaround time, guaranteed quality, and the option to preview your design before payment, we make sure you get exactly what you need. Your satisfaction is our top priority, and we’re dedicated to delivering the best results. Don’t wait—try ZDigitizing today and see the difference in quality and service!
Bottom Line
Learning how to embroider on a puffy vest can be simple and fun with the right steps and tools. Whether you’re creating something personal or making a special gift, following this guide will help you achieve great results with ease.
If you need help with digitizing your embroidery designs, ZDigitizing is here for you! We provide high-quality digitizing services at affordable rates, with super-fast turnaround times and guaranteed quality. You can even preview your design before it’s finalized.
If you’re a first-time customer, you’ll get 50% off your first order! Don’t miss this chance—click here to get your design digitized and start creating beautiful embroidered puffy vests today!
Get Your Design Digitized Now
FAQs
Yes, you can embroider directly onto a puffy vest, but it’s important to use the right stabilizers and secure the fabric properly to prevent shifting. A cut-away stabilizer works best for firm support.
Use a sharp or ballpoint needle, size 75/11 or 80/12, for embroidering on puffy vests. These needles are strong enough to handle thicker fabrics without damaging them.
Polyester thread is ideal for puffy vests because it is durable, colorfast, and resists fraying. It ensures a smooth finish and long-lasting embroidery.
A regular embroidery hoop works fine, but make sure it is the correct size for your design. Use a sticky stabilizer or adhesive spray to keep the fabric secure without damaging it.

