Do you know how to oil the embroidery machine to keep it in good condition? Oiling your machine is a simple way to make sure it works smoothly and lasts longer. It helps reduce friction, prevents rust, and keeps your stitches looking perfect every time. In this guide, I will explain the steps to oil your embroidery machine the right way. Don’t worry—it’s an easy process and only takes a few minutes.
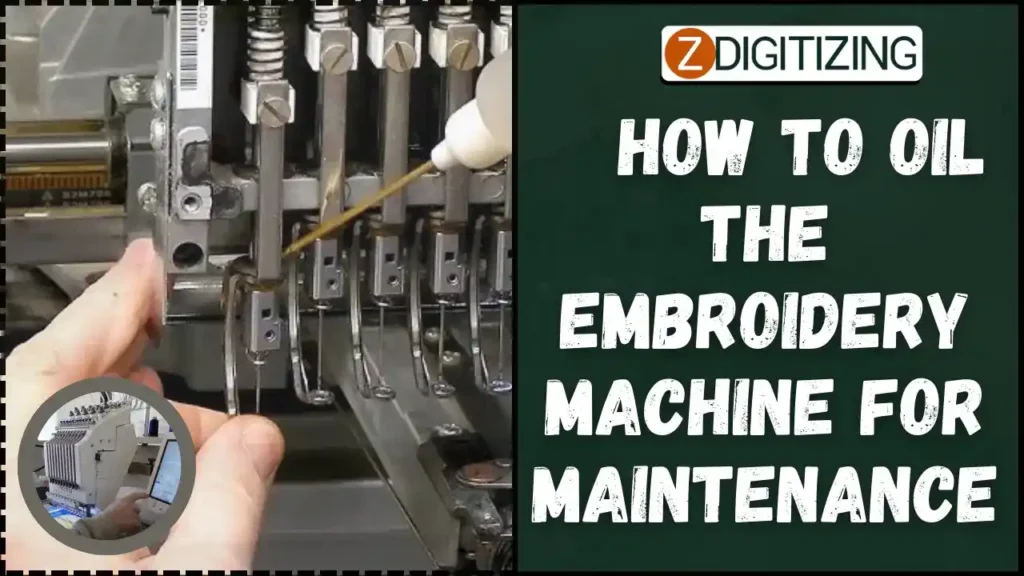
By following these steps, you’ll avoid common mistakes and keep your machine running like new. Let’s get started!
How to Oil the Embroidery Machine For Maintenance?
Materials Needed for Oiling the Embroidery Machine
When learning how to oil the embroidery machine, having the right tools ensures safe and effective maintenance. These tools for oiling will help keep your machine running smoothly and efficiently.
- Embroidery Machine Oil
- Soft Brush
- Clean Cloth or Tissue
- Earbuds (for precise application)
- Maintenance Manual
1. Embroidery Machine Oil
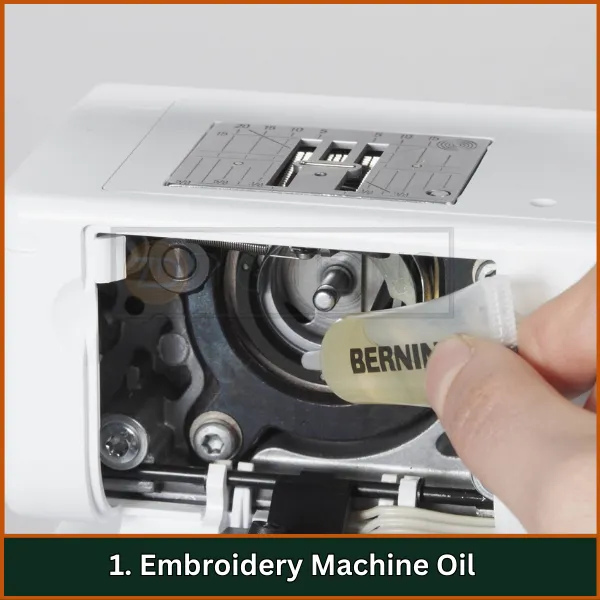
This is a specially formulated oil designed for sewing and embroidery machines. It reduces friction, prevents rust, and ensures smooth operation. Using the right oil types for embroidery machines is crucial for maintaining your machine’s performance and longevity.
Tip: Always use oil recommended by the machine manufacturer to avoid damage.
2. Soft Brush
A soft brush helps remove dust, lint, and debris from the machine’s components without scratching or damaging them.
Tip: A small paintbrush or a dedicated sewing machine brush works well.
3. Clean Cloth or Tissue
A lint-free cloth or tissue is necessary for wiping away excess oil and cleaning surfaces.
Tip: Avoid using paper towels that may leave fibers behind; opt for microfiber cloths instead.
4. Earbuds (for Precise Application)
Earbuds can be used to apply oil in hard-to-reach areas with precision, ensuring that only the necessary parts are oiled.
Tip: Dip the tip of the earbud lightly in oil to avoid over-saturation.
5. Maintenance Manual
The manual provides specific instructions on where and how much oil to apply based on your machine’s model.
Tip: Keep your manual handy during maintenance to reference any unique requirements for your machine.
By gathering these materials, you’ll be prepared to efficiently and safely oil your embroidery machine, helping to maintain its performance and extend its lifespan.
Identifying Oiling Points in an Embroidery Machine
Proper maintenance, including learning how to oil the embroidery machine, is essential to keep it running smoothly and extend its lifespan. Here are the key oiling points you should focus on:
1. Hook Race
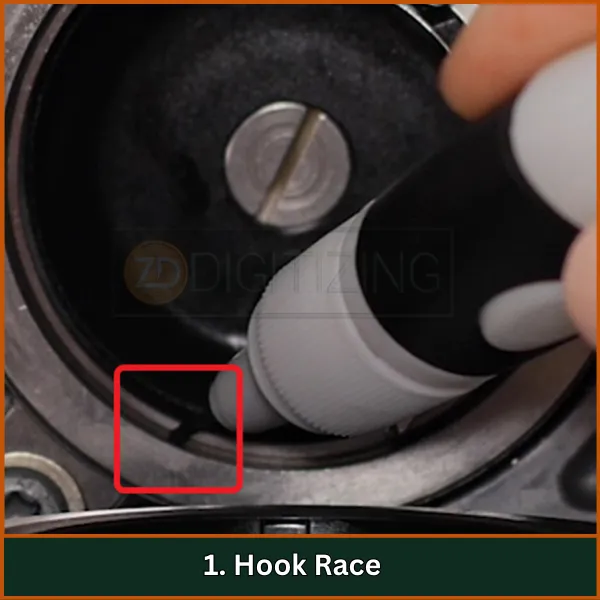
The hook race is a critical component where the hook rotates to catch the thread from the needle. This constant motion can cause friction and wear if not properly lubricated. Applying one drop of oil daily before using the machine and after every bobbin change ensures smooth functioning and prevents damage to this vital area.
2. Needle Bars
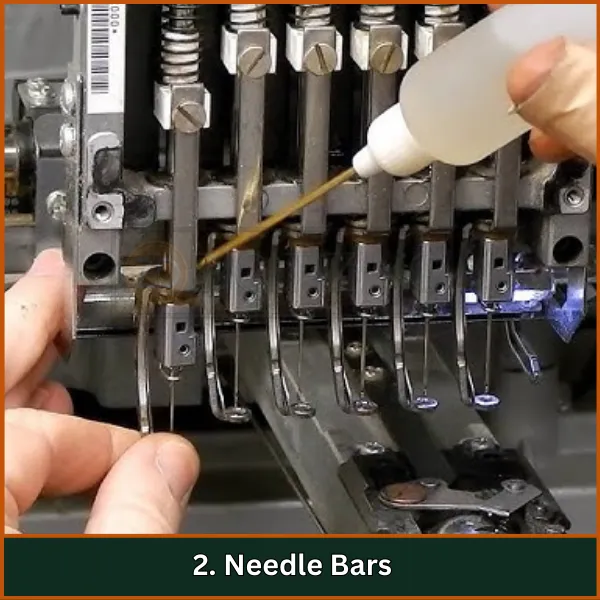
The needle bars hold the needles in place and facilitate their up-and-down movement during sewing. To keep this motion smooth and efficient, regular oiling is necessary. A drop of oil applied to the lower needle bar felt washer every 40 to 50 hours of sewing time helps maintain consistent performance and avoids unnecessary strain on the machine.
3. Take-Up Lever
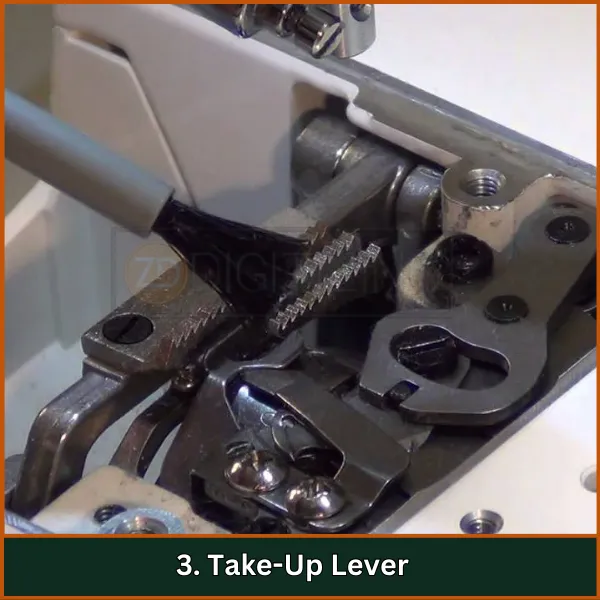
The take-up lever moves the thread up and down during operation, making it a vital part of the stitching process. Over time, this component can experience resistance or jamming if not maintained. Periodic lubrication with a small drop of oil, as guided by your machine’s manual, ensures its proper functioning and prolongs its life.
4. Thread Guide Pins
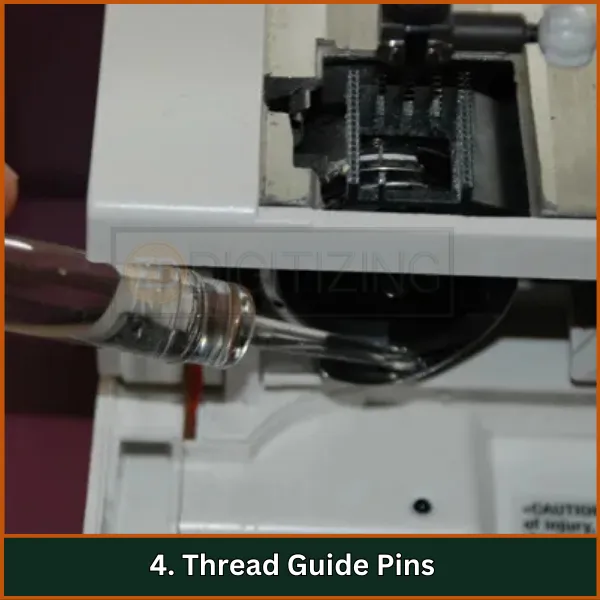
Thread guide pins direct the thread smoothly from the spool to the needle. If these pins are not oiled, they may cause thread resistance or even breakage. Lightly oiling the pins whenever you notice resistance ensures a seamless threading process and supports consistent stitching results.
5. Bobbin Case
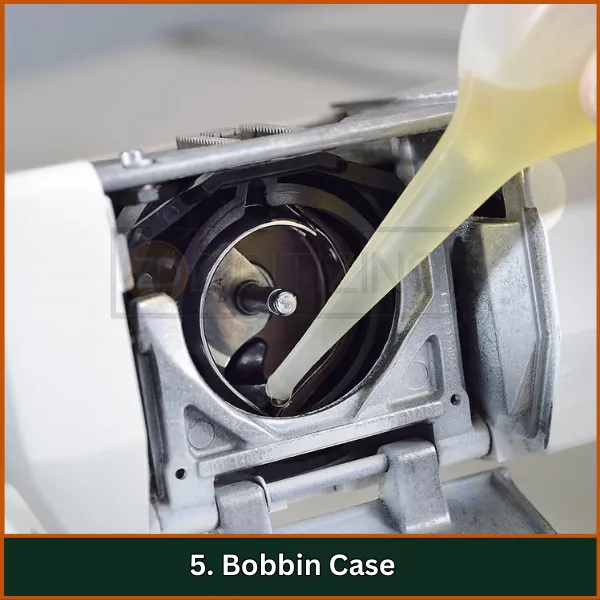
The bobbin case is essential for holding the bobbin securely and regulating thread tension. If left dry or dirty, it can disrupt the quality of your stitching. After cleaning the bobbin area, applying a small amount of oil helps maintain its smooth operation and prevents wear on this critical part of the machine.
How to Oil the Embroidery Machine | Step-by-Step Procedure
Follow this step-by-step oiling process to maintain your embroidery machine’s performance and longevity.
Step 1: Preparation
- Unplug the Machine: Turn off and unplug your embroidery machine to ensure safety during maintenance.
- Gather Tools: Prepare your embroidery machine oil, soft brush, clean cloth, and any necessary tools.
Step 2: Access the Oiling Points
- Remove Components: Detach the needle, throat plate, or any obstructive parts as per your machine model.
- Clean the Area: Use a soft brush to clear lint or debris. Avoid compressed air to prevent pushing dirt deeper into the machine.
Step 3: Oiling the Hook Race
- Open the Hook Cover: Take out the bobbin case and open the hook cover.
- Position the Hook: Rotate the handwheel 50 degrees to bring the hook race into position.
- Apply Oil: Place one drop of oil on the hook. Avoid over-oiling to prevent fabric contamination.
Step 4: Oiling the Needle Bars
- Select Needle Bar: Pull one needle bar down to lock it in place.
- Apply Oil: Add one drop of oil to the lower needle bar felt washer. Repeat for each needle bar as needed.
Step 5: Oiling Other Components
- Thread Guide Pins and Other Parts: Lightly oil additional areas like thread guide pins and tension assemblies, following your machine’s manual.
Step 6: Final Steps
- Wipe Excess Oil: Use a clean cloth to remove any extra oil to avoid staining fabric.
- Reassemble the Machine: Put back all removed components securely.
- Test Run: Test the machine on scrap fabric to ensure smooth functioning.
Step 7: Regular Maintenance Schedule
- For Frequent Use: Oil daily or after every bobbin change for machines used heavily.
- For Occasional Use: Oil weekly or monthly for less frequent usage.
Common Mistakes to Avoid When Oiling Your Embroidery Machine
Learning how to oil the embroidery machine correctly is just as important as the oiling itself. Avoid these common mistakes to ensure proper maintenance:
- Over-Oiling: Applying too much oil can cause buildup, which may contaminate fabric and threads, leading to stitching issues.
- Using the Wrong Type of Oil: Always use oil specifically designed for sewing machines. Household oils or other lubricants can damage the machine.
- Neglecting Cleaning: Failing to clean the machine before oiling can trap dirt and lint, causing mechanical problems over time.
- Skipping Oiling Points: Missing key areas like the hook race or needle bars can lead to increased friction and wear on components.
- Ignoring the Manual: Not consulting the machine’s manual for oiling instructions can result in improper maintenance.
- Oiling Too Infrequently: Delaying oiling sessions can cause parts to dry out and wear prematurely.
- Not Testing After Oiling: Skipping a test stitch after oiling can prevent you from identifying any issues before starting your project.
- Using Dirty Tools: Cleaning tools like brushes or cloths should be spotless; dirty ones can introduce contaminants into the machine.
Conclusion
By steering clear of these mistakes, you’ll maintain your embroidery machine in optimal condition and ensure its longevity. Taking care of your machine is important, and now you know how to oil the embroidery machine to keep it running smoothly. Regular maintenance will help your machine last longer and give you perfect stitches every time.
If you need high-quality digitizing services, ZDigitizing is here for you! We provide digitizing at the most affordable rates, with super-fast turnaround times and guaranteed quality. Plus, we offer a preview option so you can see your design before it’s finalized.
Are you a first-time customer? You’ll get 50% off your first order! Don’t miss this chance—click below to place your order and make your embroidery projects even better.
FAQs
Oiling your embroidery machine reduces friction, prevents rust, and ensures smooth operation. Regular oiling also helps extend the life of your machine and keeps your stitches flawless.
The frequency depends on your usage. For heavy use, oil daily or after every bobbin change. For occasional use, oil weekly or monthly as recommended in your machine manual.
Always use oil specifically designed for sewing or embroidery machines. Avoid household or general-purpose oils, as they can damage the machine.


