Let’s discuss some of the Brother Disney PE550D embroidery problems and its solution.
Brother Disney PE550D Embroidery Machine Problems And solutions:
1. Why is my needle threader not working?
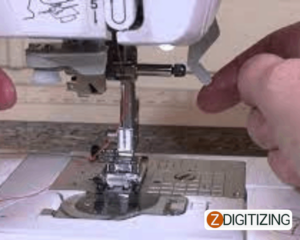
It is because you must have placed the presser foot down, the tension discs present in the machine would avoid the thread from reaching the needle.
Or another cause can be incorrect needle placement or the wrong size needle is being used. Make sure to use the right needle size and install the needle correctly to prevent needle threading issues.
2. Why is my machine not starting?
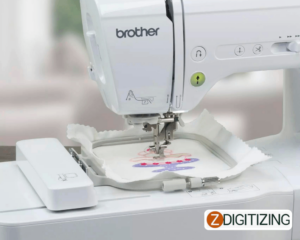
There might be several reasons why your machine is not starting. Either your machine is not threaded rightly, or upper tension is very tight. There could also be a possibility that the needle is not inserted rightly according to the fabric type.
Follow these steps mentioned down below if your machine does not start or function:
Possible cause – First needle movement would not occur unless after the screen is touched.
1. Is the plug of the power cord placed into an electric outlet?
If yes, go to step 2.
If not, plug the cord in and try to turn it on again.
2. Is your main power switch turned on?
If yes, go to step 3
If not, turn on your power switch.
3. Touch your LCD screen to take it out of screen saving mode
Did this resolve the issue?
If yes, continue with your project
If not, you would have to get in touch with brother customer service
4. Check the following:
- Ensure the bobbin winder has been moved back to the left-hand side
- Ensure that you have lowered the presser foot lever.
- Ensure you have attached the embroidery unit. If you want to attach the unit, ensure that you turn off your machine when you are finishing this procedure or damage might happen to your machine.
3. Is there any foot controller?
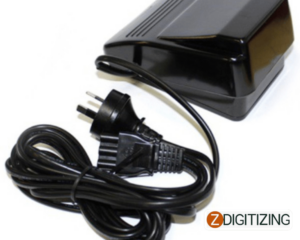
No, there is no foot controller.
4. Can you combine multiple designs at one time?
You can only keep a similar spot, but it would result in damage and a bad design.
5. How to adjust the speed?
Slide the sewing speed controller to the right or left to select the desired sewing speed. Sliding the sewing speed controller to the left will sew at the slow speed, and sliding the sewing speed controller to the right will sew at a faster speed!
6. How to decide to use the right thread, and needle combination?
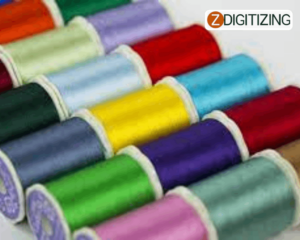
A thread could be used with this machine:
30 – 90 weight. Don’t use threads of twenty weights or lower than that. It might cause the machine to malfunction. The smaller the number, the heavier the thread. As the numbers increase, the thread gets finer. The machine’s needle and embroidery thread that must be used rely on the kind and thickness of the material.
Needles that could be used with this machine:
Home sewing machine – size 65/9 – 100/16
For embroidery, don’t use a needle size bigger than 90/14
The bigger the number, the bigger the needle, as the number lessens the needles get finer.
Easy Steps For Brother Disney Pe550D Maintenance:
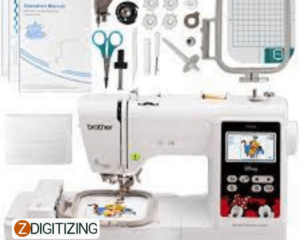
Brother Disney PE550D maintenance is very easy. The most crucial maintenance that has to be completed is lubricating the rotary hook. Before oiling or cleaning, we suggest turning off your machine. To maintain and clean the rotary hook, begin by removing the bobbin case from the rotary hook.
Clean any thread lint in the area using a lint brush or dusting spray.
Then add three or four drops of machine oil to the rotary hook.
Now you can insert the bobbin case back into the rotary hook and close the bobbin housing unit.
To make sure the machine runs efficiently, repeat this process twice a day if you are planning to run a machine eight hours a day.
Once or twice a week, remove the needle plate and clean around the trimmer knives with a soft brush.
Once a week, pass a business card or paper through the bobbin case slit to clean any lint buildup.
Every week, place a drop-off oil directly on the needle bar through the slots in the needle case, alternate each week.
One week lubricate the upper needle bar section and the next week the lower needle bar section.
Once a week oil the opening on the needle plate. For this section, we suggest turning on the embroidery machine and setting it to needle one to see the opening on the right side of the machine head.
Add three drops of oil each week to that section.
Then, add three drops of oil to the metal rail of the machine head.
Now you can move your machine head to needle 15 and place 2 drops of oil on the other side of the rail.
Once each three to five months, apply white lithium grease to the black metal bar in the machine head. Also, apply this grease to the wheels placed on the back of your machine head.
Once each three to five months, apply white lithium grease to the color change cam.
You would first need to remove the metal plate placed above the color change cam by loosening the attached screw. Then apply grease to the color change cam area.
Place the cover back over the color change cam and tighten the screw before proceeding.
Always remember, not to over oil. After oiling, stitch on a test swatch before returning to production to assure extra oil does not stain garments.
Winding up with offer:
These were the simple steps for Brother Disney PE550D maintenance and Brother Disney PE550D common errors & solutions. Now that you very well know how to maintain your machine, it is time to start embroidering. Good luck!
Hope it will be helpful for you guys!
If there’s any question related to this article you can simply ask in the comment section and don’t forget to like and share with those you think might be helpful for them.
Also, if you want digitizing services for your embroidery machine with super-fast turnaround and excellent quality just click the link below and get a free quote in less than 5 minutes. We offer 50% off on all our services to our potential customers on their first order.

