Are you thinking about trying machine embroidery on chiffon fabric? It might sound tricky at first, but don’t worry! We’ve got some great tips to make machine embroidery fabric like chiffon a lot easier for you. Chiffon is a delicate material that needs careful handling, but with the right approach, you can create stunning designs that look professional and elegant.
In this guide, we’ll walk you through the essential steps and techniques to get you embroidering on chiffon like a pro in no time. So, grab your embroidery supplies, and let’s dive into the world of chiffon embroidery together!
How to Machine Embroidery on Chiffon Fabric?
How to Machine Embroidery on Chiffon Fabric?
To start embroidery on chiffon, you’ll need a few key materials. Here’s a list of what you’ll need to gather:
Chiffon fabric
Embroidery machine
Embroidery thread
Embroidery Designs
Stabilizer (tear-away or cut-away)
Embroidery needles (preferably ballpoint)
Hoops (appropriate for the machine)
Scissors or thread snips
Fabric marking pen or chalk
Iron (for pressing, if needed)
Water-soluble stabilizer (optional)
Now, let’s take a look at which of these materials are recommended for you.
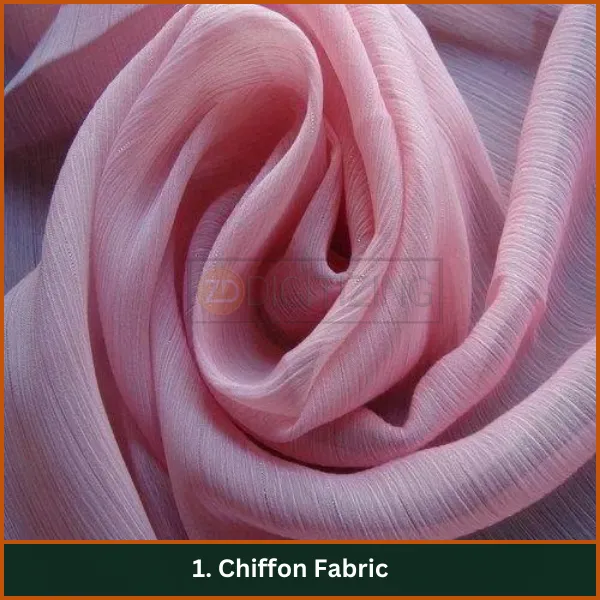
1. Chiffon Fabric
Chiffon Fabric
Lightweight and sheer, chiffon fabric is challenging to embroider due to its delicate nature and tendency to slip or fray. Proper handling is essential to avoid damaging the fabric.
Opt for high-quality chiffon that’s slightly heavier to minimize slipping during the embroidery process.
When Embroidering Chiffon Fabric, Why is it Difficult to Handle?
Machine Embroidery on chiffon can be tricky because it’s such a delicate and lightweight material. Chiffon tends to slip and move around a lot when you’re working with it, which can make it hard to keep everything in place while you embroider.
Also, because it’s so thin, the fabric can easily get puckered or damaged by the needle if the tension isn’t just right.
So, when you’re working with chiffon, it’s really important to handle it gently and use the right techniques and tools to get the best results without harming the fabric.
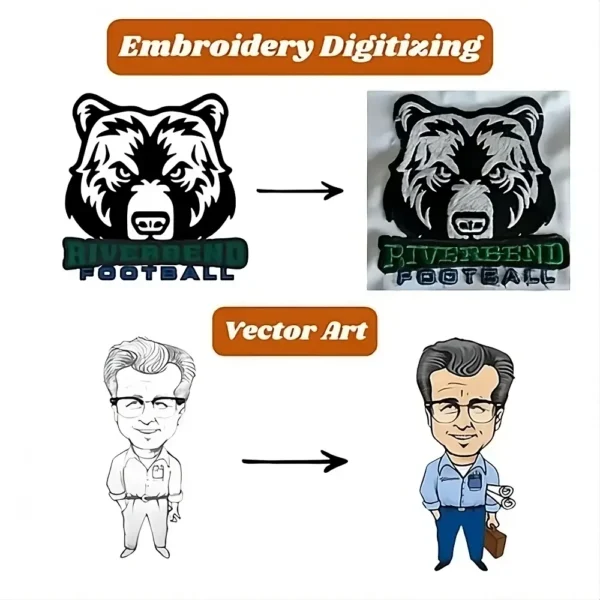
Embroidery Digitizing & Vector Art Services
Looking for embroidery digitizing and vector art services that are affordable and reliable? We offer fast turnaround time, guaranteed quality, and the option to preview your design before payment, we make sure you get exactly what you need. Your satisfaction is our top priority, and we’re dedicated to delivering the best results. Don’t wait—try ZDigitizing today and see the difference in quality and service!
Looking for embroidery digitizing and vector art services that are affordable and reliable? We offer fast turnaround time, guaranteed quality, and the option to preview your design before payment, we make sure you get exactly what you need. Your satisfaction is our top priority, and we’re dedicated to delivering the best results. Don’t wait—try ZDigitizing today and see the difference in quality and service!
A reliable machine capable of handling delicate fabrics like chiffon is crucial. Setting the machine to a lower speed helps avoid pulling and ensures smoother embroidery.
Choose a machine with adjustable speed settings and good fabric handling capabilities specifically for delicate fabrics.
3. Embroidery Thread
Embroidery Thread
Use fine, high-quality embroidery thread to achieve detailed and clean designs on chiffon. Rayon or polyester threads are preferred for their strength and sheen.
A polyester thread is particularly advantageous due to its durability and colorfastness, making it suitable for delicate fabrics that may require frequent washing.
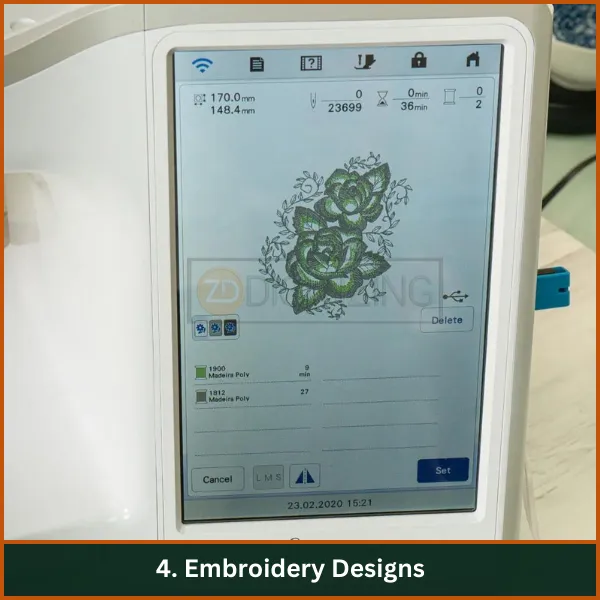
4. Embroidery Designs
Embroidery Designs
Opt for lighter, less dense designs to prevent the fabric from bunching or warping under the weight of the embroidery. Choose simple, open designs that don’t overload the fabric with stitches, maintaining the integrity of the chiffon.
If you need a design digitized for chiffon, we at ZDigitizing can help. We specialize in tailoring embroidery designs to work perfectly on delicate materials like chiffon, ensuring your embroidery turns out great without harming the fabric. Contact us today!
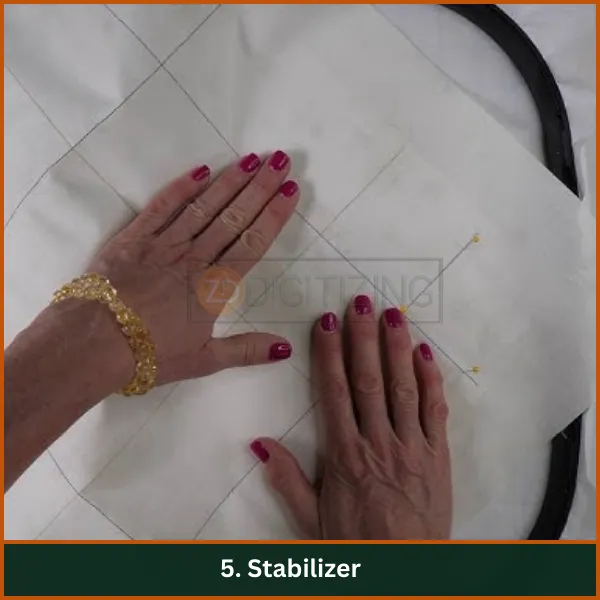
5. Stabilizer
Stabilizer
A stabilizer is crucial when embroidering on chiffon. Tear-away or cut-away stabilizers are typical, but for chiffon, a lightweight water-soluble stabilizer on top can also help maintain fabric integrity during the process.
Use a water-soluble stabilizer both above and below the chiffon to provide adequate support during embroidery and ensure easy removal without leaving residues.
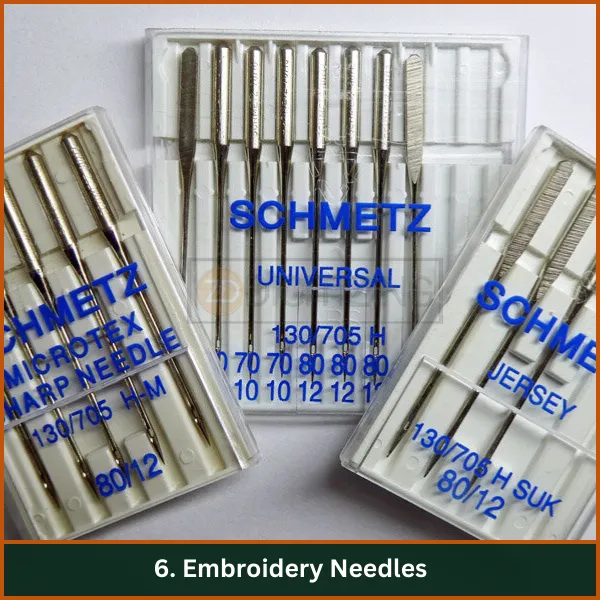
6. Embroidery Needles
Embroidery Needles
Ballpoint needles are recommended for chiffon to avoid snagging or damaging the fabric. These needles gently separate the fabric threads instead of piercing them. Use a small, sharp embroidery needle, such as a size 70/10, which minimizes holes and fabric damage.
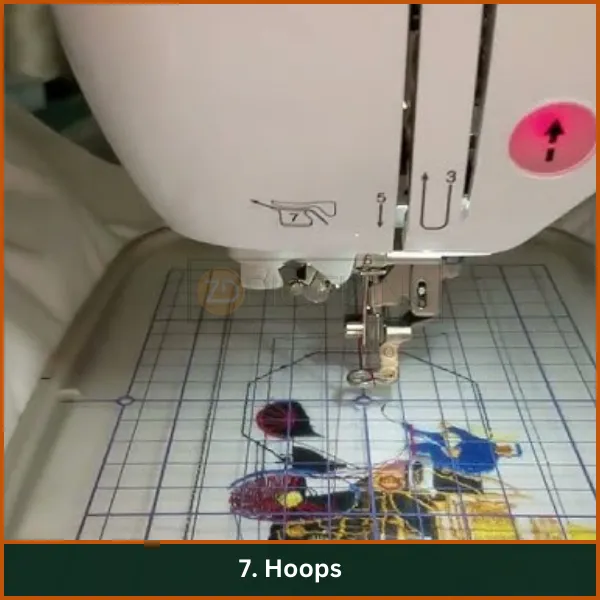
7. Hoops
Hoops
Ensure the hoop is appropriate for your embroidery machine and capable of holding the chiffon fabric taut without stretching or distorting it. Use a hoop that can keep the fabric firmly in place without slipping, and consider using hoop grips for extra stability.
8. Scissors or Thread Snips
Sharp scissors or snips are necessary for precise cutting of threads and fabric, particularly important in delicate embroidery work. Invest in a pair of micro-tip scissors that allow for precise cuts close to the embroidery without risking fabric damage.
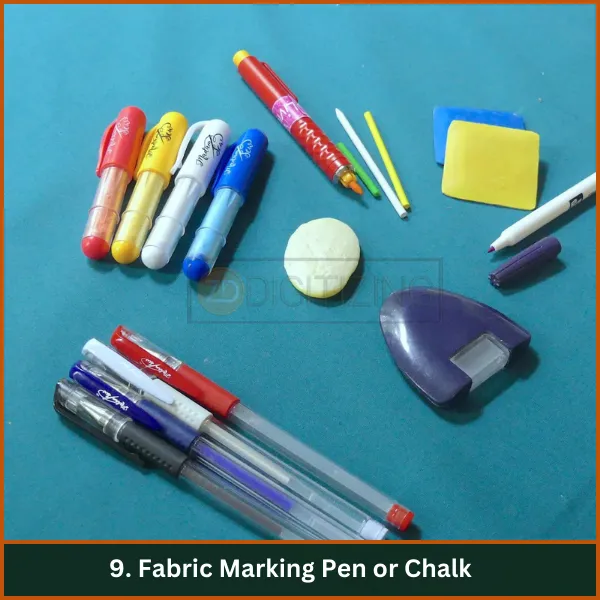
9. Fabric Marking Pen or Chalk
Fabric Marking Pen or Chalk
Use to mark the design placement accurately. Ensure it’s suitable for use on delicate fabrics like chiffon and can be easily removed after the embroidery is completed. Opt for air- or water-soluble markers that are specifically designed for use on fine fabrics.
10. Iron
Use for pressing the fabric before and after embroidering to ensure it’s smooth and to remove any wrinkles or folds. Make sure the iron’s temperature setting is appropriate for chiffon. Use a low heat setting and consider a pressing cloth to protect the delicate chiffon from direct heat.
11. Water-soluble Stabilizer (optional)
An additional water-soluble stabilizer can be used on top of the fabric to help stabilize the embroidery and can be dissolved away after the stitching process. This is particularly useful for highly detailed designs where additional support is needed.
Step-by-Step Process of Machine Embroidery on Chiffon Fabric
Here’s a simple guide to help you get started with embroidery on chiffon. Follow these easy steps to create beautiful designs on this delicate material.
Step 1: Choose Your Design
When choosing a design for embroidering on chiffon, it’s essential to consider the delicate nature of the fabric.
Light and airy designs are most suitable as they minimize the risk of puckering and do not distort the fabric’s natural drape. Opt for floral patterns, delicate motifs, or simple outlines that complement the sheer texture of chiffon.
Step 2: Prepare the Chiffon
Prepare the Chiffon
Proper preparation of the chiffon is crucial before starting the embroidery. Ensure the fabric is completely free of wrinkles to achieve a smooth finish.
Use a lightly heated iron along with a Teflon pressing sheet to iron the chiffon. The pressing sheet prevents direct contact with the fabric, thus avoiding any potential heat damage and preserving the delicate fibers of the chiffon.
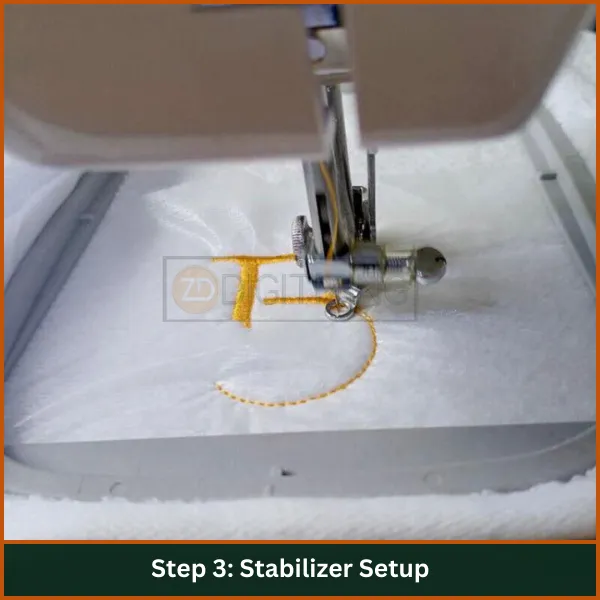
Step 3: Stabilizer Setup
Stabilizer Setup
Cut Stabilizer: Cut a piece of water-soluble stabilizer that is slightly larger than the embroidery hoop you will be using. The stabilizer should extend beyond the edges of the hoop to ensure the entire area where the embroidery will be placed is supported.
Apply Adhesive Spray: To keep the stabilizer in place during the embroidery process, lightly spray one side with a temporary adhesive. This helps it adhere to the chiffon, preventing the fabric from moving and ensuring the embroidery is neat and accurately positioned.
Step 4: Hooping or Floating
After stabilizing the fabric, choose how to secure the chiffon in place for embroidery. You have two methods to consider: direct hooping or floating.
Both methods are designed to keep the fabric stable during the embroidery process, so you can choose whichever method suits your project best.
Hooping Method
Place the stabilizer in the embroidery hoop first, ensuring it is smooth and taut.
Lay the chiffon on top of the stabilizer, carefully aligning it so that it lies flat without any wrinkles.
Secure the hoop tightly to hold both the stabilizer and the chiffon firmly in place. This prevents any shifting during the embroidery process.
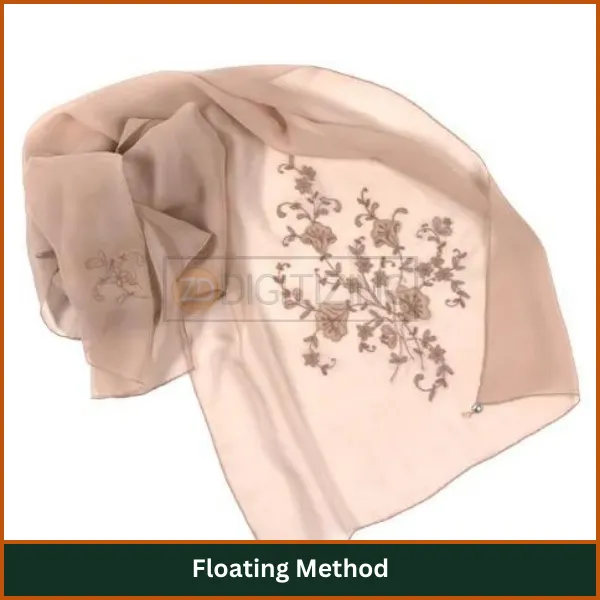
Floating Method
Floating Method
Place the stabilizer directly on the machine bed as an alternative to hooping both layers together.
Lay the chiffon on top of the stabilizer without securing it in a hoop. This method is beneficial for extremely delicate fabrics or larger pieces that might be distorted by the hooping process. It requires careful handling to ensure the fabric remains in position during embroidery.
Recommended: For chiffon, the floating method is generally recommended because it reduces the risk of damaging the delicate fabric by avoiding the tension from hooping.
Step 5: Secure the Fabric
After placing the chiffon, gently pat it down over the stabilizer to ensure it lies perfectly flat and straight. This preparation helps avoid any unwanted fabric movement that could lead to misalignment of the embroidery.
Tip: For larger designs or when using the floating method, it might be necessary to secure the edges of the chiffon with pins. Place pins around the perimeter of the fabric, outside the area to be embroidered, to prevent shifting without interfering with the embroidery process.
Step 6: Adjust Machine Settings
Adjust the upper thread tension on your embroidery machine to be slightly looser than usual. Chiffon’s delicate nature means that tension that is too tight could cause puckering or fabric damage during the stitching process.
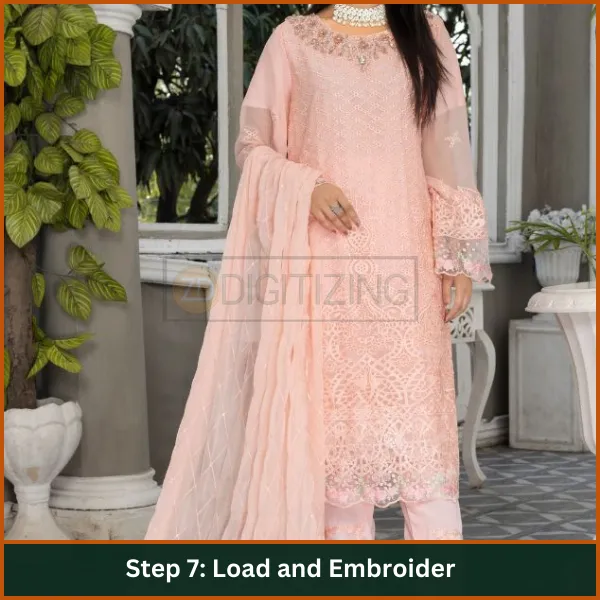
Step 7: Load and Embroider
Load and Embroider
Load your chosen embroidery design into your machine, following the manufacturer’s instructions.
Begin the embroidery process, paying close attention to the machine’s operation. Watch for any signs of fabric puckering or thread breakage, adjusting settings as necessary to accommodate the fabric’s needs.
Step 8: Finish Embroidery
Once the embroidery is complete, carefully remove the hoop from the machine. Be cautious not to pull or stretch the chiffon as you remove it, as this could distort the embroidery or the fabric itself.
Step 9: Remove Stabilizer
Place the embroidered chiffon in lukewarm water to dissolve any water-soluble stabilizer used during the process. Gently agitate the fabric to ensure all pieces of stabilizer dissolve completely.
After the stabilizer is dissolved, rinse the chiffon thoroughly to remove any remaining adhesive or stabilizer residue. Gently squeeze out excess water, being careful not to wring or twist the fabric, which could damage both the embroidery and the chiffon.
Step 10: Final Touches
If necessary, wash the embroidered piece in a gentle detergent solution to remove any dirt or residues left from the adhesive spray.
Lay the embroidered chiffon flat on a clean towel to air dry, or hang it to dry in a location away from direct sunlight, which could fade or damage the fabric.
Pro Tip: If any wrinkles remain once the chiffon is dry, use a steam iron set on a low heat setting with a pressing cloth to carefully press out the creases without direct contact with the embroidery or the chiffon.
Step 11: Inspect Your Work
Inspect the embroidered chiffon for any remaining imperfections or stabilizer residues. Check the overall quality of the embroidery to ensure there are no loose threads or misaligned stitches.
Essential Tips for Successful Embroidery on Chiffon Fabric
Embroidering on chiffon fabric can be challenging due to its delicate nature. Here are some essential tips to help you achieve successful and beautiful results while preserving the fabric’s integrity.
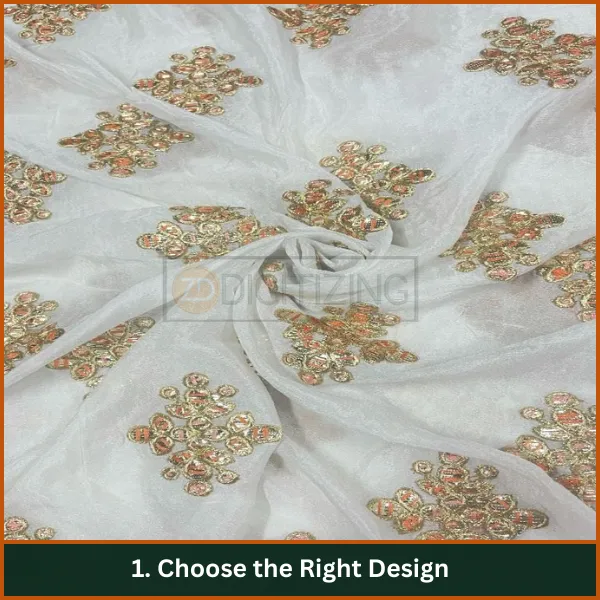
1. Choose the Right Design
Choose the Right Design
Opt for Light Designs: Choose open and airy designs, like running stitches or bean stitches. Avoid dense fill stitches that can weigh down the delicate chiffon.
Limit Color Changes: Use designs with fewer colors and minimal jump stitches to keep the fabric light. Too many jump stitches can be visible through the chiffon.
2. Use Appropriate Stabilizers
Water-Soluble Stabilizer: Use a non-woven, water-soluble stabilizer for support that’s easy to remove after stitching.
Floating Technique: If hooping could damage the fabric, float the stabilizer instead. Spray it with temporary adhesive before placing the chiffon on top.
3. Prepare the Fabric
Remove Wrinkles: Iron out any creases with a lightly heated iron and a Teflon pressing sheet to protect the chiffon.
Secure Properly: Ensure the chiffon is smooth when hooped. Use pins outside the embroidery area to prevent shifting during stitching.
4. Adjust Machine Settings
Adjust Machine Settings
Lower Thread Tension: Reduce the upper thread tension to prevent puckering and ensure smooth stitching.
Needle Choice: Use a ballpoint needle, which is gentle on delicate fabrics.
5. Test Before You Start
Conduct Test Stitches: Always test your design on a scrap of chiffon or similar fabric to fine-tune settings before starting on the actual piece.
By adhering to these tips, you can ensure beautiful and successful embroidery results on chiffon fabric, enhancing its elegance and delicacy with your designs.
Embroidery Digitizing & Vector Art Services
Looking for embroidery digitizing and vector art services that are affordable and reliable? We offer fast turnaround time, guaranteed quality, and the option to preview your design before payment, we make sure you get exactly what you need. Your satisfaction is our top priority, and we’re dedicated to delivering the best results. Don’t wait—try ZDigitizing today and see the difference in quality and service!
Looking for embroidery digitizing and vector art services that are affordable and reliable? We offer fast turnaround time, guaranteed quality, and the option to preview your design before payment, we make sure you get exactly what you need. Your satisfaction is our top priority, and we’re dedicated to delivering the best results. Don’t wait—try ZDigitizing today and see the difference in quality and service!
Final Words: How Our Digitizing Services Make Embroidery on Chiffon Easy?
In conclusion, if you’re looking to machine embroidery on chiffon, our embroidery digitizing services at ZDigitizing can be a game-changer for you.
We specialize in creating digitized designs that are perfectly suited for delicate materials like chiffon, ensuring smooth and precise embroidery. With our expert services, you can transform any design into an embroidery-ready format, tailored specifically for chiffon fabric.
Remember, if you’re a first-time client, you’ll receive a 50% discount on your first order. Reach out to us today to get your designs digitized for chiffon and see your creative visions beautifully realized!
Yes, you can machine embroider on chiffon, but it requires careful handling, stabilizing with appropriate backing, and choosing the right needle and thread to avoid damage to the delicate fabric.
Machine embroidery on sheer fabric is possible and can add a beautiful touch to the fabric, but it requires using a lightweight stabilizer and selecting designs that are suitable for the fabric’s delicate nature to prevent puckering or tearing.
Fabrics that cannot be embroidered typically include those that are too thin or too stretchy without proper stabilization, highly textured fabrics that can distort the design, and open weave fabrics where stitches can easily pull through.
The best fabrics for machine embroidery are those that are stable and medium-weight, such as cotton, linen, silk, and polyester blends, as they can support a variety of embroidery designs without stretching or puckering.
Are you looking for embroidery digitizing and vector art services at low cost with superfast turnaround, guarranted quality and preview before pay? So, you are at right place. We can digitize and vectorize any type of artwork in your required file format.