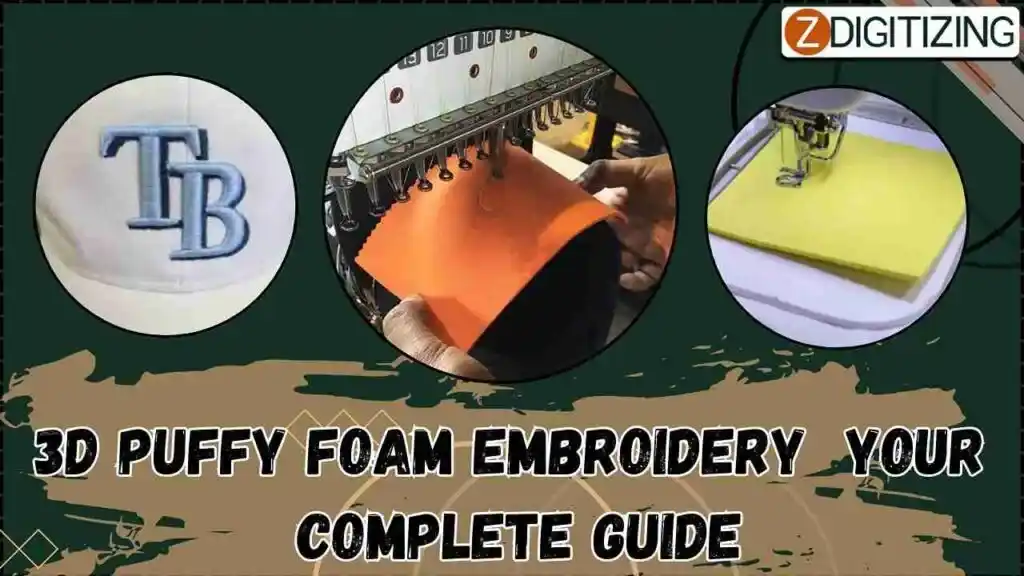
Are you looking to add dimension and depth to your embroidery projects? 3D puffy foam embroidery is the perfect way to make your designs pop! This technique uses foam to raise parts of the embroidery, creating a bold, textured look that stands out.In this complete guide, we’ll walk you through everything you need to know about foam embroidery – from selecting the right materials to mastering the stitching process.
3D Puffy Foam Embroidery
Whether you’re new to this method or looking to refine your skills, these tips and best practices will help you achieve amazing results every time.
What is 3D Puffy Foam Embroidery?
It is a technique that adds a raised, three-dimensional effect to embroidery designs by using foam placed under the stitches. This foam creates a puffed, textured look, making the embroidery stand out with added depth and dimension.
Looking for embroidery digitizing and vector art services that are affordable and reliable? We offer fast turnaround time, guaranteed quality, and the option to preview your design before payment, we make sure you get exactly what you need. Your satisfaction is our top priority, and we’re dedicated to delivering the best results. Don’t wait—try ZDigitizing today and see the difference in quality and service!
Looking for embroidery digitizing and vector art services that are affordable and reliable? We offer fast turnaround time, guaranteed quality, and the option to preview your design before payment, we make sure you get exactly what you need. Your satisfaction is our top priority, and we’re dedicated to delivering the best results. Don’t wait—try ZDigitizing today and see the difference in quality and service!
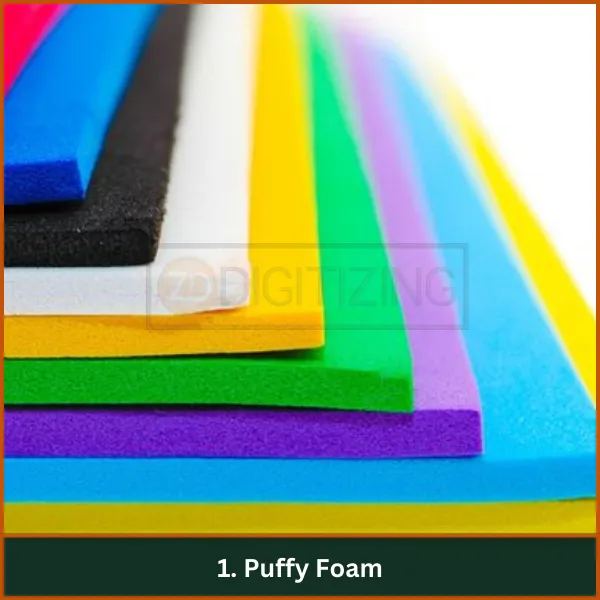
For the best results, use 3mm thick puffy foam in a color that matches your embroidery thread. This thickness provides a noticeable 3D effect without overpowering the design. Brands like Sulky or Madeira offer high-quality foam that works well with most embroidery machines.
2. Embroidery Machine
For 3D embroidery, it’s recommended to use an embroidery machine that supports high-density designs. Machines like the Brother PE800 or the Janome Memory Craft 500E are excellent choices, as they handle thicker stitching required for puffy embroidery with precision.
3. Embroidery Thread
Choose polyester or rayon thread for their strength and sheen. For 3D designs, polyester thread like Isacord or Madeira Polyneon is highly recommended because it’s durable and gives a smooth finish, ideal for covering foam.
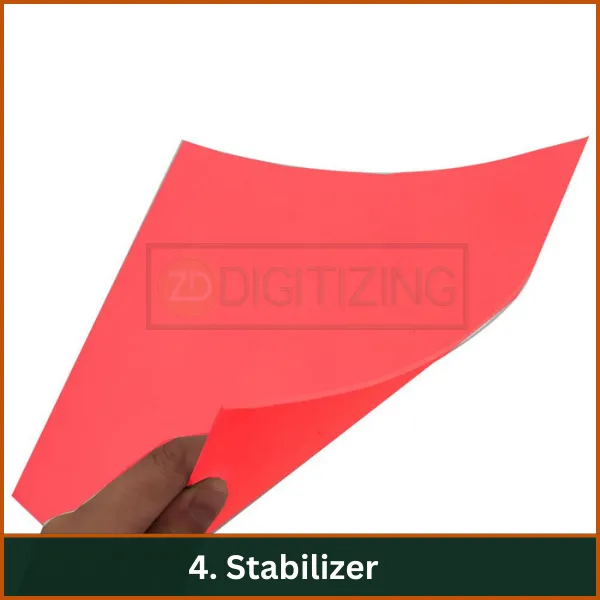
4. Stabilizer
Stabilizer
Use a tear-away stabilizer for 3D foam embroidery, as it’s easier to remove without damaging the raised design. Brands like Sulky or Floriani offer tear-away stabilizers that provide good support while stitching and are easy to tear off once the design is complete.
5. Fabric
For the best 3D puffy foam effect, use heavy fabrics like denim, canvas, or hats. These fabrics hold the foam well and maintain the raised design without wrinkling. Lighter fabrics may not provide the necessary support for foam embroidery.
6. Embroidery Needle
Use a sharp size 80/12 needle for 3D embroidery. This size is strong enough to penetrate both the foam and fabric without breaking. Brands like Schmetz or Organ Needles are great options to ensure smooth stitching.
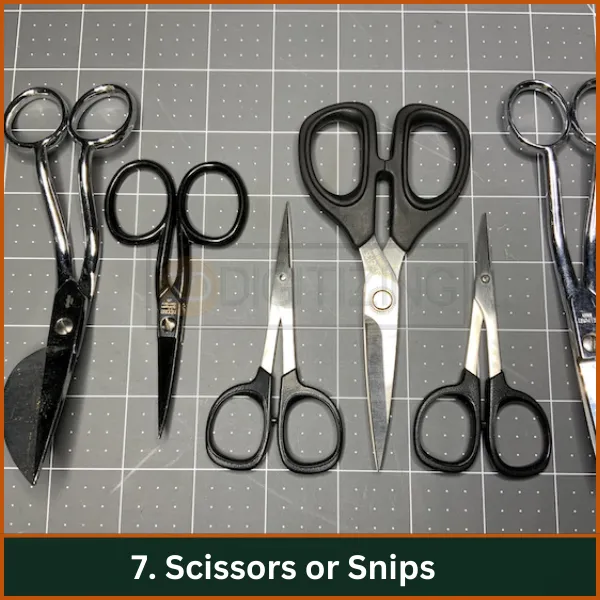
7. Scissors or Snips
Scissors-or-Snips
For clean finishing, use curved embroidery scissors or small, sharp snips like Gingher or Kai brands. These tools help trim the excess foam neatly without damaging the stitches.
Step by Step Process of 3D Puff Foam Embroidery
Creating this embroidery requires a careful step-by-step process to achieve the perfect raised effect. Follow these simple steps to bring your designs to life with depth and dimension.
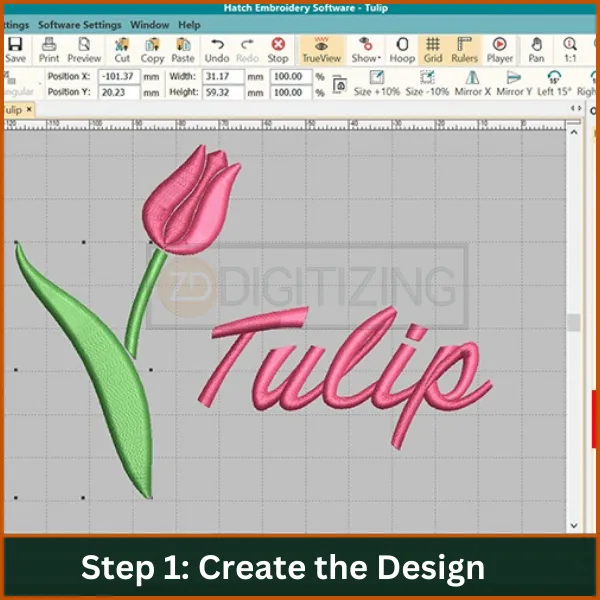
Step 1: Create the Design
Create-the-Design
Start by designing a simple and bold graphic suitable for 3D puffy foam embroidery designs. Ensure your design has clear outlines, as intricate details may not translate well onto the foam.
If you’re unsure about digitizing, we at ZDigitizing offer expert digitizing for foam embroidery, ensuring that your design will stand out perfectly in 3D. Our service guarantees high-quality results, making it easier for you to achieve stunning effects.
Additionally, using puffy foam embroidery fonts can add an extra dimension to your designs, especially for lettering or monogram projects. We can help you customize these fonts to get the best results.
Step 2: Select the Foam
Choose high-quality polyurethane foam, typically 3mm thick, to achieve the desired raised effect. The foam should be slightly larger than your design to ensure full coverage and a perfect 3D finish.
Step 3: Prepare the Fabric and Stabilizer
Hoop the fabric along with an appropriate stabilizer, with cutaway mesh being a recommended option. Ensure the fabric is taut in the hoop to prevent any shifting during stitching. The right stabilizer will ensure your design stays in place and comes out looking professional.
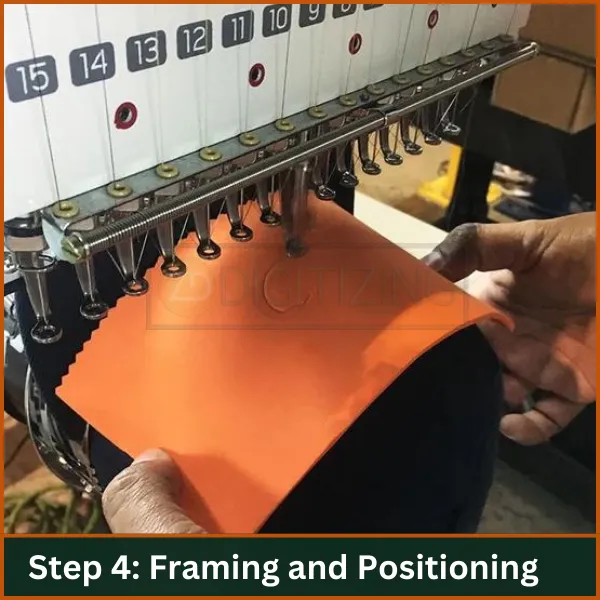
Step 4: Framing and Positioning
Framing-and-Positioning
Use the smallest frame necessary for your design to avoid tension issues. Run a test trace on your embroidery machine to confirm that the design fits within the frame, ensuring a precise and accurate finish.
Step 5: Color Assignment and Threading
Assign thread colors for the design based on your preferences. Your machine should be set to stop automatically at the appropriate point for adding foam. Be sure to use colors that complement both your fabric and foam for a polished look.
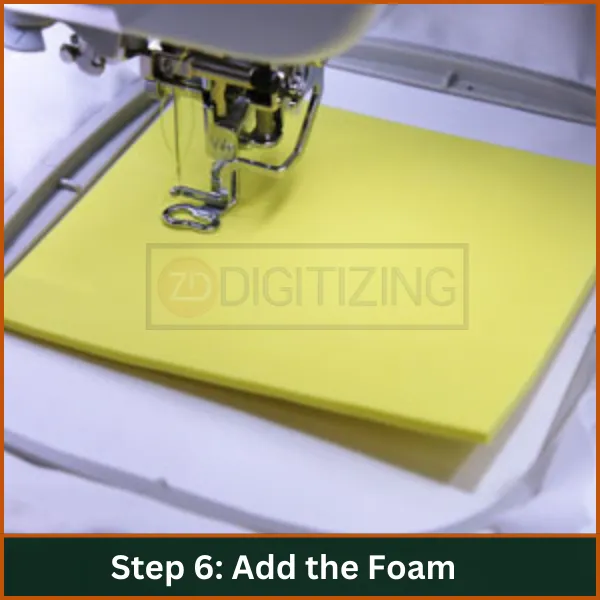
Step 6: Add the Foam
Add-the-Foam
Lay the foam on top of the fabric, centered under the design area. If necessary, use adhesive to keep the foam securely in place during the embroidery process. This will help ensure the foam doesn’t move and disrupt the design.
Step 7: Embroider the Design
Start by running a tack-down stitch to secure the foam, followed by satin stitches to cover the design. Make sure to stitch through both the foam and fabric for a strong and durable finish.
Tip: Free puffy foam embroidery designs can also be explored for inspiration, but when it comes to customization, you can always rely on ZDigitizing to create your unique designs.
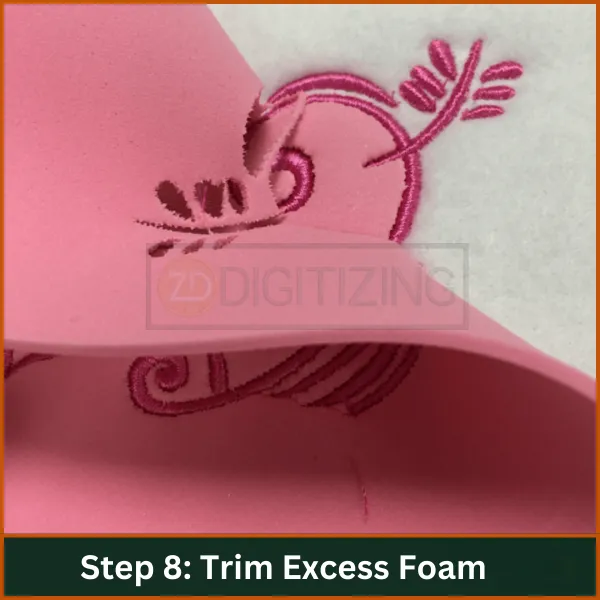
Step 8: Trim Excess Foam
Trim-Excess-Foam
After the embroidery is complete, carefully remove the fabric from the hoop. Use scissors to trim away any excess foam behind the design without cutting into the stitches. This will give your embroidery a clean and professional finish.
Step 9: Final Touches
After trimming, inspect your design for any imperfections. Use a heat gun to smooth out any rough edges if necessary. You can also match thread colors to the foam to hide any small inconsistencies and give the design a flawless look
Common Mistakes to Avoid in 3D Embroidery
Inadequate stitch coverage: Ensure the design completely hides the foam for a professional look.
Using inappropriate fabric: Avoid delicate fabrics; use stable ones to support the foam.
Incorrect foam thickness: Match foam thickness with design requirements for proper stitching.
Improper needle selection: Use sharp needles designed for 3D embroidery to ensure clean perforations.
Neglecting test runs: Always test your design on scrap fabric to adjust stitch density and tension.
Skipping outline stitches: Sew an outline first to stabilize the foam and design area.
Ignoring thread tension: Adjust thread tension properly to avoid thread breakage and uneven stitching.
Failure to remove excess foam properly: Trim foam neatly and use a heat source for stubborn pieces.
Overcomplicating designs: Stick to simple, bold designs for better 3D puff results. Using professional digitizing for puffy foam embroidery can help ensure optimal results.
Neglecting care instructions: Follow proper washing and drying methods to preserve embroidery quality.
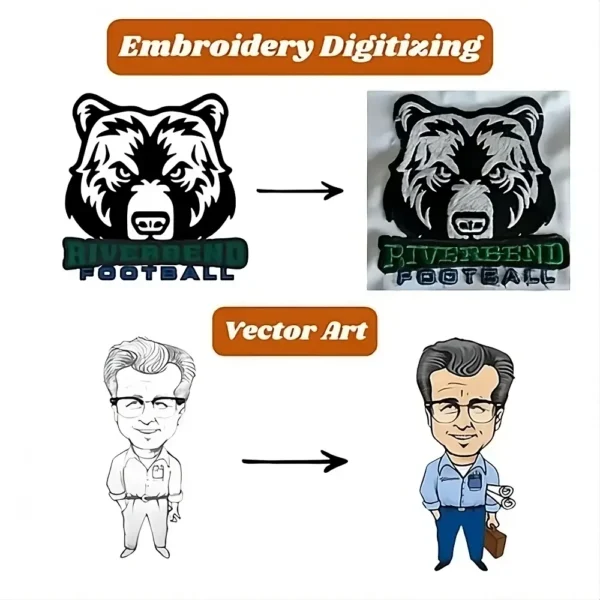
Embroidery Digitizing & Vector Art Services
Looking for embroidery digitizing and vector art services that are affordable and reliable? We offer fast turnaround time, guaranteed quality, and the option to preview your design before payment, we make sure you get exactly what you need. Your satisfaction is our top priority, and we’re dedicated to delivering the best results. Don’t wait—try ZDigitizing today and see the difference in quality and service!
Looking for embroidery digitizing and vector art services that are affordable and reliable? We offer fast turnaround time, guaranteed quality, and the option to preview your design before payment, we make sure you get exactly what you need. Your satisfaction is our top priority, and we’re dedicated to delivering the best results. Don’t wait—try ZDigitizing today and see the difference in quality and service!
Proper care is essential to maintain the raised effect and appearance of your 3D embroidery:
Gentle Washing: Wash the embroidered item gently, either by hand or on a delicate machine cycle. Avoid harsh detergents or bleach, as these can damage the foam and stitches.
Drying: Air-dry your embroidered pieces whenever possible. Machine drying can cause the foam to flatten or the stitches to distort.
Storage: Store your embroidered items flat or folded carefully to avoid crushing the foam. Avoid stacking heavy items on top of the embroidery.
Heat Exposure: Be cautious when ironing. If ironing is necessary, place a cloth over the design and use low heat to avoid damaging the foam or stitches.
Inspection: Regularly check for loose stitches or foam issues, especially after washing, and address any problems immediately to maintain the design’s quality.
Conclusion: Strat Embroidering with Puff Foam!
3D puffy foam embroidery is a fantastic way to elevate your embroidery designs, adding dimension and a professional finish that catches the eye. By following the steps and tips in this guide, you can easily create stunning, raised embroidery that stands out in any project.
Looking for help with digitizing your 3D designs? At ZDigitizing, we offer expert digitizing services with fast turnaround time, affordable pricing, and high-quality results.
Plus, we’re offering a 50% discount for first-time customers! So, Order Now.
Are you looking for embroidery digitizing and vector art services at low cost with superfast turnaround, guarranted quality and preview before pay? So, you are at right place. We can digitize and vectorize any type of artwork in your required file format.