Are you struggling to master multi-position hooping in embroidery? This technique is perfect for creating larger designs by splitting them into smaller sections, but it requires careful planning and precision. Whether you’re a beginner or looking to refine your skills, understanding the basics can save time and frustration.
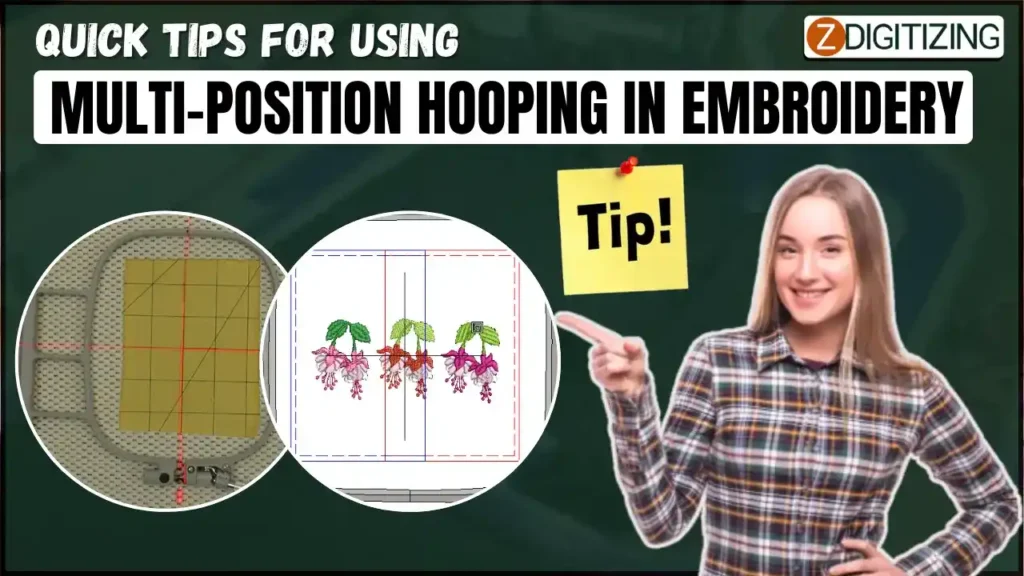
In this article, we’ll share practical tips to help you align designs accurately, secure your fabric, and troubleshoot common issues.
Quick Tips for Using Multi-Position Hooping in Embroidery
With these easy-to-follow suggestions, you’ll gain confidence in using multi-position hoops and take your embroidery projects to the next level. Let’s dive into these handy tips!
- Ensure Proper Fabric Securing
- Use Simple Designs Initially
- Set Registration Marks Before Hooping
- Plan Hooping Order Carefully
- Align Designs with Precision
- Utilize Sticky Stabilizer
- Split Complex Designs as Needed
- Test with Smaller Projects First
- Be Patient and Practice
- Follow Machine Instructions Closely
1. Ensure Proper Fabric Securing
Before you begin your embroidery project, it’s crucial to secure your fabric tightly in the hoop for multi-positional hooping. This prevents any movement that could lead to misalignment during the stitching process. Use a hoop that fits your fabric snugly and ensure that the fabric is taut but not overstretched. If necessary, use additional stabilizers to help keep the fabric flat and secure.
Embroidery Digitizing & Vector Art Services
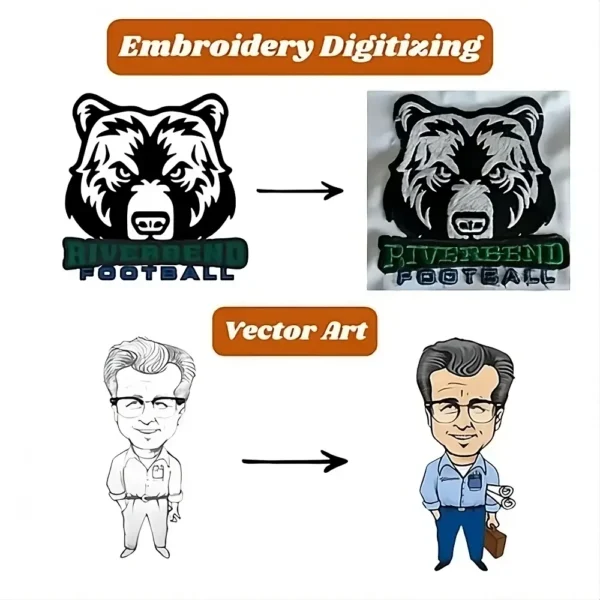
Looking for embroidery digitizing and vector art services that are affordable and reliable? We offer fast turnaround time, guaranteed quality, and the option to preview your design before payment, we make sure you get exactly what you need. Your satisfaction is our top priority, and we’re dedicated to delivering the best results. Don’t wait—try ZDigitizing today and see the difference in quality and service!
Embroidery Digitizing & Vector Art Services
Looking for embroidery digitizing and vector art services that are affordable and reliable? We offer fast turnaround time, guaranteed quality, and the option to preview your design before payment, we make sure you get exactly what you need. Your satisfaction is our top priority, and we’re dedicated to delivering the best results. Don’t wait—try ZDigitizing today and see the difference in quality and service!
2. Use Simple Designs Initially
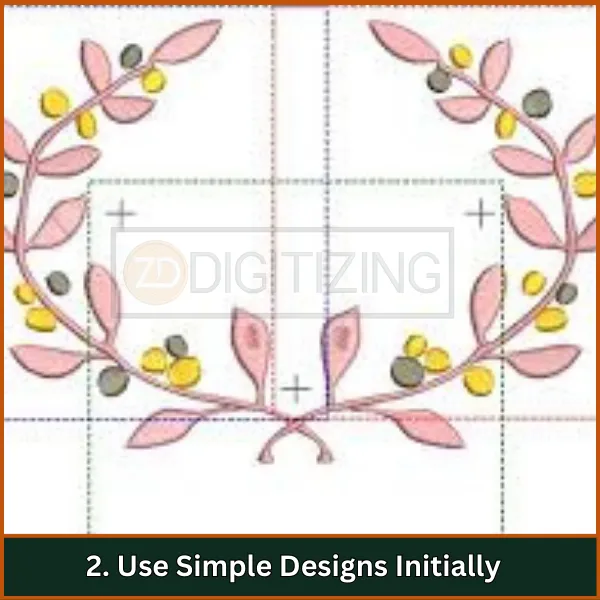
When you are new to multi position hooping, start with simpler designs. This approach allows you to focus on mastering the technique without getting overwhelmed by complex patterns. Simple designs will help you understand how to position the fabric correctly and manage the hooping process effectively. As you become more comfortable, you can gradually tackle more intricate designs.
3. Set Registration Marks Before Hooping
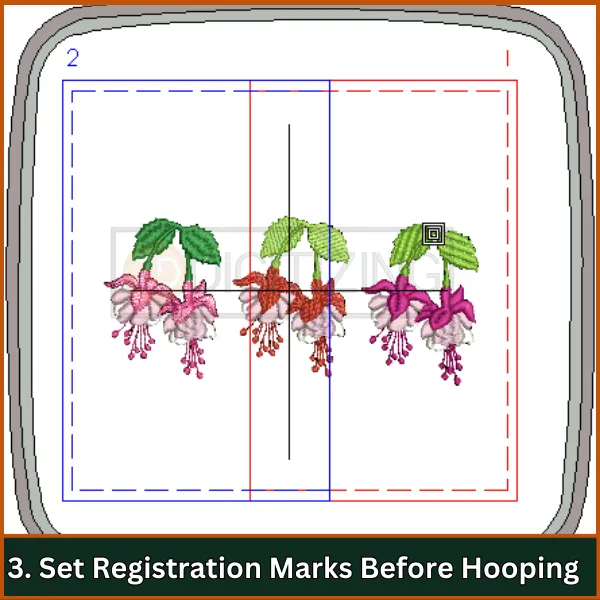
Registration marks are essential for aligning different sections of your design accurately. Before you hoop your fabric, make sure to activate these marks in your embroidery software. They will serve as visual guides when you reposition the hoop, ensuring that all parts of the design align perfectly. This step is vital for achieving a professional-looking finish.
4. Plan Hooping Order Carefully
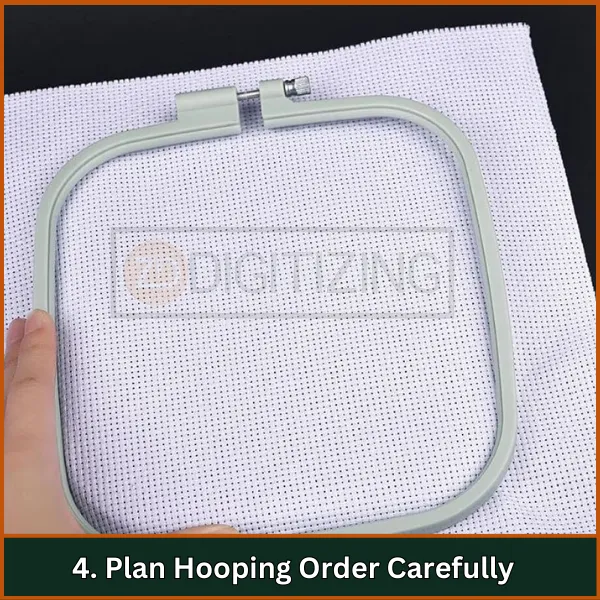
Strategically planning the order in which you will stitch different sections of your design is essential for multi-position hooping. Consider factors such as thread color changes and the complexity of each section. By organizing your stitching order, you can minimize interruptions and make the process smoother, allowing for a more efficient workflow.
5. Align Designs with Precision
Accurate alignment is critical in multi-position hooping. Take extra time to ensure that your designs are centered and aligned correctly within the hoop before starting. Use alignment tools or features on your machine to help with this process. Proper alignment prevents visible seams and mismatched patterns, enhancing the overall quality of your embroidery.
6. Utilize Sticky Stabilizer
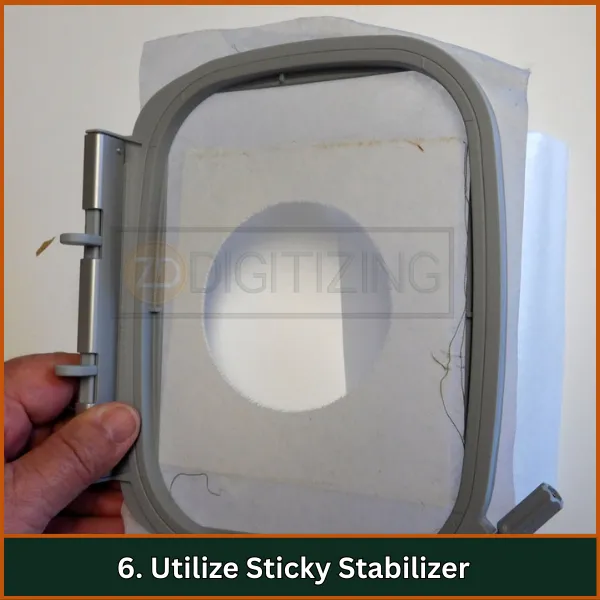
Sticky stabilizers are incredibly helpful when working with multi positional hooping, especially for fabrics that are difficult to hold in place. The adhesive backing keeps your fabric secure while allowing for easy repositioning when necessary. This type of stabilizer is particularly useful for intricate designs or when working with lightweight or stretchy materials.
7. Split Complex Designs as Needed
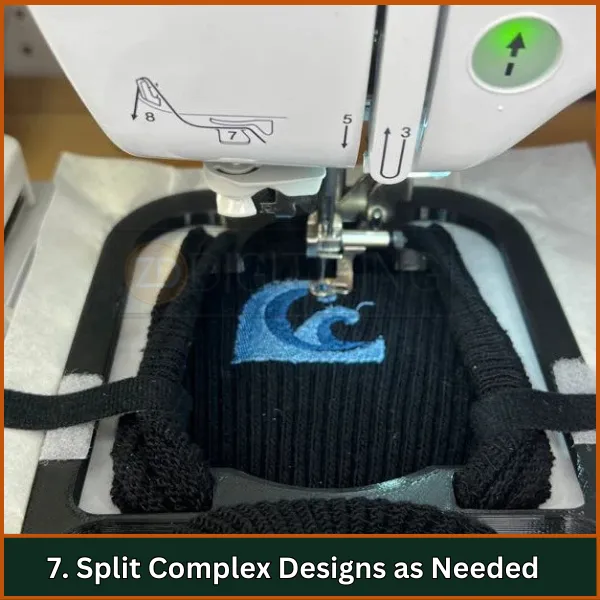
For larger or more complex designs, consider splitting them into smaller sections that fit within a single sewing field. This technique allows for better control over each part of the design and reduces the risk of misalignment when repositioning the hoop. Use embroidery software to divide the design into manageable sections that can be stitched one at a time.
8. Test with Smaller Projects First
Before diving into a large project, practice on smaller pieces of fabric to familiarize yourself with the multi position hooping technique. Testing allows you to troubleshoot potential issues without risking valuable materials or time on a larger project. It also gives you a chance to refine your skills and build confidence.
9. Be Patient and Practice
Patience is key when mastering multi positional hooping. Don’t rush through your projects; take your time to practice and perfect your technique. Each project is an opportunity to learn something new, so embrace any challenges as part of the learning process. With consistent practice, you’ll become more adept at managing this technique.
10. Follow Machine Instructions Closely
Every embroidery machine has its own set of instructions and features related to multi-positional hooping. Always refer to your machine’s manual for specific guidance on setup, positioning, and any unique capabilities it may offer. Understanding your machine’s functions will help you achieve optimal results and avoid common pitfalls associated with hooping in multiple positions.
Embroidery Digitizing & Vector Art Services

Looking for embroidery digitizing and vector art services that are affordable and reliable? We offer fast turnaround time, guaranteed quality, and the option to preview your design before payment, we make sure you get exactly what you need. Your satisfaction is our top priority, and we’re dedicated to delivering the best results. Don’t wait—try ZDigitizing today and see the difference in quality and service!
Embroidery Digitizing & Vector Art Services
Looking for embroidery digitizing and vector art services that are affordable and reliable? We offer fast turnaround time, guaranteed quality, and the option to preview your design before payment, we make sure you get exactly what you need. Your satisfaction is our top priority, and we’re dedicated to delivering the best results. Don’t wait—try ZDigitizing today and see the difference in quality and service!
Final Thoughts
Mastering multi-position hooping takes a little practice, but with the right tips, you can create stunning embroidery designs without stress. If you want to take your projects to the next level, why not let ZDigitizing help?
We provide professional digitizing services at the most affordable rates, with super-fast turnaround times and quality guaranteed. Plus, you can preview your design before finalizing it to ensure perfection.
If you’re a first-time customer, you’ll also get an exclusive 50% discount on your first order. Click below to get started and transform your embroidery experience today!
FAQs
It is a technique that allows you to create larger embroidery designs by splitting them into sections and stitching them in multiple passes.
It is necessary for stitching designs that are too large to fit into a single hoop, helping you achieve seamless and professional results.
You set up by marking alignment points on the fabric, preparing stabilizers, and using software to split the design into sections.
You need an embroidery machine, multi-position hoop, stabilizer, alignment tools, and embroidery software.
Challenges include maintaining proper alignment, avoiding fabric shifting, and ensuring the design sections connect seamlessly.

