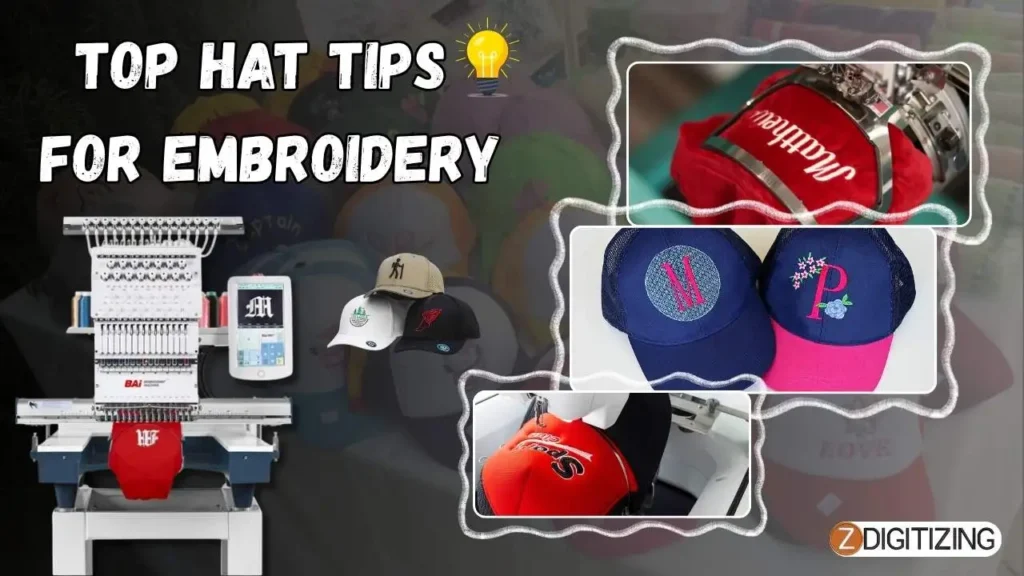
10 Tips for Choosing the Best Hats for Embroidery That Actually Work
When we first started out, we had no idea how to choose the best hats for embroidery. We just picked whatever looked nice. But after a few ruined designs and wasted materials, we quickly realized that not every hat is made for embroidery. That one mistake taught us something important: the hat you choose is just as important as the design itself.
To save you from the same headaches, we’ve put together a practical list of 10 tips that actually work, whether you’re a beginner or starting your own embroidery business.
10 Tips for Choosing the Best Hats for Embroidery That Actually Work
Here’s what we’ll cover:
Opt for Structured Hats for Sharper Embroidery
Go for the Right Fabric – Cotton, Canvas, or Twill?
Match Hat Color with Thread for Maximum Visibility
Understand Hat Size, Shape, and Profile
Avoid Thick Seams and Small Embroidery Areas
Choose Durable Thread Type and Color
Use the Right Needle and Stabilizer for the Hat
Keep Designs Simple and Readable
Test Your Hat Brand Before Going Bulk
Use Hoop-Compatible or Pre-Hooped Hats
These tips are beginner-friendly, practical, and based on real experience, so you can make better choices from the very first stitch.
Let’s explore each tip in detail so you can stitch with confidence and get results that actually look professional.
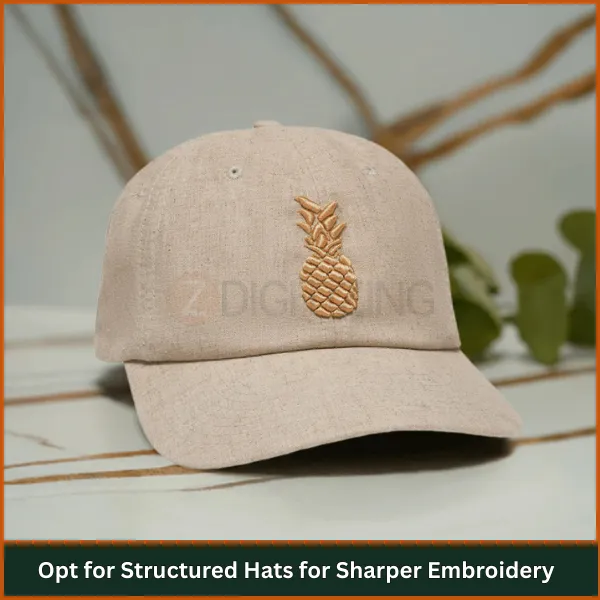
Tip #1: Opt for Structured Hats for Sharper Embroidery
Opt for Structured Hats for Sharper Embroidery
Let’s start with structure, and trust us, it matters more than most people think.
Structured hats have a reinforced front panel that holds its shape even when not worn. This gives your embroidery machine a firm and stable surface to work on, resulting in sharper, more professional-looking designs. We’ve seen many beginners struggle with unstructured hats, the soft front collapses, causing the fabric to shift during stitching. This can lead to misaligned designs and uneven thread tension.
So, if you want to avoid that mess and ensure better stitch quality, always choose structured caps. No doubt, they’re among the best hats for embroidery, especially when you’re working with logos, monograms, or center designs.
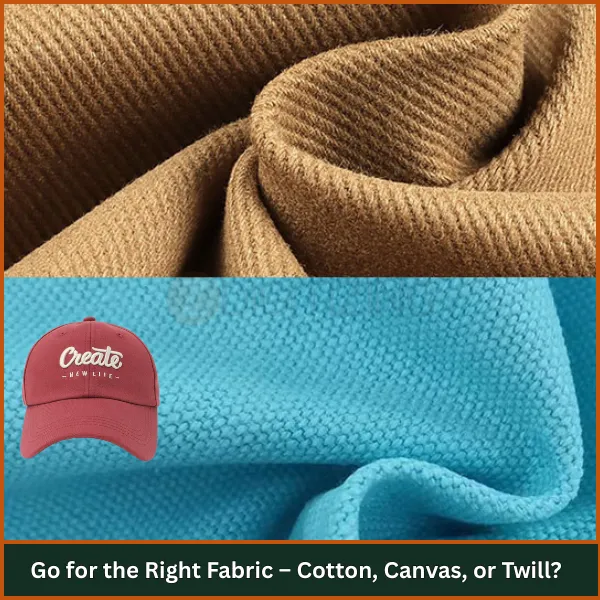
Tip #2: Go for the Right Fabric – Cotton, Canvas, or Twill?
Go for the Right Fabric – Cotton, Canvas, or Twill
The fabric you choose affects everything, from how your needle moves to how clean your stitches turn out.
Some fabrics hold thread beautifully, while others stretch, wrinkle, or cause thread breaks.
Let’s compare a few common types:
Fabric Type
Pros
Cons
Best For
Cotton
Soft, breathable, easy to hoop
Wrinkles, not as durable
Light casual caps
Canvas
Strong and thick, long-lasting
Tougher to hoop, needs stronger needles
Outdoor/work caps
Twill
Smooth texture, embroidery-friendly
May slide slightly if thin
Structured fashion caps
Our recommendation? Twill caps are a go-to for both beginners and pros, they offer a clean finish and are commonly used in the commercial embroidery world.
Choosing the right fabric gives you control over your design quality and makes a huge difference. It’s one of the most beginner-friendly hat embroidery tips we can offer.
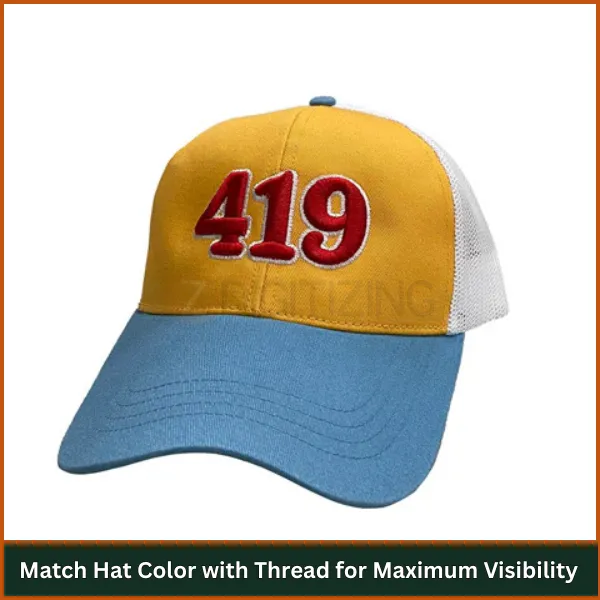
Tip #3: Match Hat Color with Thread for Maximum Visibility
Match Hat Color with Thread for Maximum Visibility
Color contrast may sound simple, but it plays a big role in how good your embroidery looks. Imagine using navy thread on a black hat, the design disappears. But if you use white thread on a red or black cap, the design stands out instantly.
Some great combinations to try:
White or light gray thread on dark hats
Black or deep red thread on light-colored hats
Bright neon threads on neutral bases like beige or tan
This is especially important if you’re making hats for branding, gifting, or selling; good visibility adds value.
Strong color contrast makes your work shine and helps you create the best hats for embroidery every time.
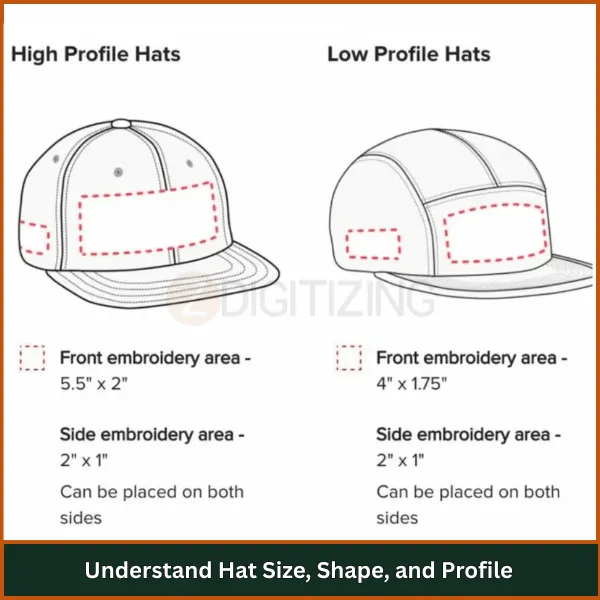
Tip #4: Understand Hat Size, Shape, and Profile
Understand Hat Size, Shape, and Profile
Here’s something many people overlook: the shape and profile of the hat.
Low-profile hats (with a smaller crown height) are great for minimalist designs, initials, or short words. Mid- and high-profile hats offer more space and are better for logos, badges, or large artwork.
Also, check the front panel shape. A flat panel gives you a nice, wide canvas, while curved or angled shapes can make it harder to align your design.
So when you’re choosing, always ask yourself: “Does this shape fit the design I’m planning?” If yes, that might be the best hat to embroider on for your specific project.
Tip #5: Avoid Thick Seams and Small Embroidery Areas
Thick seams, especially the vertical one down the front of many caps, can be a problem. They can bump the needle, break your thread, or even cause the design to shift.
Also, small embroidery areas don’t give your design enough breathing room. It’s like trying to draw a full picture on a sticky note, everything feels cramped.
Here’s our tip: go for hats with a single, seam-free front panel if possible. And make sure there’s enough flat space where you want to embroider.
Avoiding tight areas and seam stress is one of the smartest embroidering hats tips for clean, professional results.
Tip #6: Choose Durable Thread Type and Color
Choose Durable Thread Type and Color
Thread choice is just as important as the design.
For best hats for embroidery, we recommend using polyester embroidery thread. It’s strong, doesn’t fade easily, and can handle outdoor wear, sweat, and sun exposure better than rayon.
When it comes to color, think about purpose:
Use bold, high-contrast colors for logos
Subtle, tone-on-tone shades for fashion pieces
Bright threads for fun or seasonal designs
Good thread choices help your designs last longer and look better, another key reason why this matters when selecting the best hats for embroidery.
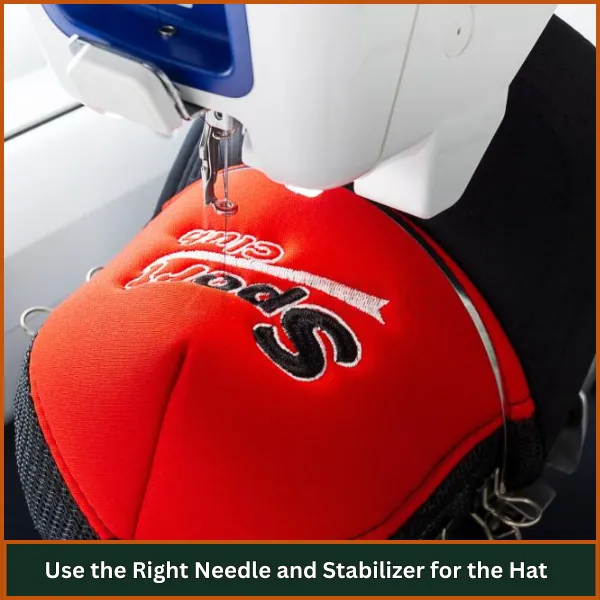
Tip #7: Use the Right Needle and Stabilizer for the Hat
Use the Right Needle and Stabilizer for the Hat
If your stitches look messy, loose, or the hat fabric shifts during embroidery, chances are you’re not using the right needle or stabilizer.
For hats, we recommend using a sharp embroidery needle, typically size 75/11 or 80/12. These sizes are perfect for piercing thick hat fabric without damaging it. Avoid ballpoint needles; they’re made for stretchy materials, not caps.
Now, let’s talk about stabilizer, and yes, it’s a must!
Since most hats are already thick and structured, you don’t need a cut-away stabilizer. Instead, use a medium-weight tear-away stabilizer or a special cap backing made for curved surfaces.
Here are some top stabilizers we’ve used and recommend:
Sulky Tear-Easy Stabilizer – Lightweight but strong, great for caps and easy to remove
World Weidner Tear Away Stabilizer – Budget-friendly and reliable for beginner machines
StabilStick from OESD – Has a sticky surface that holds the cap in place (great for tricky areas)
When working with structured hats, one layer of medium tear-away is usually enough. For thinner caps or floppy panels, you might need 2 layers or an adhesive stabilizer for better grip.
Using the proper stabilizer along with the best needle to embroider hats can drastically improve the quality of your stitches and reduce thread breaks, especially around seams or curves.
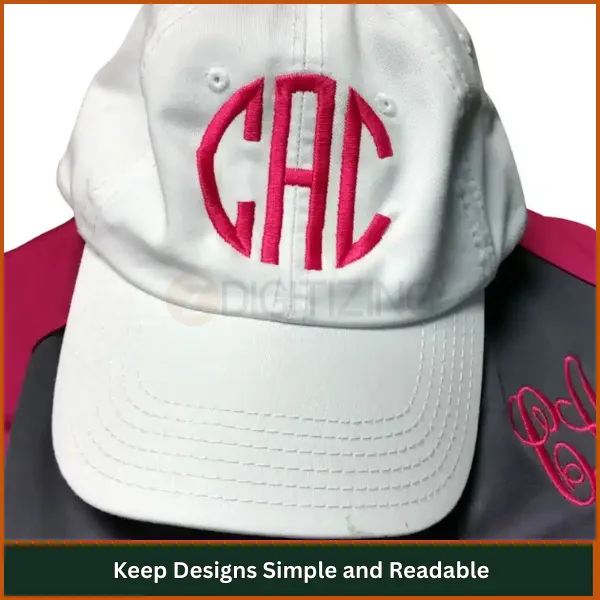
Tip #8: Keep Designs Simple and Readable
keep design simple and readable
Less is more, especially on hats.
You’re working with a small space, so don’t try to fit in long quotes or intricate images. They may look good on a screen, but won’t stitch clearly on curved surfaces.
Instead, choose:
Bold fonts
Short words (like initials or job titles)
Simple icons or logos
Clean, readable designs are always better for branding and visual impact, especially if you’re doing best hats for embroidery beginners.
Tip #9: Test Your Hat Brand Before Going Bulk
Here’s a common mistake: buying 100 caps without testing how they stitch.
Not all hat brands are embroidery-friendly. Some don’t hoop well, while others have inconsistent fabric or uneven seams.
Before placing a big order, do this:
Buy 1–2 samples
Run a test design
Check the hoop, tension, and thread quality
Doing a simple test can save you money, time, and stress, and it helps ensure you’re always working with the best hats for embroidery.
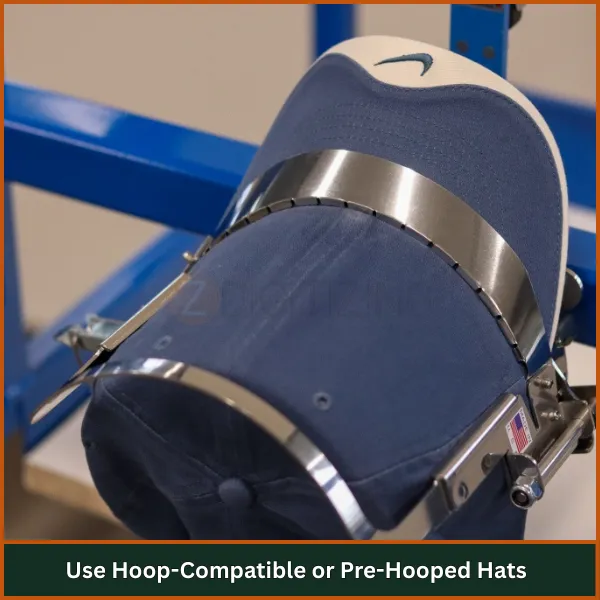
Tip #10: Use Hoop-Compatible or Pre-Hooped Hats
Use Hoop-Compatible or Pre-Hooped Hats
Let’s talk about the technical side of “hooping”.
If a hat doesn’t fit your embroidery hoop properly, stitching becomes a nightmare. You’ll get shifting, bunching, and ruined designs.
That’s why we always say: choose hoop-friendly hats, or better yet, pre-hooped caps made for embroidery machines. It makes setup easier, especially on cap frames. This is one of the easiest hat embroidery tips to follow, and one that instantly improves your workflow.
Conclusion
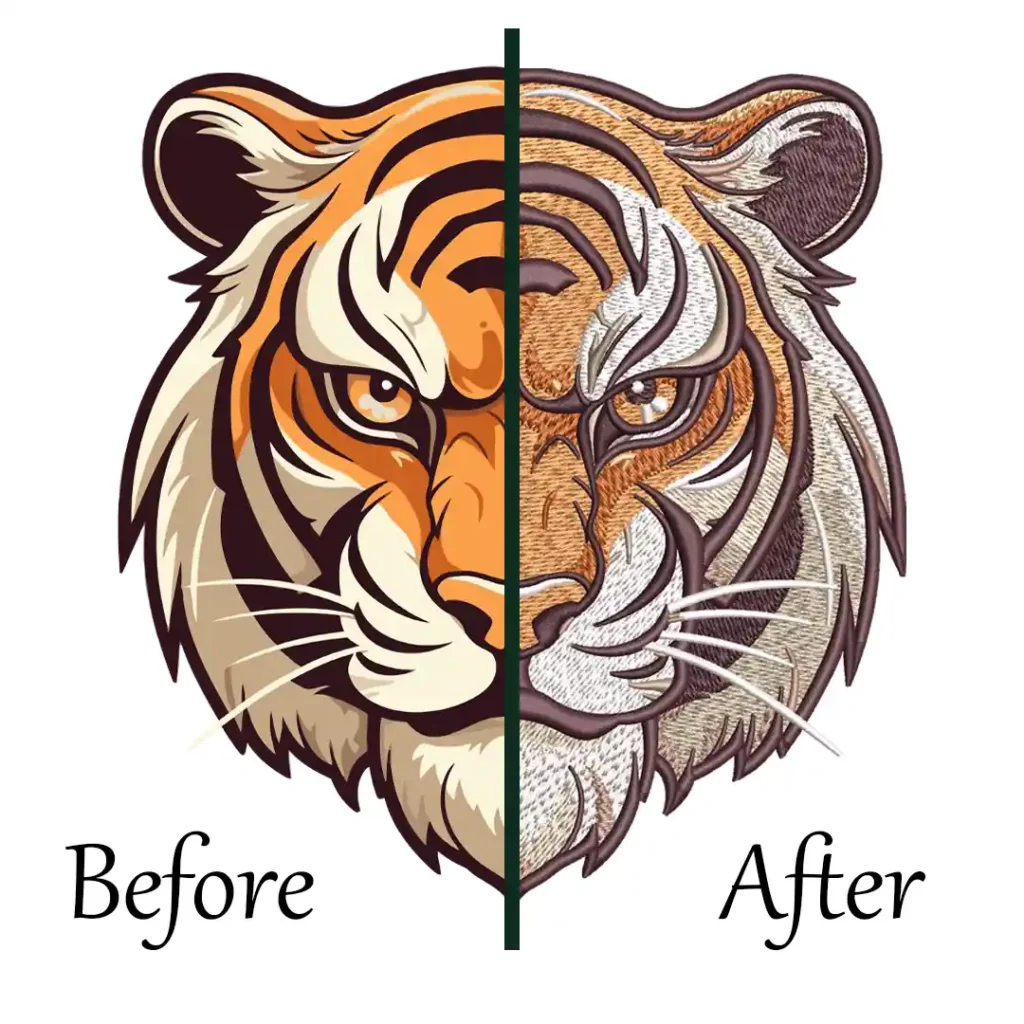
In this article, we shared 10 helpful tips to choose the best hats for embroidery. These tips can help you avoid common mistakes and improve your results. But even with the right hat, fabric, and tools, there’s one more thing that really matters, good digitizing. Without a properly digitized design, your embroidery may not turn out as you hoped.
That’s why many embroidery businesses and beginners trust ZDigitizing. We create high-quality stitch files that are made for hats, so your designs come out smooth, sharp, and ready to impress. We also offer great support and pricing to make your work easier.
We’re here for you 24/7 if you need help. Our prices are flat and affordable, even lower than most in the market. And we always promise quality you can count on.
So if you want to take your hat embroidery to the next level, we’re ready to help.
ORDER NOW and get the best stitch file for your next hat project from ZDigitizing, fast, clean, and stress-free.
The best materials for embroidery hats are twill, canvas, and cotton. Twill is smooth and holds stitches well, while canvas is rugged, and cotton is soft but may wrinkle.
A speed of 600 to 800 stitches per minute is recommended for best hats for embroidery. Slower speeds provide better control and reduce thread breaks on curved surfaces.
Running stitch is great for outlines, while satin stitch is perfect for bold, raised text or logos. These stitches provide clean, professional results on caps.
Are you looking for embroidery digitizing and vector art services at low cost with superfast turnaround, guarranted quality and preview before pay? So, you are at right place. We can digitize and vectorize any type of artwork in your required file format.