Creating FSL embroidery designs (Free-Standing Lace) opens up endless possibilities for unique, delicate designs that don’t rely on fabric for support. If you’re eager to try making these beautiful lace pieces, digitizing for FSL is a skill you’ll love mastering. The process involves careful planning, from choosing stitch types to adjusting density and using the right stabilizers.
Each step is important to ensure your lace holds together while still looking light and airy. In this guide, I’ll take you through easy-to-follow tips and tricks to help you create your own FSL designs, even if you’re new to digitizing.
Let’s dive into the essentials and make your lace designs stand out!
How to Digitizing FSL Embroidery Designs: Step-by-Step Guide
What is Free Standing Lace for Machine Embroidery?
If you’re just starting with machine embroidery, you might have seen the term free-standing lace or “FSL” on social media. Unlike traditional lace that is sewn directly onto fabric, but FSL uses a special kind of material that dissolves in water.
The embroidery machine stitches a design onto this dissolvable material. Once the stitching is done, you soak the material in water, and poof! It disappears, leaving behind only the beautiful lace created by the stitches.
Embroidery Digitizing & Vector Art Services
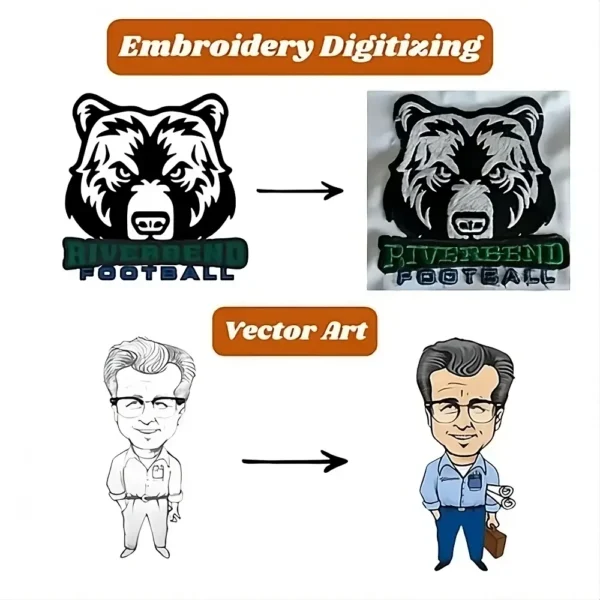
Looking for embroidery digitizing and vector art services that are affordable and reliable? We offer fast turnaround time, guaranteed quality, and the option to preview your design before payment, we make sure you get exactly what you need. Your satisfaction is our top priority, and we’re dedicated to delivering the best results. Don’t wait—try ZDigitizing today and see the difference in quality and service!
Embroidery Digitizing & Vector Art Services
Looking for embroidery digitizing and vector art services that are affordable and reliable? We offer fast turnaround time, guaranteed quality, and the option to preview your design before payment, we make sure you get exactly what you need. Your satisfaction is our top priority, and we’re dedicated to delivering the best results. Don’t wait—try ZDigitizing today and see the difference in quality and service!
How to Digitize FSL Embroidery Designs for Best Results?
It involves several detailed steps to ensure that the final product is both aesthetically pleasing and structurally sound. Below is a comprehensive guide to help you through the process.
Step 1: Set Up Your Workspace

Open Wilcom Embroidery Studio: Launch the software and create a new design file by selecting “File” > “New.”
Set the Grid: Adjust grid settings to one millimeter for precision, which helps in maintaining consistent spacing throughout your design.
Select the Right Hoop Size: Choose a hoop size that fits your project to ensure the design fits within the embroidery area.
Step 2: Create the Foundation
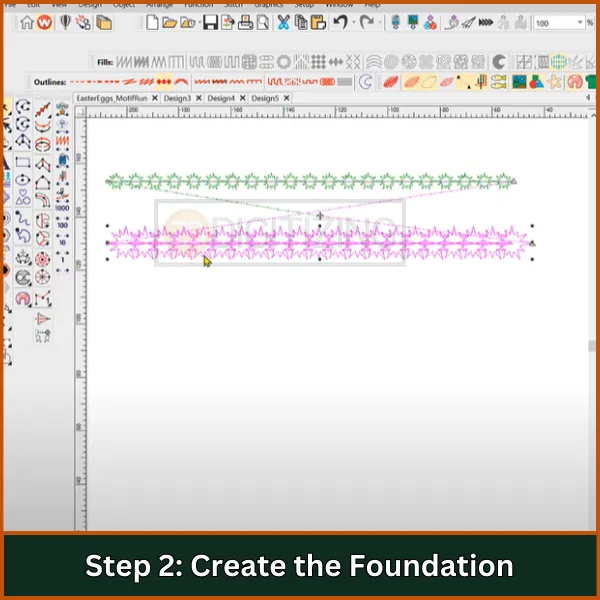
Digitize Closed Shape: Use the “Digitize Closed Shape” tool to outline the basic shape of your FSL lace embroidery designs. Start with simple geometric shapes or floral motifs.
Ensure Smooth Curves: Click and drag to create smooth lines, avoiding sharp angles that may cause stitching issues.
Close the Shape: Make sure to properly close your shape as it forms the foundation for your free FSL embroidery designs.
Step 3: Adjust Density Settings
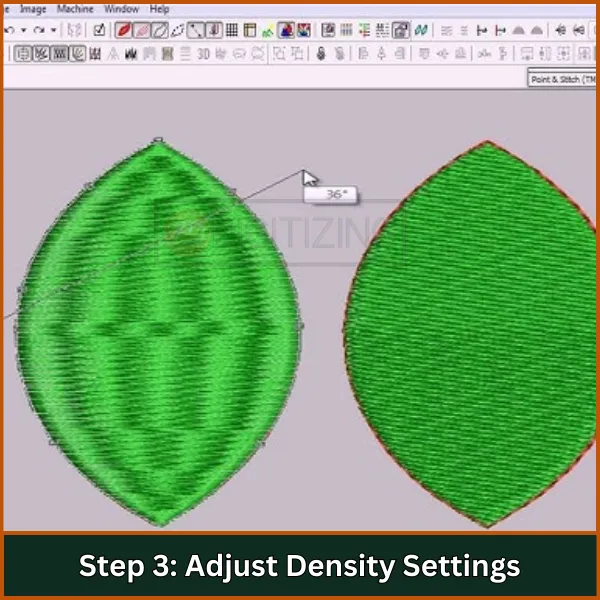
Access Stitch Properties: Click on your shape and navigate to the “Properties” panel.
Set Stitch Density: Adjust stitch density to a lower value (typically between 0.4 and 0.6 mm) to give the lace a delicate appearance.
Preview Changes: Use the “Preview” feature to visualize how density adjustments affect your design.
Step 4: Add Additional Layers
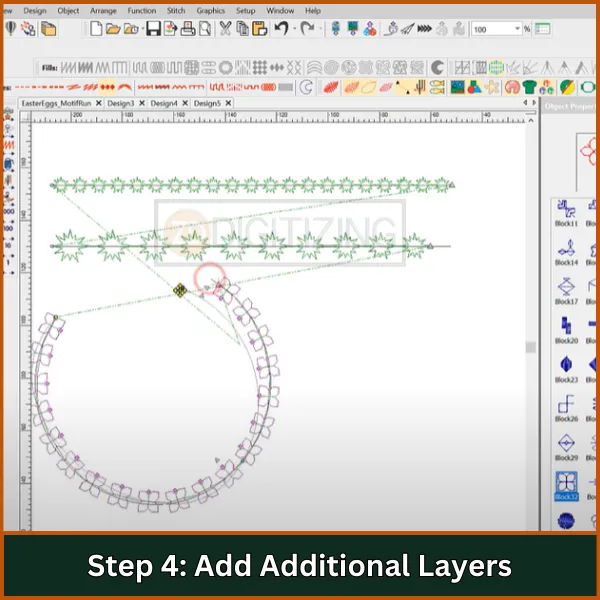
Create Layer Copies: Copy and paste (Ctrl+C, Ctrl+V) your foundation shape to create additional layers or use the “Duplicate” function.
Change Stitch Direction: Adjust the stitch direction for each layer using the “Stitch Direction” tool. Varied angles, like 0°, 90°, and 45°, add texture and stability.
Layer Overlap: Ensure slight overlap between layers to enhance structural integrity.
Step 5: Incorporate Satin Stitches
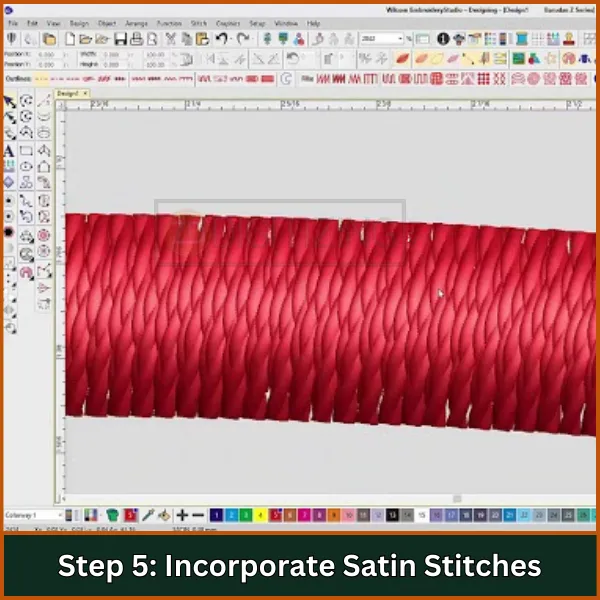
Select Satin Stitch Tool: Use the “Satin Stitch” tool to outline your FSL machine embroidery designs.
Outline Your Design: Carefully trace the edges of your foundation shape with satin stitches to add support.
Adjust Satin Width: In the properties panel, set the satin stitch width, typically between 2-4 mm for FSL designs.
Step 6: Fine-Tune Stitch Properties
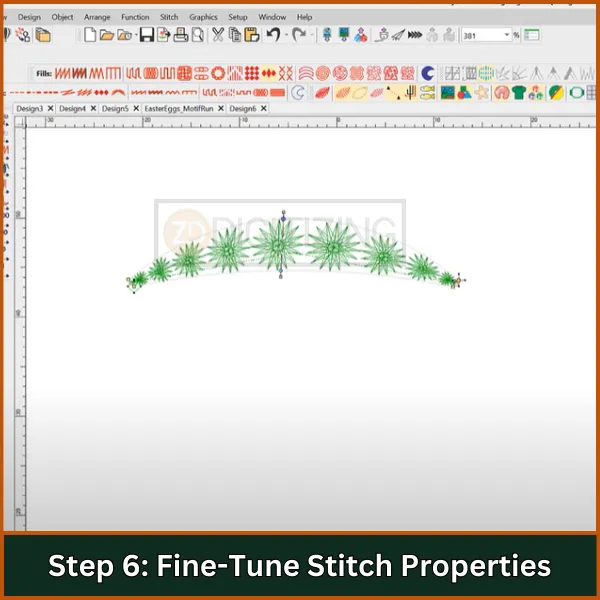
Underlay Settings: Choose underlay options like “Edge Run” or “Zigzag” underlay in the properties panel to stabilize stitches.
Spacing and Length Adjustments: Adjust spacing and stitch length based on fabric type and desired finish.
Travel-On-Edge Setting: Enable this for satin stitches to keep them close to edges, reducing gaps.
Step 7: Test Your Design

Run Test Stitches: Test your design on a similar fabric or stabilizer to check for stability.
Evaluate Stability and Appearance: Look for gaps, fraying, or weak areas where stitches may not hold.
Make Adjustments as Necessary: Based on test results, return to your design and adjust density, stitch types, or layering.
Step 8: Finalize and Export
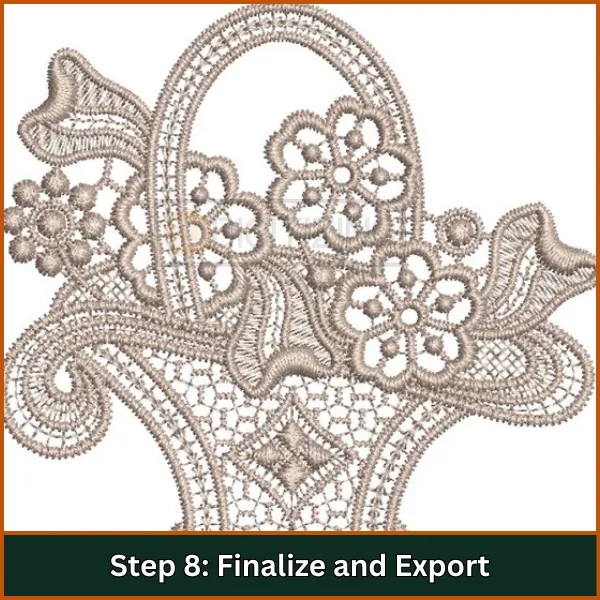
Final Review: Perform a last check in Wilcom to ensure all elements are correctly placed.
Save Your Design: Save your file in Wilcom’s native format (.emb) for future editing.
Export for Machine Use: Export the design in a machine-compatible format (.dst, .pes) by selecting “File” > “Export” and choosing the correct format for your FSL embroidery designs.
Tips for Digitizing FSL Embroidery Designs
Here are some simple tips to help you create beautiful and stable Free-Standing Lace (FSL) embroidery designs. Following these steps will ensure your designs look neat and hold up well.
- Plan your sequence carefully to avoid extra trims and travel stitches, which keeps the lace design clean and efficient.
- Digitize directionally by starting from one side to the other (e.g., right to left or bottom to top) to reduce trims and enhance design flow.
- Use the Column A tool to create satin objects, ensuring smooth curves essential for lace.
- Travel under objects with a Single Run stitch to avoid trims and maintain a tidy appearance.
- Regularly check the Color-Object List to monitor the sequence and organization of design elements.
- Enable the reshape tool by pressing the ‘H’ key to refine and adjust design details as needed.
- Zoom in closely during digitization for accurate node placement, especially important for intricate lace patterns.
- Set a lower stitch density to achieve a delicate look while maintaining the structure of FSL designs.
- Run a test stitch on a similar fabric or stabilizer to catch any issues with stability or appearance before finalizing.
- Choose a non-woven fiber mesh washaway stabilizer that dissolves after stitching, allowing the lace to keep its shape without fabric backing.
By following these tips, you can create stunning Free-Standing Lace embroidery designs that showcase both your skills and creativity.
Embroidery Digitizing & Vector Art Services

Looking for embroidery digitizing and vector art services that are affordable and reliable? We offer fast turnaround time, guaranteed quality, and the option to preview your design before payment, we make sure you get exactly what you need. Your satisfaction is our top priority, and we’re dedicated to delivering the best results. Don’t wait—try ZDigitizing today and see the difference in quality and service!
Embroidery Digitizing & Vector Art Services
Looking for embroidery digitizing and vector art services that are affordable and reliable? We offer fast turnaround time, guaranteed quality, and the option to preview your design before payment, we make sure you get exactly what you need. Your satisfaction is our top priority, and we’re dedicated to delivering the best results. Don’t wait—try ZDigitizing today and see the difference in quality and service!
Wrap Up
Digitizing FSL embroidery designs can seem tricky at first, but following the right steps makes it much easier. And if you ever find it challenging or need a helping hand, we’re here for you!
ZDigitizing offers affordable, high-quality digitizing services with a super-fast turnaround time. You’ll even get to preview your design before it’s final. Plus, if you’re a first-time customer, you can enjoy a special 50% discount. Let us help bring your embroidery ideas to life—reach out to us today!
FAQs
Popular software for digitizing FSL includes Wilcom, Hatch, and Brother PE-Design. These programs offer specialized tools to create intricate and durable FSL patterns.
Yes, digitizing FSL designs requires knowledge of embroidery techniques, understanding of stitch types, and familiarity with digitizing software. Practice and experience enhance the quality of the designs.
FSL designs are typically saved in machine-specific file formats like DST, PES, and JEF. These files contain the stitch data required for the embroidery machine to create the design.
Water-soluble stabilizer is ideal for FSL embroidery. It provides the necessary support during stitching and dissolves completely in water, leaving behind only the lace design.

