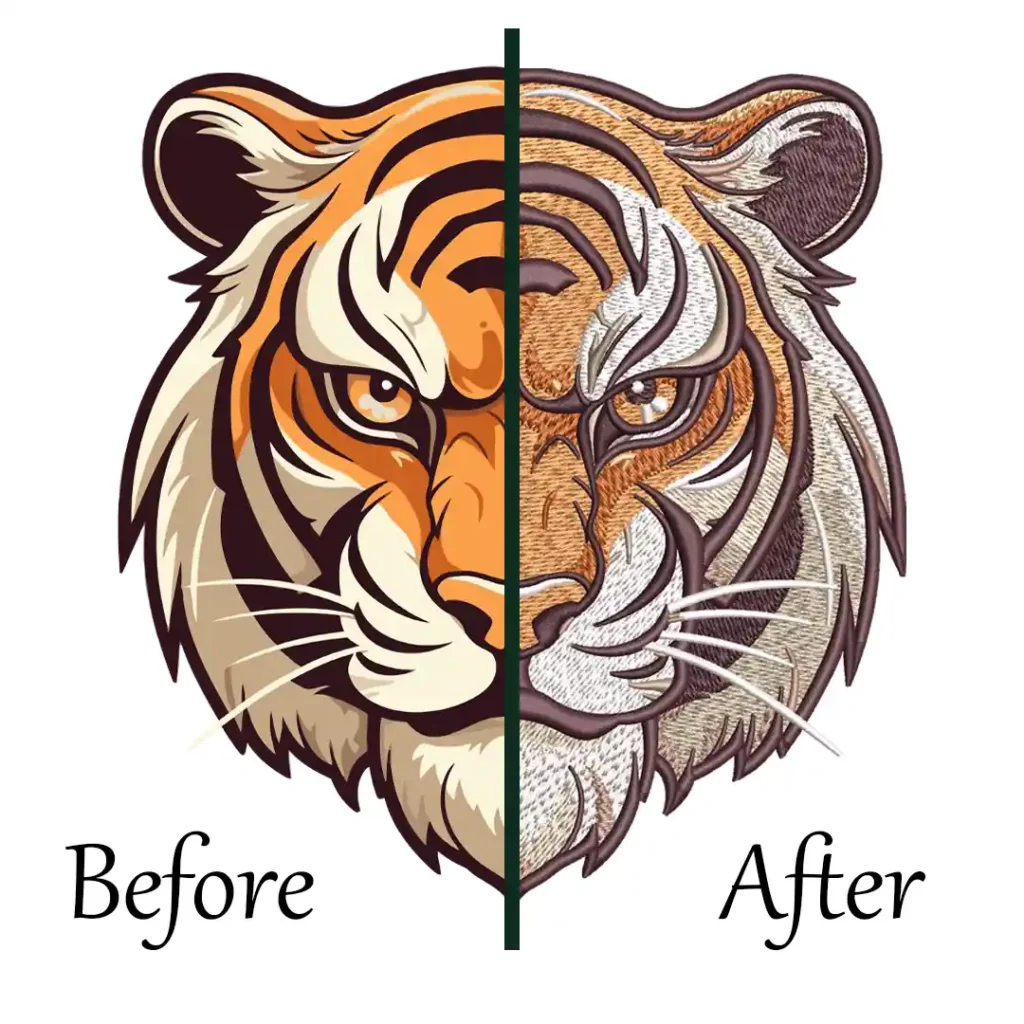
Embroidery on nylon fabric can be a bit tricky due to its smooth and slippery surface, but with the right techniques, you can achieve great results. This type of fabric is commonly used in outdoor gear, jackets, and bags, making it a popular choice for adding custom designs. If you’re looking to embroider synthetic fabrics like nylon, this guide will take you through a simple, step-by-step process.By following these tips, you’ll avoid common issues and create professional-quality embroidery on your projects.
Table of Contents
Materials Needed for Embroidery on Nylon
To successfully embroider on nylon, it’s important to use the right materials that will support the fabric and ensure smooth stitching.
Below is a list of essential tools and materials you’ll need for your nylon embroidery project:
- Nylon fabric
- Embroidery needle (sharp or ballpoint)
- Embroidery thread (polyester or rayon)
- Embroidery Stabilizer (tear-away or cut-away)
- Embroidery design
- Temporary adhesive spray
- Embroidery hoop
- Water-soluble topper (optional)
- Embroidery machine
- Scissors or snips
Now that we have listed the essential materials, let’s discuss each one separately to understand its role in ensuring smooth and successful embroidery on nylon.
1. Nylon Fabric
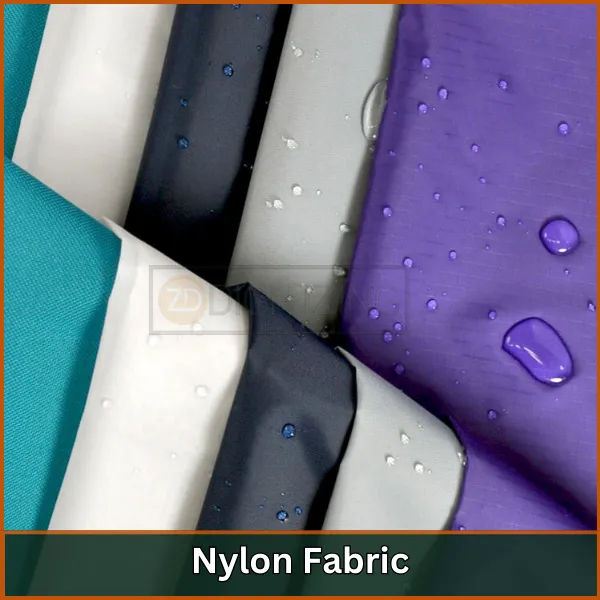
Nylon fabrics vary in thickness and weave, and it’s important to choose the right type of nylon for embroidery. Some common nylon fabrics used for embroidery include:
Nylon Fabric Type | Description | Pros | Cons |
Ripstop Nylon | Durable, tear-resistant fabric commonly used in outdoor gear. |
|
|
Nylon Taffeta | Smooth surface, ideal for fine embroidery designs. |
|
|
Ballistic Nylon | Heavy, tough fabric for demanding projects. |
|
|
Why Nylon is Challenging for Embroidery?
Embroidering on nylon can be tricky because of its smooth and slippery surface, which makes it hard to keep in place while stitching. Since nylon is thin and delicate, it can easily stretch or tear if you’re not careful with the needle or tension. Plus, the fabric can cause your stitches to sink in, making the design look distorted or puckered.But don’t worry—with the right stabilizer, needle, and hooping method, you can avoid these problems and get great results on nylon!
2. Embroidery Needle
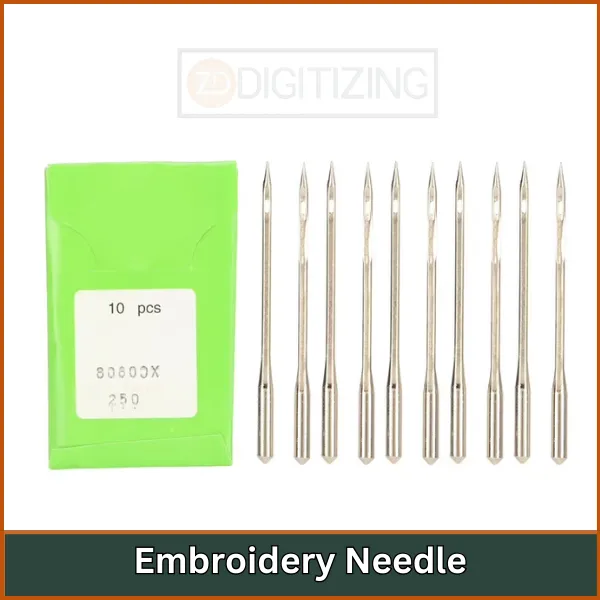
For nylon embroidery, it’s recommended to use a sharp needle if the fabric is woven tightly or a ballpoint needle if the nylon is stretchable or knit. The sharp needle will penetrate without tearing the fabric, while the ballpoint needle gently pushes between the fibers.
Recommended Needle Size: Size 75/11 or 80/12 sharp needles for woven nylon. Size 70/10 ballpoint needles for knit or stretchy nylon.
3. Embroidery Thread
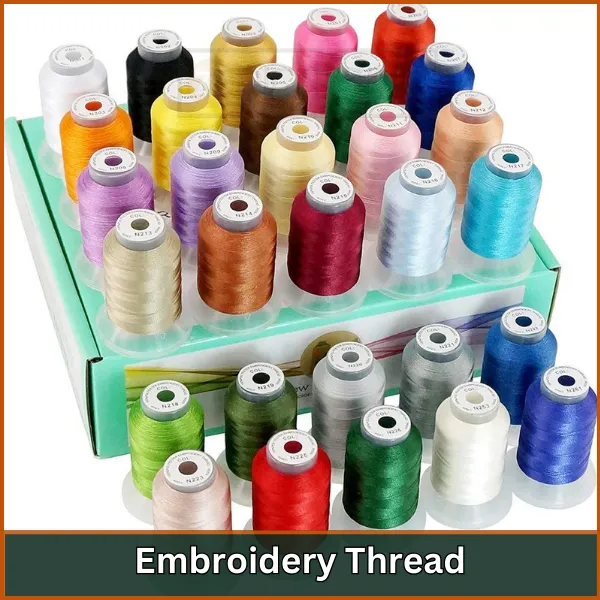
For nylon embroidery, polyester thread is highly recommended because it is stronger and more resistant to environmental factors like UV rays and moisture. Rayon thread can also be used for decorative designs but may not be as durable.
4. Embroidery Stabilizer
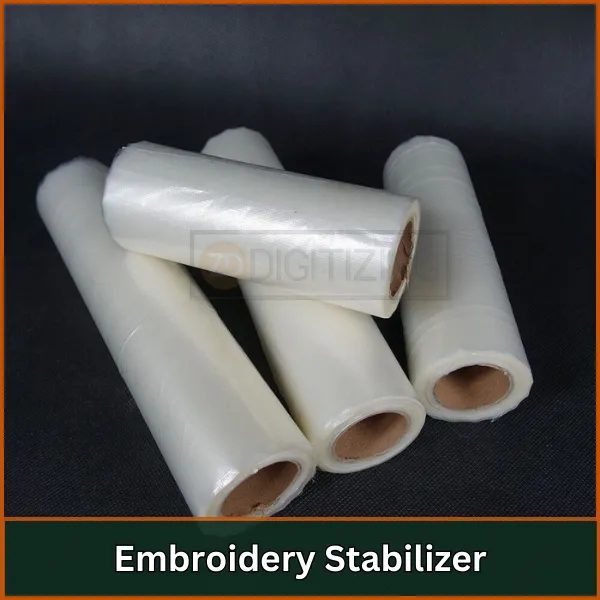
Using the right stabilizer is essential to ensure the embroidery stays intact. For nylon, tear-away stabilizers work well for lightweight projects, while cut-away stabilizers provide more support for denser designs or thicker fabrics.
5. Embroidery Design
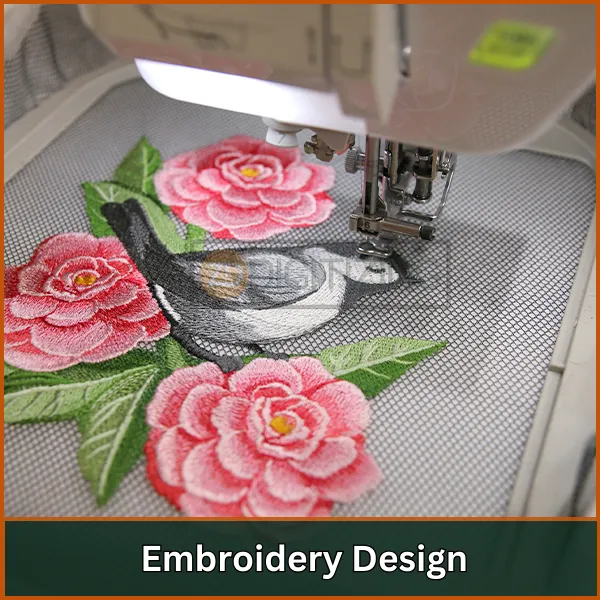
Choose a simple, light-density design to avoid over-stitching on the delicate nylon fabric. Designs with large, solid fills can cause puckering, so opt for designs with open areas and less dense stitching.
Tip: If you need help resizing or simplifying your design, consider using our embroidery digitizing services at Zdigitizing. We offer high-quality digitizing at competitive prices with guaranteed results and a super-fast turnaround time. Let us handle your digitizing needs so you can focus on creating beautiful embroidery! Don’t miss out—try our services today!
6. Temporary Adhesive Spray

A temporary adhesive spray is crucial for keeping the nylon fabric stable in the hoop. This prevents the fabric from shifting during embroidery, which is important for delicate materials like nylon.
7. Embroidery Hoop
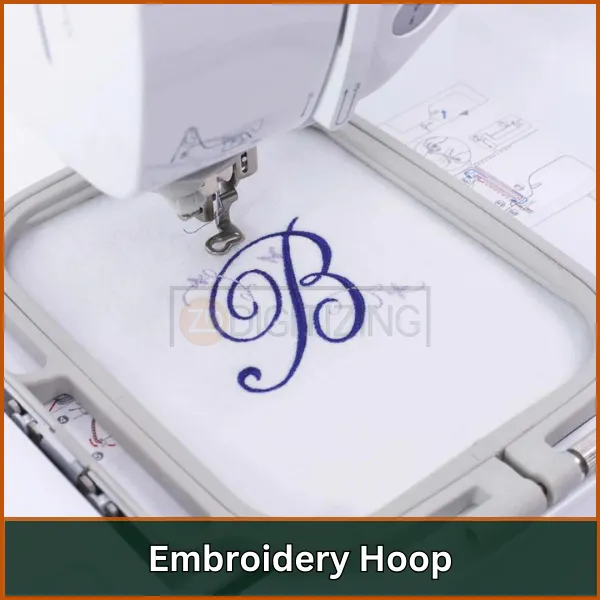
A tight embroidery hoop is important to hold the nylon fabric in place without leaving marks. The hoop should be adjustable enough to accommodate the thin or delicate nature of nylon fabrics.
8. Water-Soluble Topper (Optional)
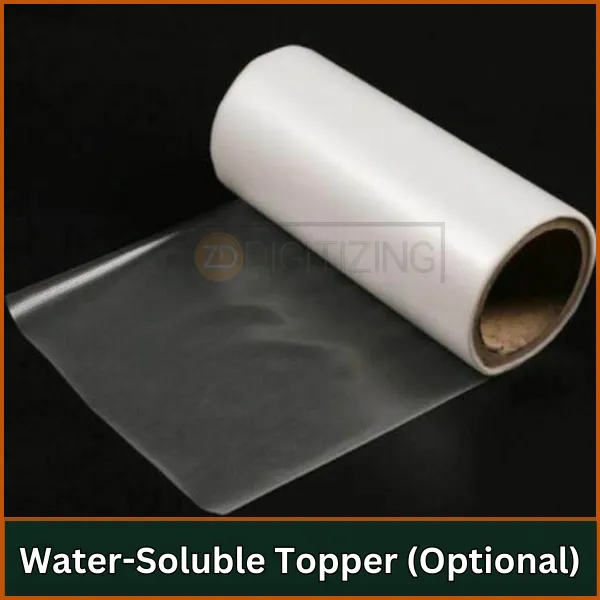
A water-soluble topper can be used on top of nylon fabrics that have a slippery surface. This prevents the stitches from sinking into the fabric, especially for denser designs.
9. Embroidery Machine
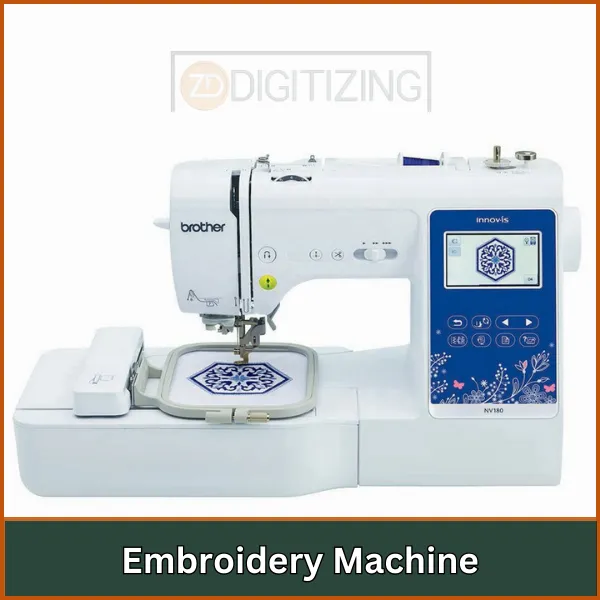
Any modern embroidery machine can handle nylon fabric, but you should ensure the machine has adjustable tension settings to handle the delicate nature of nylon
10. Scissors or Snips
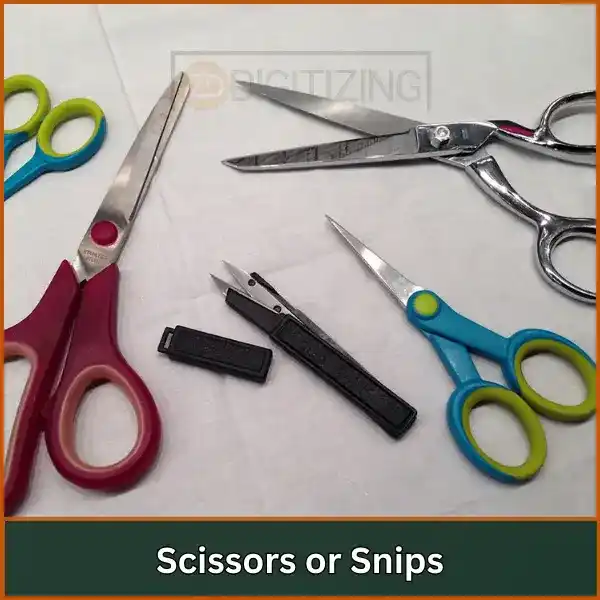
Sharp embroidery scissors or snips are essential for trimming threads and stabilizers without damaging the nylon fabric.
7 Easy Steps for Embroidery on Nylon
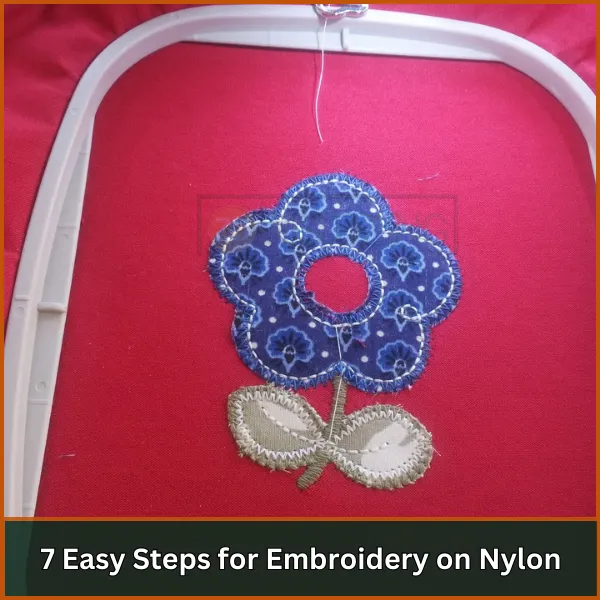
Nylon embroidery can seem tricky, but with the right steps, it’s easier than you think! Follow these simple instructions to get great results on your nylon fabric without any hassle.
Step 1: Preparing the Nylon Fabric
Select the type of nylon fabric that fits your project (e.g., ripstop, nylon taffeta, or ballistic nylon). Then, wash and press your fabric. This removes dirt, wrinkles, and sizing. It also ensures a smooth and clean surface.
Step 2: Apply the Stabilizer
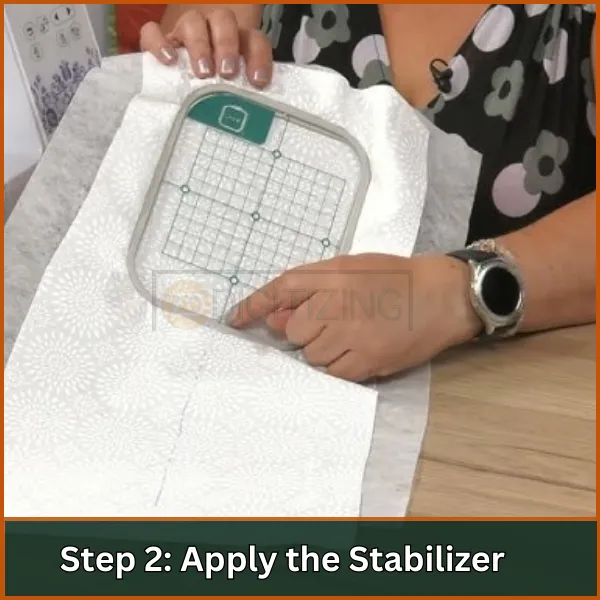
To keep the nylon fabric stable during embroidery, place the stabilizer underneath the fabric. Use temporary adhesive spray to stick it in place, making sure the fabric is smooth and secure in the hoop. Choose the right stabilizer based on the fabric thickness, as mentioned earlier.
Step 3: Hoop the Fabric
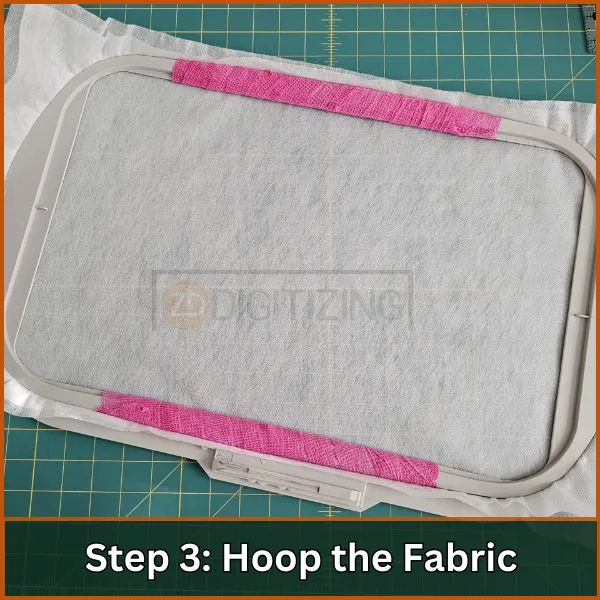
Place the nylon fabric and stabilizer into the embroidery hoop, ensuring that the fabric is pulled taut but not overstretched. This will help prevent any puckering during stitching.
Tip: If hooping nylon directly leaves marks, use a floating technique by securing the fabric with adhesive spray instead of hooping tightly
Step 4: Prepare the Machine
Get your embroidery machine ready by following these steps to ensure smooth stitching on nylon:
- Adjust the Needle: Start by inserting the correct needle for nylon (sharp or ballpoint) based on the fabric type. Make sure it’s securely in place.
- Thread the Machine: Use polyester thread for its strength and durability. Carefully thread the machine, ensuring the thread is properly placed through the tension discs and needle.
- Load the Embroidery Design: Choose a light-density design that works well with nylon and load it into your embroidery machine. Ensure the design is the right size and adjusted for the fabric.
- Set the Tension: Adjust the machine’s tension settings to handle delicate nylon fabric. Lower the tension slightly to prevent puckering or thread breakage during stitching.
Tip: Run a quick test stitch on a scrap piece of nylon to make sure everything is set up correctly before starting on your final project. Also, lower the embroidery machine speed to avoid stretching or damaging the fabric while stitching.
Step 5: Start Embroidering
Begin the embroidery process by allowing the machine to stitch slowly and steadily. Monitor the fabric to ensure that it stays in place, and the stitches remain even.
Step 6: Remove the Hoop and Stabilizer
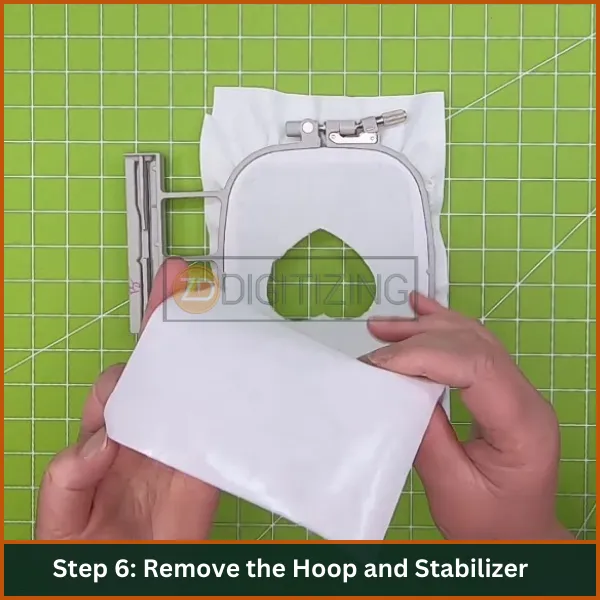
Once the embroidery is complete, carefully remove the fabric from the hoop. Gently tear away the stabilizer or trim any excess if using a cut-away stabilizer.
Step 7: Final Touches
Lightly press the embroidered area using a low-heat iron and a pressing cloth to smooth out any wrinkles and set the stitches.
Embroidery on Nylon: Troubleshooting Common Problems
Problem | Cause | Solutions |
Slippery Surface | Nylon’s smooth texture can cause it to shift in the hoop, leading to misalignment. | Utilize hoop grip aids or temporary spray adhesive to secure the fabric in place before stitching |
Fabric Puckering | This often occurs when the fabric is pulled too tightly or when using heavy designs that exert stress on the nylon. | Use a medium-weight cutaway stabilizer and ensure proper hooping to maintain even tension. |
Poor Stitch Quality | Incorrect bobbin tension or bad digitizing can lead to low-quality embroidery results, such as looping or uneven stitches. |
|
Winding up with offer: Final Words: It’s Your Turn to Embroider on Nylon!Now that you know the steps, it’s time to start your own embroidery on nylon projects! With the right tools and techniques, you can create beautiful designs on your nylon fabric with ease. Plus, we offer a FREE QUOTE service. Just send us your project details, and our team will provide a quote within 5 minutes, completely free! Don’t miss out—this offer won’t last forever. Contact us today for your FREE QUOTE and let’s bring your embroidery designs to life! We’d love to hear from you! Share your thoughts or any questions in the comments below! |
FAQ
Yes, embroidery is possible on nylon. It is a popular choice for many creators because it is light and clear, making it a good canvas for intricate embroidery designs.
Yes, you can do embroidery on 10% nylon. But pair it with a cut-away stabilizer. Smooth the fabric from the top by spraying the embroidery stabilizer with temporary adhesive. It helps prevent nylon fabric from sliding around in the hoop.
Yes, you can embroider on ripstop nylon if you use the right stabilizer and methods.
Yes, nylon can be sewed. It’s a synthetic fabric that’s useful for a wide range of projects, from apparel to accessories to outdoor gear.
Nylon is rip-resistant because of its extreme strength and resistance to tearing. It is commonly used for outdoor gear and luggage because of its durability and longevity.

