How to re-align embroidery designs can seem tricky, but with the right methods, it’s easier than you might think! Whether you’re a beginner or experienced, alignment is crucial to creating beautiful, professional-looking embroidery. Misalignment can happen due to fabric shifting, improper hooping, or even small machine errors, but don’t worry—there are simple ways to fix it.
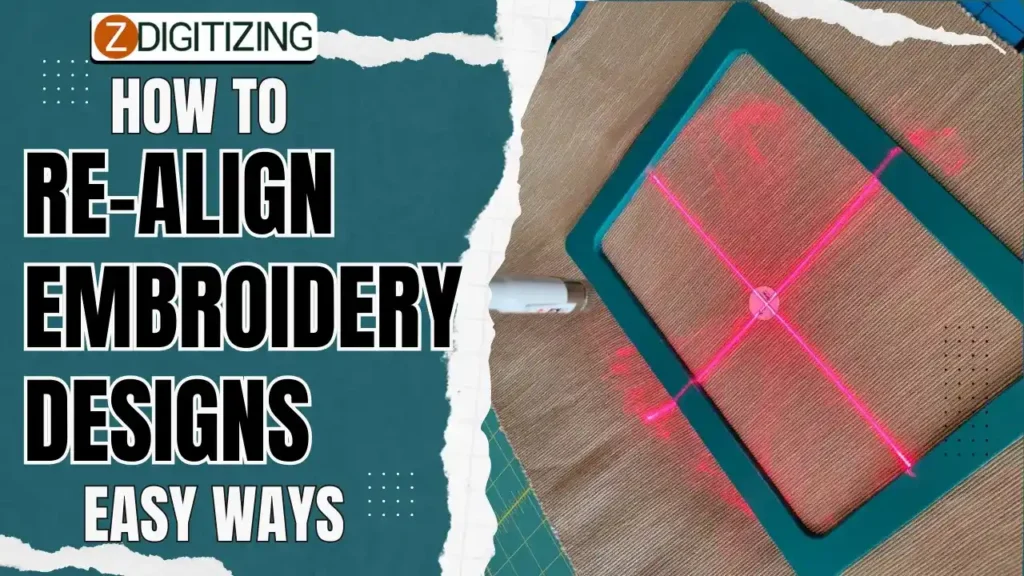
In this guide, we’ll walk you through easy techniques to ensure your designs stay perfectly in place.
From using basic centering methods to advanced tools like laser alignment, you’ll find straightforward tips to keep your embroidery designs looking sharp and precise. Let’s get started!
How to Re-align Embroidery Designs | Easy Ways
Best Ways on How to Re-align Embroidery Designs
It is important to ensure your final results look professional and precise. Here are some simple ways to help you achieve perfect alignment.
- Centering Method
- X Method
- Measuring Tool Method
- Template Method
- 4-Point Placement
- Laser Alignment
- Hooping Technique
1. Centering Method
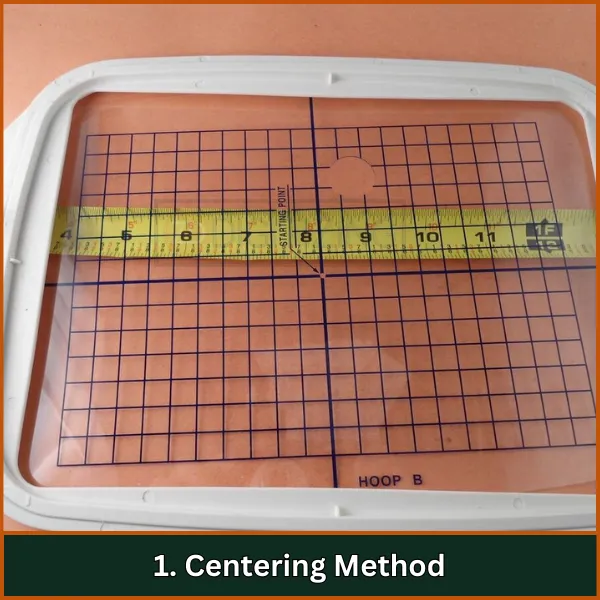
The Centering Method is a straightforward technique used to ensure that your machine embroidery alignment is precise on the fabric. Here’s how to do it:
Step-by-Step Process
- Prepare Your Fabric: Start with a clean, pressed piece of fabric.
- Fold the Fabric: Fold the fabric in half both horizontally and vertically. This creates crease lines that indicate the center of the fabric.
- Mark the Center: Use a fabric marker or chalk to mark the intersection of the creases. This point is your center reference.
- Align the Design: Position your embroidery design so that its center aligns with the marked center point on the fabric.
Benefits
- This method is simple and effective for most projects, ensuring that designs are centered and symmetrical.
2. X Method
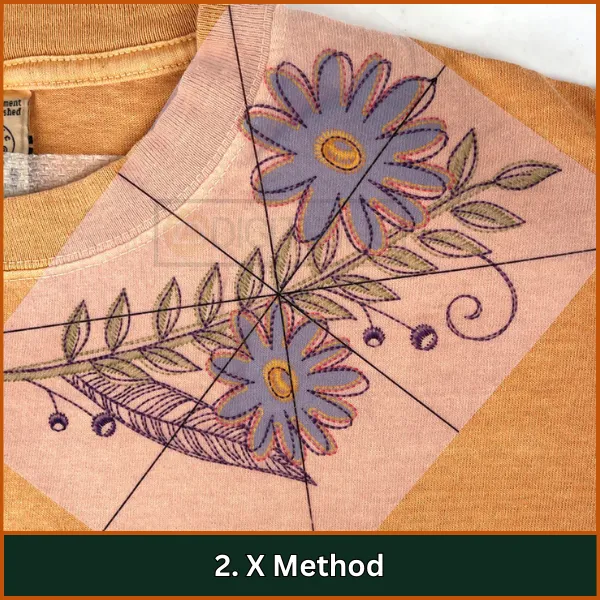
The X Method builds on the centering technique by creating a visual guide that makes it easier to align machine embroidery designs accurately.
Step-by-Step Process
- Fold the Fabric: Similar to the Centering Method, fold your fabric in half both ways to create crease lines.
- Draw Diagonal Lines: Using a fabric marker, draw two diagonal lines from corner to corner, forming an “X” shape across the fabric.
- Identify Intersection Point: The point where the lines intersect is your exact center.
- Align Your Design: Position your embroidery design so that its center matches this intersection point.
Benefits
- The X Method provides a clear visual reference, making it easier to align more complex designs accurately.
3. Measuring Tool Method
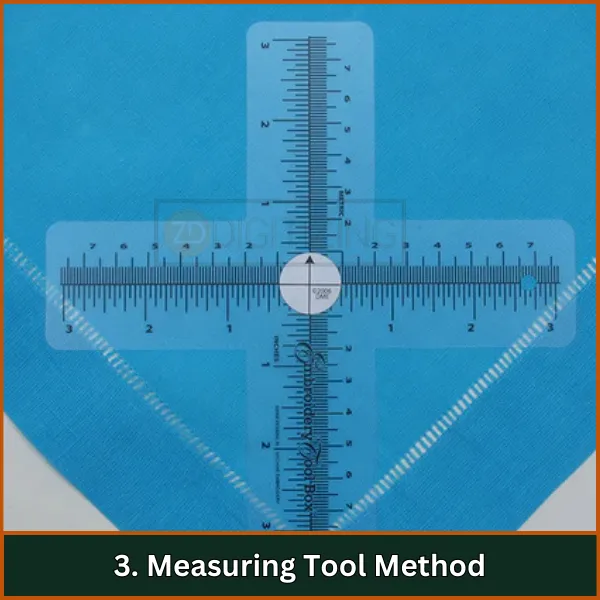
This method uses measuring tools for precise alignment, which is especially useful to re align embroidery designs that are larger or more intricate.
Step-by-Step Process
- Measure Fabric Dimensions: Use a ruler or measuring tape to measure the width and height of your fabric.
- Calculate Center Point: Divide these measurements by two to find the center point.
- Mark Center Point: Mark this center point with a fabric marker.
- Measure Design Dimensions: Measure your embroidery design’s dimensions and determine where it should be placed relative to the center point.
- Align Accordingly: Use these measurements to ensure that your design is positioned correctly on the fabric.
Benefits
- This method is highly accurate and ideal for projects requiring precision, such as logos or text.
4. Template Method
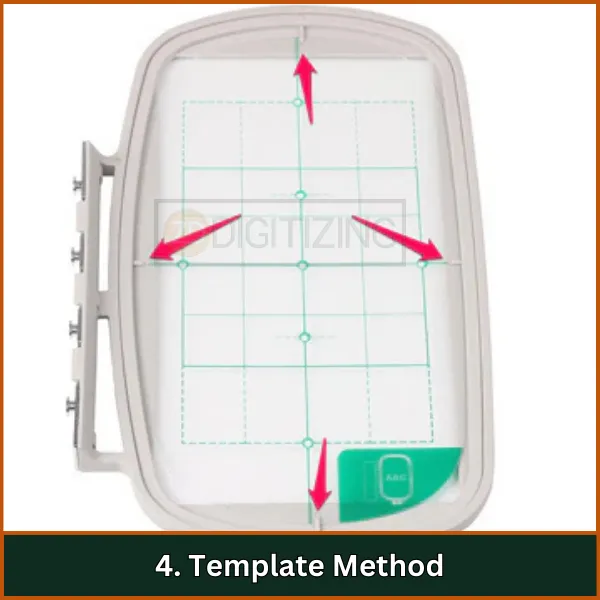
Using templates can simplify the alignment process, especially when working with pre-defined embroidery designs re-align techniques.
Step-by-Step Process
- Obtain a Template: Many embroidery machines come with templates that outline where designs should be placed within the hoop.
- Position Template on Fabric: Lay the template on top of your fabric, ensuring it covers the area where you want to embroider.
- Mark Key Points: Use a fabric marker to mark key points indicated on the template (e.g., corners or center).
- Hoop Fabric with Template: Hoop your fabric according to these markings, ensuring it aligns with the template.
Benefits
- Templates provide a quick reference for alignment, reducing guesswork and improving accuracy.
5. 4-Point Placement
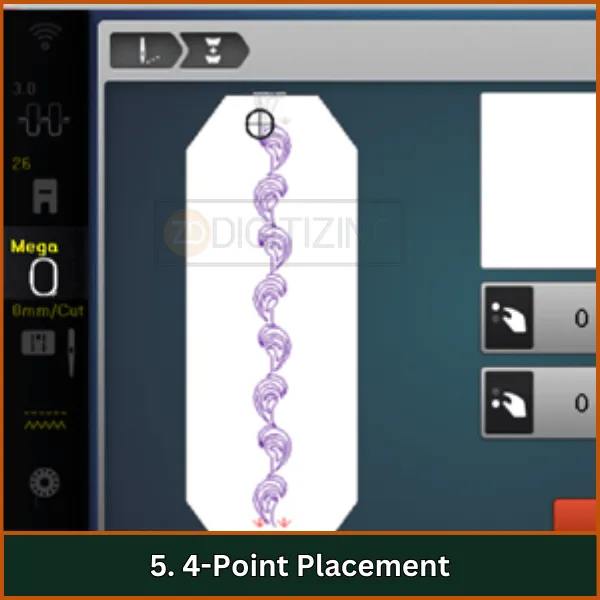
The 4-Point Placement method uses four reference points to ensure accurate positioning of your design within the hoop.
Step-by-Step Process
- Mark Reference Points on Fabric: Identify and mark four points on your fabric corresponding to corners of your hoop area (top left, top right, bottom left, bottom right).
- Set Up Machine Reference Points: On your embroidery machine, set up corresponding reference points based on your hoop size.
- Align Design with Points: Adjust your design placement so that it aligns with these four points both on the machine and on the fabric.
Benefits
- This method allows for adjustments during setup and helps ensure that even if there’s slight misalignment in hooping, you can still achieve proper placement.
6. Laser Alignment
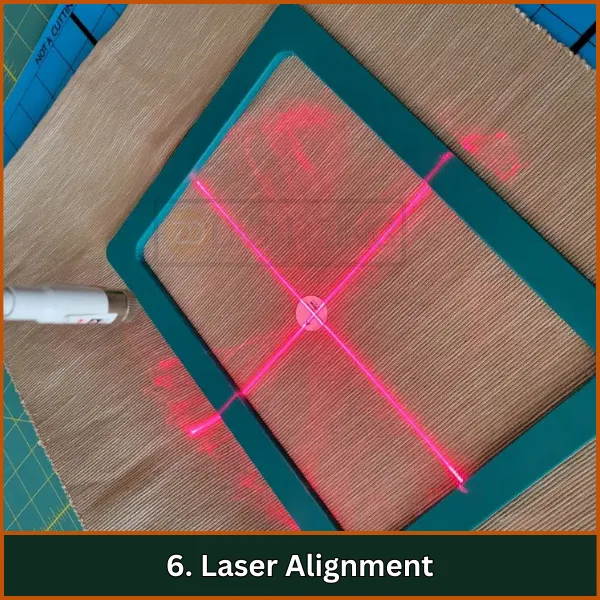
Laser alignment tools are advanced tools that project a straight line or crosshairs onto your fabric for precise positioning, helping you understand how to re-align embroidery designs with ease.
Step-by-Step Process
- Set Up Laser Tool: Attach or position a laser alignment tool above your embroidery area.
- Power On Tool: Turn on the laser so it projects onto your fabric.
- Adjust Fabric Positioning: Move your fabric until it aligns perfectly with the projected laser lines or crosshairs.
Benefits
- Laser alignment provides instant visual feedback, making it easy to see where your design will stitch out without needing to rely solely on manual measurements.
7. Hooping Technique
Proper hooping is crucial for maintaining alignment throughout the embroidery process.
Step-by-Step Process
- Choose Appropriate Stabilizer: Select a stabilizer suitable for your fabric type and design complexity.
- Prepare Your Hoop: Open your embroidery hoop and place the stabilizer in one half of it.
- Lay Fabric Flat: Place your fabric over the stabilizer, ensuring it’s smooth and free from wrinkles.
- Secure Fabric in Hoop: Close and tighten the hoop around both layers (stabilizer and fabric), making sure it’s taut but not overly stretched.
- Check Alignment Before Stitching: Before starting, double-check that your design aligns as intended within the hoop area.
Benefits
- Proper hooping prevents shifting during stitching, which is essential for maintaining alignment throughout the entire embroidery process.
By utilizing these methods effectively, you can enhance accuracy in aligning machine embroidery designs, leading to professional-looking results in all your projects!
Bottom Line
In conclusion, mastering how to re-align embroidery designs will greatly improve the quality and professionalism of your projects. With the right techniques, you can prevent misalignment issues and keep your designs looking sharp every time. And if you’re looking for top-notch digitizing services, ZDigitizing is here to help!
We provide digitizing services at the most affordable rates, with super-fast turnaround times and guaranteed quality. Plus, we offer a preview option so you can see your design before it’s finalized. And if it’s your first time with us, you’ll enjoy a 50% discount on your order.
Get in touch with us today and bring your embroidery ideas to life with ease and precision!
FAQs
Ensure each section aligns properly by using alignment marks and checking hoop placement carefully. Adjust as needed before stitching.
Yes, embroidery software allows precise re-alignment by adjusting design elements and hoop positions. It provides visual guides for accuracy.
Yes, tools like alignment grids, templates, and laser pointers can help achieve accurate alignment. They make the process easier and more precise.

