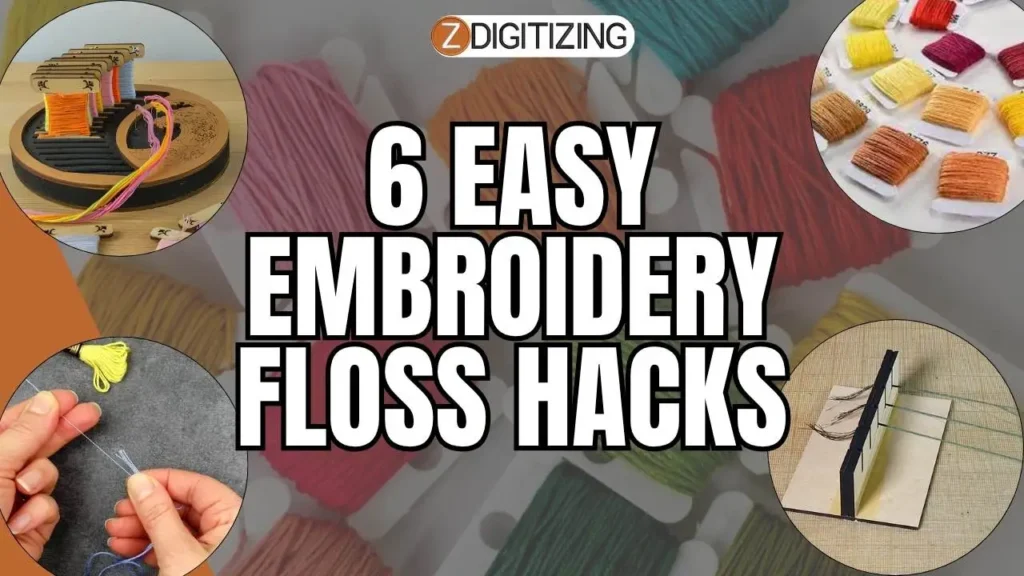
How to separate embroidery floss the right way is one of the most important steps in preparing for any embroidery project, yet many beginners often skip or rush through it. Embroidery floss usually comes in 6 strands twisted together, and depending on your design, you may only need 1, 2, or 3 strands at a time. That’s why separating the floss correctly is essential for achieving smooth, even, and clean stitches.
Why is this step so important? Because if you try stitching with all 6 strands when your design only needs 2, the thread may bunch up, twist, or create bulky, uneven stitches. On the other hand, separating strands helps you adjust the thickness, improves thread flexibility, and prevents tangles while stitching.
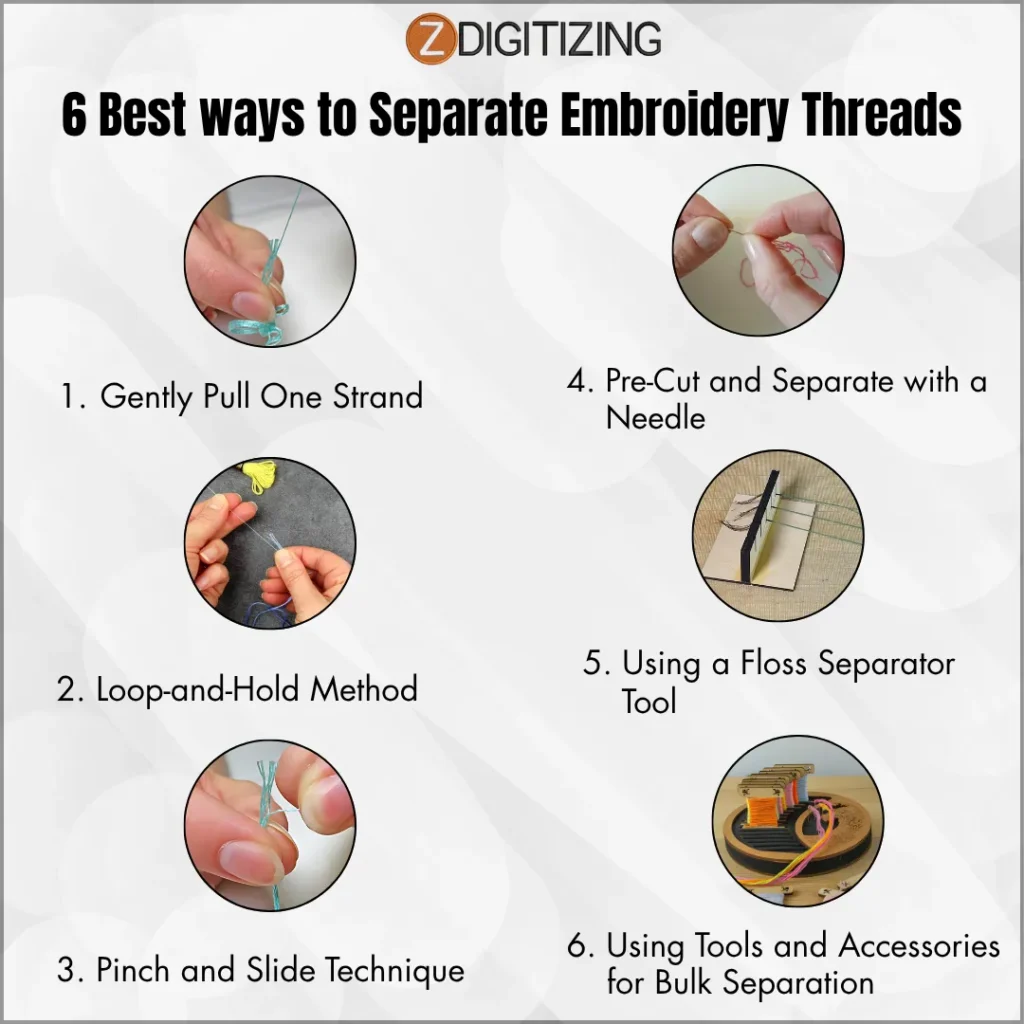
How to Separate Embroidery Floss | 6 Best Ways
In this article, we’ll show you 6 best ways to separate embroidery threads, so you can choose the method that fits your style and project. Here are the techniques we’ll explore:
Using Tools and Accessories for Bulk Separation
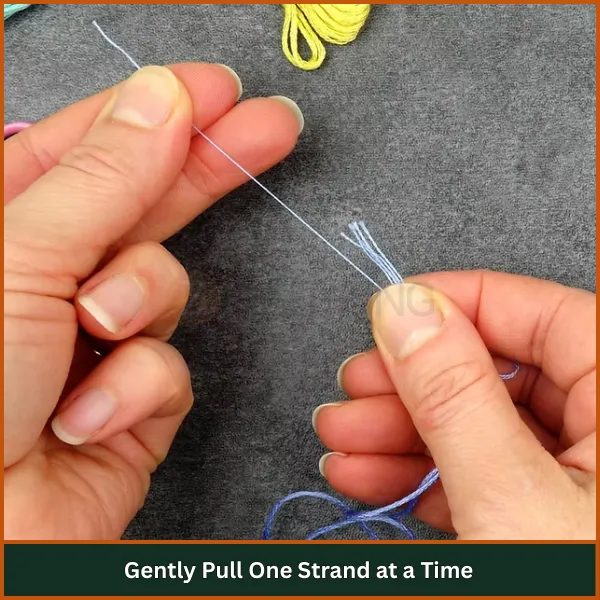
Gently Pull One Strand at a Time
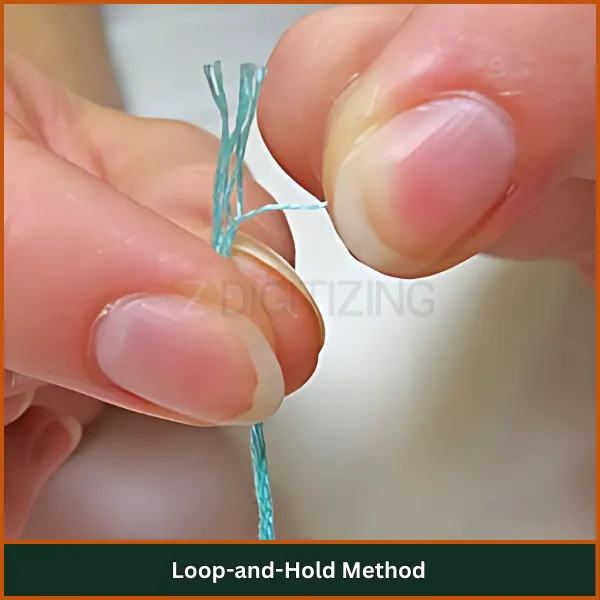
Loop-and-Hold Method
Pinch and Slide Technique
Pre-Cut and Separate with a Needle
Using a Floss Separator Tool
Using Tools and Accessories for Bulk Separation
Each method has its own advantage depending on the type of embroidery you’re doing. Let’s take a closer look at each one so you can master this essential step like a pro!
Way #1: Gently Pull One Strand at a Time
Gently Pull One Strand at a Time
If you’re new and wondering how to separate embroidery floss, this is the easiest and most beginner-friendly method. It works best when you only need one or two strands for fine detailing or lettering. The goal here is to prevent tangling and keep your thread smooth.
Here’s how to do it:
Cut a piece of floss about 18 inches long.
Hold the floss near one end between your thumb and forefinger.
With your other hand, grab just one strand from the group.
Slowly pull the strand upward in a straight line.
Let the remaining strands hang loose while you pull.
Once it’s separated, place it aside or combine with others as needed.
This is the method we personally use the most. If you’ve ever asked, are you supposed to separate embroidery floss? This technique answers that with a clear yes, and it does so without any frustration.
Way #2: Loop-and-Hold Method
Loop-and-Hold Method
This method is perfect when you want to separate multiple strands at once, especially three or more. It’s smoother and keeps threads more organized than pulling them out individually.
Follow these steps:
Cut a standard 18-inch piece of embroidery floss.
Fold a small section at one end to make a loop.
Pinch the loop with one hand to hold the floss steady.
Use your other hand to grab and gently pull out the number of strands you need.
Go slowly to avoid tangling or knotting.
This method works beautifully with soft or variegated threads. If you’re learning how to separate strands of embroidery floss neatly, this technique makes it quick and easy.
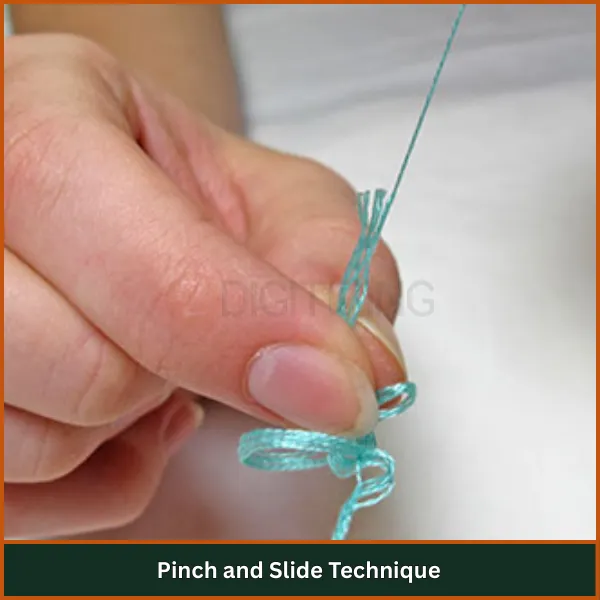
Way #3: Pinch and Slide Technique
Pinch and Slide Technique
When you’re short on time but still need neat thread, the pinch and slide technique is a solid option. It’s fast but does require a steady hand to avoid tangles.
Here’s how we do it:
Cut a piece of floss to your desired length.
Hold the floss tightly between your thumb and forefinger.
With your other hand, grab one strand gently.
Slowly slide the selected strand out while keeping the rest pinched firmly.
Repeat as needed for additional strands.
We often use this method when switching colors frequently during a project. It’s also useful for quick corrections when you need to separate embroidery floss on the spot.
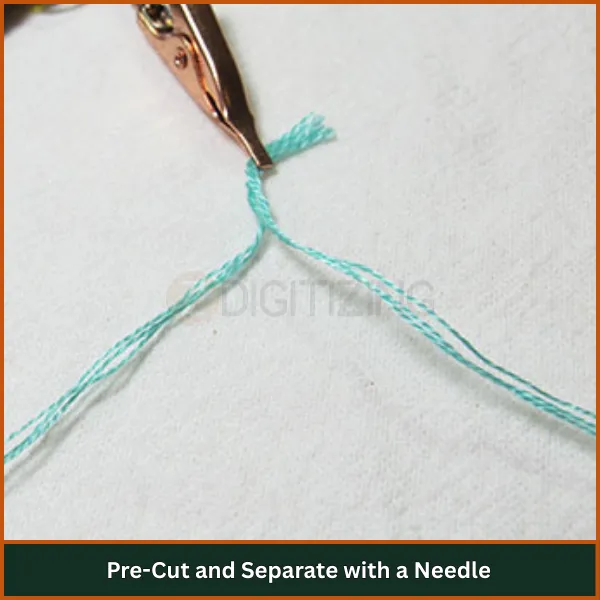
Way #4: Pre-Cut and Separate with a Needle
Pre-Cut and Separate with a Needle
This method is excellent for pre-prepping threads for multiple designs or teaching sessions. It’s especially helpful if your fingers struggle with grip or tension.
Try it like this:
Cut your embroidery floss to about 18 inches.
Take a blunt needle (like a tapestry needle) and insert it through the top of the floss.
Gently lift one strand using the needle and begin pulling it upward.
Keep the floss steady with your other hand to avoid twisting.
Pull until the strand is fully separated and repeat as needed.
This method is one of our favorites when separating embroidery floss in batches for kits or complex designs where thread organization is key.
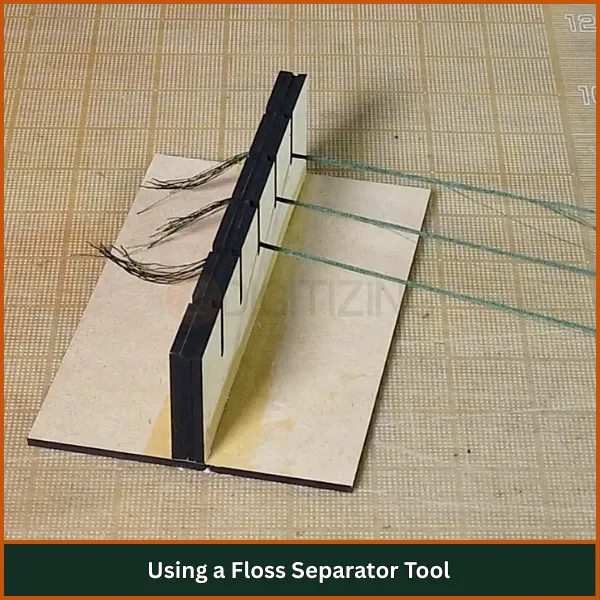
Way #5: Using a Floss Separator Tool
Using a Floss Separator Tool
If you struggle with manual techniques or want to save time, floss separator tools are a great investment. They make the whole process quicker and more consistent.
Here’s how to use one:
Cut a piece of floss and insert one end into the notched slot of the tool.
Hold the floss and tool steady in one hand.
With your other hand, pull out the number of strands you need through the guide.
The tool helps untwist and isolate the strands smoothly.
Store the separated floss as needed.
We often recommend this to beginners or anyone who works with a lot of threads daily. It’s one of the cleanest ways to separate embroidery floss without causing stress.
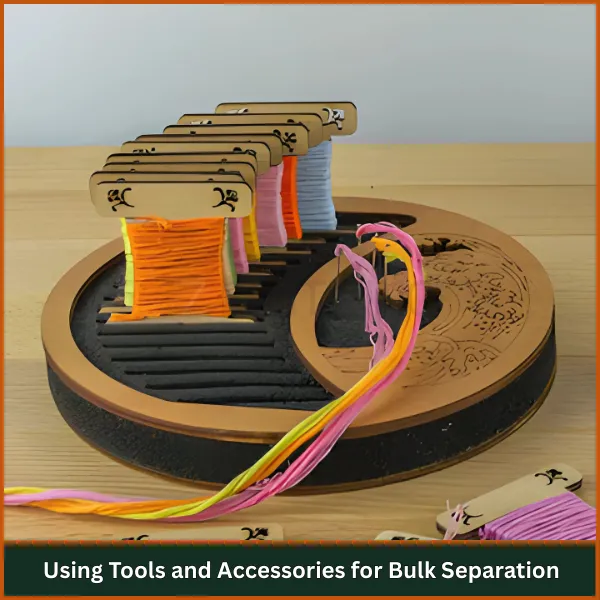
Way #6: Using Tools and Accessories for Bulk Separation
Using Tools and Accessories for Bulk Separation
When you’re preparing embroidery kits or working on larger projects, manual separation can take too long. That’s when tools like bobbin winders, floss organizers, and needle threaders come in handy.
Here’s how we manage bulk separation:
Start by winding the full skein of floss onto a bobbin using a bobbin winder.
Use pre-marked floss sorters or cards to identify each color and number of strands.
Pull individual strands using a floss separator or threader.
Label and group separated strands for easy access.
Store them in a container or a thread box to stay organized.
We’ve used this method in professional settings, and it really helps streamline your embroidery process. If you’ve been wondering how to separate embroidery floss more efficiently, this is the method to master.
Conclusion
Now that you know how to separate embroidery floss the right way, your stitches will look cleaner and more professional. But even with perfect thread prep, your design won’t stitch well without a high-quality digitized file.
That’s where ZDigitizing comes in. We offer expert embroidery digitizing with flat rates, super-fast turnaround, 24/7 support, and 3D secure payment methods for safe and easy transactions. Our files are machine-ready and guaranteed to deliver smooth results.
Plus, you get 50% OFF your first order as a new customer. So, Order now and let ZDigitizing turn your design into a perfect stitch file, fast, reliable, and affordable.
Not always. It depends on the design and stitch type. Some patterns require full 6-strand floss for bold lines, while others need 1–3 strands for finer details.
Metallic floss can be tricky, so go slow. Hold the floss tightly, pull one strand gently, and use a thread conditioner if needed to reduce fraying or tangling.
Yes, most embroidery floss is colorfast and washable, especially cotton floss. However, always test specialty threads like metallic or hand-dyed before washing.
Use floss bobbins, plastic boxes, or floss cards to keep threads tidy and labeled. Color coding and numbering also help with quick access during projects.
Are you looking for embroidery digitizing and vector art services at low cost with superfast turnaround, guarranted quality and preview before pay? So, you are at right place. We can digitize and vectorize any type of artwork in your required file format.