Sashes show up in so many special moments: pageants, graduations, bridal parties, corporate events, and cultural ceremonies, and sash embroidery helps make them look photo-ready and worth keeping as a memory. That’s why the materials and methods you choose matter so much, because the wrong fabric or setup can quickly affect how neat and professional the sash looks. In this article, you’ll learn which fabrics work best, which threads and stabilizers to pick, and how to set up your machine for clean, sharp stitching.
You’ll also see common mistakes to avoid and expert tips for long-lasting results, so this can be your complete start-to-finish guide for beautiful, durable sashes.
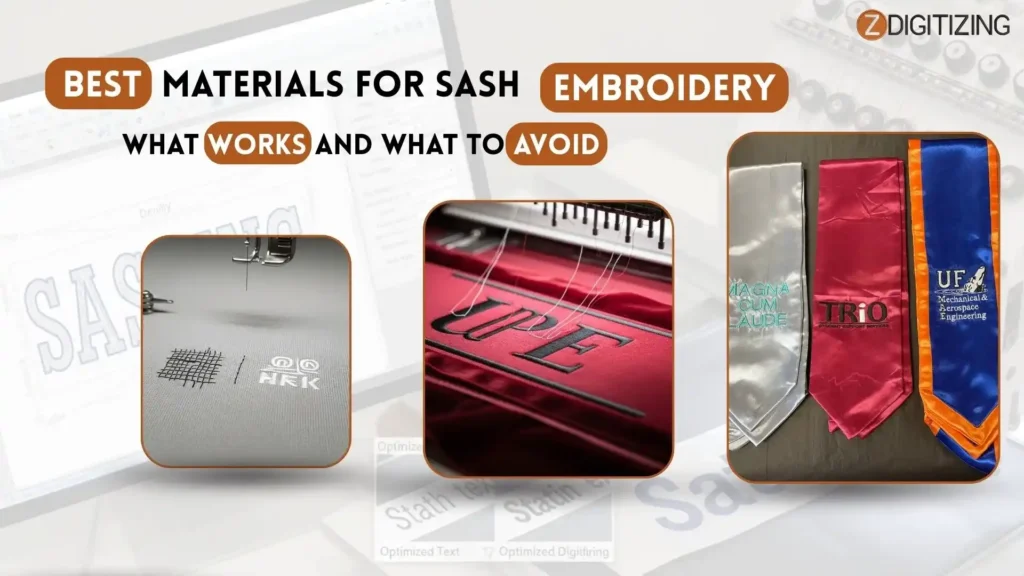
Best Materials for Sash Embroidery: What Works and What to Avoid
What Is Sash Embroidery?
It is simply adding stitched text or designs onto a sash so it looks neat, clear, and professional when someone wears it. Because a sash is long and narrow, even small details like spacing, alignment, and fabric handling matter more than usual, especially when the sash will be seen in photos and kept as a memory.
This is why embroidery sashes often need careful planning, so the lettering stays straight, the stitches sit smoothly, and the final piece looks clean from start to finish.
What Makes a Good Sash Material for Embroidery?
Before we name “best fabrics,” for sash embroidery, you need a quick checklist. The “best” choice depends on how stable the fabric is, how it handles stitches, and how it looks when worn and photographed.
Stability (Stretch Control)
A good fabric doesn’t stretch much in length or width. Stretch is the #1 reason long names and titles end up slanted or wavy. Even a small stretch becomes obvious across a long sash.
Surface + Sheen (How Thread Sits)
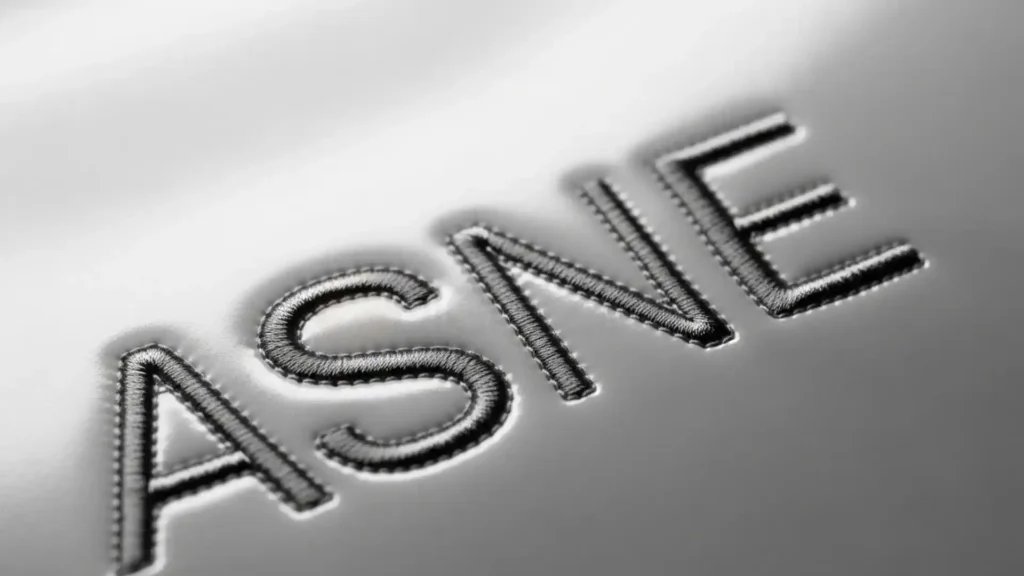
Smooth, shiny fabrics can look amazing for sash embroidery, but they also show every small issue. If your stitches sink, the letters look thin. If the fabric puckers, the shine makes wrinkles look louder in photos.
Fray Risk and Edge Finishing
Most sashes have visible edges, and many are cut from ribbon or wide fabric strips. A good choice should not fray aggressively, or it should accept edge finishing cleanly (folded hem, bias binding, or serging).
Weight/Gsm in Simple Terms
If you ever check fabric weight for sash frame embroidery, a mid-range weight is usually easier than ultra-thin fabric. Very thin materials shift, wrinkle, and pucker faster. Mid-weight materials give your stitching something stable to “sit on.”
What are Best Fabric For Sash Embroidery?
Choosing fabric is not just a “material” decision; it decides how straight your text looks, how smooth the stitches sit, and how premium the sash looks in photos. Below is a clear ranking with real reasons with sash embroidery ideas, so you can pick confidently.
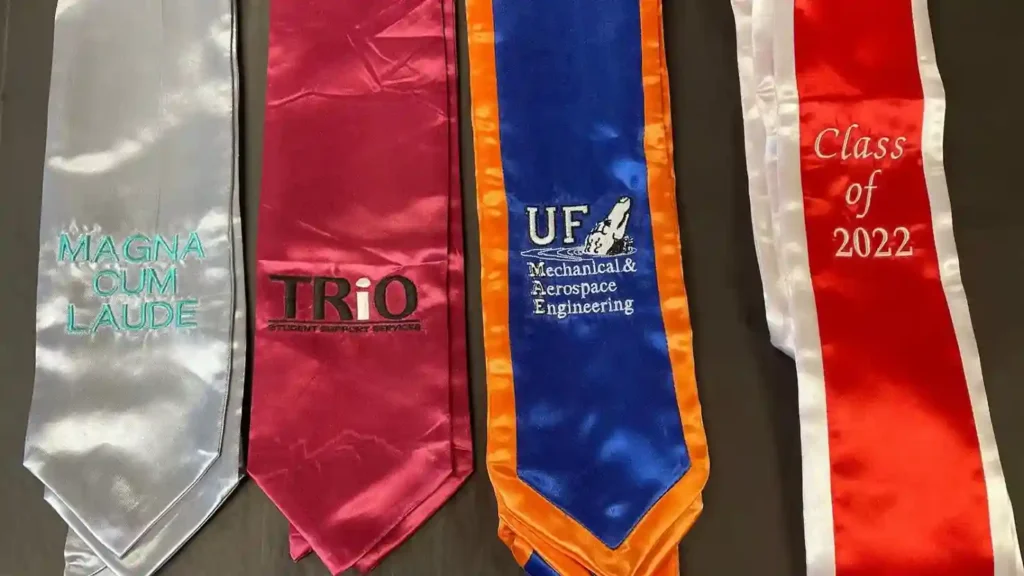
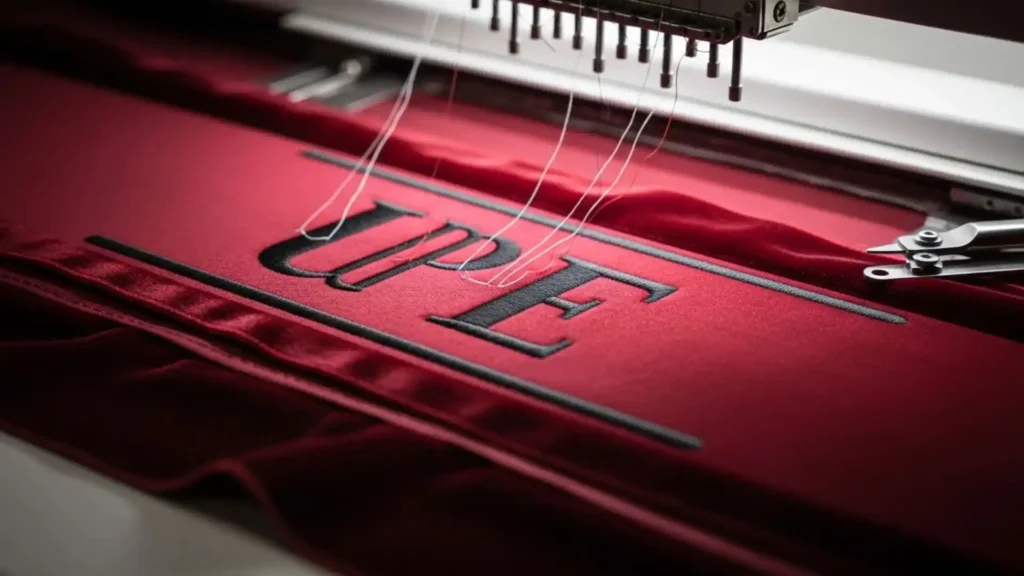
1) Satin (Best For Photo-Ready Shine)

Satin looks bright, elegant, and very event-ready, which is why it’s popular for pageants and ceremonies. When stabilized properly, it gives a clean, luxury finish, and your lettering looks crisp in photos.
Why It’s A Good Choice: Smooth surface, strong visual impact, and a premium look.
Works Best For: Bold names, simple titles, and clean borders where you want a shiny finish.
2) Twill (Best For Sharp Lettering and Durability)
If you want the safest option for clean stitching, twill is usually the easiest to control. It stays stable, holds stitches neatly, and helps text look straight across long lines. It’s also great for standard embroidery sashes because it performs consistently and gives reliable results.
Why It’s A Good Choice: Strong stability, clean stitch definition, and fewer surprises.
Works Best For: Names, logos, badges, and designs that must stay readable and long-lasting.
3) Velvet (Best For A Premium, Rich Look)
Velvet can look high-end and unique, especially when the design is bold and simple. Because the surface is soft, it works best when you keep details clean and give the stitches the support they need to sit nicely on top for sash embroidery.
Why It’s A Good Choice: Luxury texture and a rich finish that stands out in person and in photos.
Works Best For: Bold lettering, simple icons, and thicker borders that don’t rely on tiny details.
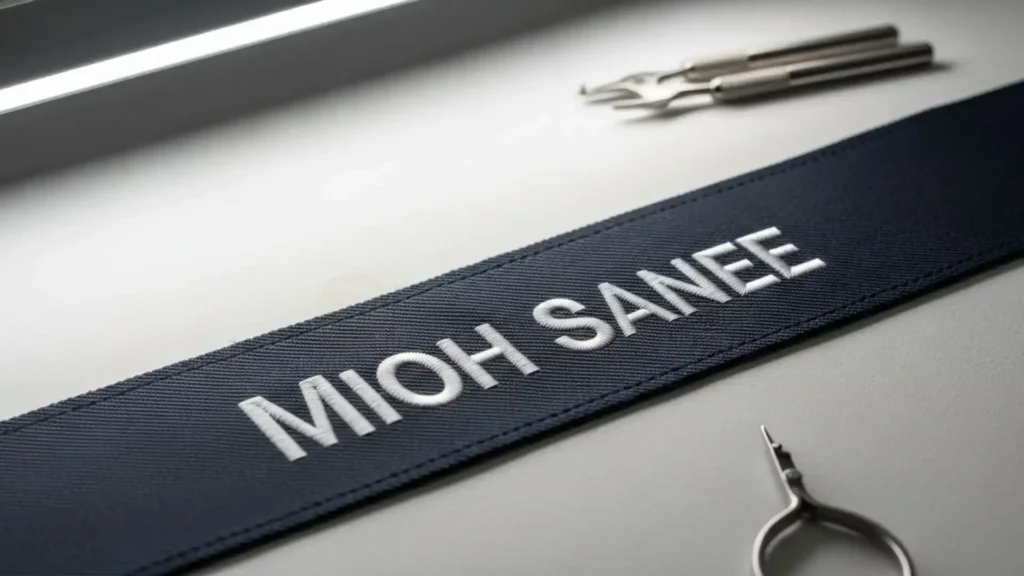
4) Grosgrain / Structured Ribbon (Best For Shape and Control)
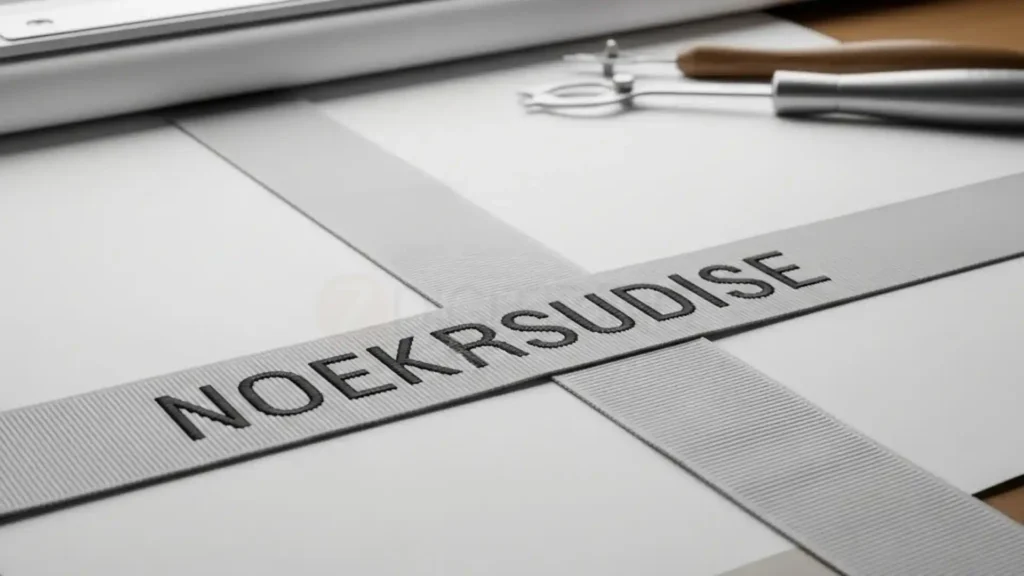
Grosgrain-style ribbon is naturally structured, so it helps the sash stay flat and reduces warping. This is helpful when you want long text to stay straight and the sash to keep its form while worn.
Why It’s A Good Choice: Built-in structure and better alignment control on long, narrow pieces.
Works Best For: Straight text layouts, minimal designs, and clean titles that need a firm base.
5) Blended Fabrics (Budget-Friendly, But Test First)

Blends can be a smart choice when they are stable and well-made, but quality can vary. Some blends behave like twill and stitch cleanly, while others shift more easily, so a small test sample helps you choose safely. If you’re doing custom sash embroidery, blends can still look professional when paired with the right support.
Why It’s A Good Choice: Lower cost while still giving neat results with the right setup.
Works Best For: Simple designs, medium stitch coverage, and budget sashes where stability feels good.
Quick Comparison Table To Choose The Right Sash Material For Clean Results
If you want clean stitching, straight lettering, and a sash that looks premium in photos, fabric choice is your starting point. This quick table helps you plan sash embroidery faster by showing what each material is best for and where it performs strongest.
Sash Material | Best For | Key Benefit | Best Use Case |
Satin | Photo-ready events | Premium shine | Bold names, clean borders |
Twill | Long wear | High stability | Sharp lettering, logos |
Velvet | Luxury look | Rich texture | Bold text, simple icons |
Grosgrain / Structured Ribbon | Straight alignment | Built-in structure | Minimal layouts, titles |
Blended Fabrics | Budget options | Flexible choice | Simple designs, medium coverage |
Materials to Avoid For Sash Embroidery (And When They Can Still Work)
Some fabrics are “avoid” because they are risky, not because they are impossible to stitch on. If you must use them, you’ll need stronger stabilization and simpler designs to prevent common sash embroidery mistakes.
- Stretchy knits: These distort easily. Letters pull, spacing changes, and borders wave. If you must use a stretchy sash, keep the design simple and reinforce it with interfacing and a stable backing.
- Thin cotton: Thin cotton can pucker fast because it has less structure. It also wrinkles easily on the body. If you want cotton, choose a more structured weave or a heavier weight.
- Delicate silk: Silk is beautiful but unforgiving. Needle marks can show, and the fabric can shift or pucker. It also reacts differently to tension and heat. Consider satin alternatives that are more stable.
- Low-quality polyester: Cheap polyester can melt, shine oddly, or stretch unexpectedly. It can also “bubble” around stitches if the stabilizer choice is weak. If you’re using polyester, test the exact roll or batch first.
If you must use tricky fabric: a safe setup checklist
- Use a stabilizer for sash embroidery that supports the full stitch area.
- Add fusible interfacing when the fabric is thin or stretchy.
- Reduce stitch density and avoid tiny details.
- Test a small sample before doing the real sash.
- Align it with the center guideline and baseline so it looks visually centered.
How to Make Sash Embroidery Designs | Step By Step?
This quick workflow keeps everything simple, so your text stays straight, and the final look stays photo-ready. Follow these steps in order to get cleaner results in less time, even if you’re doing embroidery sash for the first time.
1) Plan The Sash And Placement
Choose the sash type, fabric, width/length, and what text or logo you want to stitch, then measure the real blank you’ll use. Mark where the main text should sit when worn (commonly around 25–30 cm up from the lower point for a shoulder-to-hip sash), and draw a light centerline and baseline so your layout stays straight.
2) Set Up The Design File
Create a new file in your software, set the stitch area to match your hoop, and turn on rulers and guides. Add a vertical center guideline (for straight alignment) and a horizontal baseline (so your lettering sits evenly when the sash curves on the body).
3) Digitize The Text For Clean Readability
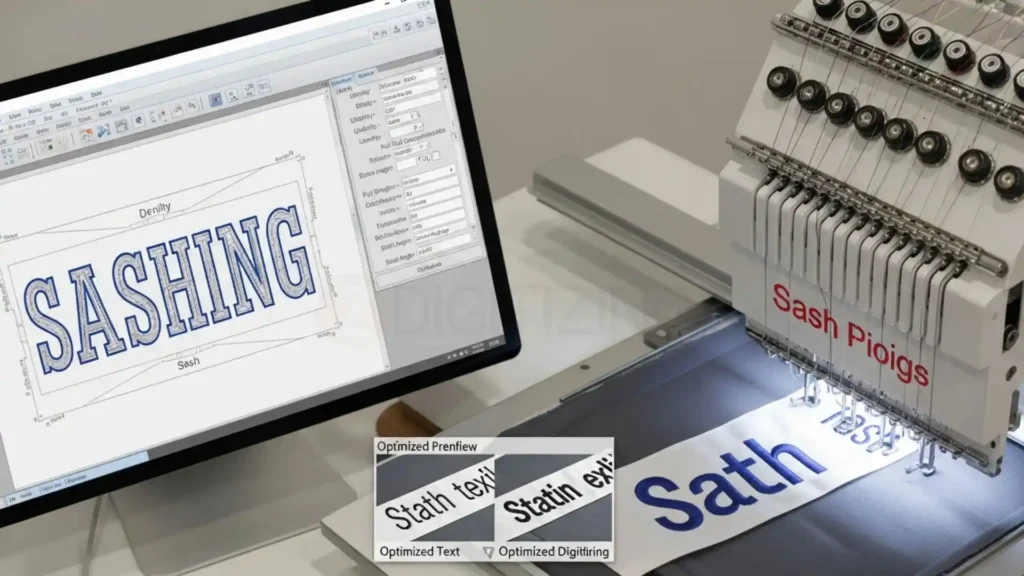
Pick a clear embroidery font, set proper spacing, choose satin stitches for most lettering, and add underlay plus pull compensation to keep columns from shrinking. This is where sash embroidery digitizing makes a huge difference, because the right density, angles, and sequencing prevent puckering and keep letters smooth.
If your sash has small text, a detailed logo, or you’re producing multiple orders, it’s smart to use online embroidery digitizing services so the file is already optimized for clean stitch flow.
With ZDigitizing, you get a production-ready file made by expert digitizers, so your sash frame embroidery comes out cleaner with fewer edits and fewer stitch issues.
4) Hooping, Floating, And Placement Finishing Tips
Sashes are long and narrow, so many people hoop only the stabilizer and “float” the sash on top, aligned to the hoop grid. Keep the sash flat, secure the ends away from the needle path, and always run a trace outline first to confirm placement before stitching—this simple step improves the final finish and keeps your design centered.
5) Stitch, Clean, And Finish
Stitch at a moderate speed, watch the first minutes for shifting, and support the free sash so it doesn’t drag. After stitching, remove it gently, trim or tear stabilizer carefully, clip loose threads, then press lightly with a pressing cloth if needed.
Finally, lay the sash flat and check that everything is straight, smooth, and ready to wear, this is how embroidered sashes look professional in real photos.

Conclusion
When your fabric choice is right, everything gets easier, your stitching stays clean, your text stays straight, and the sash embroidery looks premium in real life and in photos. This guide walked you through what works, what to avoid, how to stabilize properly, and how to prevent the most common problems so you can get consistent results on every project.
But there’s one more piece that makes a big difference: the embroidery file itself. Even with great fabric, poor digitizing can cause puckering, messy borders, and uneven lettering. That’s why professional digitizing is so important for the best final results.
ZDigitizing provides professional embroidery digitizing services along with cap digitizing with over 10+ years of experience, an expert digitizing team, a 24/7 working team, and 24/7 customer support.
Quality is guaranteed, you get a preview provided before payment, minor edits are free, and prices are already lower than the market, plus you get embroidery files with reliable stitch flow that are made for clean production. You can also get 50% OFF on first order.
Ready to get premium results? Visit ZDigitizing, place your first order, get 50% OFF, and experience professional-quality sash embroidery digitizing you can trust.


