What is screen printing? It is a simple printing method used to create designs on different materials like fabric, paper, or plastic. In this process, ink is pushed through a mesh screen with a stencil to make patterns or images. Screen printing is popular because it’s easy to use and creates strong, long-lasting prints. People use it for making things like custom T-shirts, posters, and other creative items.
In this guide, I’ll explain the steps of screen printing in a way that’s easy to understand. From making your design to finishing the print, you’ll learn how to do it step by step. By the end, you’ll be ready to try screen printing on your own!
What Is Screen Printing? A Step-by-Step Guide
What is Screen Printing?
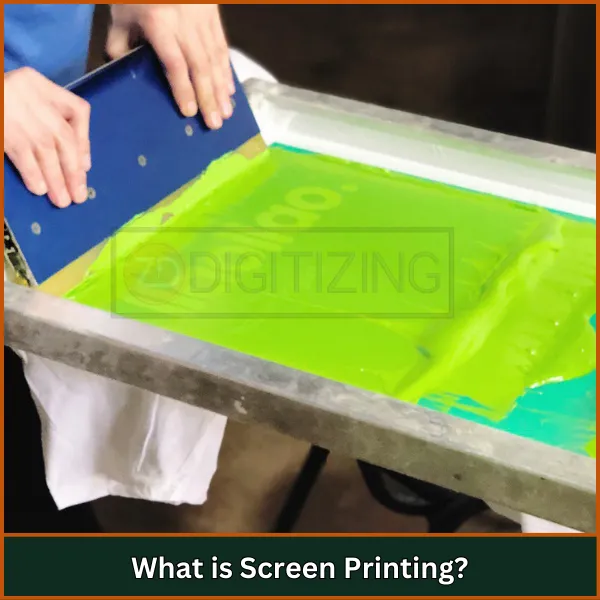
Screen printing, also known as silk screening, is a printing technique that involves pressing ink through a stenciled mesh screen onto a substrate, allowing for the creation of detailed designs and images on various surfaces such as fabric, paper, plastic, and glass.
What are the Screen Printing Types?
What is screen printing? It is a versatile printing method that offers a variety of techniques, each designed for specific purposes and effects. These methods enhance creativity and allow customization across different materials.
- Traditional Screen Printing: The most widely used method, involves a mesh screen and a stencil to transfer ink onto substrates like fabric, paper, or plastic. It provides clean and precise designs.
- Water-Based Screen Printing: An eco-friendly option that uses water-based inks, resulting in soft, breathable prints on fabrics, making it ideal for clothing.
- Discharge Screen Printing: This technique removes dye from colored fabrics using a discharge agent, producing a bleached effect and allowing vibrant designs on darker materials.
- Plastisol Screen Printing: Known for its durability and bright colors, this method uses plastisol inks that require heat curing, making it perfect for long-lasting designs.
- Metallic Screen Printing: Uses metallic inks to create shiny, reflective designs, often used for eye-catching promotional items or stylish apparel.
- UV Screen Printing: Employs UV-curable inks that dry instantly under ultraviolet light, enabling high-quality, durable prints on materials like glass, metal, and plastic.
- High-Density Screen Printing: This method applies thick layers of ink to produce a raised, textured effect, adding a 3D appearance to the design.
- All-Over Screen Printing: Also known as jumbo printing, it allows designs to cover the entire surface of a substrate, commonly used for large garments like hoodies and T-shirts, creating bold, full-coverage patterns.
Embroidery Digitizing & Vector Art Services
Looking for embroidery digitizing and vector art services that are affordable and reliable? We offer fast turnaround time, guaranteed quality, and the option to preview your design before payment, we make sure you get exactly what you need. Your satisfaction is our top priority, and we’re dedicated to delivering the best results. Don’t wait—try ZDigitizing today and see the difference in quality and service!
Embroidery Digitizing & Vector Art Services
Looking for embroidery digitizing and vector art services that are affordable and reliable? We offer fast turnaround time, guaranteed quality, and the option to preview your design before payment, we make sure you get exactly what you need. Your satisfaction is our top priority, and we’re dedicated to delivering the best results. Don’t wait—try ZDigitizing today and see the difference in quality and service!
Materials and Tools Needed for Screen Printing
To get started with screen printing tools, you’ll need specific items that help create precise and professional designs. These tools ensure smooth operation and high-quality results in the printing process.
- Screen (Mesh)
- Squeegee
- Emulsion
- Emulsion Remover
- Exposure Unit
- Washout Station
- Ink (Plastisol, Water-Based, etc.)
- Substrate (Fabric, Paper, etc.)
- Tape (Screening Tape)
- Registration System
- Heat Source (Curing Unit or Flash Dryer)
- Cleaning Supplies (Brushes, Rags, etc.)
- Design Software (for Artwork Creation)
- Stencil Film or Transparency Film
1. Screen (Mesh)
A thin mesh stretched over a frame, typically made of polyester or nylon. It allows ink to pass through in designated areas while blocking others to create designs.
2. Squeegee
A tool with a rubber blade used to spread ink across the screen and push it through the mesh onto the substrate.
3. Emulsion
A light-sensitive liquid applied to the screen to create a stencil. It hardens when exposed to UV light, forming a barrier against ink.
4. Emulsion Remover
A chemical solution used to clean the screen and remove the emulsion after printing, allowing for reuse of the screen.
5. Exposure Unit
A device that uses UV light to expose the emulsion-coated screen. It creates the stencil by hardening the emulsion in areas not blocked by the design.
6. Washout Station
An area equipped with water sources where screens can be rinsed after exposure to remove unexposed emulsion and reveal the stencil.
7. Ink (Plastisol, Water-Based, etc.)
Specialized screen printing inks formulated for screen printing. Plastisol inks offer vibrant colors and durability, while water-based inks provide a softer feel and are more environmentally friendly.
8. Substrate (Fabric, Paper, etc.)
The material onto which designs are printed. Common substrates include textiles, paper, plastic, wood, and metal.
9. Tape (Screening Tape)
Used to mask off areas of the screen or substrate to prevent ink from bleeding into unwanted areas during printing.
10. Registration System
Tools or devices that help align multiple screens accurately for multi-color printing, ensuring designs line up correctly.
11. Heat Source (Curing Unit or Flash Dryer)
Equipment used to cure or set the ink after printing. Heat curing ensures durability and wash resistance of the printed design.
12. Cleaning Supplies (Brushes, Rags, etc.)
Essential for maintaining equipment and cleaning screens, squeegees, and work areas to ensure quality prints.
13. Design Software (for Artwork Creation)
Computer programs like Adobe Illustrator or CorelDRAW used for creating and editing designs before they are printed.
14. Stencil Film or Transparency Film
Special films used to create stencils for exposure onto screens. These films block UV light in specific areas to form the desired design.
What Is Screen Printing | Step-by-Step Process
The screen printing process involves a series of precise steps to create detailed and high-quality prints. Here’s a step-by-step breakdown of how it works:
Step 1: Design Creation
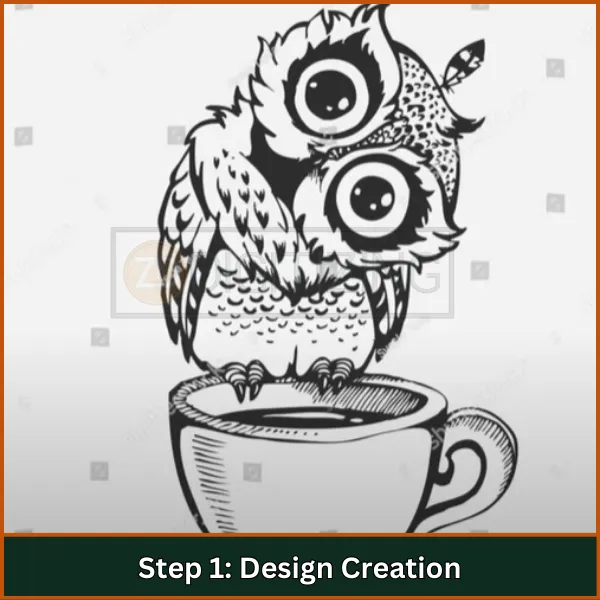
The process begins with creating the design to be printed. Graphic design software is used to prepare the artwork, which is then printed onto a transparent acetate film to serve as the stencil.
Step 2: Selecting and Preparing the Screen
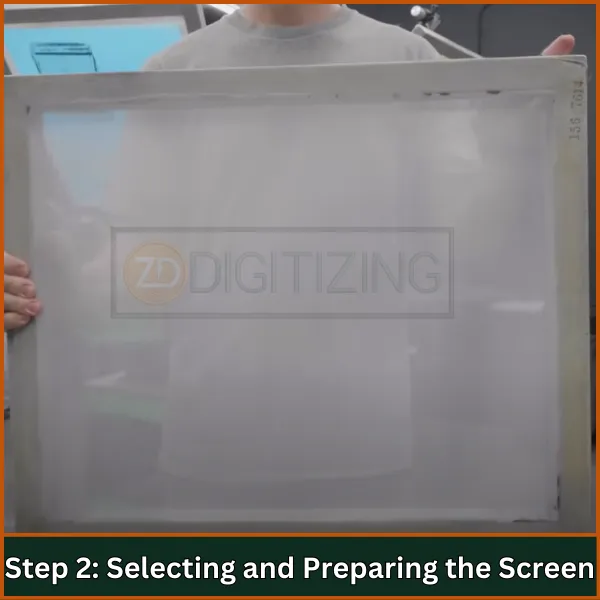
A mesh screen is selected based on the design’s complexity and the material being printed. The screen is coated with a light-sensitive emulsion, which will react to light exposure.
Step 3: Exposing the Emulsion
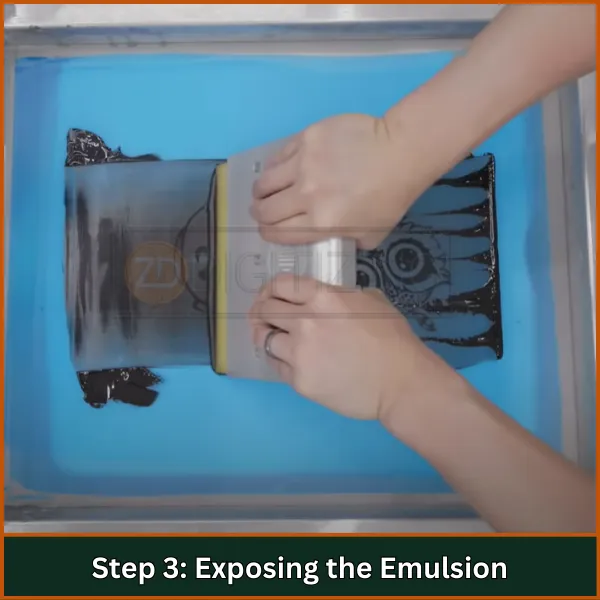
The acetate film with the design is placed over the emulsion-coated screen. A bright light source is used to expose the screen, hardening the emulsion in the uncovered areas and leaving the design areas soft.
Step 4: Washing Out the Emulsion
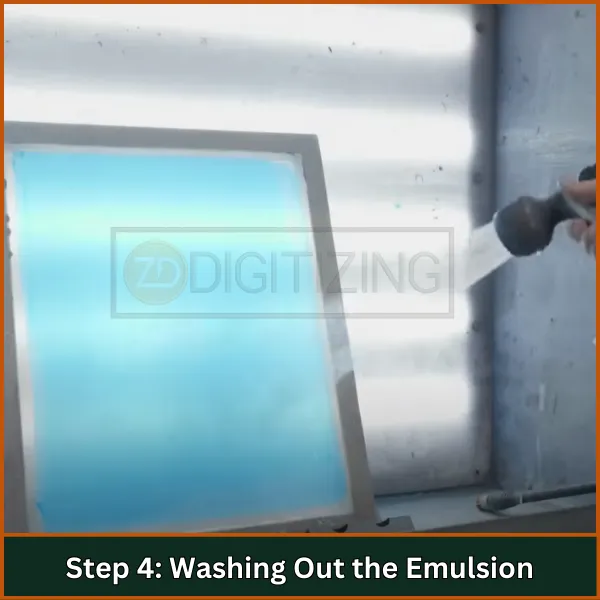
After exposure, the screen is rinsed with water to wash away the soft emulsion. This step creates a clear stencil of the design on the screen, which is then dried completely.
Step 5: Setting Up for Printing
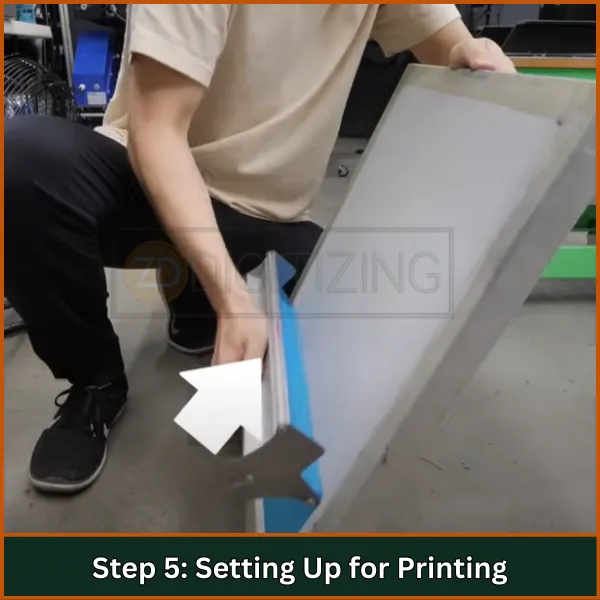
The prepared screen is mounted on a printing press, and the substrate (fabric, paper, etc.) is aligned beneath it. Proper alignment ensures the design is printed accurately.
Step 6: Printing the Design
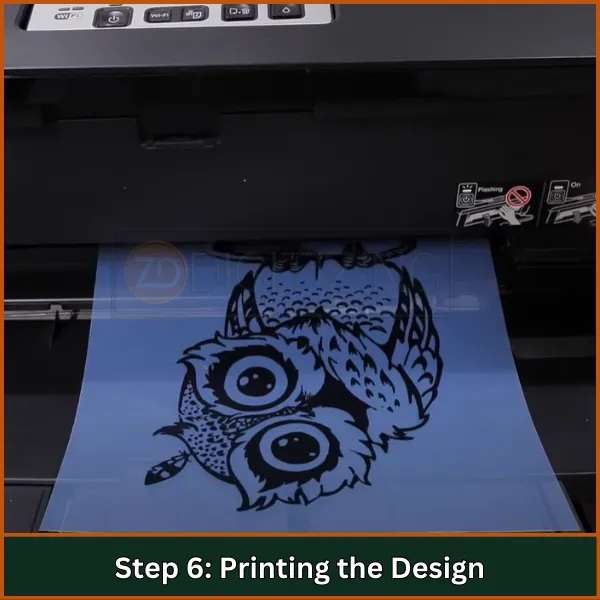
Ink is applied to one end of the screen, and a squeegee is used to spread it evenly across the stencil. The ink passes through the open areas of the stencil, transferring the design onto the substrate.
Step 7: Curing and Finishing
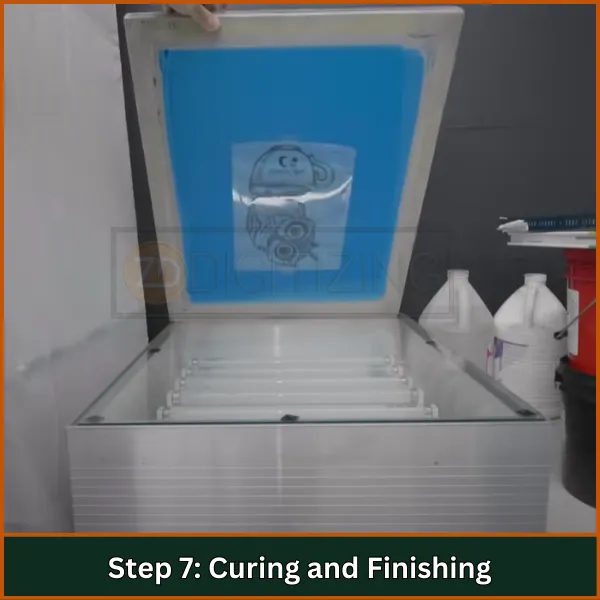
Printed items are sent to a curing station, where heat is applied to set the ink. This step ensures the print is durable and long-lasting. After curing, the final product is inspected for quality before distribution.
Best Practices for Successful Screen Printing
- Maintain a Clean Workspace: Regularly clean your printing area to avoid dust and debris contaminating your prints. A tidy environment reduces misprints and ensures consistent quality.
- Use High-Quality Stencils: Ensure stencils are well-made and evenly coated with emulsion. A smooth and thick emulsion layer results in clear, sharp images.
- Choose the Right Screen Mesh Count: Select a mesh count that suits your design. Lower mesh counts are ideal for thicker inks, while higher counts capture intricate details effectively.
- Register Prints Accurately: Align screens carefully using registration marks, especially for multi-color designs. Proper alignment prevents color overlap and ensures precise results.
- Prepare Ink Thoroughly: Mix inks properly to maintain consistent color and viscosity. Well-prepared ink significantly improves the quality of your prints.
- Adjust Off-Contact Distance: Modify the off-contact distance between the screen and the material, particularly for thicker substrates. This adjustment prevents smudging and ensures even ink application.
- Flash Cure Between Colors: For multi-color prints, briefly cure each color layer before applying the next. This prevents colors from bleeding into each other and maintains design clarity.
- Cure Prints Effectively: Follow correct curing procedures by adjusting temperature and time based on the material. Proper curing increases the print’s durability and resistance to washing.
- Perform Test Prints: Always do test prints before full production. This helps identify issues with alignment, colors, or design clarity, saving time and resources.
- Train Staff Adequately: Ensure all team members are well-trained in screen printing techniques. Skilled staff reduce errors and maintain high-quality standards throughout the process.
Embroidery Digitizing & Vector Art Services

Looking for embroidery digitizing and vector art services that are affordable and reliable? We offer fast turnaround time, guaranteed quality, and the option to preview your design before payment, we make sure you get exactly what you need. Your satisfaction is our top priority, and we’re dedicated to delivering the best results. Don’t wait—try ZDigitizing today and see the difference in quality and service!
Embroidery Digitizing & Vector Art Services
Looking for embroidery digitizing and vector art services that are affordable and reliable? We offer fast turnaround time, guaranteed quality, and the option to preview your design before payment, we make sure you get exactly what you need. Your satisfaction is our top priority, and we’re dedicated to delivering the best results. Don’t wait—try ZDigitizing today and see the difference in quality and service!
Conclusion
Now you know what is screen printing and how it works! It’s a great way to create amazing designs on T-shirts, posters, and more by following simple steps. With practice, you can achieve professional results that look fantastic.
If you need help with your screen printing projects, ZDigitizing is here for you! We provide high-quality vector art services at very affordable prices, with super-fast turnaround times and guaranteed quality. You can even preview your design before the final version.
Are you a first-time customer? Great news! You’ll get 50% off your first order. Don’t wait—let us help you create perfect designs for your screen printing projects.
Get started now and make your ideas come to life!
FAQs
Silk screen printing is a traditional printing method where ink is pushed through a mesh screen with a stencil to create designs. It’s widely used for printing on various materials like fabric, paper, and plastic.
Screen printing on shirts is a process where designs are printed onto T-shirts using a stencil and a mesh screen. This method is known for creating bold, durable designs that can withstand multiple washes.
To screen print T-shirts, you need essential tools such as a mesh screen, stencil, squeegee, inks, and a heat source for curing. Additional items like emulsion, an exposure unit, and cleaning supplies are also required.
There are several types of screen printing, including traditional, water-based, discharge, plastisol, metallic, and UV printing. Each method offers unique results and is suited for different materials and designs.

