How To Change The Colors Of DST File|Ultimate Guide
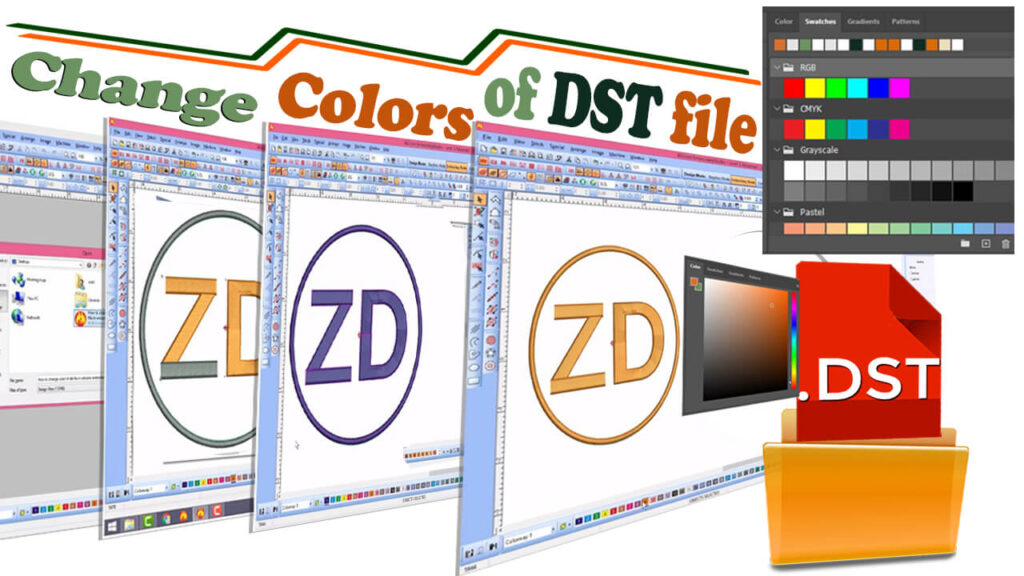
Hello everyone, today we are going to show you how we can change the colors of the DST file format. It is not a difficult thing to handle, however, to ensure you do that properly you must follow all of the steps.

In order to do that you must have Wilcom application installed on your system, so let us guide you through a step by step procedure!
How To Change The Colors Of DST File
Understanding DST Files
Before diving into the process of changing colors, it’s essential to have a basic understanding of DST files. DST stands for Data Stitch Tajima, and it is the file format used for embroidery designs. DST files contain information about the stitch patterns, stitch types, and most importantly, the colors used in the design. Each color in the design is represented by a specific code, making it easier for the embroidery machine to create the design accurately.
Step 1: Choosing the Right Software
Step 2: Opening the DST File

After opening your application, on the menu bar click on the “File”, from the drop-down menu select “open design” you can also use your keyboard to do that, by pressing CTRL + O, doing this should open up a dialogue box, which will let you select your pre-existing DST file, select your file and click open.
Step 3: Identifying the Color Codes
After opening the DST file, it will be imported and you will see that file loaded on to your application’s canvas.
Now comes the important part, it is mandatory to know that you can select your file in multiple chunks, depending on which portion you would like to pick to alter the color.
To change the whole color, you need to select your whole file; you can do that by double clicking on the file.
Step 4: Changing the Colors
After your DST file has been selected you can easily change it’s color by selecting various color options, on the bottom side, right above the status bar you will see a number of different color variations, select your favorite color by clicking on the color pellet, your color will be applied.
Step 5: Saving the Edited DST File
Just like I mentioned before that in order to change the color you have to select it, and you can even select your file in multiple chunks, the benefit of doing so is that you can change color of little portion depending on your requirements.
You can select both, one and multiple parts of your file to apply color on.
Step 6: Testing the Edited Design
| Short key | Ctrl + S |

Now that you have changed the colors of DST file, it is important to save it, you can click on “File” and save it or just press CTRL + S to save it, it will open up a save dialogue box for you, however, it is very important to know that you select. DST format from the drop down saving option, if you select some other option your file will be saved in some other format, which is something we do not want here.
Name your file and save it as .DST.
And that is it, your file has been saved and you have successfully changed the colors of your DST file, now your file is ready and can be used on the embroidery machine.
Step 7: Preparing for Embroidery
Once you’re satisfied with the edited design, load the DST file onto your embroidery machine. Ensure that you have the right thread colors and follow the machine’s instructions for setup.
Conclusion
Changing the colors of a DST file may seem like a daunting task, but with the right software and a systematic approach, it becomes a manageable process. By following these steps, you can breathe new life into your embroidery designs and create stunning pieces that match your vision.
Frequently Asked Questions
You can edit a DST file from online platforms. DST file is the stitch-based file format used by Tajima commercial embroidery sewing machines.
The stitch-based file format is used by Tajima commercial embroidery sewing machines. A file with the DST file extension can be an AutoCAD sheet set file made by Autodesk’s AutoCAD program to hold a few drawing layouts. Tajima Embroidery Format uses the DST file extension, also. The file stores stitching info that defines how the software must control the sewing needle. It is utilized by a range of embroidery machines and programs.
Open DeSmuME state files with DeSmuME. It could as well make a DST file through File > Save State File. If you are dealing with information related to the embroidery format, several compatible file viewers include: Wilcom’s TrueSizer, Embroidermodder, Embird’s Studio, BuzzXplore, and SewWhat-Pro. Wilcome as well as a free online DST viewer called TrueSizer Web.
If you have an embroidery design that your machine can’t read because the format is not correct, you could transform it to another embroidery format – one that your machine could utilize. To do this, you need embroidery software on your computer. To convert embroidery formats in Embrilliance Essentials Software: 1. Open your embroidery design 2. Make any changes required 3. Click the disk icon or from the file menu and select save us 4. This opens the saving window so you could select your saving location (which folder or drive to save to) 5. Change the file name if you want to 6. At the bottom is a dropdown list of formats 7. Choose the format you would like to convert to 8. Click save


