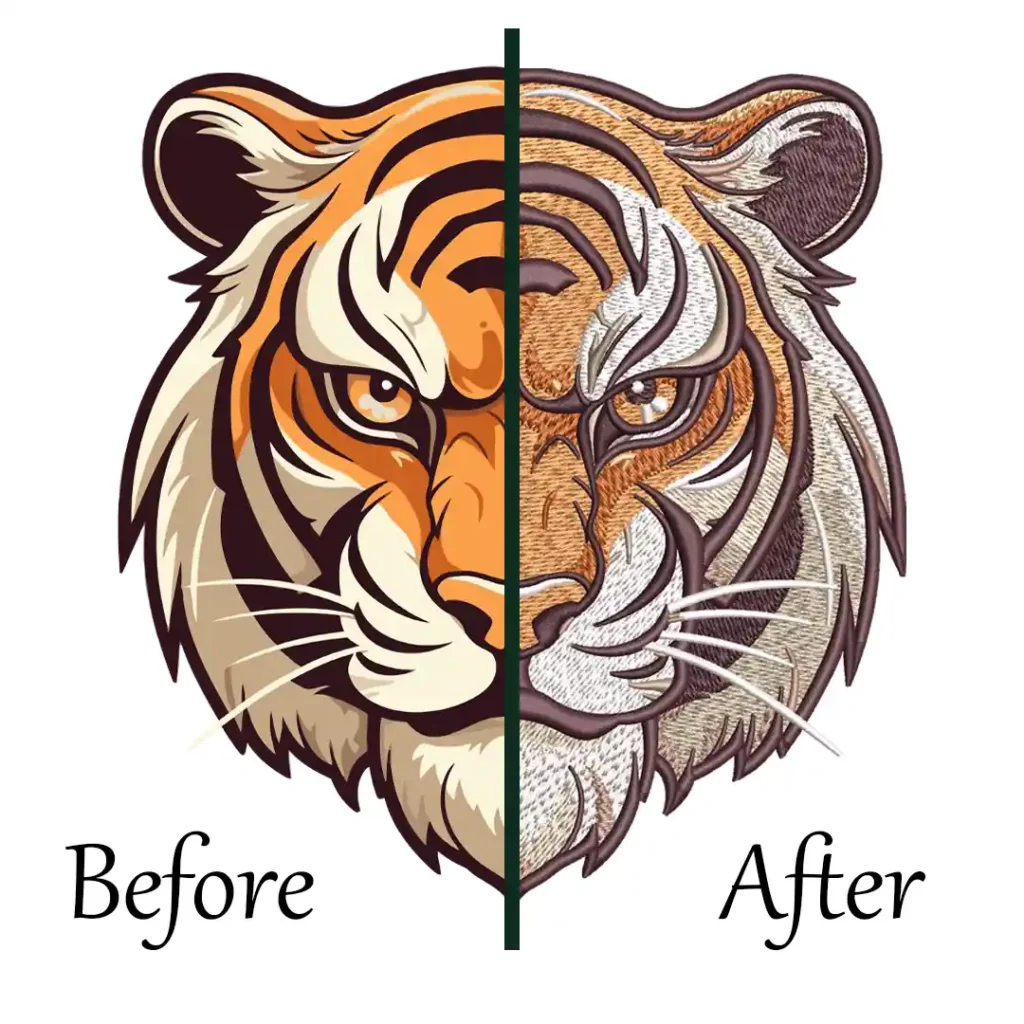
If you’re wondering how to design a logo for embroidery, it’s all about keeping things clear and simple. Embroidery is unique—it brings designs to life in stitches, but it also has limits. To make sure your logo turns out looking its best, you’ll need to consider factors like color choice, font type, and detail level. Unlike digital graphics, embroidery doesn’t handle tiny details well, so simplifying your design can make a big difference
This guide covers ten essential things to keep in mind for designing an embroidered logo that’s bold, clear, and professional. With these tips, you’ll be well on your way to creating a logo that stands out beautifully on any fabric.
How to Design a Logo for Embroidery: 10 Essential Things to Note
How to Design a Logo for Embroidery | Things to Consider
Designing a logo for embroidery requires keeping things simple, bold, and adaptable for stitching. Here are essential considerations to make your logo look clear and professional on fabric.
- Use a Simple Logo
- Logo Size
- Fabric Choice
- Avoid Small Text
- Avoid Narrow Text
- Avoid Large Filled Areas
- Avoid Outlines and Shadows
- Carefully Consider Gradients
- Consider What is Essential
- Redesign if Necessary
Embroidery Digitizing & Vector Art Services
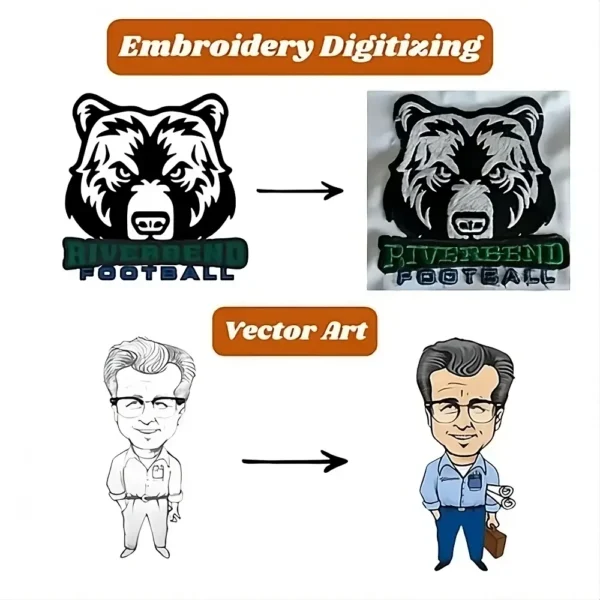
Looking for embroidery digitizing and vector art services that are affordable and reliable? We offer fast turnaround time, guaranteed quality, and the option to preview your design before payment, we make sure you get exactly what you need. Your satisfaction is our top priority, and we’re dedicated to delivering the best results. Don’t wait—try ZDigitizing today and see the difference in quality and service!
Embroidery Digitizing & Vector Art Services
Looking for embroidery digitizing and vector art services that are affordable and reliable? We offer fast turnaround time, guaranteed quality, and the option to preview your design before payment, we make sure you get exactly what you need. Your satisfaction is our top priority, and we’re dedicated to delivering the best results. Don’t wait—try ZDigitizing today and see the difference in quality and service!
1. Use a Simple Logo

Simplicity is key in logo file design for embroidery. Complex designs with intricate details may become muddled when stitched, leading to a logo that is difficult to recognize. A simple logo often translates better to fabric, ensuring that it remains clear and identifiable at various sizes.
Tips for Simplicity
- Limit Colors: Stick to two or three colors to maintain clarity.
- Focus on Shapes: Use bold shapes that can be easily recognized from a distance.
2. Logo Size
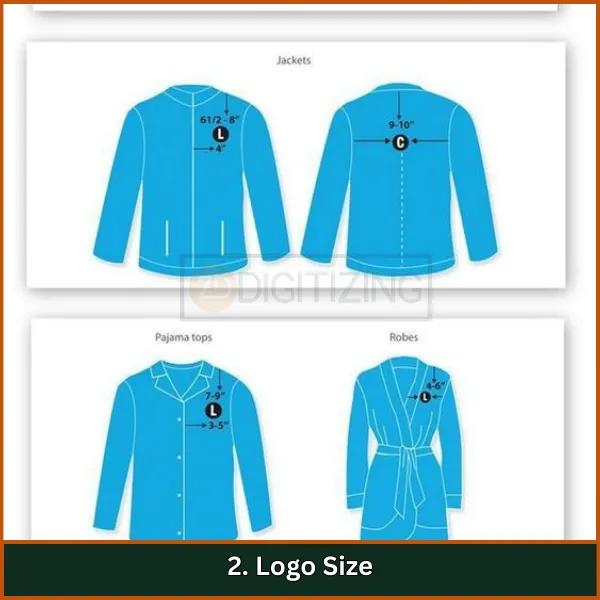
The size of your logo is critical in embroidery. If it’s too small, details may be lost; if it’s too large, it may distort during the stitching process.
Recommended Practices
- Test Different Sizes: Create mock-ups of your logo at various sizes to see how it holds up.
- Consider Placement: Think about where the logo will be placed (e.g., left chest, back, sleeve) and adjust the size accordingly.
3. Fabric Choice
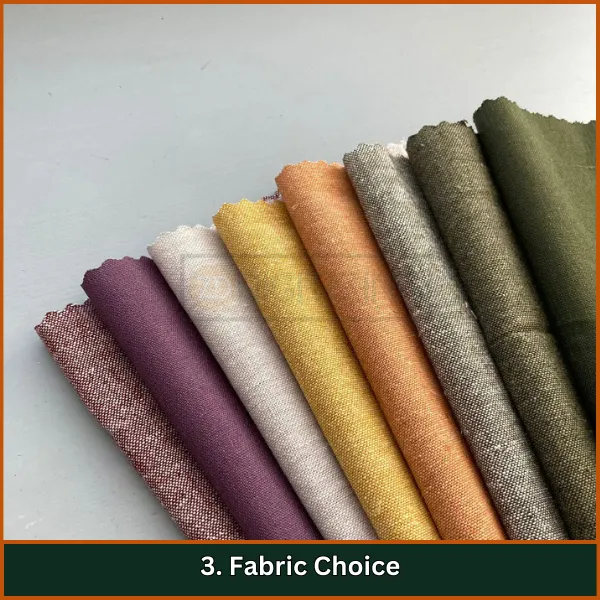
Different fabrics have different textures and weights, which can affect how an embroidered logo looks. For instance, thicker materials like fleece may require a more robust design than lighter fabrics like cotton.
Recommendations
- Choose Compatible Fabrics: Research how different fabrics interact with embroidery threads.
- Test Samples: Before finalizing your design, test it on the intended fabric to see how it looks after stitching.
4. Avoid Small Text
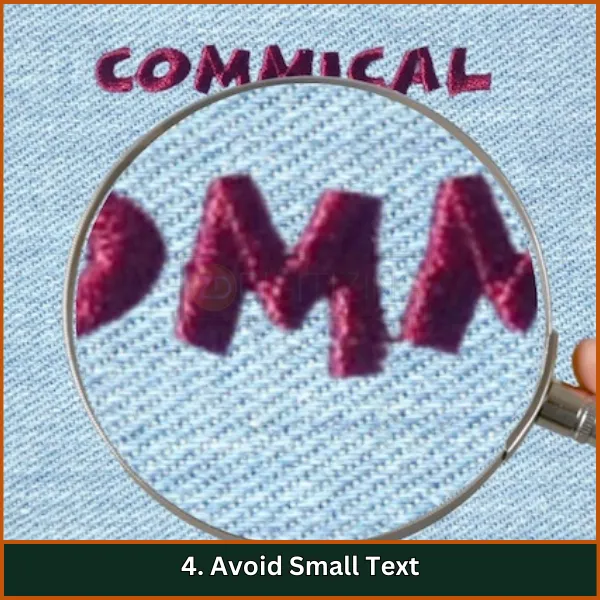
Small text can be problematic in embroidery because the stitching may not capture a fine level of details effectively. This can lead to text that is difficult or impossible to read.
Solutions
- Use Larger Fonts: Ensure any text in your logo is large enough to remain legible.
- Select Bold Fonts: Opt for bold typefaces that are easier to read when stitched.
5. Avoid Narrow Text

Similar to small text, narrow fonts can become distorted during the embroidery process. Thin lines may not hold up well under stitching, leading to an unclear representation of your brand.
Best Practices
- Choose Thick Fonts: Use rounded or blocky fonts that maintain their shape.
- Limit Text Elements: If possible, reduce the amount of text in your logo.
6. Avoid Large Filled Areas
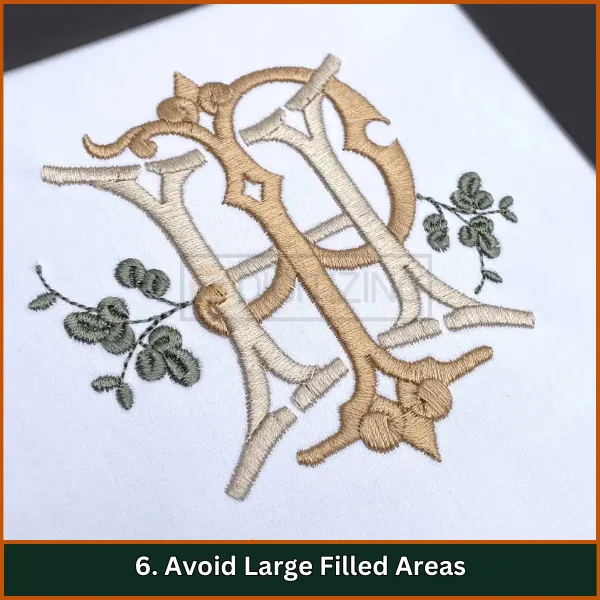
Large areas filled with solid colors can cause issues like puckering or distortion in the fabric, especially if the stitching density is too high, particularly when designing a logo for embroidery patch.
Alternatives
- Use Outlines: Instead of filling large areas, consider using outlines or borders.
- Break Up Large Areas: Divide larger sections into smaller shapes or patterns to reduce bulk.
7. Avoid Outlines and Shadows
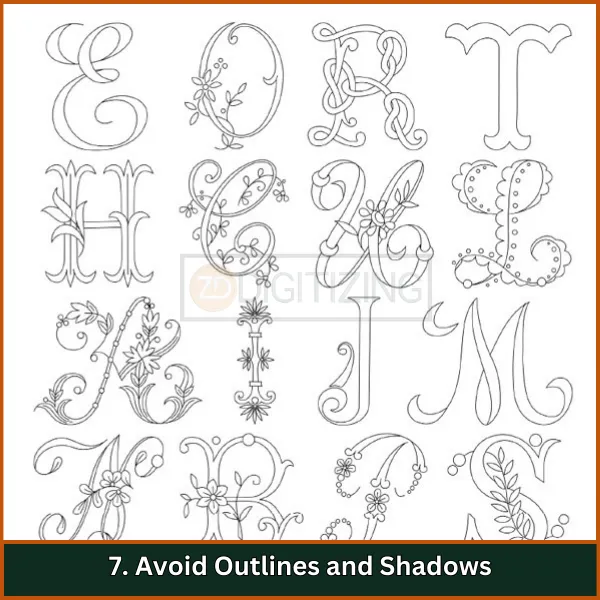
While outlines and shadows can enhance logos in digital formats, they often do not translate well into embroidery due to thread limitations and potential distortion.
Recommendations
- Stick to Solid Shapes: Use solid colors and clear shapes without additional effects.
- Simplify Design Elements: Focus on essential elements that convey your brand without relying on effects.
8. Carefully Consider Gradients

Gradients can be challenging in embroidery because they require multiple logo colors that may not blend seamlessly as they do in print or digital formats.
Suggested Approaches
- Use Solid Colors: Instead of gradients, opt for solid blocks of color.
- Create Color Transitions with Blocks: If you want a gradient effect, consider using several solid colors arranged in blocks rather than a smooth transition.
9. Consider What is Essential
When designing a logo for embroidery, it’s important to distill your logo down to its essential elements. Extraneous details can complicate the design and make it less effective.
Strategies for Simplification
- Identify Key Features: Determine which elements are crucial for brand recognition.
- Eliminate Non-Essential Details: Remove any elements that don’t contribute meaningfully to the design.
10. Redesign if Necessary
If your existing logo does not meet the criteria for effective embroidery, consider redesigning it. This can be an opportunity to refresh your brand while ensuring it works well on fabric.
Steps for Redesigning
- Consult with Professionals: Work with a graphic designer who has experience in creating logos for embroidery.
- Prototype and Test: Once you have a new design, create prototypes and test them on different fabrics before finalizing.
Embroidery Digitizing & Vector Art Services

Looking for embroidery digitizing and vector art services that are affordable and reliable? We offer fast turnaround time, guaranteed quality, and the option to preview your design before payment, we make sure you get exactly what you need. Your satisfaction is our top priority, and we’re dedicated to delivering the best results. Don’t wait—try ZDigitizing today and see the difference in quality and service!
Embroidery Digitizing & Vector Art Services
Looking for embroidery digitizing and vector art services that are affordable and reliable? We offer fast turnaround time, guaranteed quality, and the option to preview your design before payment, we make sure you get exactly what you need. Your satisfaction is our top priority, and we’re dedicated to delivering the best results. Don’t wait—try ZDigitizing today and see the difference in quality and service!
Wrap Up
Learning how to design a logo for embroidery is all about keeping things clear, bold, and well-suited for stitching. With these tips, you’re ready to create a logo that will look professional and stand out beautifully.
If you need expert support, ZDigitizing offers premium digitizing services at the most affordable rates, complete with super-fast turnaround and quality guaranteed. We also provide a preview option so you can review the design before finalizing it.
And as a first-time customer, enjoy a 50% discount on your order! Let ZDigitizing bring your embroidered logo to life with precision and style.
FAQs
To convert your logo into an embroidery design, use digitizing software to trace the logo and convert it into a stitch file format like DST or PES. This file will instruct your embroidery machine on how to recreate the logo with stitches.
First, digitize your logo into a machine-readable format. Then, select the appropriate thread colors and stabilize your fabric to prevent puckering. Load the design into your embroidery machine and start the embroidery process.
For embroidery, logos should be converted into a digitized file format such as DST, PES, or EXP. These formats contain the necessary instructions for the embroidery machine to execute the design accurately.
To create custom logos, start with a clear concept and design it using graphic design software like Adobe Illustrator. Focus on simplicity and bold lines which make it easier to translate into different formats, including embroidery.

