In this article, we will explore the top 12 affordable supplies you need to make embroidery patches, allowing you to unleash your creativity without breaking the bank.
Top 12 affordable supplies needed to make embroidery patches
12 Affordable Supplies Needed To Make Embroidery Patches
Supplies embroidery patches are a fantastic way to add personalized flair to clothing, bags, and accessories. While it may seem like a complex process, creating your own custom machine embroidery patches can be a rewarding and cost-effective endeavor.
Embroidery Machine
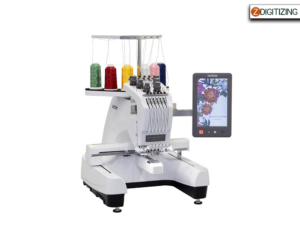
Investing in an embroidery machine is essential for creating embroidery patches. Look for a reliable machine within your budget that offers a variety of stitch options and hoop sizes to accommodate different patch mylar embroidery designs.
Embroidery Digitizing
&
Vector Art Services
Are you looking for embroidery digitizing and vector art services at low cost with superfast turnaround, guaranteed quality and preview before pay? So, you are at right place. We can digitize and vectorize any type of artwork in your required file format.
Embroidery Thread:
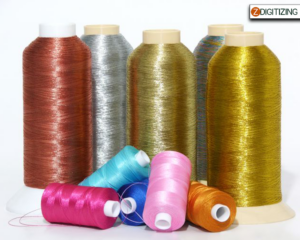
Building a collection of embroidery threads in various colors is crucial for adding vibrant and eye-catching details to your patches. Start with a basic set of colors and expand your collection over time.
Stabilizer:
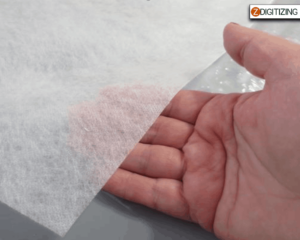
Embroidery patch stabilizer is a backing material that helps maintain the integrity of your fabric during the embroidery process. Choose a medium-weight cutaway, water-soluble stabilizer, or tear-away stabilizer depending on the type of fabric and design you are working with.
Fabric:
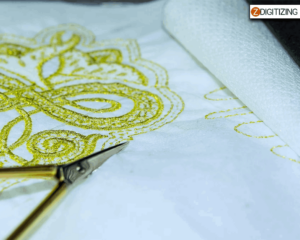
Select a sturdy and versatile fabric for your patch baking, such as twill, felt, denim, or fusible backing. These embroidery patch materials provide a solid base for embroidery stitches and can withstand regular use.
Embroidery Needles:
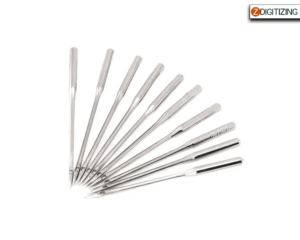
Ensure you have a supply of embroidery needles suitable for your machine. Needles with sharp points and larger eyes are ideal for working with different fabric thicknesses and embroidery thread types.
Embroidery Hoops:
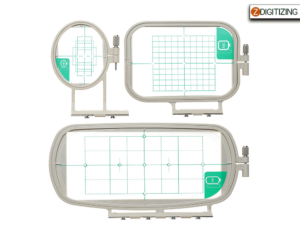
Determining the placement of stitches is critical to achieving the desired look and texture. Unique concepts may involve combining various stitch types such as satin stitches, fill stitches, or even specialty stitches like appliqué or 3D embroidery.
Scissors:
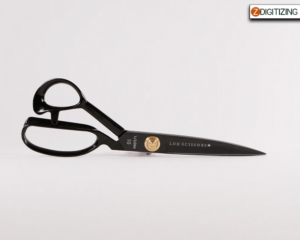
Having a good pair of embroidery scissors is essential for trimming threads and cutting fabric precisely. Look for sharp, fine-pointed scissors that allow for intricate ready-made embroidery cutting.
Water-Soluble Marker:
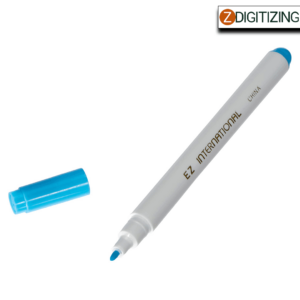
A water-soluble marker is useful for marking the placement of your design on the fabric. The marks disappear with water, leaving no trace on your finished patches.
Transfer Paper:
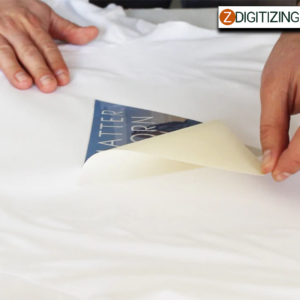
Transfer paper helps you transfer your embroidery design onto the fabric. Choose transfer paper suitable for your specific printer type and follow the instructions for optimal results.
Iron-on Adhesive:
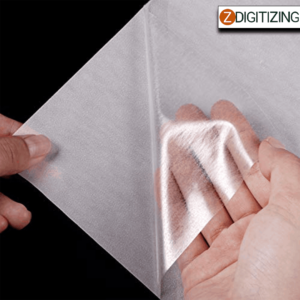
Iron-on adhesive, also known as fusible web or heat transfer adhesive, allows you to attach your finished patches to different surfaces easily. Select a reliable brand that provides strong adhesion.
Backing Material:
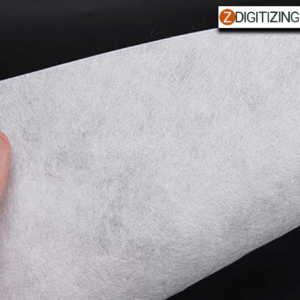
Adding fusible backing material to your patches enhances their durability. Choose a suitable backing, such as woven or non-woven interfacing, to reinforce the back of your patches.
Storage and Organization:
Keep your supplies organized with storage solutions such as thread racks, clear plastic containers, or labeled drawers. This helps you easily locate and access the materials you need for your embroidery projects.
Tips To Consider When Making Embroidery Patches:
Here are some tips to consider when making embroidery tacky patches:
- Before starting, sketch your design on paper to visualize the placement and details of your patch. This will help you stay focused and ensure a more accurate embroidery process.
- Invest in good quality embroidery thread to ensure vibrant colors and durability. Cheap thread may break easily and result in a patch that doesn’t hold up well over time.
- Before embroidering on your main fabric, test your design and thread colors on a scrap piece of fabric. This allows you to make any necessary adjustments and ensure the desired outcome.
- To prevent fraying, consider securing the edges of your fabric with a serger or zigzag stitch. This will add extra durability to your patches and give them a clean finish.
- Don’t be afraid to experiment with different stitch styles and textures to add depth and interest to your patches. Mix satin stitches, fill stitches, and decorative stitches to create unique effects.
- Embroidery can be a time-consuming process, so remember to take breaks to rest both yourself and your embroidery machine. This will prevent overheating and ensure optimal performance.
- Regularly clean your embroidery machine to remove lint and thread buildup. This helps maintain the quality of your stitching and prevents any potential issues during the embroidery process.
- Embroidery can be a meticulous and time-consuming craft. Practice patience and take your time to achieve the best results. Rushing through the process may lead to mistakes or uneven stitching.
- After completing your embroidery, trim any excess stabilizer from the back of the patch. This will help reduce bulk and make it easier to attach the patch to your desired surface.
- Above all, enjoy the process of creating your own embroidered patches. It’s a creative and fulfilling craft that allows you to express your individuality and showcase your skills. Embrace the journey and have fun along the way!
- While twill and felt are popular choices for embroidery patches, don’t limit yourself to just those options. Explore different fabric types like denim, canvas, or even specialty fabrics to add unique textures and visual interest to your patches.
- Adjust the tension settings on your embroidery machine according to the fabric and thread you’re using. Proper tension ensures that your stitches are even and prevents puckering or loose threads.
- Invest in embroidery software that allows you to digitize and edit your own designs. This gives you more control over the customization and allows you to create truly unique patches.
- Enhance your patches by incorporating additional embellishments such as sequins, beads, or rhinestones. These small touches can make your patches stand out and add a touch of sparkle.
- Master the art of trimming threads neatly by using small embroidery scissors or thread snips. Trim as close to the fabric as possible without cutting any stitches to achieve a clean and professional look.
- Adjust the stitch density of your embroidery design to ensure that the stitches are neither too sparse nor too dense. This helps maintain the integrity and clarity of your design while preventing thread breakage.
Remember, practice makes perfect, so don’t get discouraged if your first attempts aren’t flawless. With time, patience, and a bit of creativity, you’ll master the art of making beautiful embroidery patches. Happy stitching!
Conclusion:
Embroidery patches offer endless possibilities for expressing your creativity, and with the right supplies, you can embark on this affordable and enjoyable craft. By investing in essential tools like an embroidery machine, threads, stabilizer, fabric, and other cost-effective supplies, you can create stunning and personalized patches to enhance your garments and accessories. So, gather your supplies, unleash your imagination, and start stitching your way to beautiful embroidery patches!
If you are looking to digitize your embroidery designs, ZDigitizing is a reliable and professional company that provides complete digitizing and vector art services worldwide.
With a quick turnaround time and excellent quality, ZDigitizing is a great choice for your digitizing needs. You can click the link below to get a free quote in less than 5 minutes and avail a 50% discount on all our services for potential customers on their first order.
Hope it will be helpful for you guys!
If there’s any question related to this article you can simply ask in the comment section and don’t forget to share with those you think might be helpful for them.
And finally, thanks for reading!
Frequently Asked Questions
To embroider patches, you will need an embroidery machine, embroidery thread, stabilizer, fabric for the patches, embroidery design files, embroidery needles, and embroidery scissors.
Embroidery patches are commonly made using twill or felt fabric. These materials provide a sturdy base for the embroidery stitches and offer durability for long-lasting patches.
Twill fabric is often considered the best material for making embroidered patches due to its strength, smooth surface, and ability to hold intricate designs. It is widely used in the production of professional and high-quality patches.
To make your own embroidered patches, start by digitizing your design and transferring it to your embroidery machine. Hoop the fabric with stabilizer, embroider the design, and then trim the patch to the desired shape. Finally, attach a backing material using adhesive or stitching to create a finished patch.


