Working on large embroidery designs with applique might feel a bit overwhelming, but don’t worry—it’s easier than it looks! Using applique in big designs is a smart way to bring in vibrant colors and textures without piling on tons of stitches. This technique not only keeps the design light but also gives your project a clean, professional finish.
In this article, I’ll guide you step-by-step through the entire digitizing process, making it straightforward and enjoyable. By the end, you’ll have the know-how to create stunning, large-scale embroidery pieces that stand out. Let’s dive in and get started!
How To Digitize Large Embroidery Designs With Applique
Best Software for Digitizing Large Embroidery Designs with Applique
For creating large machine embroidery designs with applique, these software options are highly recommended due to their ease of use and powerful features.
- Hatch Embroidery Software
- Wilcom Embroidery Studio
- Brother PE-Design
- SewArt by S & S Computing
- Embrilliance Essentials
1. Hatch Embroidery Software
It is a versatile and user-friendly program developed by Wilcom, designed for both beginners and experienced embroiderers. It features an intuitive interface that simplifies the digitizing process and includes auto-digitizing tools that can convert bitmap images into embroidery designs. Additionally, it offers extensive learning resources, making it accessible for users at all skill levels.
Pros
- User-friendly interface suitable for beginners.
- Powerful auto-digitizing capabilities.
- Comprehensive support and tutorials available.
Cons
- Higher cost compared to some basic editing software.
- Advanced features may be overwhelming for absolute beginners.
2. Wilcom Embroidery Studio
Wilcom Studio is a professional-grade software known for its comprehensive suite of digitizing tools. It is widely used in the industry due to its high-quality output and advanced features, including sophisticated stitch editing and design creation options. The software supports both automated and manual digitizing of large embroidery designs, making it suitable for various user preferences.
Pros
- Robust tools for professional-quality designs.
- Offers both manual and automated digitizing options.
- Compatible with various embroidery machines.
Cons
- Steeper learning curve for beginners.
- Higher price point may not be suitable for hobbyists.
3. Brother PE-Design
It is specifically tailored for users of Brother embroidery machines, providing a straightforward approach to digitizing and design creation. Its user-friendly interface makes it accessible for beginners while still offering advanced features for more experienced users. The software includes integrated design tools optimized for Brother machines.
Pros
- Easy to navigate, ideal for beginners.
- Seamless integration with Brother embroidery machines.
- Includes essential design editing tools.
Cons
- Limited to Brother machines for optimal performance.
- May lack some advanced features found in other software.
4. SewArt by S & S Computing
It is a cost-effective solution designed for converting images into embroidery designs. It is particularly user-friendly, making it an excellent choice for beginners. SewArt provides basic editing tools and focuses on image conversion without overwhelming users with complex features.
Pros
- Affordable pricing makes it accessible to all users.
- Simple image-to-embroidery conversion process.
- Basic editing tools are easy to use.
Cons
- Limited advanced features may not satisfy professional users.
- Less robust than other higher-end software options.
5. Embrilliance Essentials
It is a popular embroidery software that runs natively on Mac and Windows systems. It offers a range of basic design customization and editing features, making it suitable for users who want to edit existing designs rather than create new ones from scratch. Embrilliance also provides modules that build upon its capabilities.
Pros
- Native support for Mac users.
- Modular system allows for gradual upgrades.
- Basic editing tools are intuitive and user-friendly.
Cons
- Limited digitizing capabilities compared to more advanced software.
- Users seeking extensive design creation tools might find it lacking.
Embroidery Digitizing & Vector Art Services
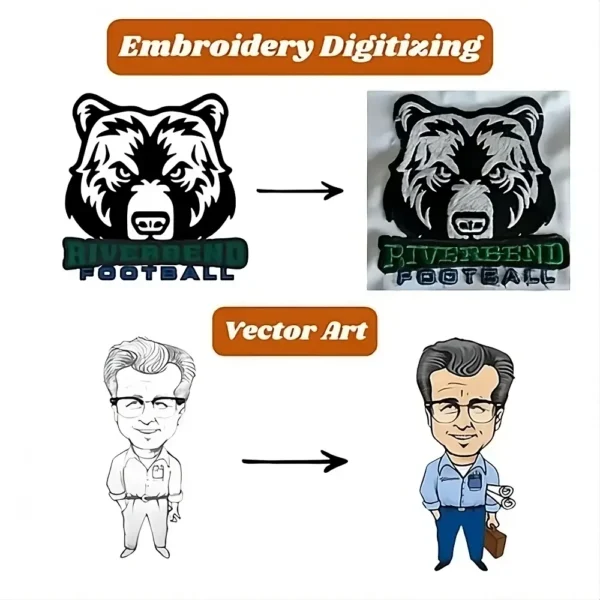
Looking for embroidery digitizing and vector art services that are affordable and reliable? We offer fast turnaround time, guaranteed quality, and the option to preview your design before payment, we make sure you get exactly what you need. Your satisfaction is our top priority, and we’re dedicated to delivering the best results. Don’t wait—try ZDigitizing today and see the difference in quality and service!
Embroidery Digitizing & Vector Art Services
Looking for embroidery digitizing and vector art services that are affordable and reliable? We offer fast turnaround time, guaranteed quality, and the option to preview your design before payment, we make sure you get exactly what you need. Your satisfaction is our top priority, and we’re dedicated to delivering the best results. Don’t wait—try ZDigitizing today and see the difference in quality and service!
Digitizing Large Embroidery Designs With Applique in Wilcom
To digitize large embroidery designs with applique in Wilcom Embroidery Studio, follow this step-by-step process for accurate and professional results.
Step 1: Set Up Your Workspace
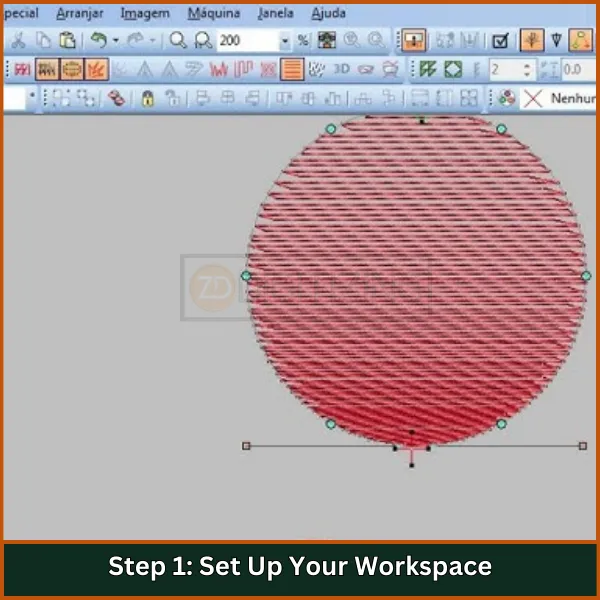
- Open Wilcom Embroidery Studio and create a new design file.
- Import your artwork by going to File > Import and selecting the image you want to digitize.
Step 2: Prepare the Design
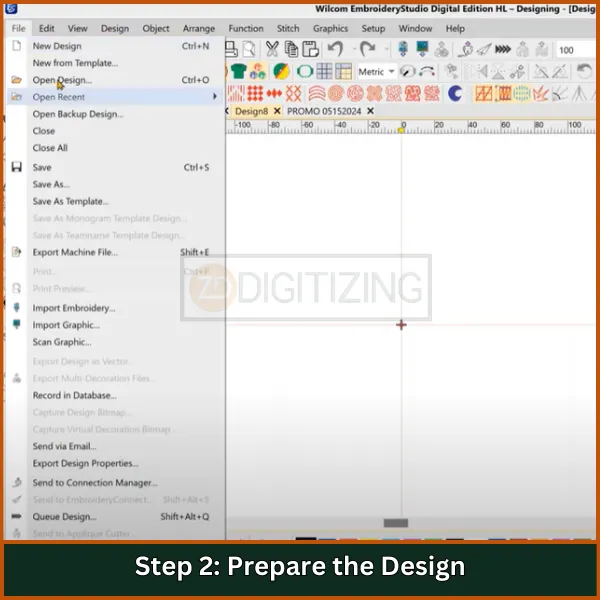
- Trace the Design: Use the Column A tool for satin stitches or the Fill tool for filled areas. This helps create the outline of your applique.
- Adjust Image Size: Scale your design to fit your desired embroidery area, ensuring it’s large enough for extra large embroidery designs.
Step 3: Create Applique Shapes
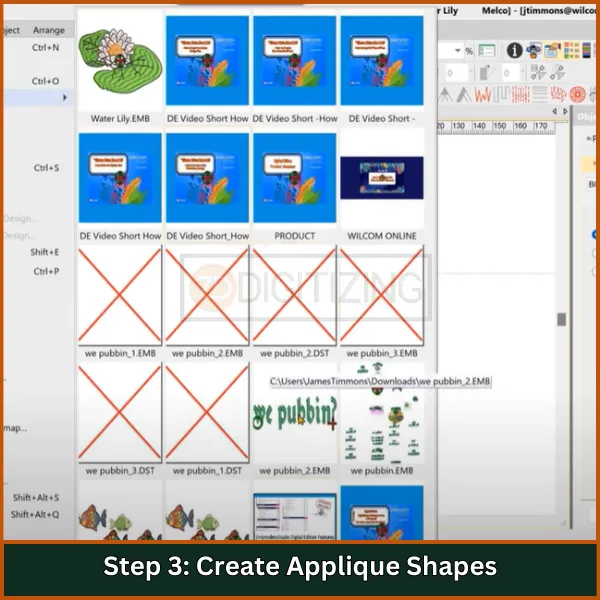
- Digitize the Applique Shapes: Use the Circle or Rectangle tool to outline where you want your applique pieces.
- Set Underlay Stitches: Add a light underlay stitch to secure the fabric before the main stitch to prevent shifting during embroidery.
Step 4: Digitize Tack Down Stitches
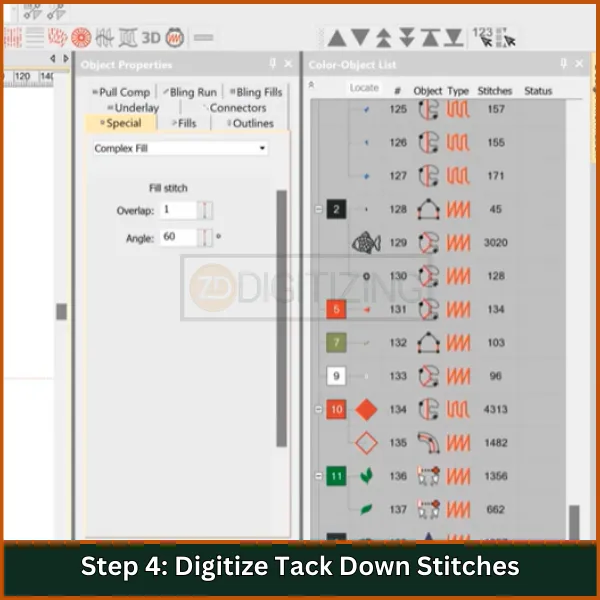
- Create Tack Down Stitches: After digitizing your applique shape, add a tack down stitch (single run or zigzag) to hold the fabric in place.
- Sequence Your Stitches: Use the Color Object List to arrange your stitch order, ensuring tack down stitches are placed before decorative stitches.
Step 5: Add Cover Stitches
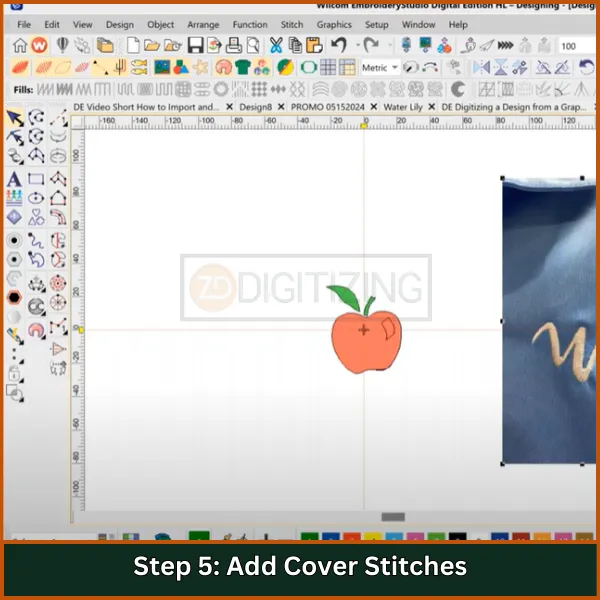
- Digitize Cover Stitches: Add cover stitches around the edges of the applique, using either a satin stitch or decorative fill stitch.
- Adjust Stitch Angles: Use the reshape tool (shortcut key ‘H’) to modify stitch angles for better coverage.
Step 6: Optimize Your Design
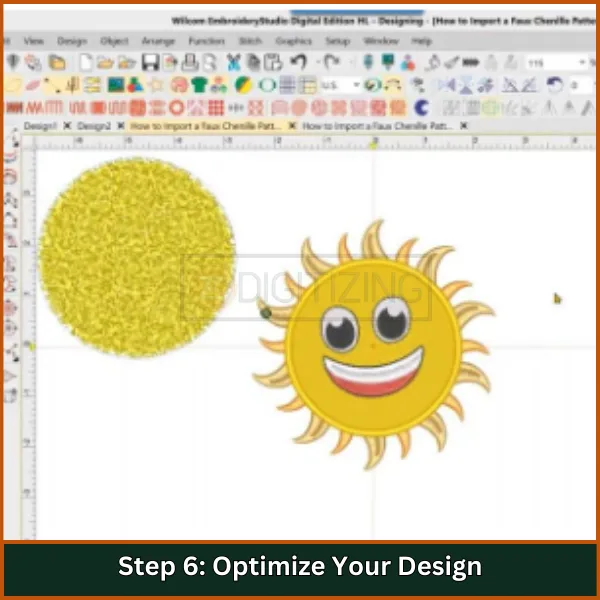
- Check Stitch Density and Length: Ensure stitches aren’t too dense to avoid puckering, especially in embroidery large designs.
- Preview Your Design: Use the True View feature to see how the design will look when stitched out.
Step 7: Finalize and Save Your Design
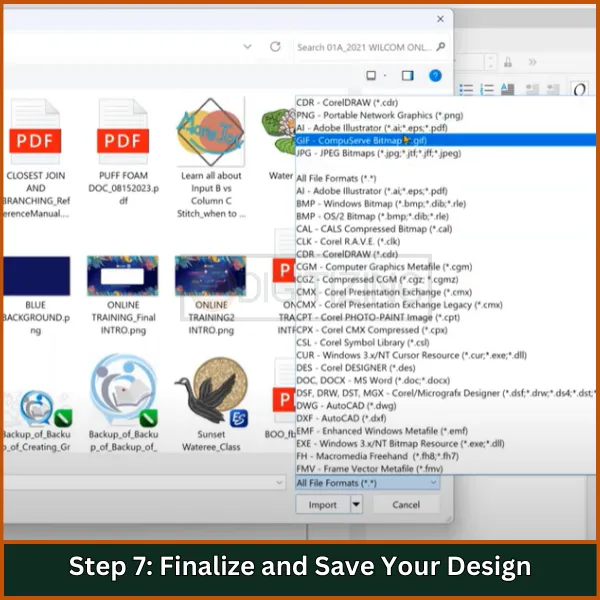
- Review and Edit: Make any necessary adjustments, checking for trims and reducing jumps.
- Save Your Work: Go to File > Save As and select the appropriate file format for your embroidery machine (e.g., .dst, .pes).
Step 8: Test Stitching
- Run a Test Stitch: Test on a similar fabric to ensure there are no issues with the stitch-out.
Additional Tips: Plan your sequence carefully to minimize trims and travel stitches. Zoom in when placing nodes and adjusting angles for precision.
Tips for Optimizing Large Designs with Applique
Here are some tips to help you optimize extra large embroidery designs with applique for better quality and efficiency:
- Digitize from Center to Edges: Start from the center of the design and work outward to prevent fabric wrinkles from forming in the middle.
- Work in Small Portions: Divide large designs into smaller sections. Complete each section before moving on to maintain control and precision.
- Use Proper Stitch Types: Select the correct stitch types for each part of the applique, like tack down and cover stitches, to improve durability and appearance.
- Adjust Stitch Density: Optimize stitch density to avoid puckering. Stitches that are too dense can distort the fabric.
- Incorporate Underlay Stitches: Add underlay stitches to stabilize the fabric before applying main stitches, preventing fabric shifting during embroidery.
- Utilize Color Management: Plan the color sequence carefully to reduce thread changes and trims, saving production time.
- Preview and Test: Preview your design in the software before stitching. Run test stitches on similar fabric to check for issues.
- Zoom In for Detail Work: Zoom in when digitizing small details to ensure precision with tracing and editing nodes.
- Consider Fabric Type: Select fabrics suitable for applique, as different materials may need specific handling or stitching techniques.
By following these tips, you can effectively digitize embroidery designs for high-quality, efficient embroidery.
Embroidery Digitizing & Vector Art Services

Looking for embroidery digitizing and vector art services that are affordable and reliable? We offer fast turnaround time, guaranteed quality, and the option to preview your design before payment, we make sure you get exactly what you need. Your satisfaction is our top priority, and we’re dedicated to delivering the best results. Don’t wait—try ZDigitizing today and see the difference in quality and service!
Embroidery Digitizing & Vector Art Services
Looking for embroidery digitizing and vector art services that are affordable and reliable? We offer fast turnaround time, guaranteed quality, and the option to preview your design before payment, we make sure you get exactly what you need. Your satisfaction is our top priority, and we’re dedicated to delivering the best results. Don’t wait—try ZDigitizing today and see the difference in quality and service!
Bottom Line
In conclusion, creating large embroidery designs with applique can add incredible detail and character to your projects while keeping stitch counts manageable. By following these steps, you’ll be able to achieve professional, high-quality results with ease.
And if you’re looking for expert help, our company offers top-notch digitizing services at the most affordable rates. We’re proud to provide a super-fast turnaround time with guaranteed quality, plus a preview option to ensure everything looks perfect before stitching.
For first-time customers, enjoy an exclusive 50% off your order. Let us handle the digitizing so you can focus on creating amazing designs!
FAQs
To turn a design into an applique, you first transfer your design onto the fabric, then cut it out and sew it onto your project using a tight zigzag stitch or satin stitch.
To applique embroidery designs, place the cut-out design on your base fabric, secure it with a temporary adhesive or basting stitches, and then use an embroidery machine or hand stitches to embroider around the edges.
Applique digitizing is the process of converting a graphic design into a digital embroidery pattern that can be read by an embroidery machine, specifically designed for creating appliques.
The technique used in appliqué digitizing involves creating a digital stitch file that outlines the design, includes a tack down and a cover stitch, and instructs the embroidery machine on where to place stitches to secure the applique fabric to the base material.

