Removing unwanted stitches without destroying your garment is a science of preservation. Using the right embroidery removal tool keeps the structural weave of your fabric safe while cleanly lifting thread. Selecting proper tools and techniques ensures your base fabric remains smooth, clean, and completely undamaged.
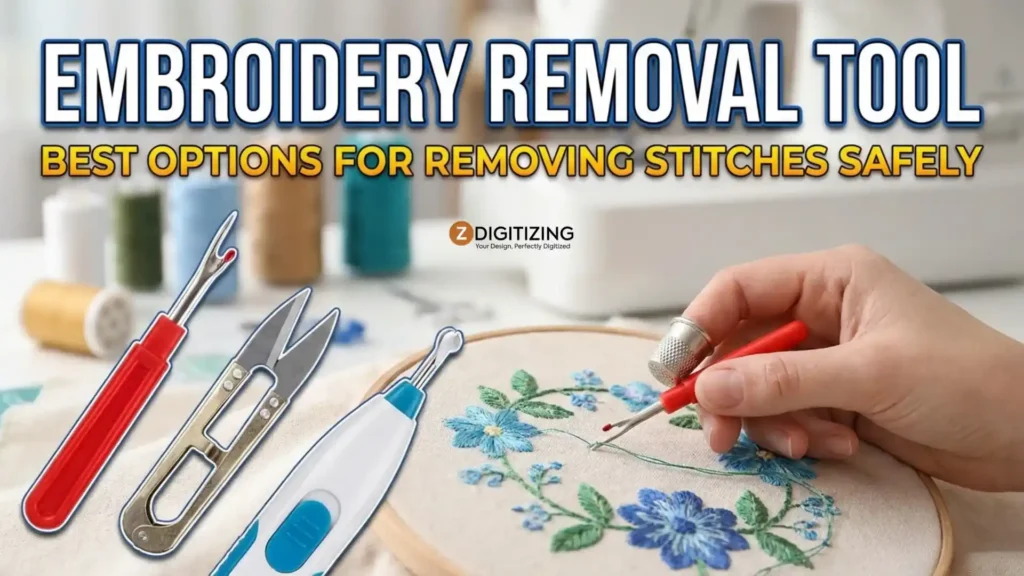
Embroidery Removal Tool: Best Options for Removing Stitches Safely
Anatomy of an Embroidery Design: Why It’s Hard to Remove
Understanding stitch construction makes thread removal faster, easier, and much safer for all types of fabric.
Machine vs. Hand Stitches
Machine embroidery relies on tension between two distinct threads. Hand embroidery uses continuous split or satin strokes. Picking the right embroidery removal tool prevents unnecessary friction against hand-sewn fibers.
The Role of the Bobbin Thread
Machine embroidery typically balances 1/3 top thread with 2/3 bobbin thread on the underside. Slicing the white bobbin loops releases top stitches effortlessly. Using an embroidery removal tool on the bobbin side makes removing large designs easy.
Underlay Stitches
Before main fill patterns appear, machines lay down run stitches and fill matrices. You must sever this invisible foundation network to release the top design cleanly. Using a proper embroidery removal tool helps clear these tight foundation lines without cutting the base cloth.
Stabilizers and Adhesives
Tear-away, cut-away, and spray adhesives bind stitches to garment fibers. Selecting a reliable embroidery thread removal tool allows you to navigate these stiff layers cleanly.
The Core Tool Kit: Detailed Evaluations & Reviews
Selecting the best tool for removing embroidery stitches depends on your budget, fabric type, and the total size of the design.
Electric Stitch Erasers (The Industry Gold Standards)
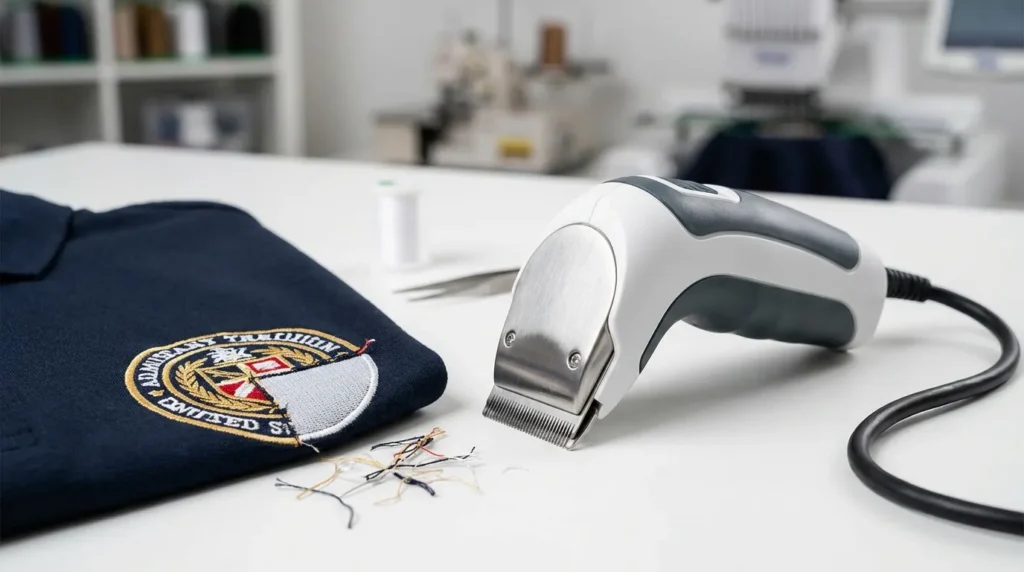
Electric stitch erasers provide high-speed motor power that quickly shears heavy bobbin thread lines on large embroidery designs.
1. Peggy’s Stitch Eraser 9
Specification | Verified Detail |
Product Type | Heavy-Duty Electric Stitch Eraser |
Blade System | 40mm Stainless Steel Fine-Tooth |
Power Source | Corded AC Unit |
Ideal Use Case | Large jacket backs and dense fill designs |
Important Limitation | Requires constant power outlet access |
Peggy’s Stitch Eraser 9 is designed for commercial stitch clearing. Its 40mm stainless steel fine-tooth blade cuts through dense backing stitches without pulling surrounding fibers.
This high-efficiency unit works exceptionally well when clearing large uniform embroidery areas. If you need a reliable automatic stitch removal tool for heavy commercial jobs, this corded unit delivers consistent power without slowing down.
Relying on a heavy-duty embroidery removal tool speeds up shop cleanup tasks significantly.
2. Wahl Peanut Stitch Eliminator
Specification | Verified Detail |
Product Type | Compact Rotary Electric Clipper |
Blade System | Detachable Precision Cutting Head |
Power Source | Corded / AC Adapter |
Ideal Use Case | Small monograms and tight corners |
Important Limitation | Blades heat up quickly during extended use |
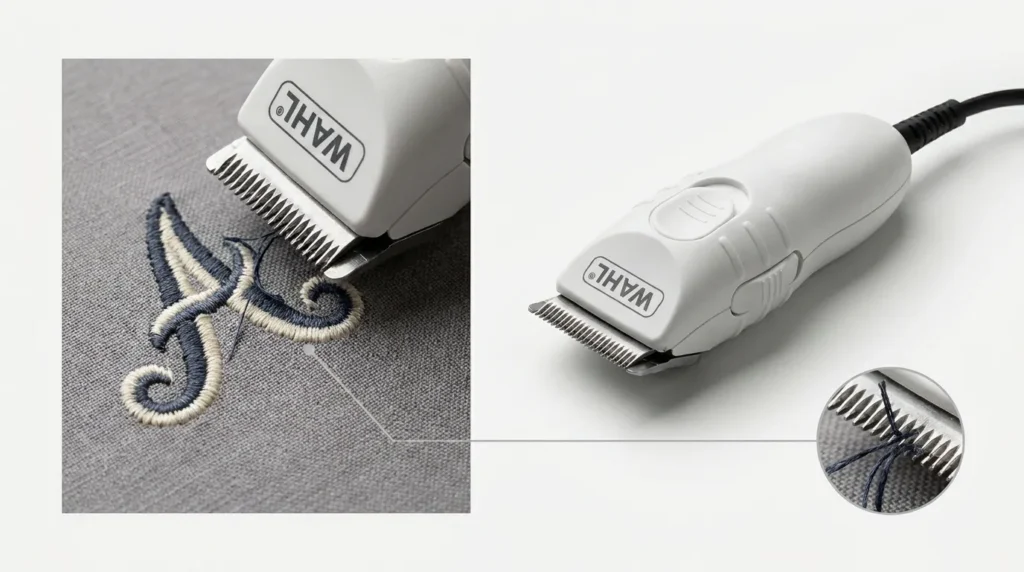
The Wahl Peanut leverages commercial hair trimmer mechanics adapted for commercial sewing repairs. Its compact body offers exceptional control across curved surfaces, making it a reliable machine embroidery removal tool for tight lettering.
Operating a handheld embroidery removal tool around small logos protects delicate fabric borders from accidental nicks.
3. Generic Cordless USB Eraser
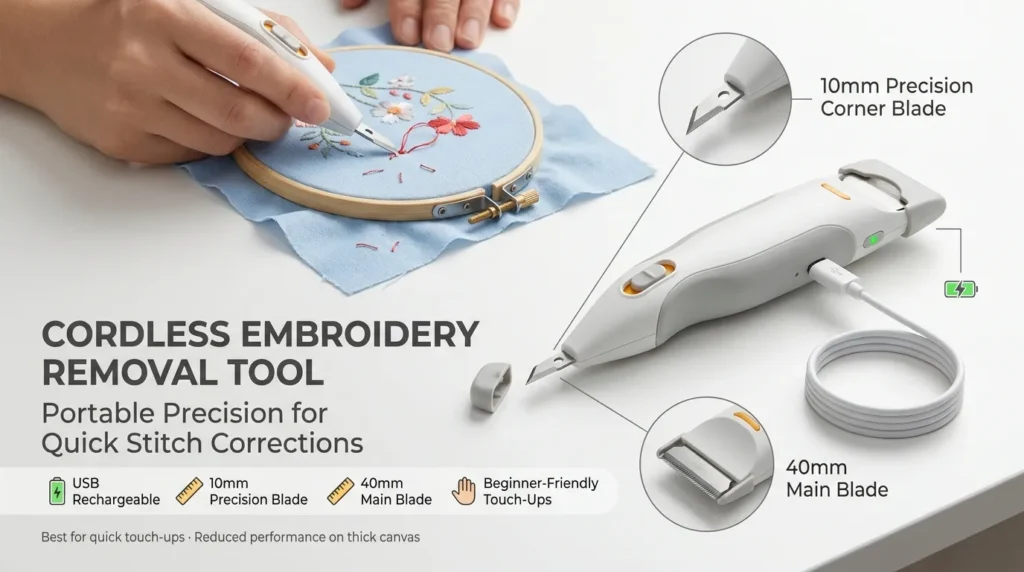
Specification | Verified Detail |
Product Type | Portable Dual-Blade Cordless Trimmer |
Blade System | 10mm Corner Blade & 40mm Main Blade |
Power Source | Rechargeable Lithium-Ion Battery |
Ideal Use Case | On-the-go quick fixes and touch-ups |
Important Limitation | Battery output degrades under thick canvas |
This USB-rechargeable unit provides mobility without trailing power cords. Featuring a narrow 10mm head alongside a standard 40mm blade, it helps beginners clear localized sewing mistakes easily.
Choosing an ergonomic embroidery removal tool for beginners helps prevent accidental slips on delicate weaves. Having a battery-powered embroidery removal tool at your workstation makes small daily fixes simple.
Manual Precision Tools (The Traditionalists)
Manual tools give you complete hand control when working on delicate fabrics or very tight details.
1. Ergonomic Soft-Grip Seam Rippers
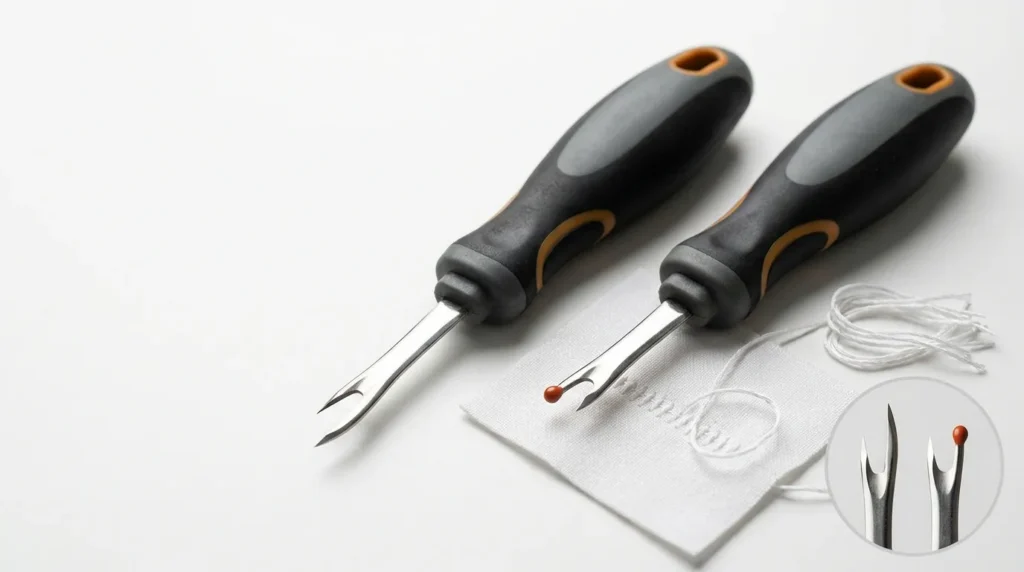
Standard flat-tip and ball-tip seam rippers remain essential bench tools. Using the best seam ripper for removing stitches allows control when lifting isolated thread loops.
A sharp manual embroidery removal tool lets you work slowly around intricate shapes.
2. Surgical Scalpels & Thread Snips
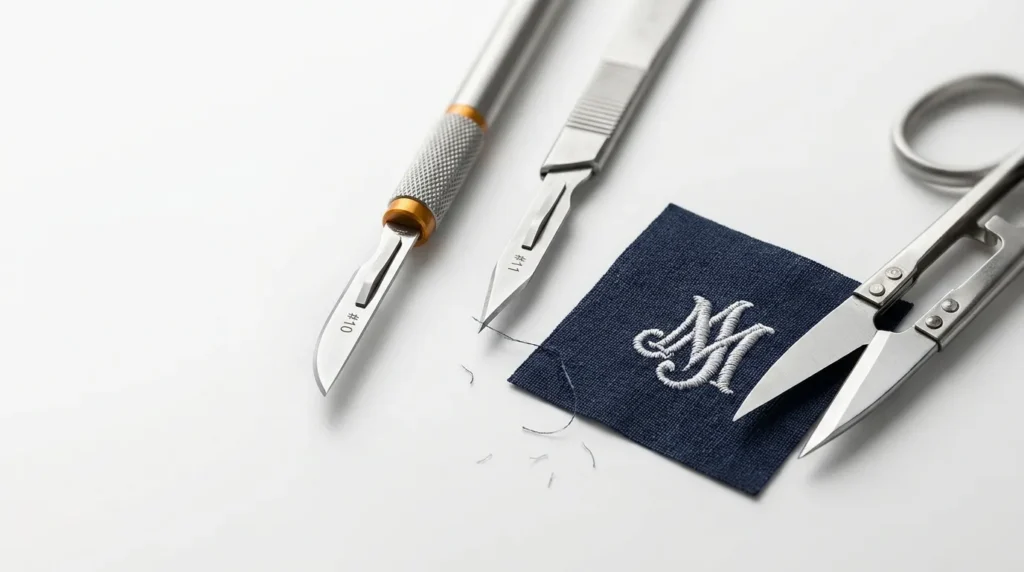
Using #10 or #11 scalpel blades provides surgical accuracy for tight monograms. High-grade thread snips easily clip dense underlay paths. A precision embroidery removal tool like a scalpel cuts tiny threads without pulling the garment.
3. Curved Micro-Tweezers & Hemostats

Specialized micro-tweezers grip severed thread segments directly. Hemostats pull locked fibers straight out without fraying warp and weft strands. Working with an auxiliary embroidery removal tool set speeds up thread extraction after cutting.
4. Lint Rollers and Duct Tape
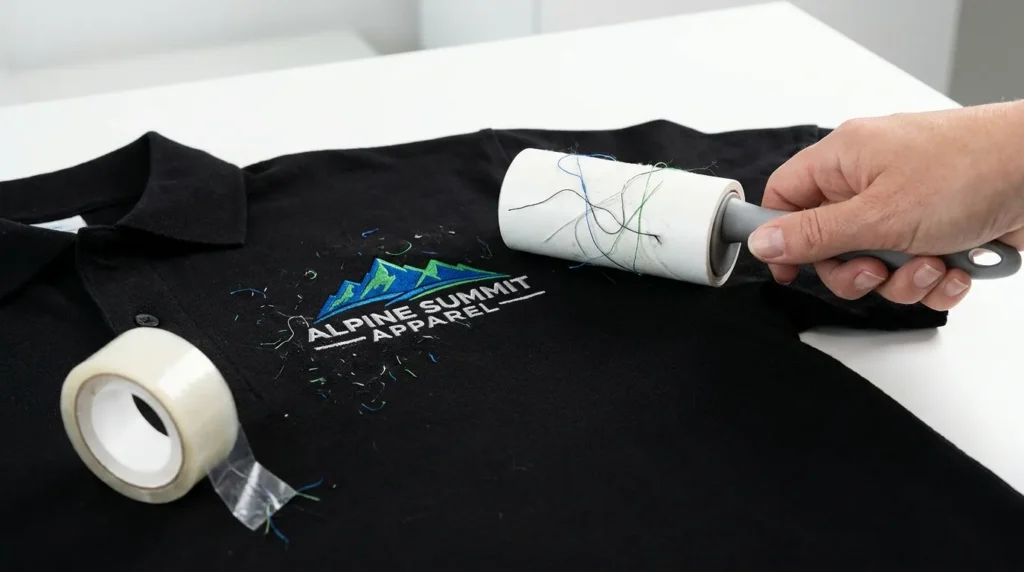
Low-tech adhesive rollers pull cut thread debris off the garment surface immediately after cutting. Cleaning up small thread fuzz with a tape roll keeps your workspace tidy.
Comprehensive Comparison Matrix: Tool Selection Guide
Comparing tool features side-by-side helps you pick the safest option for your specific garment project.
Tool Type | Speed | Budget | Fabric Safety | Precision Level | Ideal Design Size |
Peggy’s Stitch Eraser | Very High | High (60–90) | Moderate | High | Large Fill / Jacket Backs |
Wahl Peanut | High | Mid (40–60) | Moderate | High | Medium Logos & Crests |
Cordless USB Eraser | Moderate | Low (20–35) | High | Moderate | Small Lettering & Edges |
Ergonomic Seam Ripper | Low | Very Low (5–12) | Moderate | Very High | Single Line Stitches |
Surgical Scalpel | Low | Low (10–15) | Low (Needs skill) | Extreme | Micro Monograms / Fine Details |
Every worker should select an embroidery removal tool based on fabric thickness and total stitch count.
Step-by-Step Blueprint for Electric Stitch Removal
Following a structured step-by-step method prevents accidental blade bites and fabric tears. Learning how to remove embroidery stitches safely requires a systematic approach from the back side of the fabric.
Phase 1: Stabilization
Keep the garment firmly hooped or clamped flat to maintain counter-tension while shaving stitches. Securing the fabric flat keeps your embroidery removal tool moving smoothly without catching.
Phase 2: The Reverse Attack
Always turn the garment inside out. Work strictly on the bobbin thread side to protect the front face of your item. Guiding your embroidery tool on the back protects surface threads.
Phase 3: The Skimming Technique
Hold your embroidery removal tool at a 30-to-45-degree angle. Skim gently against the stitch direction without forcing blade teeth into the weave. Running a removal tool at a low flat angle prevents snags.
Phase 4: Top-Side Extraction
Flip the item back to the front face. Use micro-tweezers to harvest loosened top threads smoothly.
Phase 5: Debris Clearing
Sweep away loose fibers with a lint roller before residual thread fragments bind into the backing matrix. Clearing fuzzy lint quickly keeps your work surface visible and clean.
Step-by-Step Blueprint for Manual Precision Removal
Manual stitch removal relies on sharp tools, clear lighting, and steady hand pressure.
Knowing how to use an embroidery stitch remover manually helps protect fragile garments. Using a manual embroidery stitch remover allows you to isolate single thread loops without cutting fabric yarns.
Using a fine manual embroidery removal tool in small sections prevents stretching thin shirts.
Phase 1: Lighting and Magnification
Set up a bright LED lamp and desktop magnifying glass. Good lighting highlights individual thread loops and prevents eye strain.
Phase 2: Isolating the Lockstitches
Turn the garment inside out and slide your embroidery removal tool flat and parallel to the cloth. Never point blade tips downward into fabric fibers.
Phase 3: Sectional Cutting
Cut stitches in small 1/2-inch sections instead of making long sweeps. Slicing in small blocks keeps fabric tension even and prevents pulling.
Phase 4: Root Extraction
Flip to the front and use micro-tweezers to pull out severed top threads. Always pull threads in their original sewing direction to prevent puckering. Using a fine manual embroidery removal tool in small sections keeps your garment flat and smooth.
Fabric-Specific Protocols & Risk Mitigation
Different fabrics require different tools and cutting speeds to avoid permanent holes.
- Heavy Wovens (Denim, Canvas): Heavy fabrics endure higher blade speeds, making electric tools completely safe. Using a motor-driven embroidery removal tool on thick denim cuts work time in half.
- Stretchy Knits (Polos, Hoodies): Knits snag easily. Using safe embroidery removal tools prevents pulling knit loops into runs or ladders. Always move your embroidery removal tool slowly across stretchy materials.
- Delicate & Sheer Fabrics (Silk, Satin, Linen): Electric clippers can shred sheer weaves. Stick strictly to manual scalpels and micro-snips. Avoid using a fast electric embroidery removal tool on delicate silk or fine linen.
- Caps and Headwear: Structured 6-panel caps contain thick buckram backings. Use short, angled strokes to work over stiff internal seams. A compact embroidery removal tool fits neatly into tight curved hat crowns.
Post-Removal Fabric Rehabilitation (Erasing the Ghosting Effect)
Realigning fabric threads after cutting restores the original appearance of your garment. After removing thread, garments often show needle impressions or displaced fibers known as “ghosting.”
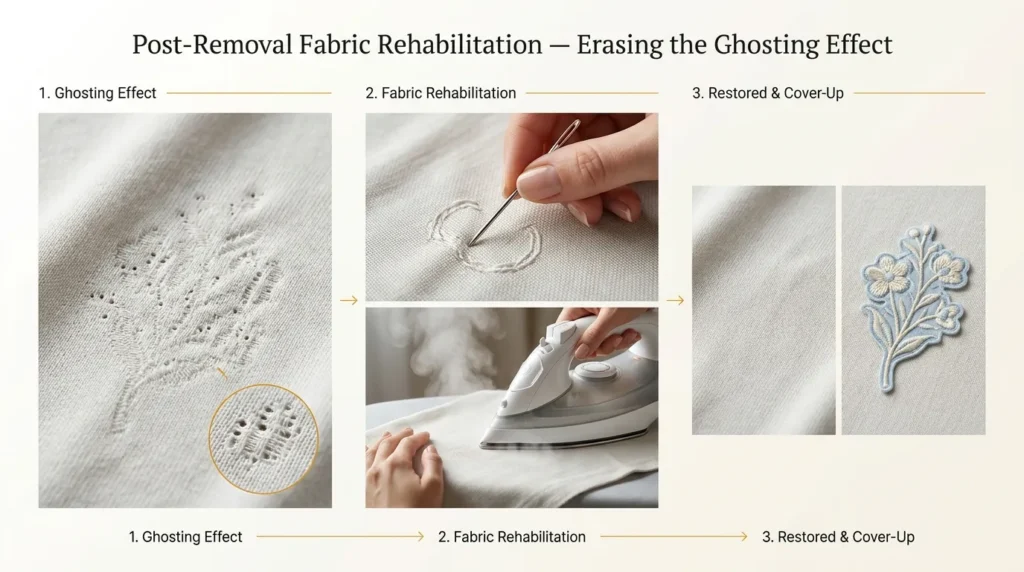
What is “Ghosting”?
Ghosting refers to fiber indentation, needle puncture marks, or structural stretch left behind after removing dense designs.
The Blunt Needle Manipulation Trick
Rub a blunt tapestry needle gently across the back of the fabric in small circles to realign displaced warp and weft fibers.
Moisture and Thermal Resetting
Apply heavy steam while pressing the fabric from behind. Moisture and heat cause stretched fibers to contract, closing puncture holes.
Decorative Camouflage Solutions
If needle holes remain visible, cover the area with new custom embroidery or decorative patch overlays.
Common Mistakes to Avoid (The “Do Not” Checklist)
Avoiding basic operator mistakes saves high-value garments from permanent ruin.
- Pushing Downward: Applying vertical pressure drives cutter teeth directly through garment fibers, causing blade bites. Pressing an embroidery removal tool hard against fabric cuts holes instantly.
- Working from the Front First: Cutting top threads creates frayed knots that lock permanently into the stabilizer matrix.
- Ignoring Blade Heat: High-speed friction heats up metal blades quickly. Hot blades easily melt synthetic polyester or nylon threads into hard plastic lumps. Let your embroidery removal tool cool down periodically during big jobs.
- Rushing the Underlay: Attempting to pull top threads before completely severing underlay lines tears the base fabric. Using an embroidery removal tool patiently protects sensitive garment weaves.
Perfecting Garment Recovery and Next Steps
Choosing the right equipment and working slowly ensures your clothes stay safe during stitch repair.
Erasing old stitches requires patience and the right gear. Choosing the best tool for removing embroidery stitches ensures your garments remain intact, whether you are fixing a small monogram or preparing a jacket for a new logo.
Picking the best tool for removing embroidered logos helps protect high-value uniforms during brand updates. Using a high-quality embroidery removal tool makes difficult fixing jobs much easier for any shop owner.
For complex fixes or dense designs, relying on high-speed embroidery removal equipment saves valuable shop hours. Mastering every embroidery removal tool technique gives you complete confidence when salvaging misprinted clothing. When taking on new client projects, starting with clean, digitized files prevents costly removal mistakes down the road.
If you want to avoid stitch mistakes altogether on your upcoming orders, partnering with experts makes a massive difference. ZDigitizing offers fast embroidery digitizing services in USA and worldwide, delivering clean, machine-ready files with a super-fast 4-to-12 hour turnaround time, free unlimited revisions, and 24/7 expert support.
New customers get 30% off on first orders, ensuring your custom designs embroider smoothly without thread breaks or structural defects.