Removing how to remove embroidered logo from your clothes is easier than you might think. Maybe you found a great jacket with an unwanted company logo, or you want to reuse an old work shirt. The good news is that you do not have to throw it away. With the right method and a little patience, you can remove the embroidery without damaging the fabric. In this guide, we will show you the safest way to do it at home.
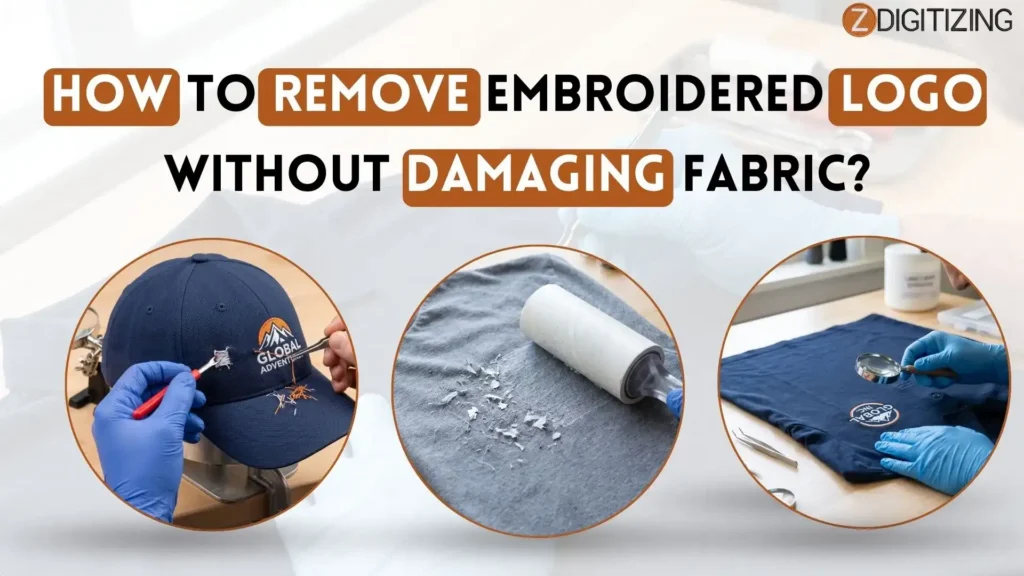
How to Remove Embroidered Logo Without Damaging Fabric?
Understanding the Stitch: How a Logo is Embroidered in the First Place
To master how to remove embroidered logo designs, you first need to understand how they get onto your clothes. Machine embroidery is not like regular hand sewing. When a machine creates an embroider logo, it uses two different threads at the same time.
The first thread is the top thread. This is the colored thread you see on the outside of your shirt that forms the actual picture or text.
The second thread is the bobbin thread. This is usually a white or black thread hidden on the inside of the garment. The machine continuously loops these two threads together at high speeds to lock the design flat against the material.
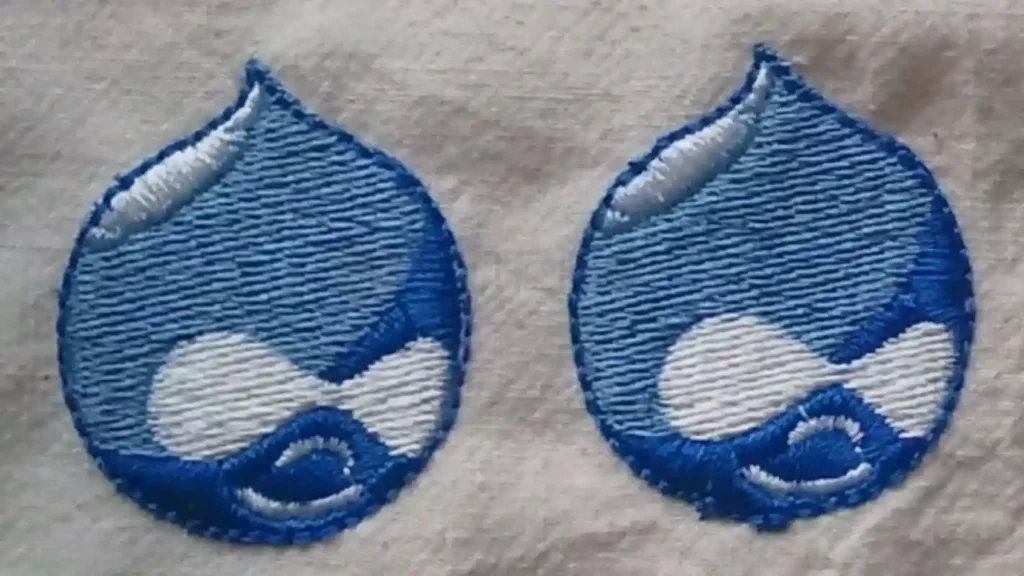
When companies decide on embroidering a logo, they want it to last forever. They use tight satin stitches for text outlines and heavy fill stitches to color in large shapes.
Because these stitches are packed tightly together, trying to pull them from the front will fail and tear your clothing. To reverse the process of embroidering logo art, you must always attack the hidden bobbin threads on the back first.
If you need fast embroidery digitizing services in Spain, you can also get help from ZDigitizing. We provide high-quality embroidery digitizing at affordable prices, and you can even see a preview of your design before making any payment. This helps you make sure everything looks right before production starts.
Essential Tools for Safely Removing Embroidered Logo Designs
You cannot just grab a pair of kitchen scissors and expect a clean result when learning how to remove embroidered logo patterns. You need the right tools to prevent accidental cuts in the garment fabric.
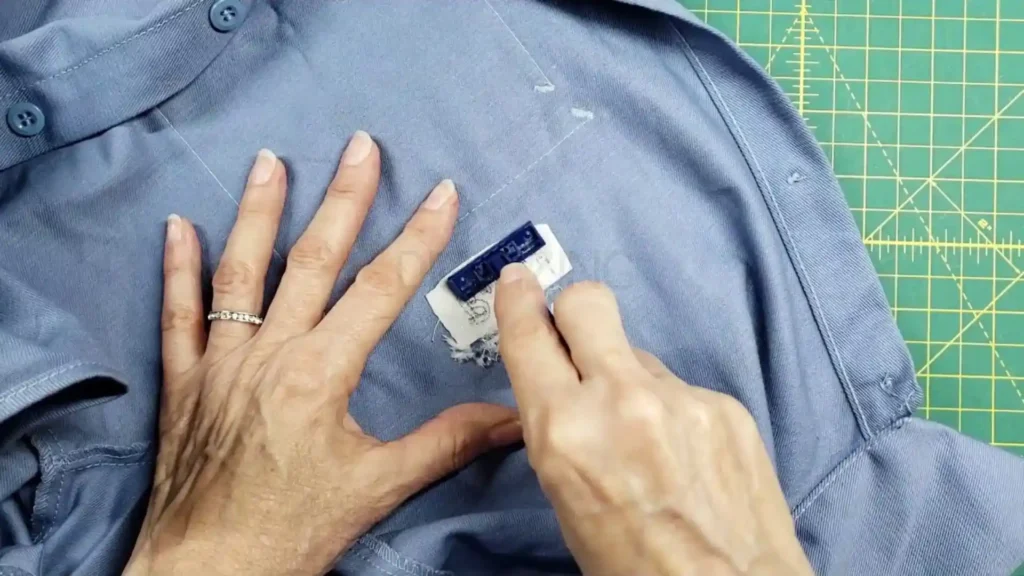
Fortunately, these tools are highly affordable and easy to find at any local craft store or online marketplace. Let us look at what you should have on your workspace table before you begin, how to embroider a logo.
Recommended Tool Comparison Table
Tool Name | Best Used For | Risk Level to Fabric | Average Cost |
Seam Ripper | Small text, delicate lines, and tight corners | Low to Medium | $2 – $5 |
Embroidery Eraser | Large fill areas and thick corporate logos | Medium | $20 – $40 |
Fine-Tip Tweezers | Plucking out short, cut threads from the front | Very Low | $3 – $6 |
Magnifying Lamp | Seeing tiny thread loops without straining your eyes | Zero Risk | $15 – $30 |
Having a high-quality seam ripper is your best tool when learning how to remove embroidered logo stitches safely. A good seam ripper has a sharp, curved blade inside the fork and a tiny red ball on the longer tip.
This red ball is designed to slide underneath the threads while pushing the fabric safely away from the sharp edge.
If you are removing embroidered logo designs from multiple shirts, investing in an electric embroidery eraser will save you hours of manual labor.
It looks like a pair of hair clippers, but its specialized blades are engineered to shave through thin bobbin threads without chewing up the clothing fibers.
Step-by-Step Guide: How to Remove Embroidered Logo Without Damaging Fabric
Now we are ready for the core process. Be patient and complete each step carefully. Take your time, work under good lighting, and remember that patience is the ultimate secret to learning how to remove an embroidered logo properly.
Step 1: Prepping Your Garment and Choosing Your Work Surface
First, turn your garment completely inside out. You should always do the cutting work on the backside of the remove embroidered logo from clothing project. Find a hard, flat surface like a clean wooden desk or a kitchen table.
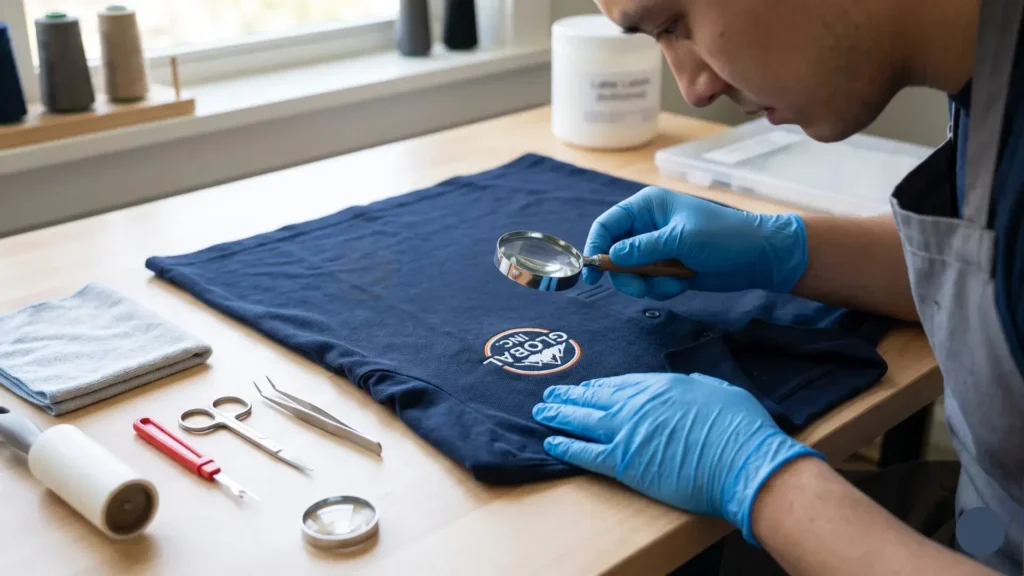
Do not try to do this on your lap or on a soft bed because the fabric will sag, making it way too easy to slice an accidental hole in your shirt.
Look closely at the back of the design. You will likely see a white, paper-like material covering the area. This is called the stabilizer backing. It is used during manufacturing to keep the fabric stiff while the machine is active.
If you are learning how to remove embroidered logo stitches, gently trim any loose stabilizer with scissors so you can clearly see the tiny bobbin threads underneath.
Step 2: Cutting the Bobbin Threads from the Backside
Slide the long tip of your seam ripper carefully under a small section of the bobbin threads. Slip the tool forward so the thread hits the curved blade and snaps. Work in small sections, cutting about five to ten stitches at a time.
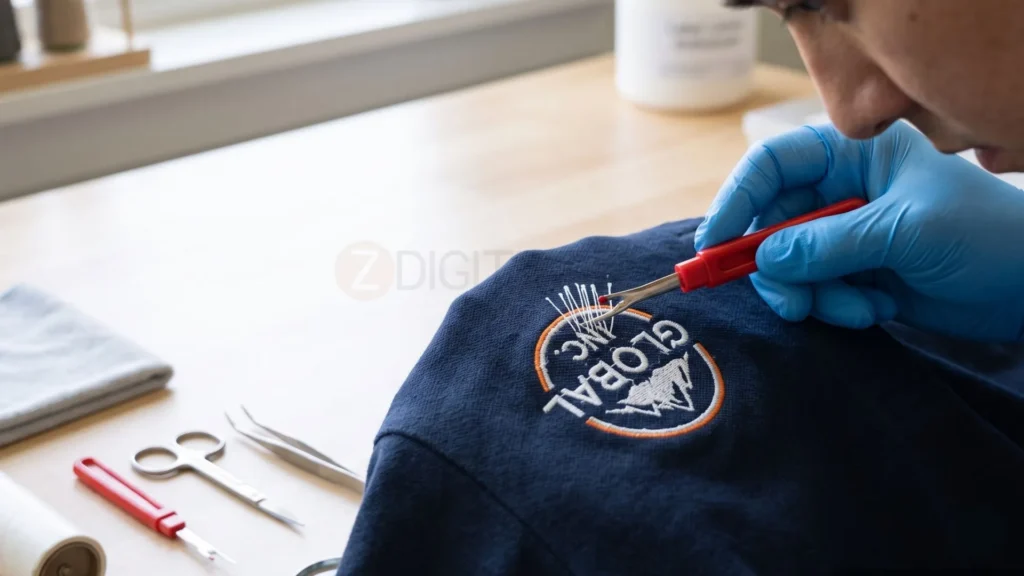
If you are removing embroidered logo pieces with an electric eraser, hold the fabric completely taut with one hand. Place the eraser blades flat against the bobbin threads and move it in short, gentle downward strokes.
As you work on how to remove embroidered logo stitches, the white bobbin threads will turn into soft lint. Apply gentle pressure and let the tool do the work.
Step 3: Pulling the Top Stitches from the Front
Once you have sliced through a section of bobbin threads on the reverse side, flip the garment over to the front. Take your fine-tip tweezers and grab the loose ends of the colored top threads. Gently pull them upward.
Because their locking bobbin loops on the back are now broken, the top threads should slide out of the fabric holes easily.
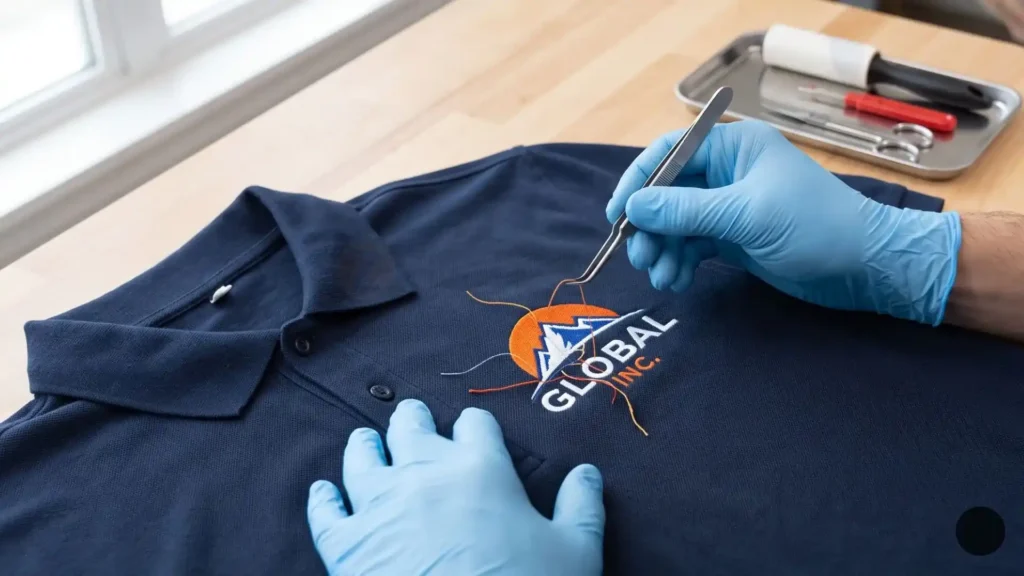
If you feel strong resistance while learning how to remove embroidered logo stitches, stop immediately.
Do not yank!
Resistance means there is still an uncut bobbin thread holding it tight on the back.
Flip the shirt back over, find that stubborn stitch, snap it with your seam ripper, and then return to the front to resume plucking with your tweezers. This careful back-and-forth rhythm is vital for removing embroidery from fabric cleanly.
Step 4: Cleaning Up the Leftover Thread and Stabilizer Backing
After pulling out all the main thread layers, you will be left with dozens of tiny whisker threads and small bits of stabilizer clinging to the fabric grid. Take a strip of heavy-duty packing tape or a sticky lint roller and press it firmly down onto the picked area.
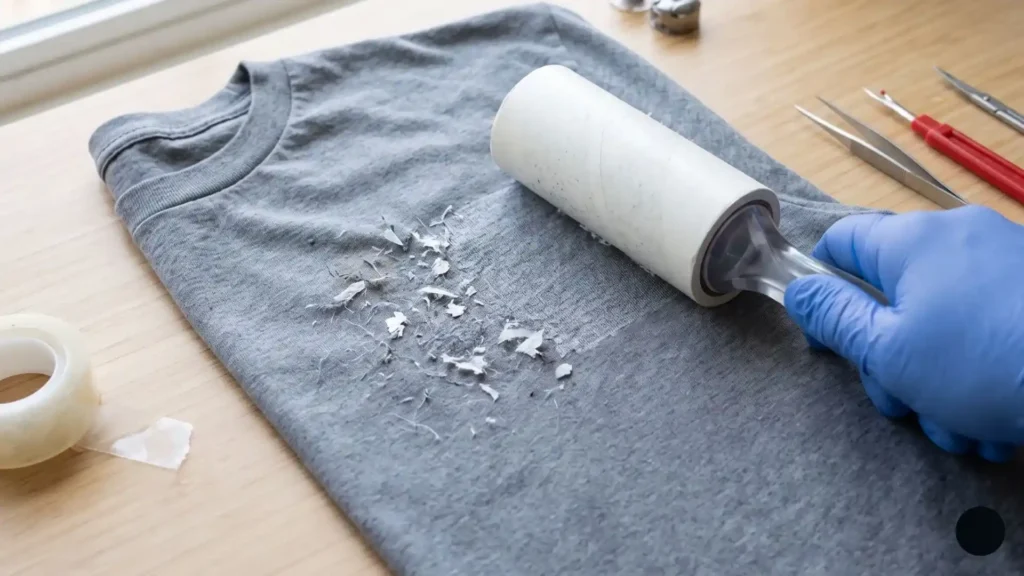
Pull the tape away quickly to lift all those tiny loose thread fragments out of the cloth matrix. Flip the garment over and repeat this process on the inside.
After how to remove embroidered logo stitches, examine the area under your magnifying light to ensure every stray thread has been cleared from the fabric weave.
Fabric-Specific Instructions: Polos, Shirts, and Caps
If you are wondering can you remove an embroidered logo from different types of clothing, the answer is yes, but each fabric needs a different approach. A method that works well on a thick winter jacket could easily damage a thin summer T-shirt.
Let us examine how to adapt your skills for different clothing items when you want to remove embroidered logo from clothing setups.
How to Handle Knits on a Polo Embroidered Logo?
Polo shirts are usually made of a textured pique knit or a stretchy jersey knit material. These fabrics are woven loosely, which means the embroidery needle can easily push the garment fibers out of line. When working on a polo embroidered logo, you must be incredibly gentle.
While doing how to remove embroidered logo, the knit loops can snag if you move the seam ripper too fast. Keep it parallel to the fabric and never point the sharp tip downward.
Because knit fabrics stretch, avoid pulling the embroidery threads sideways, as this can distort the shape of the shirt permanently. Always pull the stitches straight up and out.
Ripping Stitches Safely from Structured Caps with Embroidered Logo Customizations
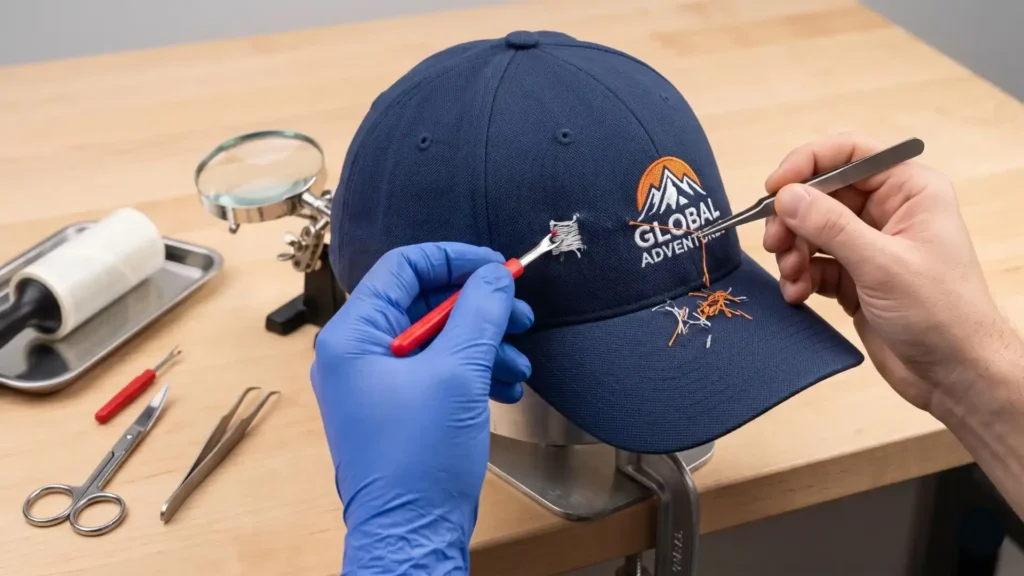
Hats present a unique challenge because they are curved, stiff, and awkward to hold flat. Working on caps panels requires you to change your grip technique.
To make the process easier, stuff the inside of the hat tightly with a rolled-up towel. This creates a firm, rounded surface that mimics a human head, keeping the embroidered panel steady while you work.
Because baseball caps use thick buckram stabilizer panels to maintain their shape, the stitches are often embedded deep inside the front panel. You will need to use your tweezers with a bit more leverage here.
When doing how to remove embroidered logo, take extra care around the hat panel seams so you do not accidentally cut the structural threads holding the panels together.
Tips for Thin Fabrics and Shirts Embroidered Logo Treatments
Dress shirts, blouses, and performance athletic wear are made of thin, tightly woven threads. When a manufacturer adds a shirts logo element to these items, the needle punctures create high tension in the surrounding area.
When doing how to remove embroidered logo on delicate fabrics, avoid using an electric embroidery eraser because it can cause a tear. Use a manual seam ripper under a bright magnifying lamp and cut only two or three stitches at a time.
It takes longer, but it ensures your expensive dress shirts remain wearable when you are removing embroidery from fabric.
Post-Removal Care: How to Fix Holes Left Behind by Stitches
Congratulations!
You have cleared away all the thread, but now you face a new problem: the fabric looks like a giant screen door full of tiny pinholes.
Do not panic!
These holes are not actually torn threads; they are just gaps where the embroidery needle pushed the fabric fibers apart.
With the right post-care routine, you can encourage those fibers to slide back into their original positions. This step is a crucial element of mastering how to remove embroidered logo markings perfectly.
Massaging the Fabric Fibers and Using Steam
To begin healing the garment texture, place the fabric flat on an ironing board. Take the edge of a clean coin, a plastic guitar pick, or even your thumbnail, and gently scrape it across the pinholes. Rub horizontally, then vertically, and finally diagonally.
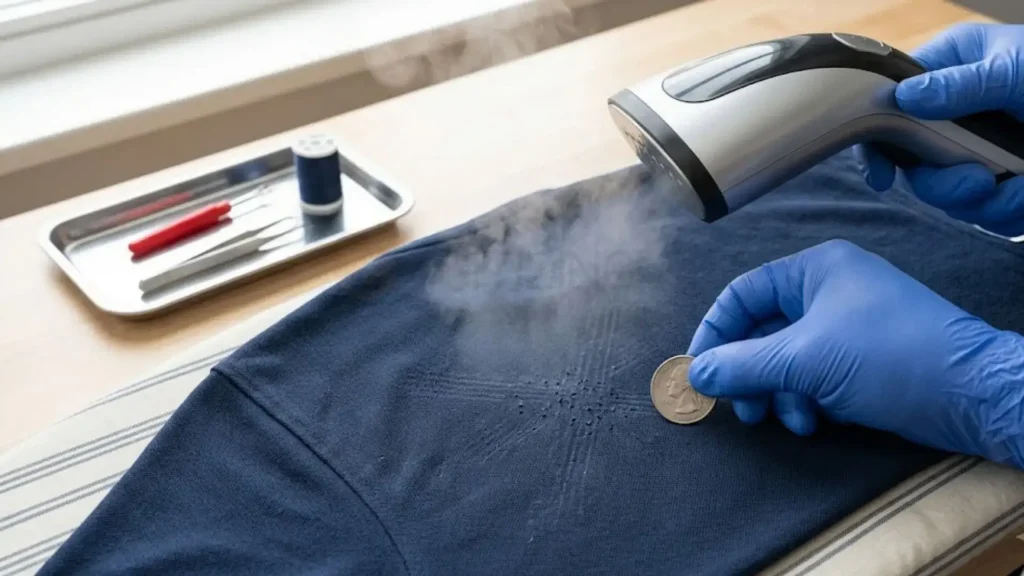
This manual rubbing motion creates light friction that coaxes the displaced threads back into alignment.
After how to remove embroidered logo stitches, hold a steam iron about one inch above the fabric and apply several bursts of steam. The heat helps the cotton or polyester fibers return to their natural shape and reduces visible needle holes.
Washing and Drying Strategies to Reset Thread Gaps
Once you have steamed the area, run the garment through a regular laundry cycle. Use warm water for cotton shirts and cold water for delicate athletic gear. The agitation of the washing machine encourages the fabric threads to interlock naturally once again.
After how to remove embroidered logo stitches, tumble dry the shirt according to its care label instructions. The combination of water, agitation, and drying heat helps the fabric weave return to its natural shape.
When you pull the shirt out of the dryer, you will be amazed to see that the old ghost outline of the logo has completely vanished!
Common Mistakes to Avoid When You Remove Embroidered Logo Designs
Even smart DIY crafters make errors when they attempt to how to remove embroidered logo steps for the first time. Being aware of these pitfalls will keep your wardrobe safe.
Mistake vs. Solution Troubleshooting Guide
Common Mistake | Why It Happens | How to Avoid / Fix It |
Pulling threads too hard from the front | Bobbin thread is still uncut on the back | Stop pulling immediately. Flip the fabric over and cut the anchoring knot. |
Using an embroidery eraser at a steep angle | Blade tips dig straight into the fabric | Keep the clipper head completely flat against the backing material. |
Rushing through small lettering | Speed causes the tool to slip out of control | Work letter by letter, cutting only a few tiny strands at a time. |
Skipping the post-removal steam process | Assuming the holes will fix themselves | Always use heat and friction to memory-reset the fabric weave. |
One of the biggest mistakes people make when learning how to remove embroidered logo is working in a dark room. If you are squinting, your accuracy drops to zero. Always work under direct sunlight or a bright desk lamp.
Another error is ignoring the age of the garment. If a shirt has been washed hundreds of times over five years, the fabric behind the logo has been shielded from light, while the rest of the shirt has faded.
When you remove the patch, you might see a “dark footprint” of unfaded fabric. Keep this in mind before starting on highly aged clothes.
Conclusion
Removing a logo from your favorite garment gives you complete control over your style, but it requires patience and the right strategy. The most critical step in learning how to remove embroidered logo designs without tearing the underlying cloth is to always cut the white bobbin threads on the inside of the shirt first, rather than pulling them from the front.
If you are dealing with thin t-shirts, stick to a manual seam ripper, while thick corporate logos are best handled with an electric eraser.
Once the threads are clear, do not worry about the leftover needle holes; simply rub the area with a coin and apply a burst of hot steam to help the fabric fibers slide back into place and look like new.
If removing old stitches feels too tedious, or if you want to replace that empty space with a clean, custom design, you will need a flawless machine blueprint. This is where professional left chest embroidery digitizing makes all the difference, ensuring your new artwork stitches onto the fabric smoothly without bunching up.
ZDigitizing offers top-tier, worldwide digitizing and vector art services to help you make this transition effortlessly. They provide an incredible 50% off discount on your very first order, show you a design preview before you ever pay, and deliver finished files in just 4 to 12 hours.
With free minor revisions and 24/7 customer support, mastering how to remove embroidered logo layouts and replacing them with premium designs has never been easier.