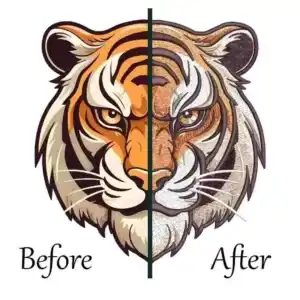
How do you get perfect embroidery results every time you digitize a logo? You’ve come to the right place! Our logo digitizing tips are specifically designed to guide you through the process smoothly.From beginners to experts, these practical tips for logo digitizing will help you elevate your embroidery projects, ensuring each piece is a masterpiece. Let’s dive into these essential techniques and confidently start creating stunning embroidered logos!

Tips For Logos Digitizing Embroidery By ZDigitizing
What is Logo Digitizing for Embroidery?
Digitizing logos for embroidery is turning a logo into a format that an embroidery machine can read. This allows the machine to stitch the logo onto fabric. It involves using software to decide where and how stitches should go based on the logo’s design and the fabric type.
This process helps make sure the embroidered logo looks good and works well on the chosen material.
Embroidery Digitizing & Vector Art Services
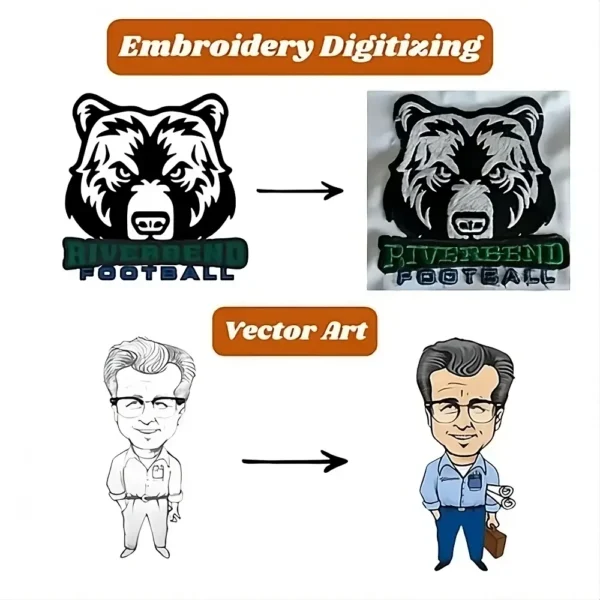
Looking for embroidery digitizing and vector art services that are affordable and reliable? We offer fast turnaround time, guaranteed quality, and the option to preview your design before payment, we make sure you get exactly what you need. Your satisfaction is our top priority, and we’re dedicated to delivering the best results. Don’t wait—try ZDigitizing today and see the difference in quality and service!
Embroidery Digitizing & Vector Art Services
Looking for embroidery digitizing and vector art services that are affordable and reliable? We offer fast turnaround time, guaranteed quality, and the option to preview your design before payment, we make sure you get exactly what you need. Your satisfaction is our top priority, and we’re dedicated to delivering the best results. Don’t wait—try ZDigitizing today and see the difference in quality and service!
Logo Digitizing for Machine Embroidery | Top Tips
Discover the best ways to get perfect embroidery results with these logo digitizing tips for machines:
- Modify Logos for Embroidery
- Select Suitable Digitizing Software
- Follow the Proper Digitizing Order
- Adjust Stitch Density Appropriately
- Know Your Embroidery File Formats
- Optimize Small Text for Embroidery
- Consider Image/Logo Resolution
- Digitize with the Garment in Mind
- Test Digitize Before Final Production
Let’s dive into these tips to understand what steps you should follow and how they can benefit your embroidery projects for optimal results.
1. Modify Logos for Embroidery
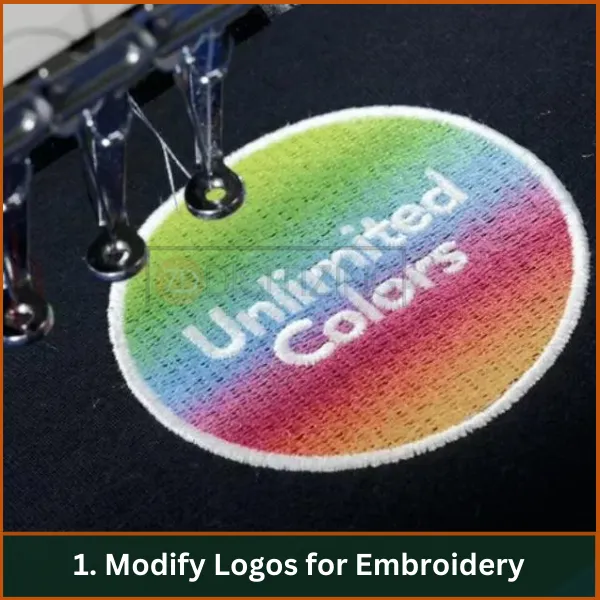
Embroidering a logo requires modifications to make it suitable for the medium. Unlike digital graphics, embroidery has physical constraints:
- Simplify Details: Convert intricate designs into simpler forms. For example, if a logo has a gradient or shadow, consider removing these elements because they can be challenging to replicate with stitches.
- Reduce Colors: Minimize the number of colors to streamline the embroidery process and reduce costs. More than four or five colors can complicate the design and the stitching process.
- Enlarge Small Elements: Scale up small text and fine details. Anything too small might not be legible or even possible to stitch accurately. Applying logo digitizing tips will make this process easier.
2. Select Suitable Digitizing Software
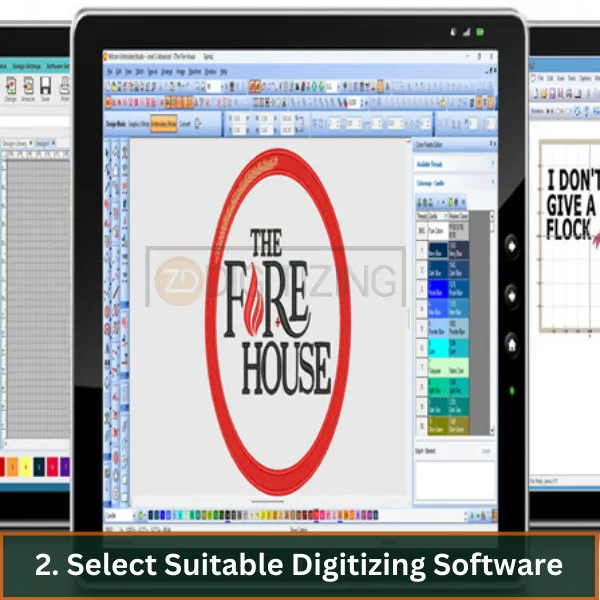
The right software can dramatically impact the quality of the final embroidered product. Features to consider include:
Auto-Digitizing: Good for simple designs, this feature automates the conversion process but may require adjustments for optimal results.
Manual Digitizing Tools: Essential for tweaking and perfecting the design. Manual tools allow for precise control over every stitch and adjustment.
Format Compatibility: Ensure the software supports formats compatible with your embroidery machine, such as DST, PES, or EXP.
While digitizing software can offer great features, it often comes at a high cost, making it less accessible for many. Instead of investing heavily in expensive software, consider hiring a professional to handle your logo digitizing needs. At ZDigitizing, we offer high-quality logo digitizing services at very affordable prices. By choosing us, you save both time and money while ensuring your designs are handled with expert care.
3. Follow the Proper Digitizing Order

When you digitize logos for embroidery, following the correct digitizing order is essential for ensuring the best results:
- Start from the Bottom Up: Begin with underlay stitches which stabilize the fabric. Then move to larger background elements, finishing with foreground details.
- Center Outwards: Stitch from the center to the edges to prevent fabric puckering and ensure a flat, even surface. Incorporating logo digitizing tips will help you avoid common issues in this step.
4. Adjust Stitch Density Appropriately
Among the top logo digitizing tips, adjusting stitch density is key to balancing aesthetics and functionality:
- Fabric Type Consideration: Dense stitches might be ideal for thick fabrics but can cause lighter fabrics to bunch or tear.
- Density Testing: Experiment on a sample piece with similar fabric to find the perfect balance that fills the design without compromising the material.
5. Know Your Embroidery File Formats
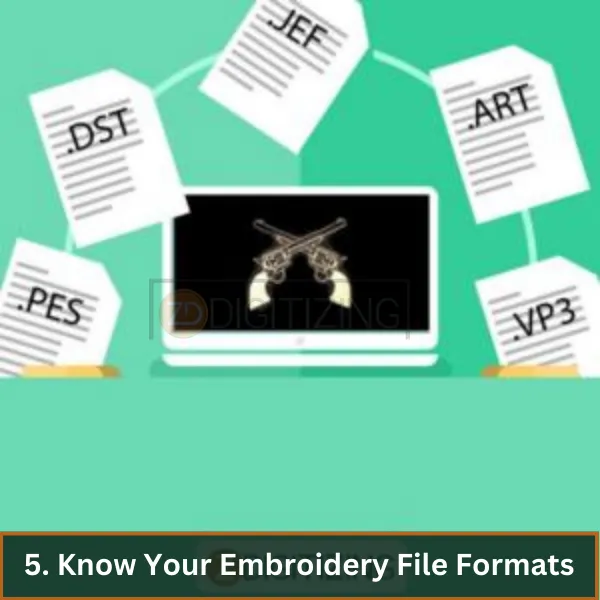
Before you digitize my logo, it’s important to understand the different embroidery file formats your machine supports:
- Understand Machine Specifications: Refer to your machine’s manual to identify the supported file formats.
- Software Export Options: Check if your digitizing software can export the design in the required format for your machine.
6. Optimize Small Text for Embroidery
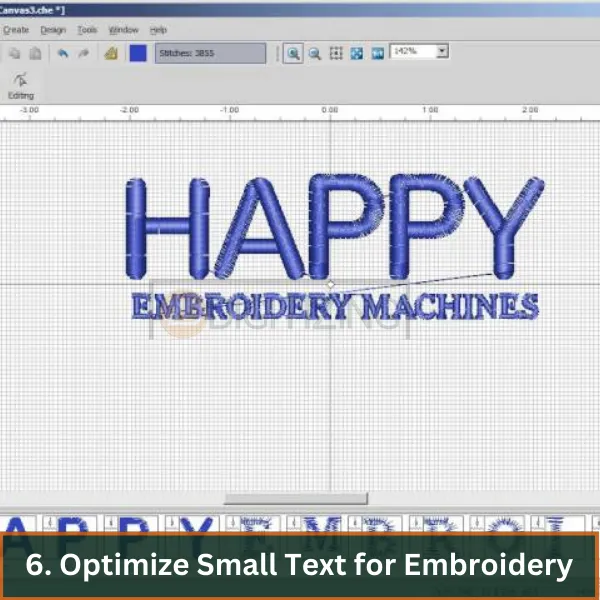
A valuable logo digitizing tip is optimizing small text for embroidery, as it can be tricky to digitize:
- Font Selection: Opt for block or sans-serif fonts that are clearer and more stitch-friendly in small sizes.
- Spacing Adjustments: Increase spacing between characters to prevent them from blending together when stitched.
7. Consider Image/Logo Resolution
Starting with a high-resolution image ensures clarity and detail in the digitized design:
- Avoid Pixelation: Low-resolution images can lead to unclear and imprecise embroidery designs.
- Detail Retention: High-resolution images help retain essential details when the design is scaled or adjusted.
8. Digitize with the Garment in Mind
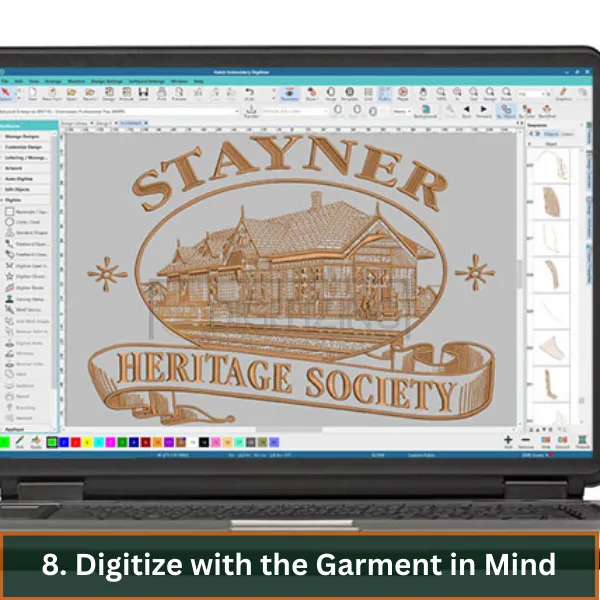
Different garments require different embroidery approaches:
- Fabric Characteristics: Consider the stretch, texture, and weight of the fabric. For instance, lightweight fabrics might need a lighter stitch density.
- Functionality: Think about how the garment will be used (e.g., daily wear, special occasions) and adjust the embroidery specifications accordingly.
9. Test Digitize Before Final Production
The last step in digitizing logos is to test before final production:
- Prototype on Similar Fabric: Before final production, stitch out the logo on a fabric piece that mimics the actual garment material.
- Evaluate and Adjust: Check for any visual and structural issues. Adjust the digitizing settings based on this test to ensure the final output is perfect.
Following these logo digitizing tips will help you avoid costly mistakes and ensure perfection.
Embroidery Digitizing & Vector Art Services

Looking for embroidery digitizing and vector art services that are affordable and reliable? We offer fast turnaround time, guaranteed quality, and the option to preview your design before payment, we make sure you get exactly what you need. Your satisfaction is our top priority, and we’re dedicated to delivering the best results. Don’t wait—try ZDigitizing today and see the difference in quality and service!
Embroidery Digitizing & Vector Art Services
Looking for embroidery digitizing and vector art services that are affordable and reliable? We offer fast turnaround time, guaranteed quality, and the option to preview your design before payment, we make sure you get exactly what you need. Your satisfaction is our top priority, and we’re dedicated to delivering the best results. Don’t wait—try ZDigitizing today and see the difference in quality and service!
Bottom Line
Wrapping up our journey through logo digitizing tips, remember: perfect embroidery is all about top-notch digitizing. If your logos need that professional touch, ZDigitizing is here to help. We offer excellent embroidery digitizing and vector art services, perfectly suited for both embroidery and printing projects.
And here’s some great news—if you’re new to us, you get 50% off your first order! Starting is easy. Just chat with us, and we’ll give you a free quote in just 5 minutes. We like keeping things simple and quick for you.
Did you find this article helpful? Share it with your friends and spread the word about our amazing deals and services. It’s a fantastic chance for everyone to experience the best in digitizing services at an unbeatable price.
Thanks for reading, and we’re excited to help you with your embroidery projects! Don’t hesitate to reach out; let ZDigitizing take your designs to the next level.
FAQs
To digitize a company logo, you scan or recreate the logo using graphic design software like Adobe Illustrator or CorelDRAW, converting it into a digital format suitable for various applications.
To digitize a design, you either scan the physical artwork and refine it using design software or create the design directly within the software, ensuring it’s in a digital format that can be easily edited and reproduced.
Charging to digitize a logo depends on the complexity of the design and the designer’s experience, but rates can range from $50 to $200 or more for complex designs.
A standard digitizing fee usually ranges between $10 to $50 for simple logos, but this can vary based on the design’s complexity and the market.
To digitize your logo, you can use vector-based graphic design software to recreate your design in a digital format, ensuring it retains quality across different sizes and applications.

