Embroidery is a timeless art form that adds beauty and intricacy to various fabrics and garments. One crucial technique that plays a significant role in the quality and longevity of embroidered designs is the underlay stitch.
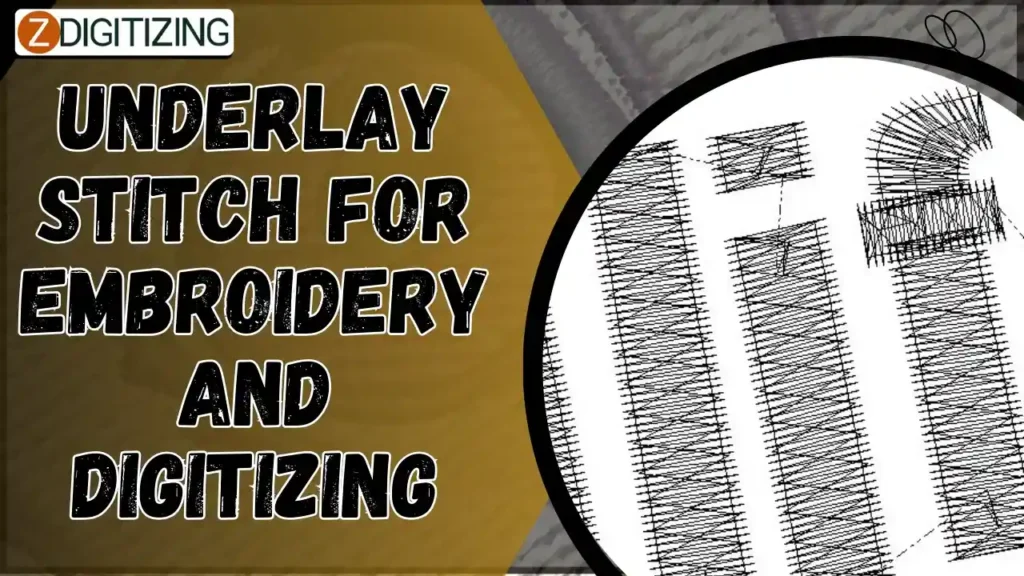
In this article, we will explore the importance of underlay stitching in both embroidery and digitizing processes.
We will delve into the different types of this stitch, techniques for creating them, and valuable tips for using stitches effectively.
Underlay Stitch For Embroidery And Digitizing
What Is Underlay Stitch?
Before we jump into the intricacies of underlay stitch, let’s first understand what it actually is. In embroidery, underlay stitch refers to the foundation stitches that are placed beneath the visible top stitches.
These hidden stitches provide support and stability to the design, ensuring that it looks crisp and professional.
Importance Of Underlay Stitch In Embroidery
Underlay stitch plays a crucial role in embroidery by preventing the fabric from puckering, sinking, or distorting. It helps to stabilize the fabric, especially when dealing with stretchy or delicate materials.
Additionally, the stitch for underlay also enhances the overall appearance of the embroidery design, making it pop and stand out.
How Underlay Stitch Affects Digitized Embroidery Designs
When it comes to digitizing embroidery designs, underlay stitch holds immense significance.
The underlay stitches are the backbone of any digitized design, as they provide a solid foundation for the top stitches to adhere to. Without a proper underlay stitch, the design may not lay flat or have that professional finish.
Benefits Of Using Underlay Stitch In Digitizing?
The use of underlay stitches in digitizing offers several advantages. It helps to ensure proper registration of the design elements, improves coverage and density, and reduces the risk of fabric distortion.
Additionally, underlay stitch also aids in managing the push and pull factors when embroidering, resulting in cleaner and sharper designs.
Types Of Underlay Stitches For Embroidery
There are some types of stitches used for underlay such as:
Running Stitch Underlay
The running stitch underlay is the most basic and commonly used underlay technique. It consists of parallel running stitches that follow the outline of the design.
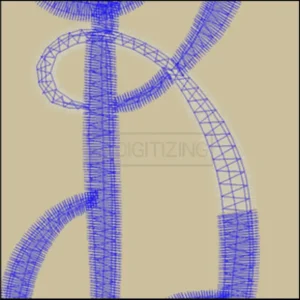
This underlay helps in stabilizing the fabric and creates a solid base for the top stitches.
Zigzag Stitch Underlay
The zigzag stitch underlay involves stitching diagonal lines in a zigzag pattern. This underlay technique provides more stability and coverage compared to the running stitch.
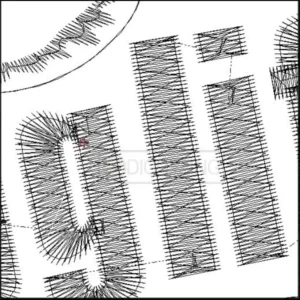
It is particularly useful when embroidering larger areas or designs with high stitch density.
Satin Stitch Underlay
The satin stitch underlay consists of parallel stitches placed within the shape of the design, following the direction of the final satin stitches.
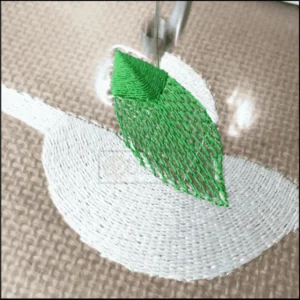
This underlay technique helps to fill any gaps between the satin stitches and ensures a smooth and even surface.
Fill Stitch Underlay
The fill stitch underlay is commonly used for designs with solid fill areas.
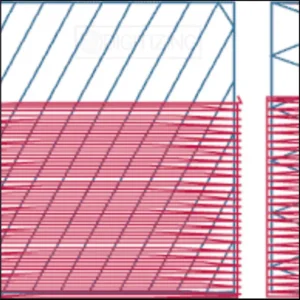
It involves stitching parallel rows of stitches within the fill area, providing stability and preventing the fabric from sinking. This underlay technique also helps in maintaining consistent fill density.
Combination Underlay Techniques
Embroidery designs often require a combination of underlay techniques to achieve the desired results.
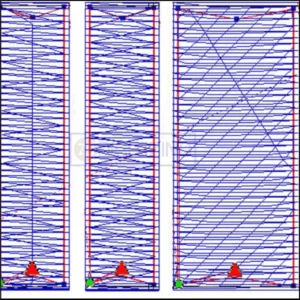
By combining different underlay stitches strategically, you can enhance the stability, coverage, and overall appearance of the design.
Techniques For Creating Underlay Stitch
Some techniques for creating underlay stitches are discussed below:
Determining Stitch Direction And Angle
When creating underlay stitches, it is essential to consider the direction and angle of the stitches. This will depend on the design and fabric type.
Generally, stitches should run perpendicular or parallel to the final stitches and be angled to provide maximum stability.
Choosing Stitch Density And Length
The stitch density and length of underlay stitches also play a significant role in the overall quality of the embroidery.
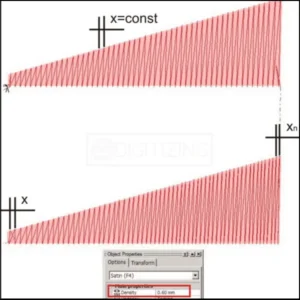
Factors such as fabric type, design complexity, and stitch count should be considered when determining the appropriate density and length for the underlay stitches.
Layering Multiple Underlay Stitches
In some cases, using multiple layers of underlay stitches can provide additional reinforcement and stability.
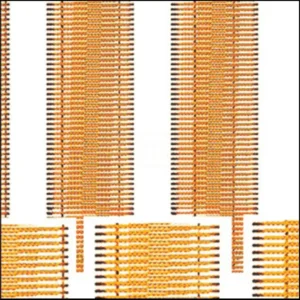
By layering different underlay techniques or duplicating the same underlay stitch, you can achieve greater support and produce more professional-looking embroidery designs.
Tips For Using Underlay Stitch Effectively
Underlay stitch is a powerful tool in embroidery and digitizing, but like any tool, it requires some finesse to use effectively. Here are some tips to help you make the most out of underlay stitch:
Matching Underlay Stitch To Fabric And Design Complexity
Not all fabrics are created equal, and neither are all designs. Consider the fabric’s weight, texture, and stretchiness when choosing the type of underlay stitch.
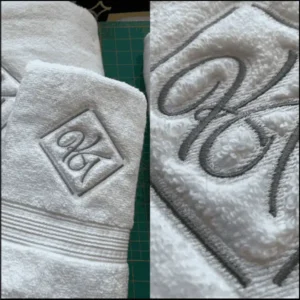
Similarly, a complex design with lots of details may require a different underlay stitch technique than a simple and straightforward design.
Adapting Underlay Stitch For Different Embroidery Effects
Underlay stitch can do more than just provide stability to your embroidery. Experiment with different underlay stitch patterns and densities to achieve different effects.
For example, a tight zigzag underlay stitch can create a raised, three-dimensional effect, while a loose running stitch can give a design a more delicate and airy appearance.
Ensuring Proper Underlay Stitch Placement
Placement matters!
Make sure the underlay stitch is positioned correctly to provide adequate support for the design.
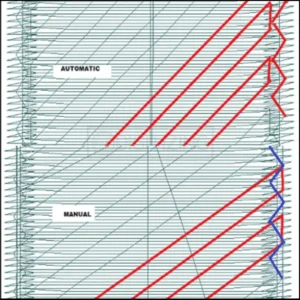
For larger designs, consider adding additional underlay stitches in the center or around intricate areas to minimize distortion.
Common Mistakes To Avoid In Underlay Stitching
While underlay stitch can be a game-changer, there are some common mistakes to watch out for:
Overusing Or Underusing Underlay Stitch
Finding the right balance is key. Overusing the underlay stitch can lead to stiff and bulky embroidery while underusing it can result in a design that lacks stability.

Experiment and practice to find the sweet spot that suits your fabric and design.
Incorrect Stitch Density Or Length
The density and length of the underlay stitch can greatly affect the final embroidery. Too dense or too long stitches may show through the top embroidery or cause puckering.
Take the time to adjust these settings to achieve the desired outcome.
Poor Underlay Stitch Placement
As mentioned earlier, proper placement is crucial. Avoid placing the underlay stitch too close to the edges, as it may be visible through the top embroidery.
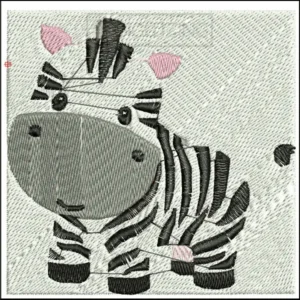
Also, ensure that the underlay stitch covers the areas that need support, especially around intricate designs or thin letters.
Troubleshooting Underlay Stitching Issues
Sometimes, things don’t go as planned. Here are some common issues you might encounter with underlay stitch and how to troubleshoot them:
Distorted Or Puckered Fabric
If the fabric becomes distorted or puckered after embroidery, try adjusting the underlay stitch density or using a different underlay stitch pattern. You may also need to stabilize the fabric further with additional backing.
Gaps Or Uneven Stitching In The Design
Uneven stitching or gaps in the design could indicate that the underlay stitch isn’t providing enough support. Consider increasing the density or adjusting the stitch length.
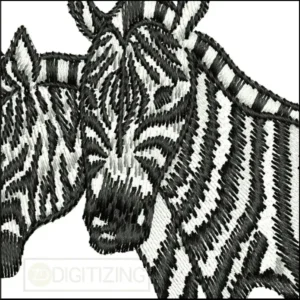
Additionally, make sure that underlay stitches are properly placed to cover the entire design area.
Underlay Stitch Showing Through The Top Embroidery
If the underlay stitch is visible through the top embroidery, try reducing the density or using a finer underlay thread.
You can also experiment with different underlay stitch patterns that are less likely to show through.
Conclusion
In conclusion, underlay stitch is a powerful tool that can greatly enhance the quality and appearance of embroidery.
By following these tips, avoiding common mistakes, troubleshooting issues, and staying updated on the latest techniques, you’ll be well-equipped to create stunning embroidery designs with underlay stitches.
Get stitching and let your creativity shine!
ZDigitizing: Your #1 Source for Embroidery Digitizing
Looking for great embroidery digitizing? Check out ZDigitizing! We’re all about providing the best embroidery digitizing and vector art services for your projects.
And guess what? We’ve got an awesome deal for you – 50% off your first order! Pretty cool, right?
Starting your project with us is super simple. Just send us a message, and in no time (like 5 minutes), we’ll give you a free quote. We like to keep things easy and quick for our customers.
If you think this info is helpful, why not share it with your friends? Let them know about our fantastic services and discount. It’s a great chance for everyone to get top-quality digitizing services.
Thanks for reading! We’re excited to help with your embroidery projects. Don’t miss out on our amazing services and discount. Contact us today!
Frequently Asked Questions:
Underlay is commonly used with 3D satin stitches in embroidery. It provides a base layer that stabilizes the fabric and enhances the appearance of the satin stitch.
Underlay stitches are important in embroidery for providing a stable foundation. They help to prevent fabric puckering and improve the overall quality and appearance of the embroidery.
The typical stitch length for underlay in embroidery ranges from 2.5 mm to 4 mm. This can vary depending on the fabric type and the desired effect of the embroidery.
The amount of underlay stitches required in a design depends on various factors like the type of fabric, the density of the top stitches, and the size of the design. The key is to use enough underlay to stabilize the fabric without creating excessive bulk.

