Machine embroidery stabilizers are like the unsung heroes of the embroidery world. They may not get the spotlight, but they play a crucial role in achieving beautiful and professional-looking machine embroidery designs.
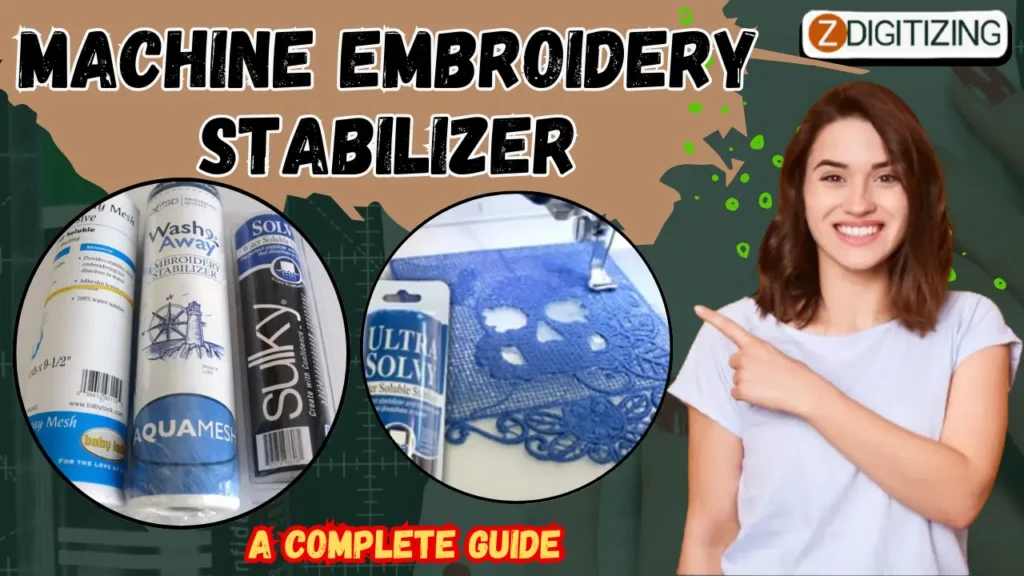
So, what exactly do these magical stabilizers do? Well, simply put, they provide support and stability to your fabric during the embroidery process.
Machine Embroidery Stabilizer: A Complete Guide
Benefits of Using Machine Embroidery Stabilizers
Using stabilizers in machine embroidery offers a multitude of benefits:
Firstly, they prevent the fabric from puckering or stretching while the needle penetrates it repeatedly. This ensures that your embroidery stays crisp and doesn’t distort the fabric.
Secondly, stabilizers help to improve stitch clarity and definition. By stabilizing the fabric, they create a smooth surface for the needle to glide on, resulting in cleaner and more precise stitches.
Lastly, stabilizers help to prevent thread breakage. When you’re stitching on delicate or stretchy fabrics, the stabilizer acts as a buffer, absorbing the tension and stress caused by the needle. This reduces the strain on the fabric, preventing thread breakage and potential sewing machine tantrums.
Types of Machine Embroidery Stabilizers
Let’s talk about the different types of stabilizers used in machine embroidery:
1. Water-Soluble Stabilizers
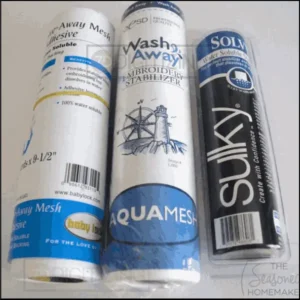
Water-soluble stabilizers, as the name suggests, dissolve in water. They are perfect for embroidering on delicate or sheer fabrics like organza or lace.
These stabilizers provide temporary support and are usually used on top of the fabric to prevent the stitches from sinking into the fabric.
2. Tear-Away Stabilizers
Tear-away stabilizers are the workhorses of the embroidery stabilizer world. They are made of non-woven materials and are designed to tear away easily after stitching.
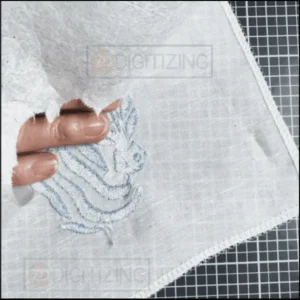
Tear-away stabilizers are suitable for medium-weight fabrics and provide excellent stability during the embroidery process.
Just tear away the excess stabilizer once you’re done, and you’re left with a picture-perfect embroidery design.
3. Cut-Away Stabilizers
Cut-away stabilizers are sturdier than tear-away stabilizers and are great for heavier fabrics or those prone to stretching, such as knits or fleece. Unlike tear-away stabilizers, cut-away stabilizers are not removed after stitching.
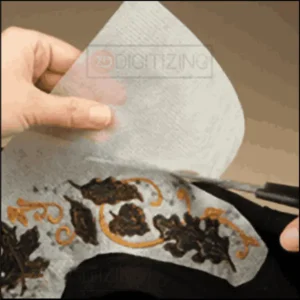
Instead, they are cut away close to the stitches and remain as a permanent backing, providing long-term support to your embroidery.
4. Heat-Away Stabilizers
Heat-away stabilizers are like magic wands for machine embroidery. These stabilizers disappear with the application of heat, leaving no trace of their existence. They are ideal for fabrics such as velvet or suede, where residue left behind by other stabilizers would be impossible to remove.
Just be sure to follow the manufacturer’s instructions on the appropriate heat level for these nifty stabilizers.
5. Adhesive Stabilizers
Adhesive stabilizers have a layer of adhesive on one side, allowing them to stick to the fabric.
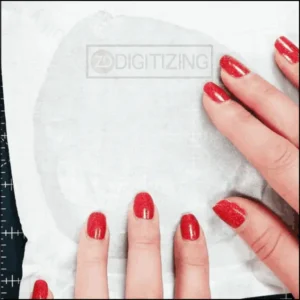
They are commonly used for small or intricate embroidery designs, as they provide extra stability and prevent shifting or misalignment during stitching. Adhesive stabilizers can be tear-away or cut-away, depending on the desired outcome.
6. Combination Stabilizers
If you can’t decide which stabilizer to use, why not have the best of both worlds? Combination stabilizers offer a blend of tear-away and cut-away properties, making them versatile for a wide range of fabrics.
They give you the ease of tearing away excess stabilizer and the long-term stability of a cut-away, all in one.
Choosing the Right Stabilizer for Embroidery Machine Project
Let’s discuss how to choose the right stabilizer.
Considering Fabric Type and Weight
When selecting a stabilizer, it’s important to match it to the fabric type and weight you are working with. Lightweight fabrics like chiffon or silk may require a delicate water-soluble stabilizer, while heavy fabrics like denim or leather might need a robust cut-away stabilizer.
Take the time to assess your fabric and choose the appropriate stabilizer to ensure the best possible results.
Selecting the Appropriate Stabilizer Thickness
Different stabilizers come in varying thicknesses, so it’s crucial to consider the complexity of your machine embroidery design. For intricate or dense designs, a thicker stabilizer will provide more support and prevent any thread breakage.
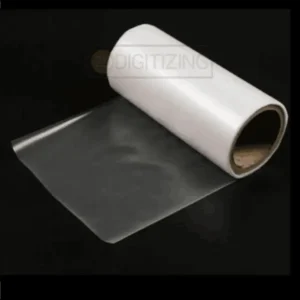
On the other hand, lighter designs with open spaces may not require as much stability, so a thinner stabilizer would suffice.
Determining the Machine Embroidery Design Complexity
The complexity of your embroidery design also plays a role in the choice of stabilizer. If you have a design with high stitch density or lots of intricate details, you’ll want a stabilizer that can hold up to the challenge.
Opt for a stabilizer with good tear-away or cut-away properties to ensure your design stays put and looks impeccable.
Preparing Your Fabric and Machine for Embroidery
Preparation of fabric and machine is important for the proper placement of the stabilizers:
Cleaning and Pressing the Fabric
Before diving into the embroidery process, remember to clean and press your fabric. Remove any dust, lint, or loose fibers that may interfere with the stitching.
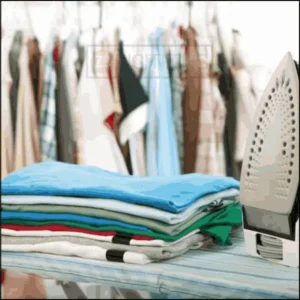
Pressing the fabric ensures it is smooth and free from wrinkles, providing a solid foundation for your embroidery design.
Hooping Techniques for Different Stabilizers
Different stabilizers require different hooping techniques. For tear-away stabilizers, hoop the stabilizer and fabric together, ensuring a tight fit. Cut-away stabilizers may require a larger hoop to accommodate the extra backing.
Water-soluble stabilizers are typically hooped separately and placed on top of the fabric. Follow the instructions provided with your stabilizer to achieve the best hooping technique for your project.
Calibrating Machine Tension and Speed
Lastly, make sure your embroidery machine is set up correctly for embroidery. Check the tension settings and adjust if necessary to achieve balanced and even stitches.
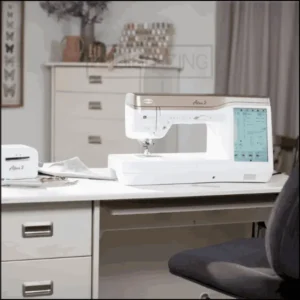
Also, consider adjusting the machine speed to match the complexity of the design. Slower speeds may be required for intricate details, while simpler designs can be stitched at a faster pace.
Techniques for Using Machine Embroidery Stabilizers
Embroidery is an art form that requires precision and stability, and that’s where stabilizers come in handy. These nifty materials can work wonders in enhancing the quality of your embroidery designs.
Let’s dive into some techniques for using stabilizers to take your embroidery to the next level.
Stabilizer Placement and Layering
When it comes to stabilizer placement, think of it like fitting into a good pair of jeans – you need the right amount in the right places. Start by hooping your stabilizer tightly, ensuring it covers the entire embroidery area.
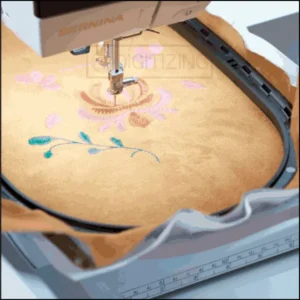
For added support, consider layering multiple stabilizers. It’s like building a sturdy foundation for your embroidery masterpiece.
Stitching Order and Direction
Just like following a recipe, embroidery has its own set of instructions. Pay attention to the recommended stitching order and direction for your design.
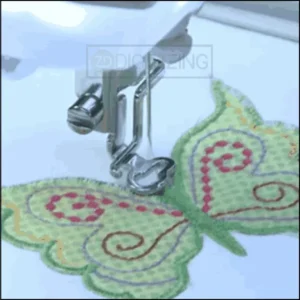
This ensures that your stabilizer works its magic in the right places, preventing unsightly distortions and puckering.
It’s like giving your embroidery a GPS to guide it on the right path!
Special Considerations for Large Designs
Embarking on a larger embroidery project? Don’t forget to level up your stabilizer game! Large designs require more support to keep everything in place. Consider using heavyweight or tear-away stabilizers to provide that extra oomph.
You’ll feel like a superhero, saving your embroidery from the perils of shifting and bunching.
Troubleshooting Common Stabilizer Issues
Embroidery isn’t always smooth sailing, and stabilizer issues can sometimes throw a wrench in your plans.
But worry not, for we shall address some common stabilizer problems and their solutions.
Stabilizer Residue and Removal Techniques
Uh-oh, stuck with stabilizer residue? Don’t panic!
There’s a way out of this sticky situation. Try using a soft brush or lint roller to remove any excess stabilizer.
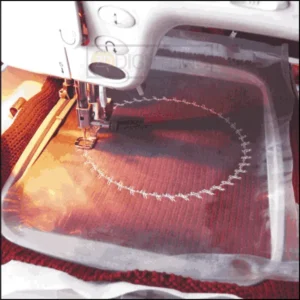
If that doesn’t cut it, a damp cloth or sponge can come to the rescue. Just make sure to let your embroidery dry completely before showing it off to the world.
Preventing Puckering and Wrinkling
Nobody wants a wrinkly embroidery project – it’s like wearing a crumpled shirt to a fancy event. To prevent puckering and wrinkling, make sure your stabilizer is taut and properly hooped.
Also, check that your tension settings are spot on. Remember, a smooth embroidery is a happy embroidery!
Dealing with Stabilizer Breakdown or Shifting
Sometimes, stabilizers can be a little rebellious. If you notice them breaking down or shifting during embroidery, take charge!
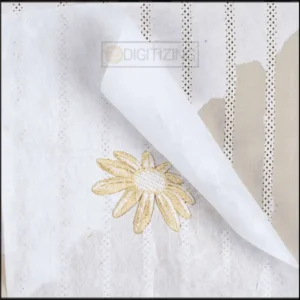
Try using additional pins or tape to secure your fabric and stabilizer layers. It’s like putting them in timeout, making sure they behave and play nice together.
Tips and Tricks for Successful Machine Embroidery
Now that you’ve got the hang of using stabilizers, let’s explore some tips and tricks to make your embroidery journey even smoother.
Using Stabilizers for Specialty Fabrics
Embroidering on specialty fabrics can be a thrilling adventure. But don’t forget your trusty stabilizers! For stretchy fabrics, opt for cut-away stabilizers to keep everything in shape.
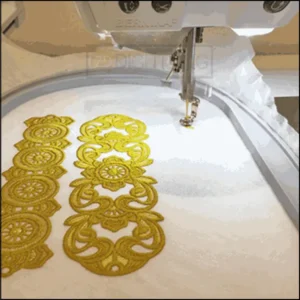
Sheer fabrics, on the other hand, appreciate the delicate touch of a water-soluble stabilizer. Remember, adventuring with stabilizers unlocks endless embroidery possibilities!
Exploring Alternative Stabilizer Applications
Stabilizers aren’t just for embroidery – they have hidden talents too!
Get creative and try using them for other craft projects like appliqué, quilting, or even as a temporary fabric adhesive. Stabilizers are like the Swiss Army knives of the sewing world – always ready to lend a helping hand.
Proper Storage and Handling of Stabilizers
Stabilizers may not have feelings, but they sure appreciate proper storage. Keep them in a cool, dry place away from direct sunlight to maintain their performance.
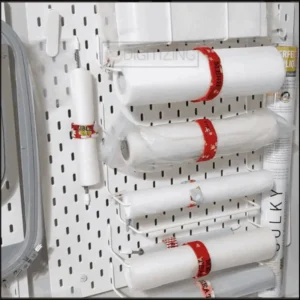
Plus, remember to handle them with clean hands – nobody wants to see fingerprints on their embroidery masterpiece. Treat your stabilizers like the VIPs they are!
Conclusion: Enhancing Your Embroidery Projects with Stabilizers
Congratulations!
You’ve reached the end of the stabilizer adventure. By mastering the art of stabilizer placement, troubleshooting common issues, and exploring alternative applications, you’re on your way to becoming an embroidery pro.
So go forth, armed with your stabilizer knowledge, and stitch your way to embroidery greatness! Remember, embroidery is all about having fun, so let your creativity soar and embrace the joy of stitching.
Happy embroidering!
ZDigitizing: The Best Place for Embroidery Digitizing Services
If you have an embroidery project and want designs, look no further than Zdigitizing. We are here to help you with our embroidery digitizing services. With a fast turnaround time, we can bring your designs to life in no time!
Visit our website to explore the wide range of services we offer. From intricate patterns to simple designs, we have something for everyone. Take a look and find the perfect design for your embroidery project.
We are offering 50% off on all our services for our first-time clients. This is a limited-time offer, so make sure to grab it while you can!
If you have any questions or need assistance with your embroidery project, feel free to ask us in the comment section below.
Thanks for reading!
Frequently Asked Questions:
The best stabilizer depends on your fabric and design complexity. For most applications, a medium-weight cutaway stabilizer is versatile and provides good support for various fabrics and designs.
Select a stabilizer based on your fabric type and the density of your embroidery design. Lighter fabrics require a lighter stabilizer, while heavier, more detailed designs need a sturdier stabilizer.
There are four main types of stabilizers: cutaway, tearaway, washaway, and heat-away. Each type serves different purposes depending on the fabric and the design requirements.
No single stabilizer is “better” overall; it depends on the specific needs of your project. Cutaway stabilizers are generally more stable for heavy designs, while tear away stabilizers are easier to remove and suitable for lighter fabrics.
Reusing stabilizers is not generally recommended as they lose their stiffness and stability after the first use, which can affect the quality of your embroidery.


