The topic for today’s article is very interesting “Embroidery Machine Setup for the Best Results.”
To be successful in everything, we must plan ahead of time, and embroidery machine setup is no exception. In recent years, embroidery has gained popularity among both the young and the old, with classic hand stitching and amazing embroidery machine designs seeing a comeback.
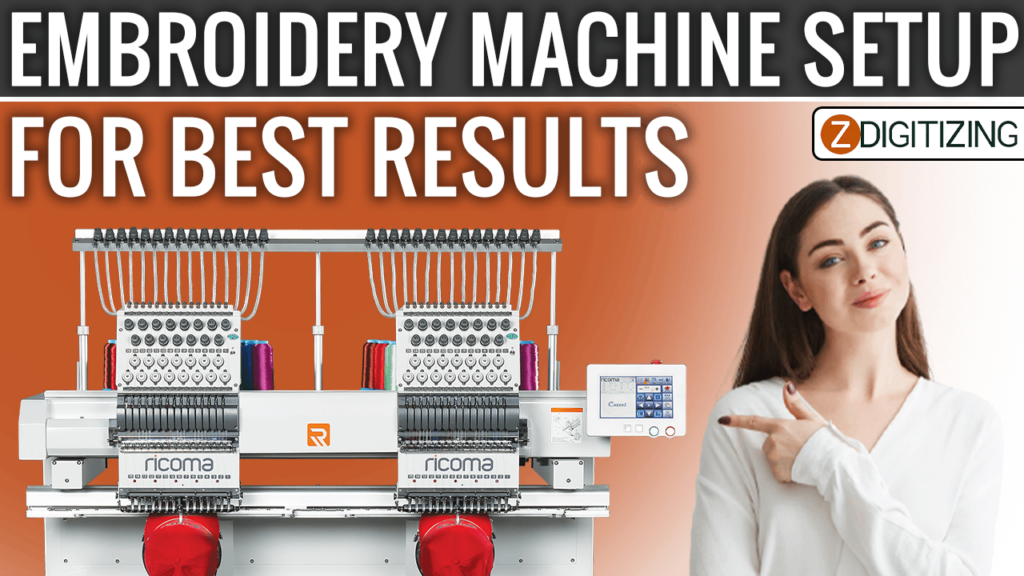
Embroidery Machine Setup for the Best Results
If you’re a craftsman wanting to improve your embroidery abilities, getting a new embroidery machine may be a really exciting moment. Take your embroidery machine out of its box, and you may discover that learning how to set up an embroidery machine setup is much more difficult than you anticipated. By now, you should have made selections regarding embroidery designs, thread colors, and materials.
Although most machines today are automated and handle most of the embroidery process on their own, you will still have to adjust the settings to get the job done. In addition, you must be well-versed in your machine’s capabilities to use it effectively.
This article will teach you how to set up your embroidery machine for the best outputs.
Step #1: Learn Everything About Your Embroidery Machine
Embroidery machines come in a wide variety of brands and types, all with their unique features. You can begin setting up your equipment if it is fresh and has a handbook. You’ll learn which embroidery foot to use and how to load patterns into the machine from this guide. Some designs won’t work with your machine’s embroidery hoops, and some patterns won’t work with any embroidery hoops at all.
One thing to keep in mind is only to use appropriate needles for the cloth you’re working with.
Step 2# Select The Right Needle:
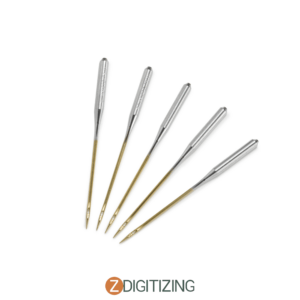
The best option is to pick needles made specifically for working with embroidery threads. The weight of the cloth should be taken into consideration while choosing the needle size. Embroidery needles are further divided into subcategories using a standard numbering system. A higher number denotes a larger number of eyes. But a smaller needle usually implies more precision.
Step 3# Select The Right Thread:

Various kinds of embroidery threads are available, as are a wide range of materials used in the threads’ creation. For embroidery, 40-weight rayon thread is the industry standard.
If you’re working with a thicker thread, use a needle with a bigger eye so that it can accept the added thickness of the thread. Of course, the color of the thread has an impact on the final design. Color-coded embroidery threads are used in the designs since the threads are numbered according to color.
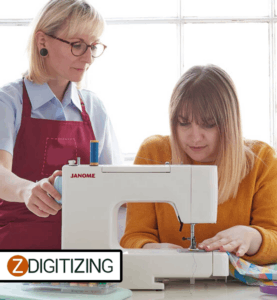
Set Up Your Embroidery Machine:
The first step in an embroidery machine setup is to plug up the machine into the power source. A USB port and connection are required to connect most equipment to a computer. Nowadays, most embroidery machines come with pre-installed embroidery software that has been thoroughly tested for faults and problems.
Thread The Bobbin:
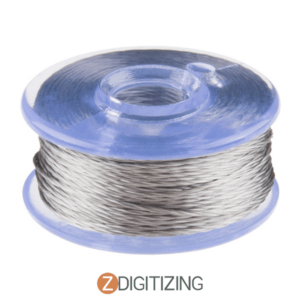
It is critical to thread the bobbin according to the instructions in the owner’s guidebook for your embroidery machine. The manual will very certainly include instructions on how to do this as well. You can tell if the bobbin has not been placed correctly if you can see the bobbin thread on both sides of the cloth. The needle you’re using may also shatter as a result of this mistake.
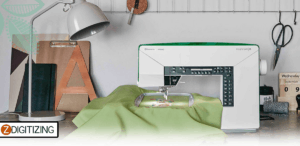
Choose The Embroidery Design That You Want To Use:
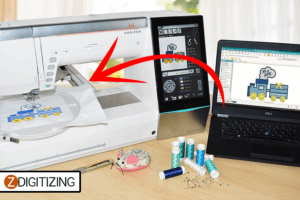
As soon as you’ve finished threading the embroidery machine with fabric, you may begin selecting the pattern you wish to use. Nowadays, the majority of embroidery machines come pre-programmed with a large number of embroidered designs. You may also use your computer or the internet to import designs into the machine, in addition to those already on your PC. There is a wide range of designs available, which means you have a lot of options. Advanced embroidery machines have made it easier to select a certain pattern.
The most common approach to choosing a design is using a touch screen to browse through a menu of options. It’s possible to alter and change the design options on some devices. To understand how to use an embroidery machine properly, you must put it to use. It is the only way to become familiar with even the slightest aspects of the equipment for the most part.
Finally:
Press the start button to get the machine to keep working on the embroidered pattern until it’s finished, or you’re given the option to alter the thread color. Retrace your steps if the outcome isn’t what you expected, and then figure out what went wrong. You’ll probably embroider like a pro in no time with a little trial and error with the machine needle and thread and material choices.
Hence, if you implement the above guidelines, you should have no trouble learning embroidery machine setup.
We hope this article would be helpful for you. If you want to digitize embroidery design you would need a professional like ZDigitizing, as digitizing is a complex process.
Zdigitizing is a digitizing embroidery company that provides complete digitizing and vector art services all over the world to businesses, industries, and corporations. Zdigitizing provides high-class, durable, and reasonable custom digitizing embroidery and vector art services. We have been delivering top-notch digitizing embroidery services for 20+ years.
So, if you need a digitizing or vector art service for your embroidery machine, with a super-fast turnaround and excellent quality, ZD will be your best choice. Just click the link below and get a free quote in less than 5 minutes.
Hope it will be helpful for you guys!
If there’s any question related to this article you can simply ask in the comment section and don’t forget to share with those you think might be helpful for them.
And finally, thanks for reading!