In this article, we will guide you through the step-by-step process of removing water-soluble embroidery stabilizer topping effectively.
How To Remove Water Soluble Embroidery Stabilizer Topping
Step-By-Step Process Of Removing Water-Soluble Embroidery Stabilizer Topping
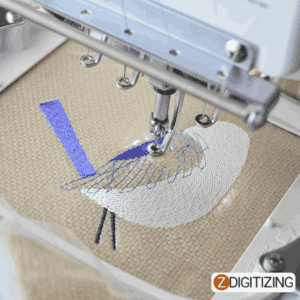
Water-soluble embroidery stabilizer topping is a valuable tool in the world of embroidery, providing support and stability during the stitching process. However, once the embroidery is complete, it’s important to remove the machine embroidery stabilizer topping to reveal the full beauty of the design.
Step 1: Assess the Embroidery
Before proceeding with the removal process, carefully examine the embroidery to ensure it is ready for cleaning. Look for any loose threads, delicate areas, or intricate designs that may require special attention during the removal process.
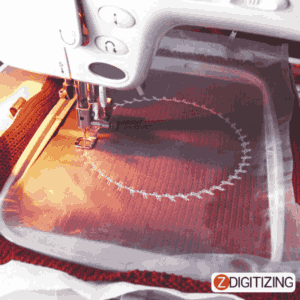
Step 2: Prepare the Embroidery
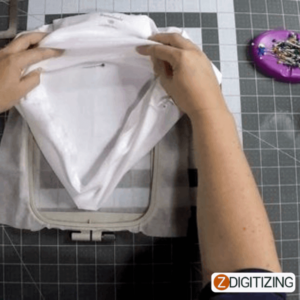
Start by gently brushing off any loose or excess stabilizer particles from the embroidery using a soft, clean brush. This step helps to eliminate any loose debris that could interfere with the removal process.

Step 3: Moisten the Stabilizer Topping
Dampen a clean, lint-free cloth or sponge with lukewarm water. Lightly dab the water onto the stabilizer topping, ensuring not to oversaturate the fabric. It’s important to use only as much water as needed to dissolve the stabilizer without causing any damage to the embroidery.
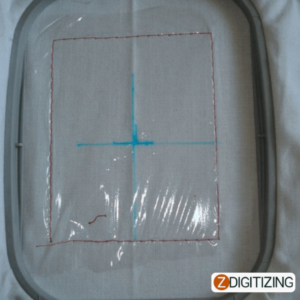
Step 4: Allow Time for Dissolving
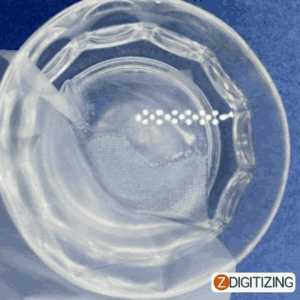
Patience is key in this process. Allow the water-soluble topping to fully dissolve, following the instructions provided by the manufacturer. This typically requires a few minutes but may vary depending on the brand and type of stabilizer used.

Step 5: Gently Remove the Dissolved Stabilizer
Once the stabilizer has dissolved, gently blot the embroidery with a clean, dry cloth or paper towel to absorb the moisture. Avoid rubbing or applying excessive pressure, as this can cause the stabilizer particles to spread or re-solidify.
Embroidery Digitizing
&
Vector Art Services
Are you looking for embroidery digitizing and vector art services at low cost with superfast turnaround, guaranteed quality and preview before pay? So, you are at right place. We can digitize and vectorize any type of artwork in your required file format.
Step 6: Air Dry and Inspect
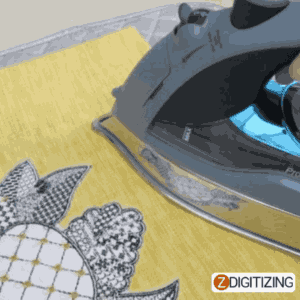
Allow the embroidery design to air dry completely, preferably on a flat surface. Once dry, carefully inspect the embroidery to ensure all traces of the stabilizer topping have been removed. If any residue remains, repeat the process or use a clean, soft brush to gently remove it.
Step 7: Post-Care and Storage
After successful removal of the stabilizer topping, it’s important to handle the embroidery with care. Store it in a cool, dry place away from direct sunlight and humidity to maintain its quality and prevent any potential damage or discoloration.
Tips To Enhance Your Experience In Removing Water-Soluble Embroidery Stabilizer Topping:
Here are some additional tips to enhance your experience in removing water-soluble embroidery stabilizer topping:
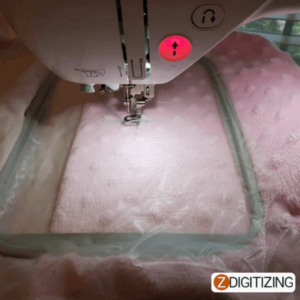
- If you live in an area with hard water, consider using distilled water for dampening the stabilizer topping. This helps minimize the risk of mineral deposits or residue on the fabric after drying.
- After removing the bulk of the stabilizer topping, use a lint roller or adhesive tape to pick up any remaining small bits or fibers. This helps achieve a clean and polished look for your embroidery.
- Before removing the stabilizer topping from your actual embroidery, practice the removal process on a scrap piece of fabric with a similar stabilizer. This allows you to familiarize yourself with the technique and ensure there are no adverse effects on the final result.
- If your embroidery includes delicate or intricate areas, such as lace or fine details, handle those sections with extra care during the removal process. Consider using a small, soft brush or cotton swab to dab and remove the stabilizer gently.
- While lukewarm water is generally recommended, it’s essential to avoid using hot water, as it can cause the stabilizer to set or become more difficult to remove.
- Allow sufficient time for the stabilizer to dissolve completely. Rushing the process may result in incomplete removal or potential damage to the embroidery.
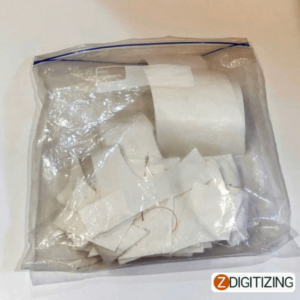
If you have any leftover water-soluble stabilizer, ensure it is stored in a sealed container in a cool, dry place to maintain its effectiveness and prevent moisture absorption. - Instead of directly immersing your embroidered piece in water, consider using a spray bottle filled with lukewarm water. Mist the stabilizer topping lightly and allow it to absorb the moisture before proceeding with the removal process.
- For stubborn or thicker layers of stabilizer topping, allow the embroidered piece to soak in lukewarm water for a few minutes. This soaking time helps to soften the stabilizer, making it easier to remove.
- Once the stabilizer has absorbed enough moisture, use your fingers or a soft brush to gently massage and loosen the stabilizer from the fabric. Be careful not to apply excessive pressure, especially on delicate areas of the embroidery.
- Begin the removal process from the edges of the embroidery and work your way towards the center. This method helps prevent any potential damage to the embroidered design and ensures a more even removal.
- After removing the stabilizer, gently pat the fabric with a clean towel to remove excess water. Then, lay the embroidery flat on a clean surface and allow it to air-dry completely. Avoid using heat sources like hairdryers, as they can cause the fabric to shrink or distort.
- If there are any minor wrinkles or creases on the fabric after drying, you can iron the embroidered piece on low heat with a pressing cloth. Be cautious not to apply too much heat or pressure, as it can damage the embroidery.
- If you’re unsure about how the stabilizer will react to water, it’s always a good idea to test it on a small scrap fabric first. This way, you can assess its solubility and determine the best method for removal before working on your actual embroidery.
- Warm water is generally more effective in dissolving water-soluble stabilizers. However, make sure the water is not too hot, as excessive heat can damage the fabric or affect the stability of the embroidery threads.
- If you’re dealing with stubborn residue or stains from the stabilizer, you can try using enzyme-based stain removers. Apply a small amount to the affected area, let it sit for a few minutes, and then gently rinse with water.
- Pay attention to the fabric care instructions provided by the garment or fabric manufacturer. Some delicate fabrics may require special care or alternative methods for removing water-soluble stabilizer.
- Once the stabilizer is completely removed and the embroidery is dry, store it in a cool, dry place away from direct sunlight to maintain its quality and prevent any potential reactivation of the stabilizer.
Remember, each embroidery project and stabilizer brand may have specific requirements and recommendations. Always refer to the manufacturer’s instructions for the best practices and techniques tailored to the specific stabilizer you are using.
By following these tips, you can achieve excellent results in removing water-soluble embroidery stabilizer topping and ensure your embroidery projects look their best. Happy stitching!
Winding up with offer
Removing water-soluble embroidery stabilizer topping is a crucial step in the embroidery process. By following the detailed steps outlined in this article, you can confidently achieve clean and flawless embroidery results. Remember, patience and gentle handling are key to preserving the integrity of the design. With practice and attention to detail, you’ll master the art of removing water-soluble embroidery stabilizer topping and showcase your embroidery creations with pride.
If you are looking to digitize your embroidery designs, ZDigitizing is a reliable and professional company that provides complete digitizing and vector art services worldwide.
With a quick turnaround time and excellent quality, ZDigitizing is a great choice for your digitizing needs. You can click the link below to get a free quote in less than 5 minutes and avail a 50% discount on all our services for potential customers on their first order.
Hope it will be helpful for you guys!
If there’s any question related to this article you can simply ask in the comment section and don’t forget to share with those you think might be helpful for them.
And finally, thanks for reading!
Frequently Asked Questions
You can use various materials as embroidery stabilizers, such as tear-away stabilizer, cut-away stabilizer, water-soluble stabilizer, or heat-away stabilizer. The choice of stabilizer depends on the fabric, design complexity, and desired result of your embroidery project. Experiment with different stabilizers to find the one that works best for your specific embroidery needs.
Embroidery topper is a temporary stabilizer placed on top of the fabric to prevent the embroidery stitches from sinking into the material. Simply hoop the fabric and the topper together, ensuring that the topper is flat and taut. Embroider the design as usual, and once the embroidery is complete, gently remove the excess topper by tearing it away or using scissors.
To remove embroidery topping, moisten a clean cloth or sponge with water and gently dab it over the embroidery. The moisture will dissolve the water-soluble topping, making it easy to wipe or blot away. Avoid excessive rubbing or scrubbing, as it may damage the fabric or the embroidery stitches.


