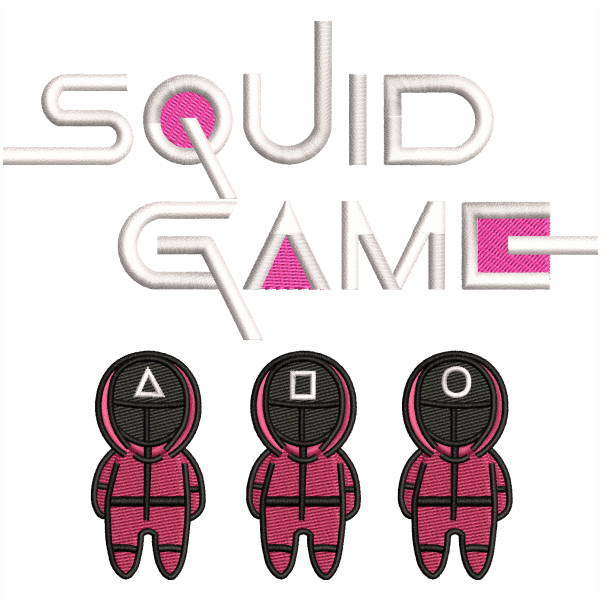
What Is Digitizing Embroidery? And Benefits
The Digitizing Embroidery field is one of the most prominent fields, and it has been passed down to us for generations. Today if you take a look around you, then you will pretty much find yourself surrounded by embroidery work.
Though we have been engulfed by embroidery work, yet there are many people who do not actually understand the difference between embroidery and Digitizing embroidery, so today we are going to throw some light on how digitizing embroidery works and what it is exactly!
What Is Digitizing Embroidery ?
What Is Digitizing Embroidery?
As we mentioned that we are totally surrounded by embroidery work, and we weren’t exaggerating when we said so.
Different decorative artwork that is sewn on the piece of fabric with the help of a embroidery needle and best thread becomes your embroidery work.
Just try noticing any fabric with needle work on it, and there you will see embroidery work. But that still leaves a few questions for us: why do we need digitized embroidery and what is the difference between them.
Difference Between Embroidery And Embroidery Digitizing
If you ask yourself a short question about how many times you witnessed a company’s logo on any T-shirt or on any piece of fabric, or any kind of writing letters, then your answer would probably be, many times!
So let us tell you an interesting side, all those logos and letters you have seen so far were digitized before they got printed on fabric.
Digitized embroidery accounts for converting the artwork to a stitch file that is later sent to an embroidery machine to sew, because an embroidery machine will not understand what a design is unless we tell it via embroidery file, and with digitized embroidery and proper technique it has been made so easy.
Embroidery Digitizing
&
Vector Art Services
Are you looking for embroidery digitizing and vector art services at low cost with superfast turnaround, guaranteed quality and preview before pay? So, you are at right place. We can digitize and vectorize any type of artwork in your required file format.
1.Benefits Of Digitizing Embroidery:
There are numerous benefits of digitized embroidery, digitizing has brought embroidery to the whole next level, a lot of people can now produce stunning and amazing designs, and digitizing has taken people quite fancy.
Digitized embroidery speaks volumes for its importance as we can see a lot of people today are adopting digitized embroidery over simple embroidery. Digitized embroidery is way faster and accurate.
Let us discuss some of its benefits.
2.Quality Of Work And Demand
Digitized embroidery is known to produce the best results due to the techniques which are involved in it; different software’s are used to generate stitch files and then relevant embroidery digitizing machines are targeted to sew the same art which is created or enhanced with embroidery digitizing software.
This is why digitized embroidery has more demand; everyone looks forward to high-end work, such as T-shirt logos or on any promotional products, so digitized embroidery makes sure to provide people with precise work, this has resulted in its popularity, so people tend to demand digitized work more.
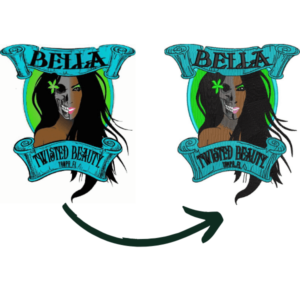
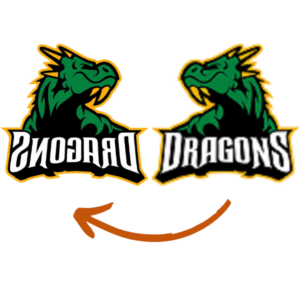
3.Editing Of Your Artwork:
Embroidery Digitizing is a fast process that gives you deep insight into your artwork, whatever the logo you want to print on your desired fabric offers you a wide variety of options, it also tells you how your finalized logo or letters would look like after the printing process.
And this gives you a good vision before you finalize anything and go for printing, and the best part is that you can edit your work as many times as you want, you can keep previewing and editing till you feel satisfied with your final design.

So if you are not quite certain and facing a problem that how your logo would turn out on some specific fabric then you should consider digitizing your logo, it will not only tell you the suitable fabric type, but it will also give you a lot of options to enhance your logo.
4.Free Designs And Patterns:
If you adopt digitizing embroidery then you can totally have access to a lot of embroidery digitizing designs and letterings that widens your collection, you can use them in your artwork, or create your own customized logos and do a lot more.
Nothing sounds better than creating something and then watching it becoming a reality in the form of digitizing embroidery.
You can simply download designs and upload them to your embroidery digitizing machine.
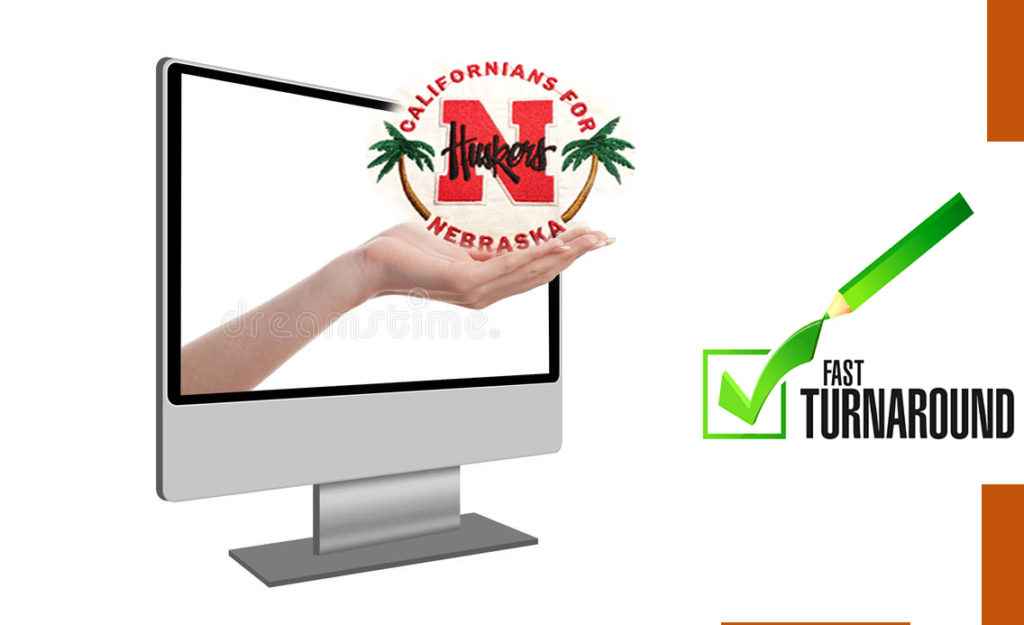
5.Turnaround Time:
Digitized embroidery is a robust field that is why it requires. With the supervision of digitizers who are experts in their work, working with digitized embroidery you can take expert advice; also good digitizing companies are more likely to do your work keenly and fast.
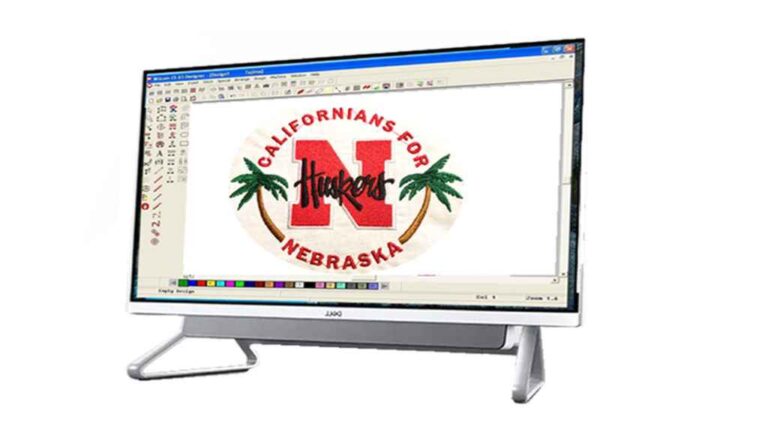
These digitizers are known to produce high quality digitized embroidery designs in quick turnaround time. So you do not have to worry about the design and its processing at your end.
And that way you can attract way more clients, you can expand your business and this is only possible with the right techniques of digitized embroidery.
Who can get the most out of Digitized Embroidery?
If you are working in the embroidery industry for a long time then definitely, you have to deal with a load of clients, but this can be your superpower and you can use that to your advantage to flourish the business.
You can grow your business with the help of Digitized embroidery services, such as promotional product services.
Uniform Logos:
With the custom digitized embroidery, you can provide your clients with uniform logos that are not only a source of one of the best promotional products but will also work as the advertisement of your own business, if the quality work is being produced then for sure the client is going to contact you again.
Corporate gifts products:
You can definitely promote your company with the help of wonderful corporate gift products, these gifts can be given on any occasion, festival or any particular time your company decides to give away gifts, to not only create strong bonding between your clients and the company but also to promote your company’s efforts.
And this can be done with the help of digitized embroidery, as via digitized photos, unique messages, and digitized embroidery logos, you can make it possible to convey a strong appreciation message.
Goodwill messages through corporate gifts always flourish the company.
Corporate Social Responsibilities:
Social responsibilities another yet powerful campaign that can have drastic results in promoting your companies, you can produce digitized logos on various things before distributing among people, it could be shirts, caps, hats, handbags, towels, and a lot more, this can leave a very nice impression on people about your company and it attracts more clients, you can always serve people with such a positive attitude and in return, you end up promoting your company way faster.
This too is possible via digitized embroidery, and you can make the best use of it as an embroidery machine owner.
Digitizing Embroidery does play a vital role in promoting and marketing your business, you just have to stick with the right digitized embroidery services and techniques.
Conclusion:
All things aside, it’s vital to make certain that nothing within the planet is idealized and indeed the simplest embroidery digitizers require overtime to revise or alter the plan after submission. Professional embroidery guarantees that the issue with the plan is corrected as the best need. Most of the time when these blunders happen at the generation arrange when the machine is cleared out unfixed


