How To Improve Embroidery Digitizing Quality
How to Improve Embroidery Digitizing Quality
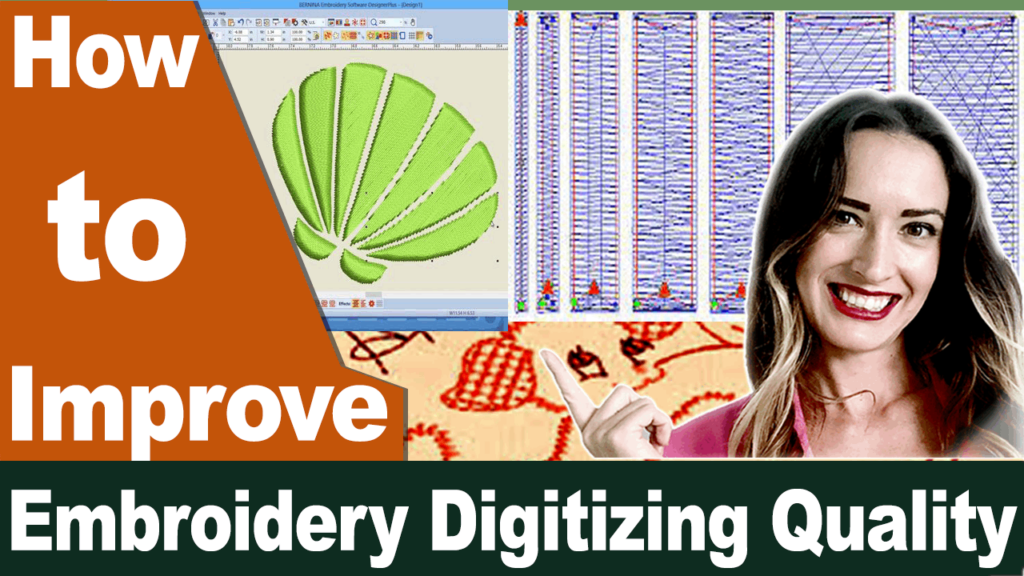
How do you know that an Embroidery digitizer has done fine work along with your digitized design? The trickiest portion of the work is finding a embroidery digitizing quality service for work.
So, in this video, we are going to consider how to improve embroidery digitizing quality?

How to Improve Embroidery Digitizing Quality
Stitch Density:
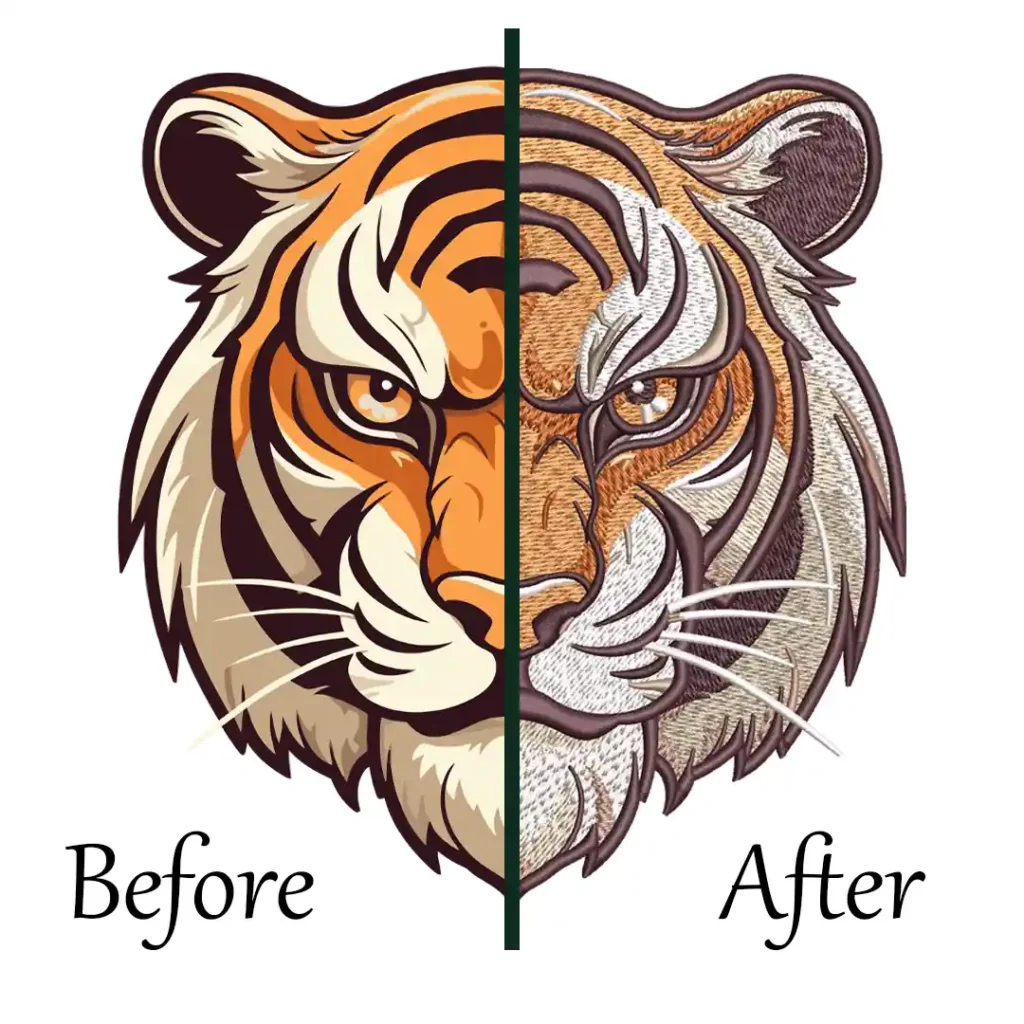
A specialist digitizer’s first and primary measure is the efficiency of his/her digitized designs. How well the pattern fits on a garment, how the design is adopted due to the essence of the clothing. The technique used to digitize a hat pattern would be different from the one used by a t-shirt like a flat garment. The stitch runs efficiently, it does not split, and the most significant feature is that the artwork can be correctly represented.
A replica of your assigned artwork should be a digitized design. Therefore, as the structure is the heart of your product, you can never compromise on performance. Saving cash by employing a cheap digitizing service for Embroidery will cost you greater losses during processing. Finally, in the long term, you will end up without your clients.
Embroidery Digitizing
&
Vector Art Services
Are you looking for embroidery digitizing and vector art services at low cost with superfast turnaround, guaranteed quality and preview before pay? So, you are at right place. We can digitize and vectorize any type of artwork in your required file format.
Minimize The Jump Stitches:
Stitch density refers to the number of stitches per area. It is a foundational aspect in the digitization of embroidery designs, and it is ignored by the digitizers most of the time. In addition, stitch count plays a vital role in the digitization of embroidery designs.
There is a complete science behind adjusting this stitch count, and it is just a nightmare to master the art of managing stitch count for optimized outputs.
Every fabric required a different value of stitch density, and it must be set accordingly for obtaining a perfect design. The value between 0.4 to 0.5 is considered a standard value for stitch density.

Traditionally, many digitizers put a default value in digitizing software and expect to gain a perfect design that is comfortable for the wearers. But this approach results in a less qualitative design. So, don’t ever forget to consider the stitch density while digitizing embroidery designs.
Add Layering:

It is a strategy that is Utilized to add profundity to embroidery designs. It makes an essential expansion in it by a new dimension. In layering, you should just digitize for those components that are available in the background of the plane. It makes the design more beautiful and creates an extensive 3-D plan. It improves the embroidery design in such a way to look more fascinating.
Underlay Stitches:

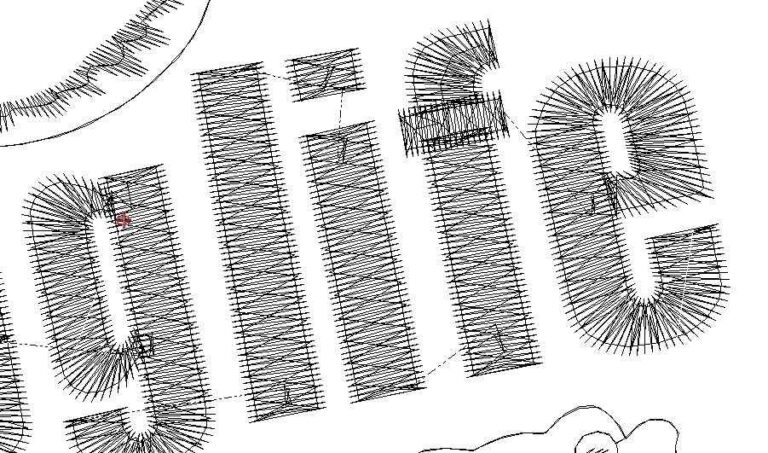
The other significant issue in many designs is that there is no underlay sewing all through the design. Underlay lines are the ones that are weaved before the main fill lines. They are broadly dispersed as compared to fill stitches and help as the foundation to our main design.
At the point when you are sewing out a weaving plan on a nappy texture, the underlay sewing assists with packing it down so that the threads don’t pop through the sewing.
The potential issues that can emerge because of lacking underlay sewing include incorporating puckering, moving, and penetrating of the Embroidered material.
Stitches Angles:
The stitch directions and angles are not the same all through, and they are pleasantly adjusted to make up for the push and pull.
As a matter of course, the digitizing program likes to fill zones of sewing at a particular degree angle, for example, the 45-degree angle. However, on the off chance that you don’t change this angle all through your design, it will look one-dimensional. In any case, when you change the stitch angle among the various shapes in your plan, there is more significant differentiation between multiple components which delivers a general additionally fascinating looking design.
Thread Direction:
In the design, if the thread direction is changed, you won’t have the same number of pull issues when you fasten it out. Consider it; if every stitch of your design is running similarly, they will pull the fabric in that way.

Look Stitches:
If the stitches are not bound tightly after the completion of the design the best thread pulls out after trimming. The benefit of adding lock stitches is that it helps to secure the design on the fabric to avoid puckering and pulling when the design is being stitched out.
Conclusion:
All things aside, it’s vital to make certain that nothing within the planet is idealized and indeed the simplest embroidery digitizers require overtime to revise or alter the plan after submission. Professional embroidery guarantees that the issue with the plan is corrected as the best need. Most of the time when these blunders happen at the generation arrange when the machine is cleared out unfixed. Thanks for reading our article how to improve embroidery digitizing quality.


