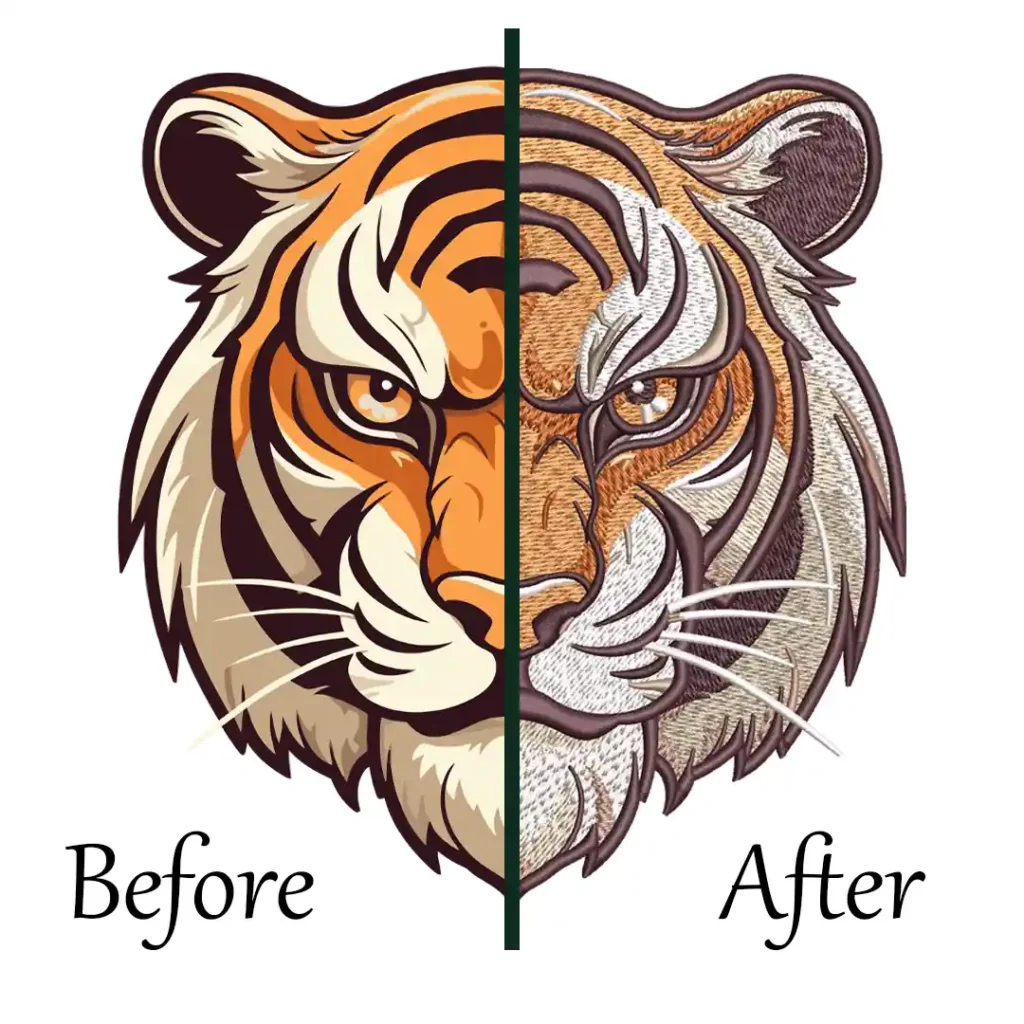
Want to make your clothing pop? Adding neckline embroidery is a fantastic way to enhance its appearance. The secret to flawless, eye-catching neckline machine embroidery lies in the details and your focus.In this guide, we’ll share expert secrets and tricks to help you create professional-looking, stunning necklines.
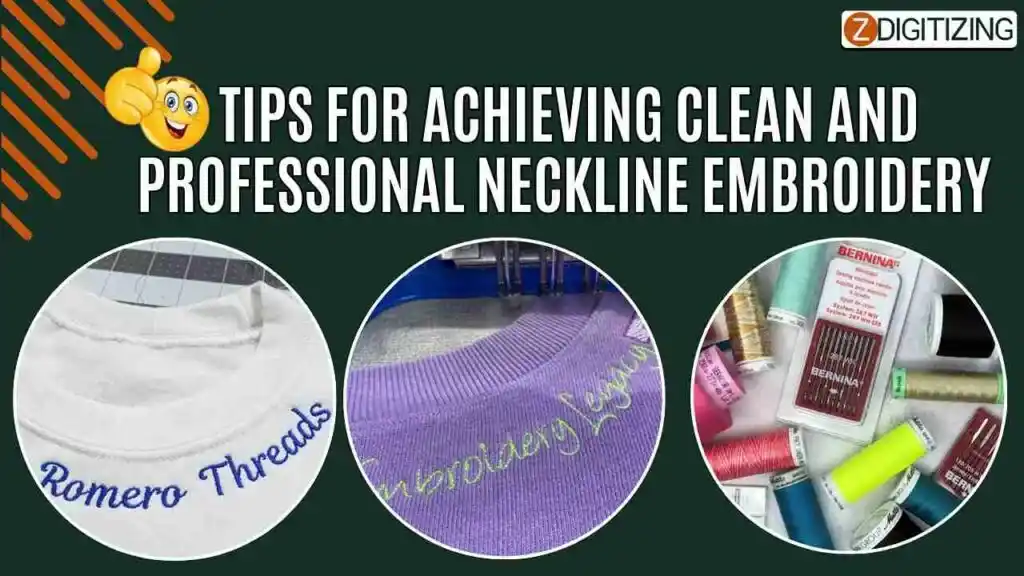
Choose Stable Fabrics for Best Results
Table of Contents
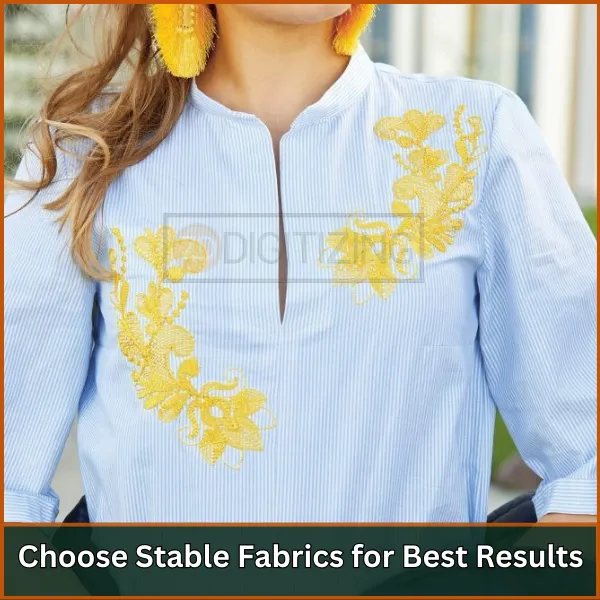
When it comes to neckline embroidery, not all fabrics work well. Some fabrics stretch too much, making your design look crooked or uneven.
Best Fabrics for Neckline:
Cotton, linen, polyester, and blends. These fabrics provide stability and hold the embroidery well.
Avoid these Fabric:
Jersey, knits, and very stretchy fabrics. These fabrics can make it harder to maintain a clean design, as they tend to move and stretch during the embroidery process.
Choose Simple, Detailed Embroidery Designs for Necklines
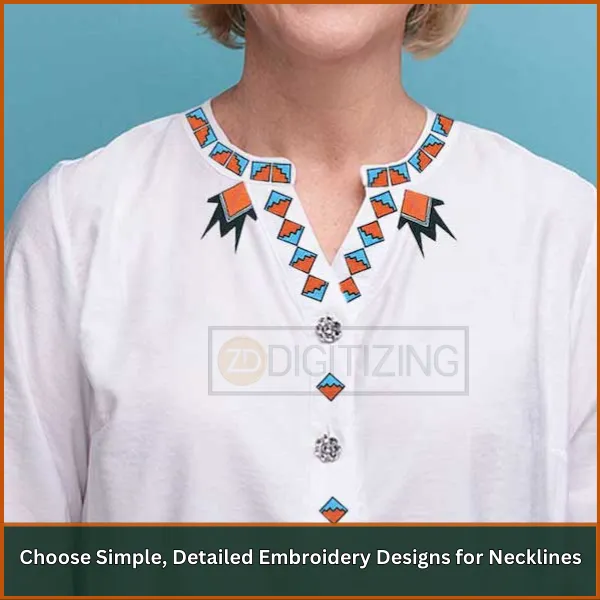
When it comes to neckline embroidery, the design you choose plays a big role in how the final piece looks. Small and detailed designs work best around the neckline, and it’s important to consider the size and shape of the neckline itself.
If you’re not sure where to start or need custom designs, ZDigitizing offers a wide range of digitized designs in different file formats to suit your needs. You can grab them from our store.
You can also take advantage of our custom embroidery digitizing services, where we create high-quality designs at affordable prices with super-fast turnaround. These designs will ensure a professional finish and elevate your garment instantly!
Selecting the Appropriate Embroidery Stabilizer
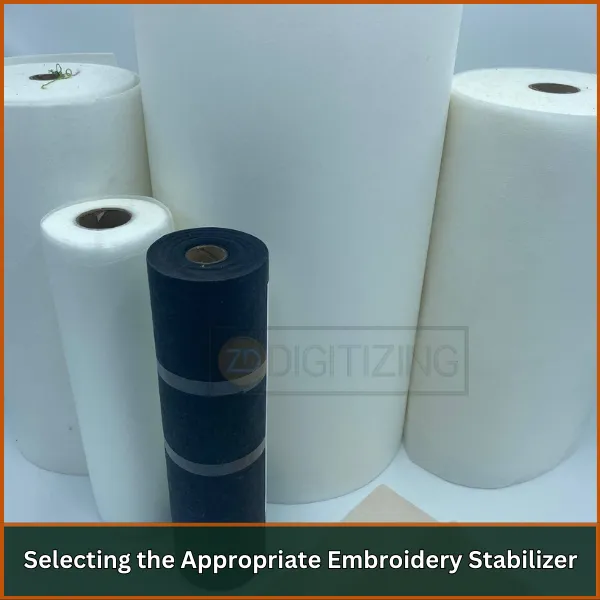
A stabilizer is a material placed behind the fabric during machine embroidery to keep the fabric from stretching or shifting. For neckline embroidery, choosing the right stabilizer ensures that the design stays in place and doesn’t get distorted.
In the market, there are different types of stabilizers available for machine embroidery. These include:
- Tear-Away Stabilizer
- Cut-Away Stabilizer
- Water-Soluble Stabilizer
Necklines are usually curved, using a cut-away stabilizer is the best option. This type of stabilizer provides strong support during the embroidery process and keeps the fabric from shifting. It also helps prevent the design from puckering or getting distorted.
Additional Tip: For added stability, consider using a combination of stabilizers. For example, a cut-away stabilizer on the back and a water-soluble topping on the front can yield excellent results.
Proper Placement and Alignment for Neckline Designs
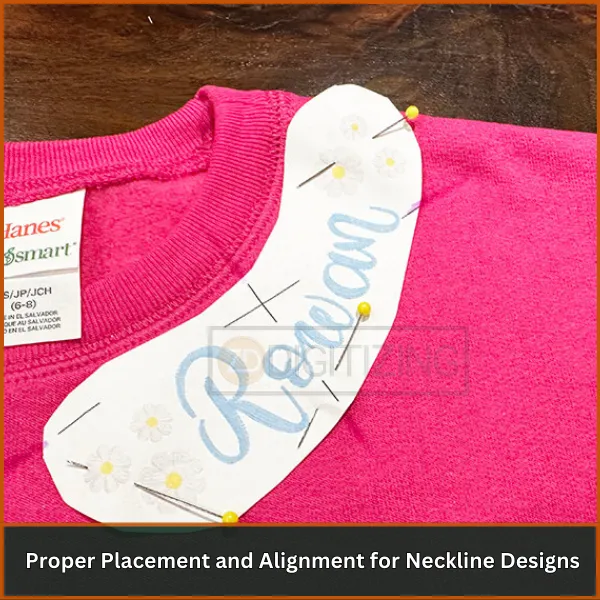
The placement of your design is just as important as the design itself. Neckline embroidery needs to be well-centered and symmetrical to look professional. Measuring the distance from the shoulder seam to the center of the neckline ensures accurate design alignment.
Curving the Text for a Perfect Fit
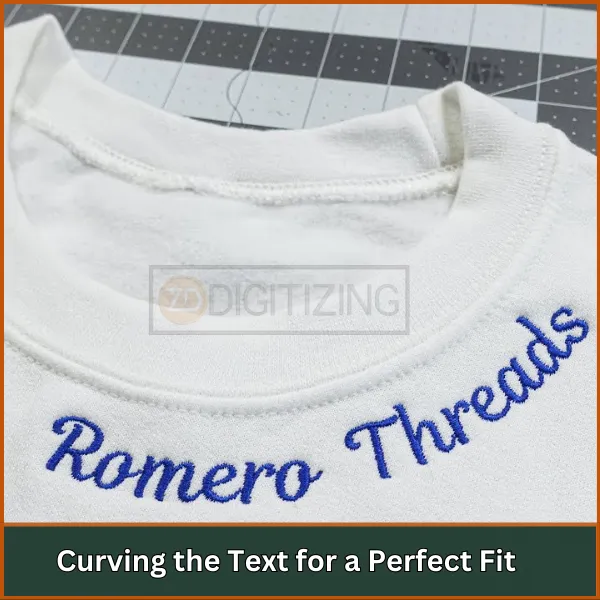
As mentioned earlier, necklines are often curved, and to ensure your embroidery looks natural and professional, it’s important to curve any text you include in your design. Straight text may not sit well on a curved neckline, leading to an unbalanced and awkward appearance.Curving the text makes sure it flows smoothly along the neckline and enhances the overall design. You can easily achieve this by using embroidery software like Embrilliance Essentials, which allows you to adjust the text curvature and embroidery fonts according to the shape of the neckline.
Remember: If you choose ZDigitizing for your design digitizing, we’ll provide the design already adjusted to fit your specific neckline shape—an extra benefit to ensure perfect alignment and results!
Proper Hooping Prevents Shifting (Image guide)
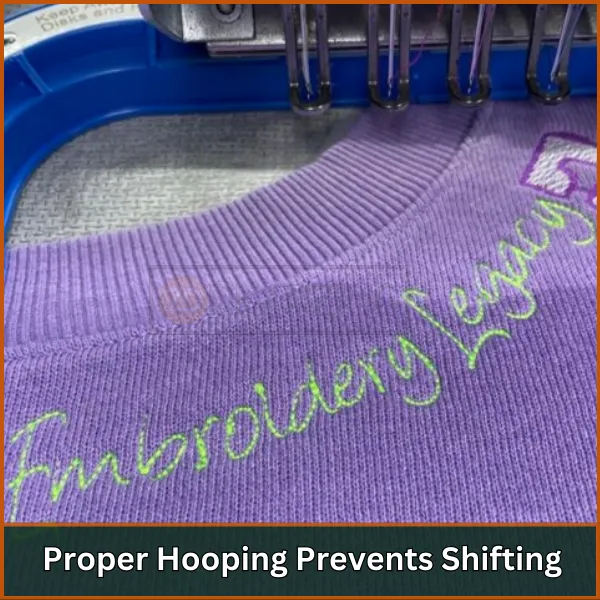
Getting the right hooping technique is one of the most important steps in ensuring your embroidery looks clean and professional. Here’s how you can hoop your fabric correctly:
- Use a hooping station that fits the neckline size. Make sure your hoop is snug around the neckline so the fabric doesn’t move.
- Mark the center of the design. Use a water-soluble pen to mark where the design should be placed. Make sure it’s centered and aligned with the neckline.
- Don’t stretch the fabric too much. Tighten the hoop just enough so the fabric is firm, but don’t over-stretch it.
Embroidery Machine Settings Can Make or Break Your Design
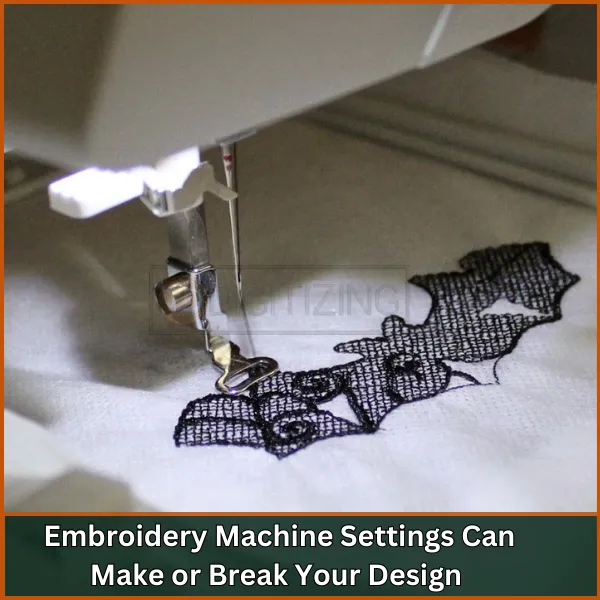
Your machine’s settings can make or break the outcome of your neckline embroidery. Here’s how to adjust your settings for the best results:
- Stitch Density: Too many stitches can make the fabric pucker, while too few stitches can make the design look incomplete. Adjust your stitch density according to the thickness of the fabric.
- Tension Settings: Proper tension ensures that the stitches lie flat on the fabric without pulling or looping. You may need to test on a scrap piece of fabric before starting the actual project
Right Thread and Needle Matter for Professional Results
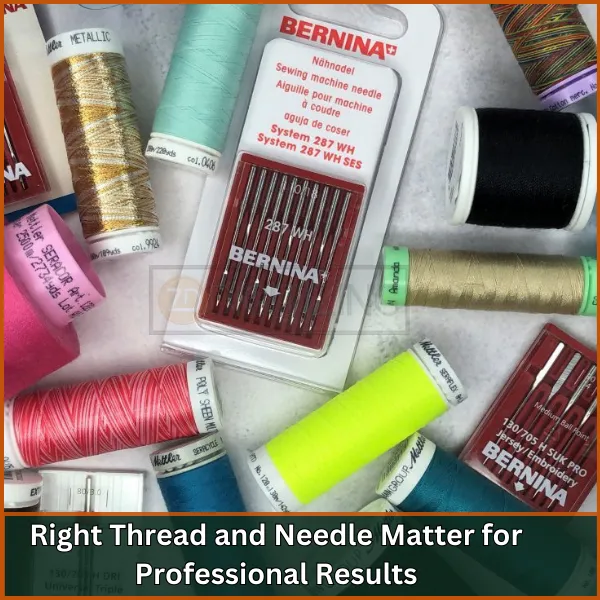
The thread and needle you use can affect the final look of your neckline. Using the wrong tools can cause thread breakage, skipped stitches, or damage to the fabric.
Here’s a quick guide:
- Thread: Use polyester or rayon embroidery thread for best results. These threads are strong, shiny, and come in a variety of colors.
- Needle: A size 75/11 or 80/12 embroidery needle works well with most fabrics. However, for delicate fabrics like silk, you may need a finer needle like a 70/10.
Always Test Before Embroidering on the Final Garment
Before starting your actual neckline embroidery, it’s wise to test your design on a scrap piece of fabric. This allows you to catch any potential issues and make adjustments before you start on your final garment.This step can lead to saving time and fabric if something goes wrong. A quick test stitch can save you a lot of frustration later!
Conclusion: Mastering the Art of Neckline Embroidery
Neckline machine embroidery doesn’t have to be difficult, but it does require attention to detail. From choosing the right fabric to selecting the best stabilizer, following these tips will help you achieve a clean and professional look every time.
If you’re looking for expert help with your designs, ZDigitizing is here to assist you. We offer a wide variety of high-quality designs that are ready to use, or you can take advantage of our custom digitizing services to get a design made specifically for your project. With our expertise, you can ensure your neckline machine embroidery stands out and looks flawless.
And here’s some good news! If you’re placing your first order, you’ll get 50% off, and we’ll provide a quote within just 5 minutes. Don’t miss this opportunity to get the perfect design for your neckline
We’d love to hear from you! If you found these tips helpful or have any questions, feel free to leave a comment below. Don’t forget to like, and share with your friends.
FAQs
The basic steps in making an embroidery include selecting a fabric, choosing a design, securing the fabric in an embroidery hooping station, and using various embroidery stitches to create the desired pattern or image. It’s then finished by securing loose threads and pressing the fabric for a polished result.
Embroidery stitches involve creating intricate designs with a needle and thread by following specific patterns and techniques, such as backstitch, satin stitch, and French knots. Learning these stitches enables you to add texture, detail, and creativity to fabric and embroidery projects.
Neckline embroidery commonly employs techniques like backstitching and satin stitching to create clean and detailed outlines, while French knots are used to add texture and dimension to the design.

