Why Are My Embroidery Outlines Misaligned? Causes and Solutions
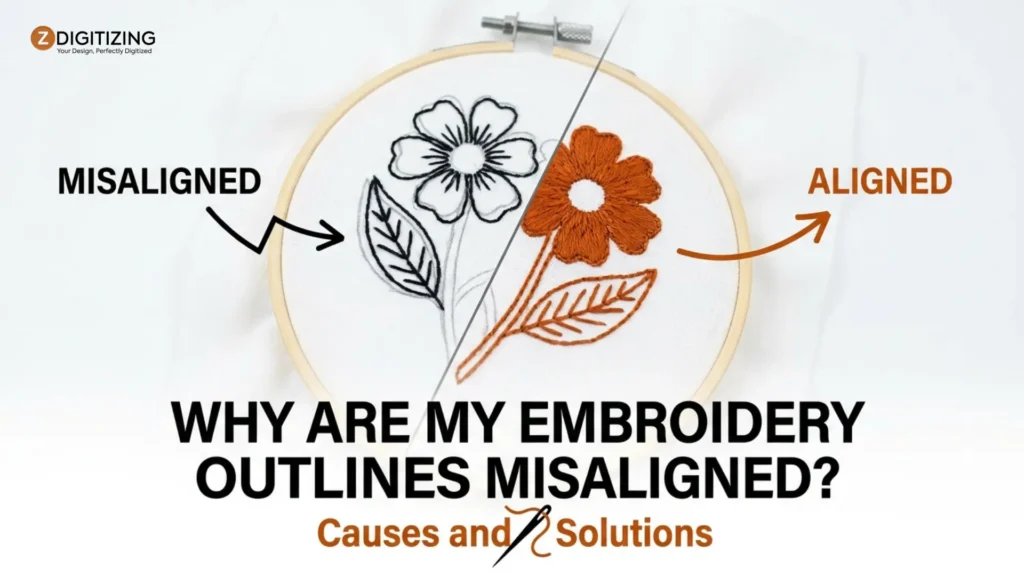
Few things in commercial or home stitching are as frustrating as watching a dense 20-minute fill stitch finish, only for the final embroidery outline to land completely out of place. This gap between the outline and the fill is a classic embroidery machine registration issue. While many embroiderers assume their machine has skipped a step or suffered a mechanical breakdown, that is rarely the case. In reality, shifting stems from physical fabric movement or improper digitizing mechanics.
By systematically assessing your stabilizer choice, hoop tension, and file preparation, you can achieve crisp, perfectly aligned borders on every run.
Why Are My Embroidery Outlines Misaligned? Causes and Solutions
Understanding the Enemy: The "Push and Pull" Effect
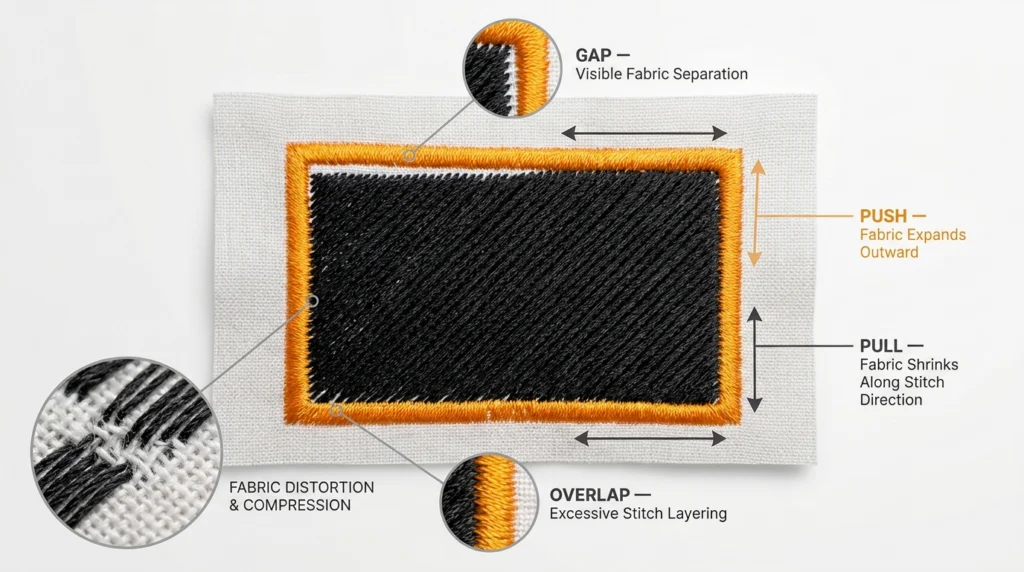
To solve shifting embroidery outlines, you must understand how stitches physically manipulate fabric. Every stitch pulls the fabric tight along the direction of the thread, while expanding or pushing it outward perpendicular to the stitch angle.
Understanding the Enemy The Push and Pull Effect
Physics of Stitches
When a machine lays down thousands of stitches in a concentrated area, the fabric structurally transforms. Tatami fill distortion occurs when heavy, multi-directional fill stitching compresses the fabric weave.
This forces the material to shift before the final satin stitch outline overlap can frame the design.
Push vs. Pull Dynamics
Fabric movement behaves predictably under the needle:
Push Effect: Fabric pushes outward at the open ends of the stitch path as thread forces the fibers to move.
Pull Effect: Thread tension pulling fabric inward creates shrinkage along the direction of the stitch lines.
The Result
This dual force creates out of register embroidery lines. As the fabric shrinks along the pull axis and stretches along the push axis, the final embroidery outline misses its target, leaving gaps between fill and outline on two sides while overlapping excessively on the others.
Machine & Setup Fixes (The Hoop & Stabilizer)
Physical stabilization forms the bedrock of crisp alignment. If your fabric shifts in the hoop during the fill phase, no software fix can salvage the embroidery outline.
Machine & Setup Fixes (The Hoop & Stabilizer)
The Battle of Backings
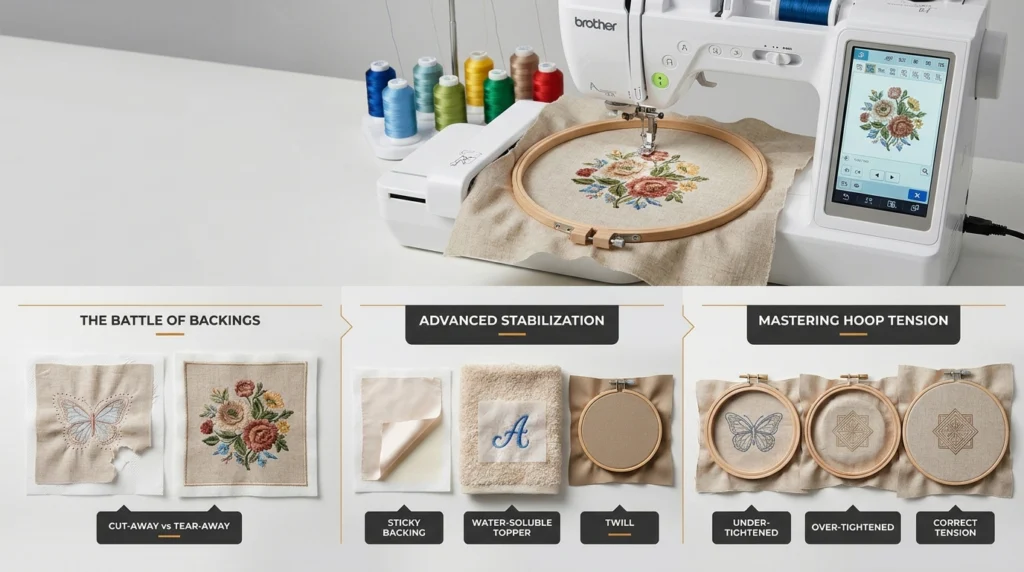
Choosing between cut-away vs tear-away stabilizer is critical for maintaining structural stability. Light tear-away backing breaks down under heavy needle penetrations, causing the fabric to shift mid-design.
For designs with high stitch counts or dense fills, always opt for a heavy cut-away backing that holds its structure throughout the entire embroidery cycle.
Advanced Stabilization
High-stretch or textured fabrics require extra reinforcement:
Sticky tear-away backing: Excellent for hard-to-hoop items or lightweight woven fabrics, providing continuous adhesion across the entire frame.
Water-soluble toppers: Keeps fill stitches from sinking into high-pile fabrics (like towels or fleece), preventing surface distortion before the embroidery outline is applied.
Preventing movement: Proper backing selection eliminates fabric shifting in the hoop during high-speed sewing.
Mastering Hoop Tension
Achieving taut fabric placement requires even, firm tension across the hoop like a drum skin, without pulling or stretching the fabric fibers out of shape.
Over-tightening leads to hoop burns and puckering once the item is unhooped, while under-tightening allows the fabric to slip under thread tension.
Software & Digitizing Fixes (The File)
Software & Digitizing Fixes (The File)
If your physical setup is solid but embroidery outlines are still drifting, the issue lies inside the digitized file.
Adjusting Pull Compensation Settings
Because thread tension inevitably pulls fabric inward, your software must compensate by expanding fill shapes beyond their visual boundaries.
Setting your pull compensation settings between 0.25 mm and 0.4 mm widens your fill objects in the software, compensating for fabric shrinkage during sewing.
The Magic of Underlay Stitching
An underlay stitching foundation, such as a grid, mesh, or edge run, anchors the fabric to the backing before heavy top fills are deposited. Skipping or reducing underlay leads to severe fabric puckering around outline edges.
Perfecting the Stitch Sequence
Proper embroidery software pathing minimizes the time between sewing a fill and its embroidery outline.
If a design stitches four separate fills across a jacket back before returning to outline the first shape, the fabric will have moved. Stitch each outline immediately after its corresponding fill section to prevent drift.
Creating a Satin Stitch Outline Overlap
Creating a Satin Stitch Outline Overlap
Never digitize an outline to about the exact edge of a fill object in software. Always build in a satin stitch outline overlap of 1.0 mm to 1.5 mm. This creates a practical safety margin that hides subtle shifts.
Troubleshooting by Fabric Type
Different materials require distinct stabilizing and digitizing approaches to maintain precise registration.
Fabric Category
Primary Risk Factor
Recommended Stabilizer
Key Digitizing Technique
Stretchy Knits
High elastic recovery pulling inward
Medium-to-heavy cut-away
Increase pull compensation to 0.4mm
Performance Wear
Slippery surface, multi-directional stretch
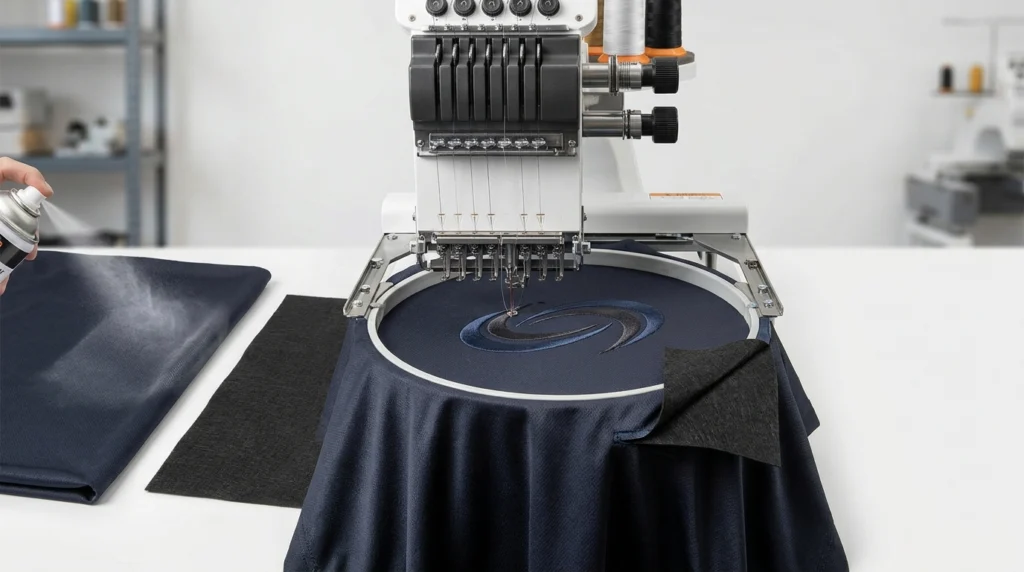
Poly-mesh cut-away + temporary adhesive spray
Heavy grid underlay to lock weave
Pique Polos
Textured weave creates embroidery border gaps
Cut-away backing + water-soluble topper
Increase satin stitch density slightly
Unstructured Caps
Curved surface slipping under needle pressure
Cap-specific heavy tear-away or cut-away
Path design from center outward
Embroidering on Stretchy Knits
When embroidering on jersey tees, standard tear-away will fail. The elastic fibers warp as the fill stitches lay down. Use a stable cut-away mesh to maintain registration.
Performance Wear Embroidery Tips
Performance Wear Embroidery Tips
Applying embroidery tips means managing light, slippery polyester blends. Use temporary tack spray alongside cut-away backings to prevent shifting without adding excessive bulk.
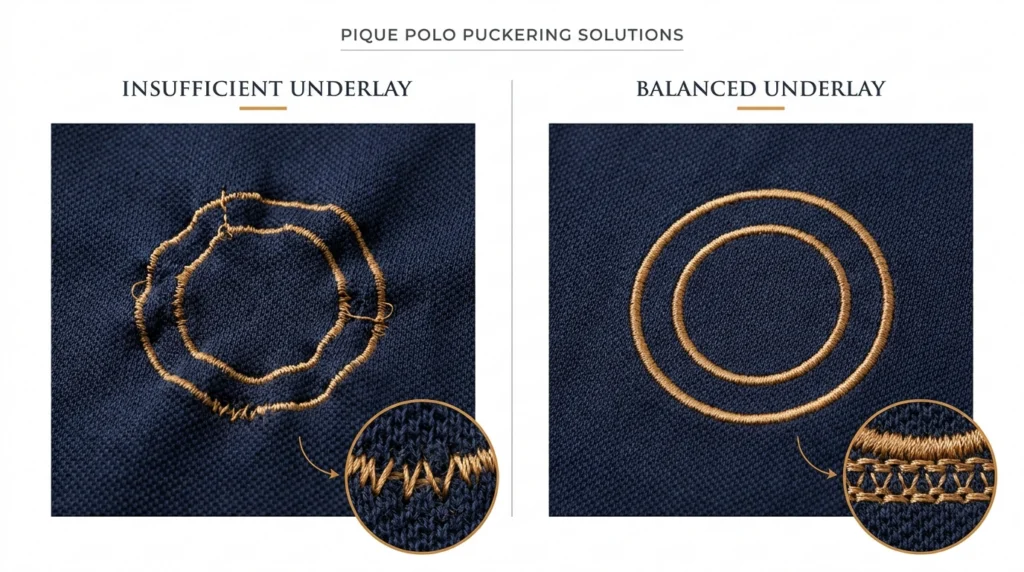
Pique Polo Puckering Solutions
Pique Polo Puckering Solutions
Implementing puckering solutions involves balancing underlay density with top fill weight. The uneven waffle texture of pique easily traps embroidery outlines if underlay coverage is insufficient.
Unstructured Cap Digitizing
Unstructured cap requires careful pathing control. Because unstructured caps lack internal buckram, stitch your design from the bottom-center outward and upward to push excess fabric away from finished areas.
Converting Vector Art to Stitch Files
Converting flat graphics to embroidery requires accounting for physical mechanics.
Vector to embroidery conversion: Standard auto-digitizing software often fails to account for real-world push and pull forces. Manually adjust nodes and stitch directions after conversion.
Vector outlines vs. stitch paths: A vector graphic uses zero-width mathematical lines, whereas embroidery threads occupy real physical space.
Stitch distortion remedies: Apply appropriate underlay, adjust densities, and add manual overlaps to transform flat vector artwork into stable embroidery files.
Master Your Alignment: Final Takeaways
Perfect embroidery outline registration relies on balancing physical tension in the hoop with accurate file preparation in software. By pairing robust cut-away backing with tuned pull compensation, strategic underlays, and disciplined sequencing, you eliminate gaps and puckering across all fabric types.
Quick Diagnostic Checklist
Backing: Did you use heavy cut-away backing for dense or stretchy items?
Hooping: Is your fabric taut without being overstretched?
Pull Comp: Have you set pull compensation between 0.25mm and 0.4mm?
Sequence: Are outlines running immediately after their matching fills?
Aha! Now the cause of those shifting lines makes sense. If complex designs keep causing alignment problems, sending your files to professional digitizing services saves hours of wasted sewing and ruined fabric. At ZDigitizing, we build custom embroidery files that stop fabric stretching, border gaps, and thread breaks.
Unlike auto-digitizers that ignore fabric behavior, our expert team adds proper pull settings and stitch foundations for every material, from activewear to caps. We offer fast same-day delivery, free revisions, and a preview of your design before you pay.
To help you get started, ZDigitizing gives you 30% off your first order. Stop wasting time and thread, visit ZDigitizing today to get crisp, perfect embroidery every time!
Are you looking for embroidery digitizing and vector art services at low cost with superfast turnaround, guarranted quality and preview before pay? So, you are at right place. We can digitize and vectorize any type of artwork in your required file format.