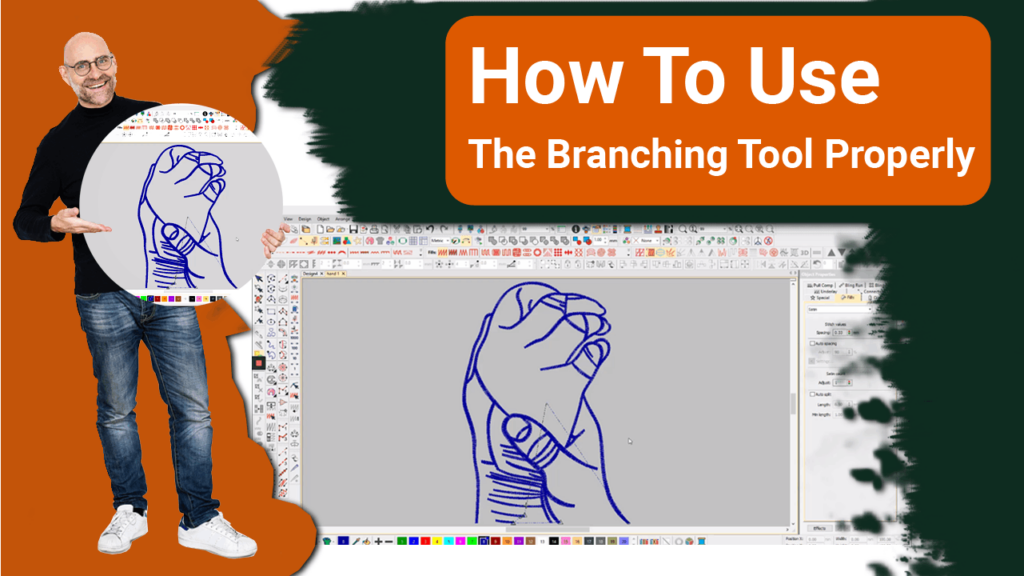
In this Article, we will discuss about how to use the branching tool properly. We will describe 4 important steps how to use the branching tool properly.

How To Use The Branching Tool Properly
Are you looking for proper usage of the branching tool? Or are you wondering what is the main purpose of branching?
What does the branching tool do ?
Branching tool is among the important tools, and it is used to eliminate the jumps and trim from your design,
One of the main benefits of the branching tool is that it also enhances the production of the embroidery machine.
If you want to increase the production speed, make sure you do not have jumps and trims in your design. You can read this article how to remove jump and trim.
Embroidery Digitizing
&
Vector Art Services
Are you looking for embroidery digitizing and vector art services at low cost with superfast turnaround, guaranteed quality and preview before pay? So, you are at right place. We can digitize and vectorize any type of artwork in your required file format.
Step 1 - Click On Arrange:
First of all click on “Arrange” on the menu bar, and from the drop-down list select “Branching”, you can also use the shortcut key “i”.
Step 2 - Select Your Design:
After you are in the branching mode you can start to select your design, your design file might be in different fragments of jumps, and to eliminate it you have to select your design; that is to branch it.
Step 3 - Start Clicking:
Start clicking on your design to branch it, make sure that you click on every object that you want to branch with the other one.
An important thing to consider is that you do not apply branching on any object that is separate from the other object, because branching is meant for the objects that are attached to each other.
So, if you want to remove the jump and trim for the object that is separate then you have to take care of it manually, and you can simply do it manually by choosing the trim option from the toolbar.
Step 4 - Save Your Design:
It is important that you save your design, go to the menu bar, click on File, select “save”, name your design file.
And that is about it. You have successfully applied the branching tool to your design.
Now you can make use of this embroidery design file in your embroidery machine for faster production.
Hope it will be helpful for you guys!
If you are looking for quality digitizing services then head over to ZDigitizing and claim your first-month free digitizing offer before it’s gone!
If there’s any question related to this video you can simply ask in the comment section and don’t forget to like, share, and subscribe to this channel.
Frequently Asked Questions
Branching is a modern feature that lets you digitize similar, overlapping objects, for example, the fingers of a hand, or sections of a custom alphabet, without having to consider the most efficient stitching joins and sequence. Apply the command to join selected objects to make a single compound object. Elements are sequenced, connectors lessened, and stitches are regenerated. Every element object is grouped and selectable as one.
The branching feature smartly sequences objects and then groups them so a start and end point could be allotted to the group. Every object should be overlapped by another object that is to be branched in the group. Overlapped segments would be hidden behind objects that will be in the stitch order later. For the branching tool, the keyboard shortcut is I or the icons could be found in the arrange toolbar or under the arrange menu. The procedure is to select every object to be branched and then use the shortcut key or icon, then you would be prompted to digitize a start and then finish point. The prompt bar is placed along the bottom of the work area. In the case of a running stitching line, the entry and exit point must be at the same place, if you want to have two passes of stitching everywhere this would make a runs stitch out and one back so every stitching line is duplicated on the backtrack to the endpoint. If it doesn’t matter that several parts of the design have 2 runs and others have 3 then the start and finish points could be at separate places. The start and finish points could be moved, with the help of a reshaped tool, to any appropriate place even after the branching has been finished. The software would re-path to accommodate the new place automatically.
The procedure is to select every object to be branched and then use the shortcut key or icon, then you would be prompted to digitize a start and then finish point. The prompt bar is placed along the bottom of the work area. In the case of a running stitching line, the entry and exit point must be at the same place, if you want to have two passes of stitching everywhere this would make a runs stitch out and one back so every stitching line is duplicated on the backtrack to the endpoint. If it doesn’t matter that several parts of the design have 2 runs and others have 3 then the start and finish points could be at separate places. The start and finish points could be moved, with the help of a reshaped tool, to any appropriate place even after the branching has been finished. The software would re-path to accommodate the new place automatically.


