Are you dealing with a mess of tangled threads underneath your embroidery project? This frustrating issue, known as “bird nesting in machine embroidery,” can really set back your creative work. But why does it happen, and how can you prevent it?In this article, we’ll dive into the common causes of bird nesting and share some effective tips to help you keep your embroidery projects clean and beautiful.
Let’s solve this problem together and ensure your machine embroidery turns out perfectly every time!
Causes Of Bird Nesting In Machine Embroidery And How To Avoid Them
What is Bird Nesting in Machine Embroidery?
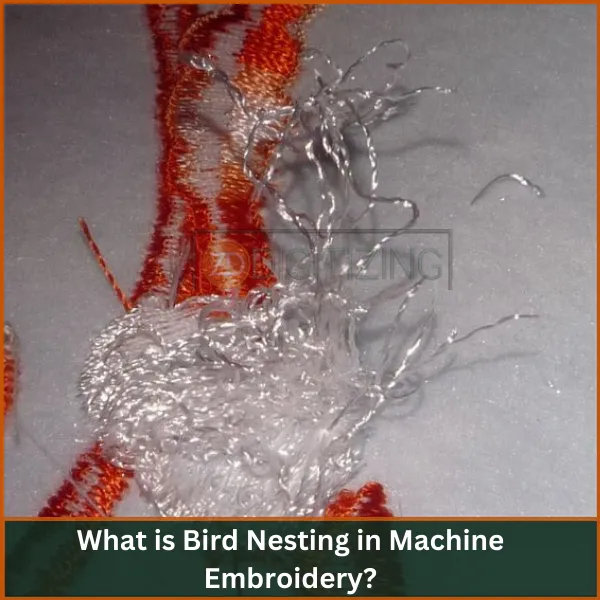
Bird nesting in embroidery refers to a messy tangle of threads that typically forms on the underside of an embroidery design. This tangled mass resembles an actual bird’s nest, which is how it gets its name.
One might wonder, “If it’s on the back, why is it a problem?” Although the front of the embroidery might look fine, the tangled threads can get caught in the bobbin hook, causing the machine to stop unexpectedly.
Embroidery and sewing machines create designs using a lock embroidery stitch type, which works best when the bobbin thread and upper thread are pulling equally.
However, if one thread is pulled too tightly, it can cause the other thread to release excess slack and loop around the bobbin hook. This is when you see thread nesting occur beneath the fabric.
Embroidery Digitizing & Vector Art Services

Looking for embroidery digitizing and vector art services that are affordable and reliable? We offer fast turnaround time, guaranteed quality, and the option to preview your design before payment, we make sure you get exactly what you need. Your satisfaction is our top priority, and we’re dedicated to delivering the best results. Don’t wait—try ZDigitizing today and see the difference in quality and service!
Embroidery Digitizing & Vector Art Services
Looking for embroidery digitizing and vector art services that are affordable and reliable? We offer fast turnaround time, guaranteed quality, and the option to preview your design before payment, we make sure you get exactly what you need. Your satisfaction is our top priority, and we’re dedicated to delivering the best results. Don’t wait—try ZDigitizing today and see the difference in quality and service!
What are the Common Causes of Bird Nesting in Machine Embroidery?
There are a lot of reasons for which you face bird nesting in embroidery. The most common reasons are given below:
Improper Threading
Proper threading is important which guarantees that your embroidery machine runs easily. If you miss any point in the threading path it may result in uneven tension and cause a bobbin hook to stuck and stop the embroidery process.
Incorrect Thread Tension
Improper tension between the lower and upper thread can produce a bird nest. If the thread tension is too tight it pulls the bobbin thread to the top and makes a mess under the fabric.
Similarly, if thread tension is too loose, the upper thread does not properly join with the lower thread and causes nesting.
Improper Fabric Hooping
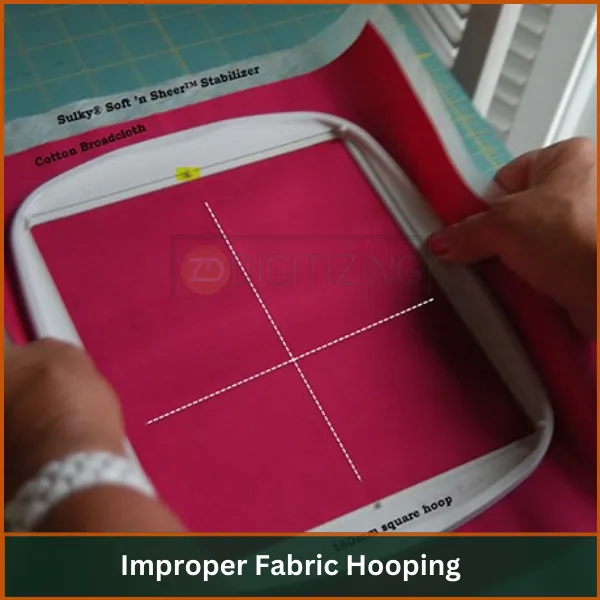
If your fabric is not hooped properly in the embroidery hoop it causes flagging. Flagging refers to when your fabric moves up and down during the embroidery process.
This happens because the fabric hoop is too loose and it may slip or expand. It may lead to uneven embroidery stitches and cause bird nesting embroidery.
It usually occurs on caps or hats because sometimes cap rings prevent it from lying flat entirely.
Poor Embroidery Digitizing
If the design is poorly embroidery digitized it results in excessive trims, jumps, and unnecessary thread changes. It may contribute to bird nesting in machine embroidery.
Sometimes dense or tight embroidery stitches, especially in small text, can cause the needle to have difficulty in penetrating the fabric, which may cause bird in a nest embroidery file.
So, you’ve to ensure that your design is well digitized with minimal thread trims and proper sequence.
Incorrect Bobbin and Needle Orientation
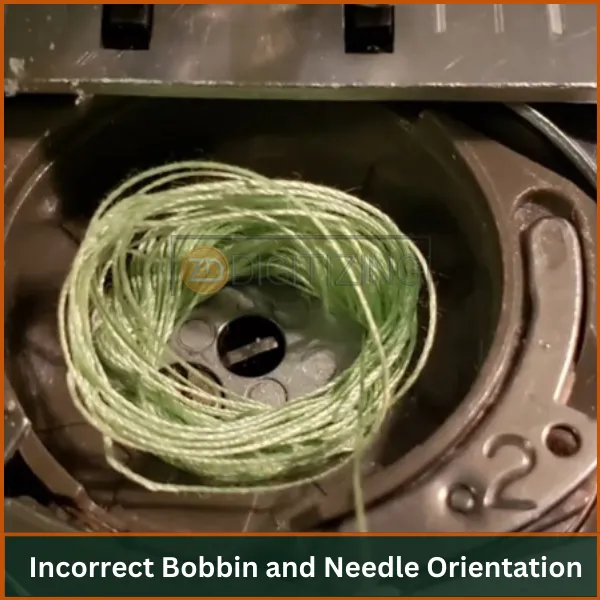
If you use the wrong size or type of bobbin and embroidery needle for your fabric. The best way to check bobbin orientation is to check the thread tail shape. The tail should look like “p” not “q”.
Conversely, if the embroidery needle’s flat side does not face the back of the embroidery machine or is not properly inserted it causes embroidery bird nesting.
Bobbin Case Dirty
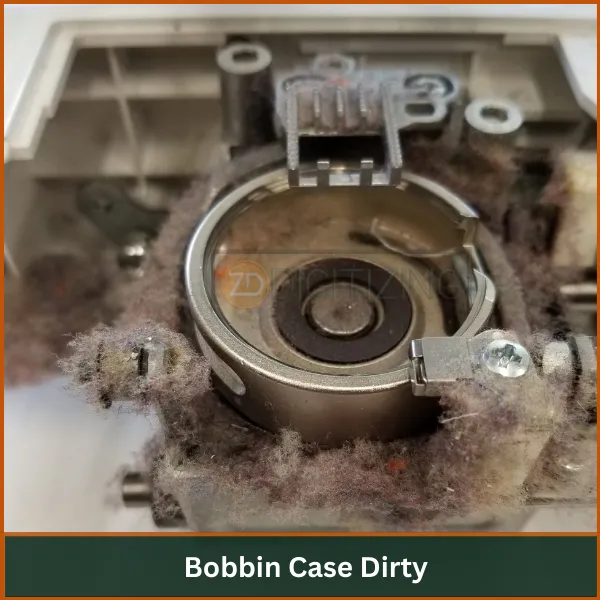
The dirty bobbin case may disturb the continuous and smooth flow of the lower thread. The string and fuzz can stuck in the bobbin which causes nesting in embroidery.
Old Embroidery Threads
The embroidery thread has an impact on the quality of stitches in embroidery. Embroidery threads with time lose their integrity and become more prone to tangling and breakage. If you’re using damaged or old thread also contribute to thread nesting.
To find out which thread works best with your machine you can read our article on how to choose the right thread for your machine.
How to Avoid Bird Nesting in Embroidery | Proactive Measures
Taking steps before you start embroidering can help stop bird nesting in machine embroidery from happening. Here’s how you can do that:
Properly Thread Your Machine
Make sure you thread your machine the right way every time. This means following the threading path exactly as the manual says, without skipping any guides or tension disks.
If the thread is not properly placed, it can slip out and cause tangles underneath your fabric. A good tip is to re-thread your machine if you’re ever in doubt.
Set Correct Thread Tension
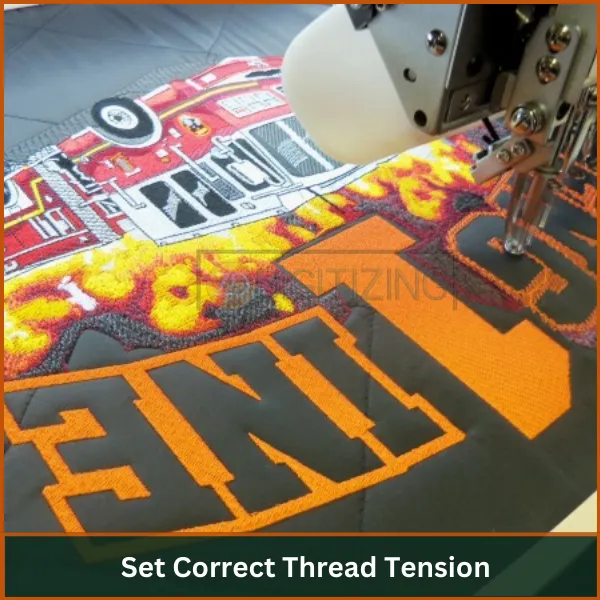
Thread tension is really important. If it’s too loose, the thread will sag and loop. If it’s too tight, the thread can snap or pull the fabric, causing bunching.
The best way to find the right tension is to test it on a piece of scrap fabric that’s the same as your project. Adjust the tension dials until the stitching looks smooth on both the top and bottom of the fabric.
Ensure Proper Fabric Hooping
Your fabric needs to be tight in the embroidery hoop, like a drum skin. If it’s not tight, the fabric can move around when the machine starts stitching, and this can make the thread snag and bundle up into nests.
Always check the hoop right before you start the machine to make sure the fabric hasn’t loosened.
Consulting an Expert Digitizer
For complex designs, it’s wise to consult with a professional digitizer. An expert can offer valuable insights and adjustments that prevent common stitching problems like bird nesting.
If you’re looking for top-notch custom embroidery digitizing services, consider ZDigitizing. We provide high-quality digitizing services at the lowest price possible, guaranteeing excellent quality with a fast turnaround time.
Trust us to enhance your embroidery experience while ensuring your designs are perfectly prepared to avoid issues like bird nesting.
Use Good Quality Needles and Threads
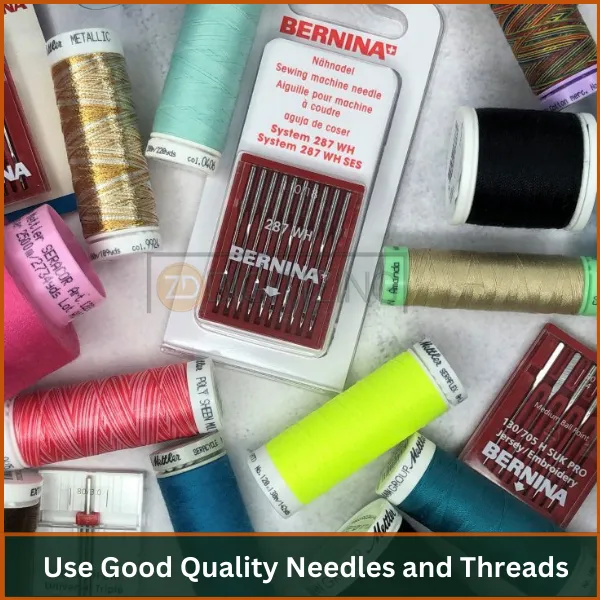
Using high-quality threads and needles can really make a difference. Cheap threads can break easily or may not run smoothly through your machine, which increases the risk of bird nesting.Similarly, the right needle for your fabric and thread type can prevent a lot of issues. A blunt or wrong-sized needle can damage your fabric and thread, leading to nesting.
Regular Machine Maintenance
Keep your embroidery machine in good working condition by cleaning and maintaining it regularly. This includes removing lint and thread pieces from around the bobbin case and the threading path.
Oiling parts as recommended by your machine’s manual and checking for any worn-out parts that need replacing. A well-maintained machine is less likely to cause problems like bird nesting.
Embroidery Digitizing & Vector Art Services

Looking for embroidery digitizing and vector art services that are affordable and reliable? We offer fast turnaround time, guaranteed quality, and the option to preview your design before payment, we make sure you get exactly what you need. Your satisfaction is our top priority, and we’re dedicated to delivering the best results. Don’t wait—try ZDigitizing today and see the difference in quality and service!
Embroidery Digitizing & Vector Art Services
Looking for embroidery digitizing and vector art services that are affordable and reliable? We offer fast turnaround time, guaranteed quality, and the option to preview your design before payment, we make sure you get exactly what you need. Your satisfaction is our top priority, and we’re dedicated to delivering the best results. Don’t wait—try ZDigitizing today and see the difference in quality and service!
Maintaining Your Embroidery Machine for Long-Term Success
To ensure your embroidery machine stays in excellent condition, follow these maintenance tips:
- Regular cleaning: Take time to thoroughly clean your machine, especially in areas where lint and thread can accumulate.
- Manage wear and tear: Regularly check and replace needles, bobbins, and other consumable parts.
- Keep software updated: If your machine uses software, make sure it’s always up to date to prevent glitches that can affect your embroidery.
Conclusion: Moving Forward with Confidence in Embroidery
Bird nesting in machine embroidery can be really annoying. It can slow down your work and sometimes ruin your embroidery projects completely. This problem also shows that there might be some mistakes in how you’re doing your embroidery, which can cost you time and money.
Luckily, there are many ways to stop this from happening, and we’ve talked about them above.
Are you looking for someone to help with your embroidery designs? Check out ZDigitizing. We offer services to turn your designs into embroidery patterns and we also make vector art for printing, all at prices that are easy on your wallet.
Right now, we’re giving a 50% discount on your first order for any of our services. Don’t miss this chance to get your embroidery looking great with our help!
Click here to talk to us and get a FREE QUOTE in just 5 minutes.
If you liked this article, share it with your friends. Thank you for reading, and happy stitching!
FAQs
Yes, you can fix bird nesting. Just you’ve to do is remove the hoop, rethread the machine, ensure proper thread tension, use high-quality thread and needle, and much more.
Yes, improper hooping causes bird nesting because it leads to flagging in which fabric moves up and down during the embroidery process. They cause uneven stitches and tension.
Bird nesting occurs when there is an imbalance in tension which causes lower and upper thread pulls unevenly. The thread moves around the bobbin and the machine stops eventually.
Dense or tight embroidery stitches, especially in small text, can cause the needle to have difficulty penetrating the fabric, which may cause bird-nesting.
To avoid bird nesting in embroidery, ensure correct threading and proper thread tension. Clean the bobbin and follow the maintenance guide regularly for smooth embroidery.

