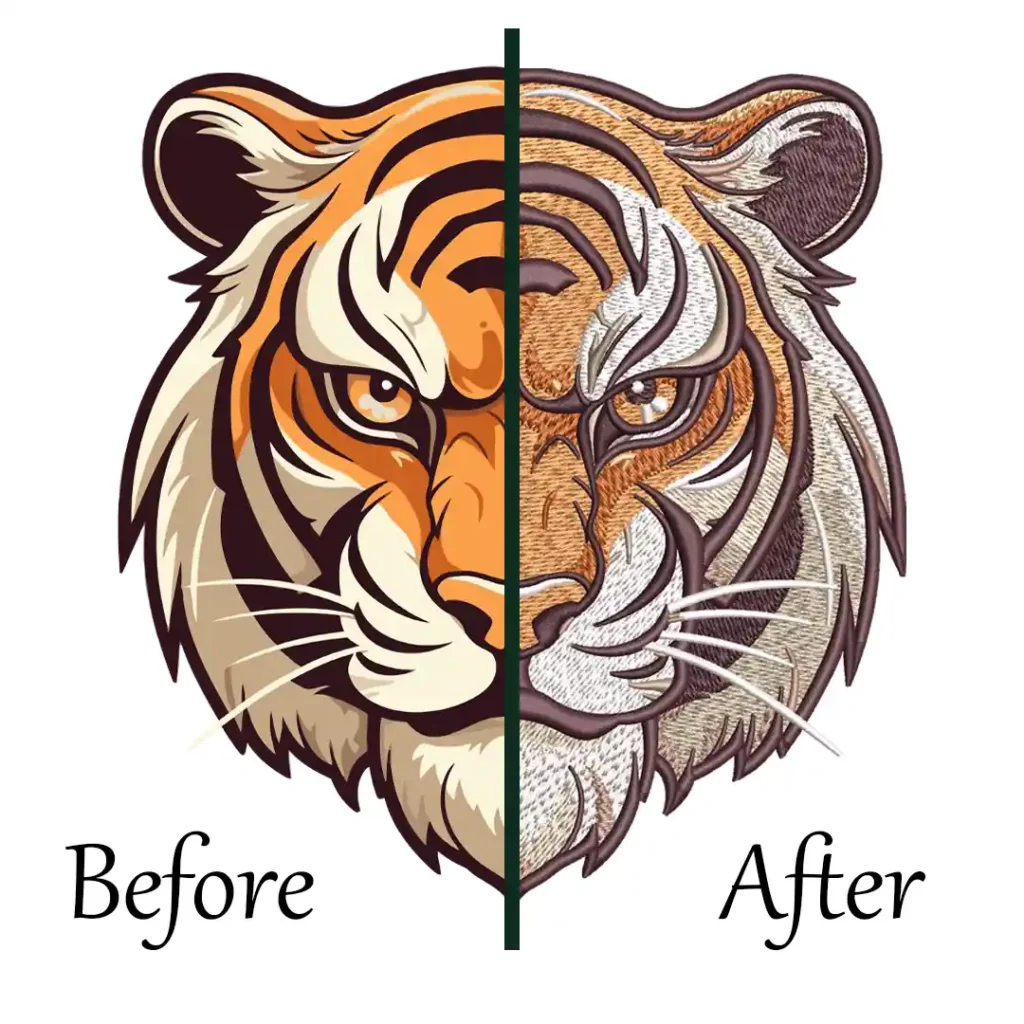
Starting with machine embroidery can feel like a big task, but it’s easier than you might think! This guide will introduce you to the machine embroidery basics in a simple and friendly way.
We’ll explain what tools you need, how to use them, and which stitches and designs are best for beginners. Our goal is to help you feel comfortable and excited about creating your first embroidery project.
You don’t need to worry—we’ll guide you through the basics of machine embroidery every step of the way, making sure you understand and enjoy the process.
Guide for Machine embroidery Basics By Zdigitizing
What is Machine Embroidery?
Machine embroidery is the process of using a specialized embroidery machine to create patterns and designs on fabric. It’s much faster and more consistent than sewing by hand, and it lets you create complex designs easily.
What Materials Do You Need for Machine Embroidery?
Now that you have a basic understanding of what machine embroidery is, it’s time to look at the essential tools you’ll need to start embroidery, so let’s discuss those next.
- Embroidery Machine
- Embroidery Needles
- Embroidery Threads
- Embroidery Stabilizers
- Machine Embroidery Design
- Embroidery Digitizing Software
- Embroidery Hoops and Frames
- Embroidery Scissors
- Embroidery Fabric
Here’s a quick overview of the materials you’ll need for machine embroidery. Next, let’s dive into the details of each item, as there are various brands and types available in the market. If you’re a beginner, it’s essential to understand where to start, which we’ll explore in the following section.
Embroidery Digitizing & Vector Art Services
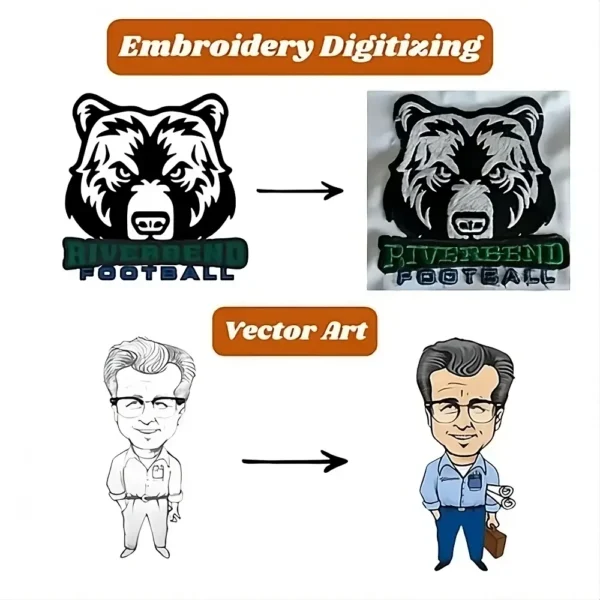
Looking for embroidery digitizing and vector art services that are affordable and reliable? We offer fast turnaround time, guaranteed quality, and the option to preview your design before payment, we make sure you get exactly what you need. Your satisfaction is our top priority, and we’re dedicated to delivering the best results. Don’t wait—try ZDigitizing today and see the difference in quality and service!
Embroidery Digitizing & Vector Art Services
Looking for embroidery digitizing and vector art services that are affordable and reliable? We offer fast turnaround time, guaranteed quality, and the option to preview your design before payment, we make sure you get exactly what you need. Your satisfaction is our top priority, and we’re dedicated to delivering the best results. Don’t wait—try ZDigitizing today and see the difference in quality and service!
1. Embroidery Machine
As the name says, you’ll definitely need an embroidery machine, and it’s the most important tool to get started. If you’re a beginner and unsure about which basic embroidery machine for beginners to choose, we’re here to make your decision easier.
Let’s take a look at the types of machines available in the market and identify the key features that beginners should consider before making a purchase!
Types of Embroidery Machines
Embroidery machines come in various types, each designed to meet different applications, skill levels, and production needs. Understanding these options is an important part of machine embroidery basics. Let’s have a look at them:
1. Single-Needle Embroidery Machines
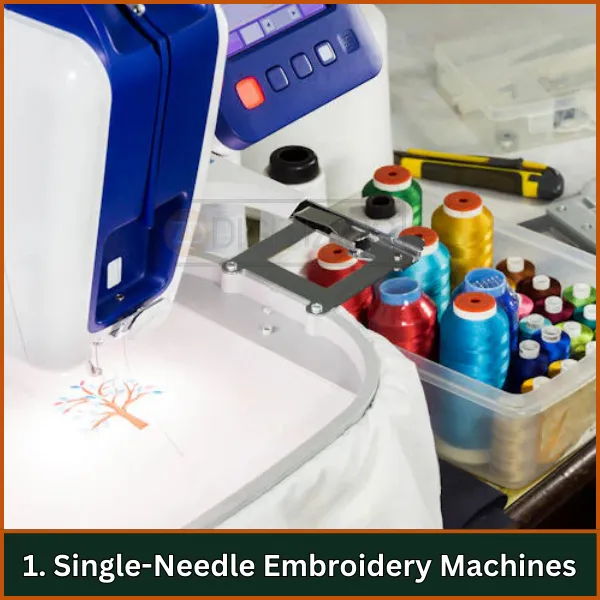
It is a straightforward and versatile option for anyone interested in getting started with embroidery, whether for personal use or small business projects. Here’s what you need to know:
Main Features:
- One Needle: As the name suggests, these machines have just one needle. This means that they can work with one thread color at a time. For designs with multiple colors, you’ll need to change the thread between each color manually.
- Embroidery and Sewing Capabilities: Many single-needle machines are combination machines, meaning they can function as both a sewing and an embroidery machine. This adds versatility, especially for users who enjoy both crafts.
2. Multi-Needle Embroidery Machine
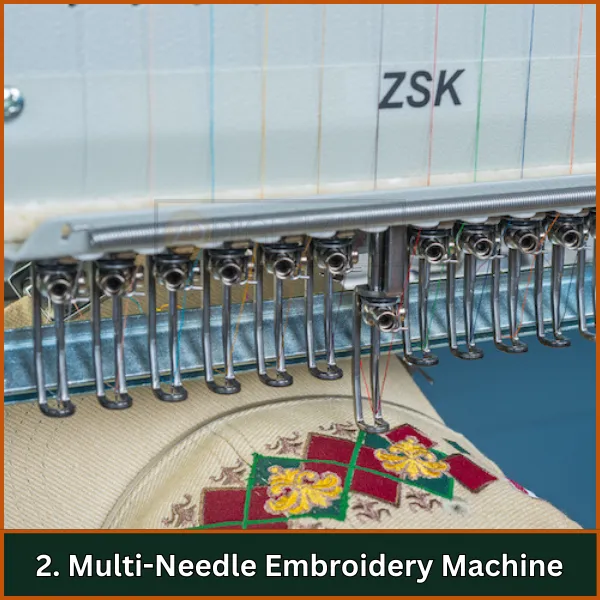
It is a more advanced type of machine designed for efficiency and versatility, making it a popular choice for both home-based businesses and professional embroiderers. Here’s what sets it apart:
Main Features:
- Multiple Needles: These machines typically have 4 to 15 needles, each threaded with a different color. This allows the machine to automatically switch between thread colors without the need for manual intervention.
- Automatic Color Changes: With multiple needles, the machine can complete complex, multi-colored designs much faster, as it doesn’t need to pause for thread changes.
If you want a quick answer to “What is the best embroidery machine for beginners? Well, for those new to embroidery, single-needle machines are the best choice.
They are affordable and easy to use, similar to regular sewing machines but with embroidery features. This makes them perfect for beginners or hobbyists who want to start embroidery without spending too much. If you’re trying to figure out which embroidery machine is right for you and what factors you need to consider when selecting embroidery, visit our blog for helpful guidance.
2. Embroidery Needles
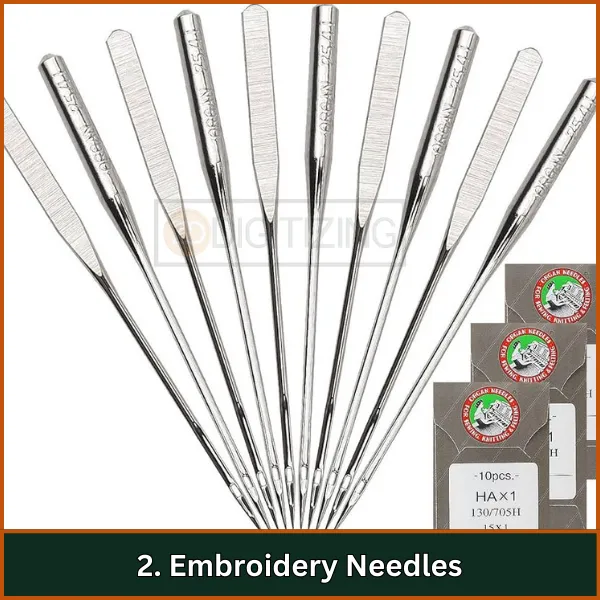
Embroidery needles come in various sizes and types, each suited for different fabrics and thread weights. Understanding the right needle choice is crucial in mastering machine embroidery basics, ensuring smooth and precise stitching for any project.
Types of Embroidery Needles
- Universal Embroidery Needles: These are versatile needles that work well with most types of fabrics. They are a good starting point for beginners, allowing you to try out different materials without needing to switch needles.
- Ballpoint Needles: Ballpoint needles are specifically designed for knits and stretchy fabrics. Instead of piercing the fabric, the rounded tip gently pushes the fibers aside, preventing snags and holes.
- Sharp Needles: These needles are great for tightly woven fabrics like cotton and linen. Their extra-sharp point ensures clean, precise stitches, making them ideal for detailed embroidery work.
Important Tip: For beginners, starting with a universal embroidery needle, typically sized between 75/11 and 90/14 is advisable. These sizes are versatile enough to handle most basic embroidery fabrics and threads.
If you want to learn more about which embroidery needle is best for your project, click here.
3. Embroidery Threads
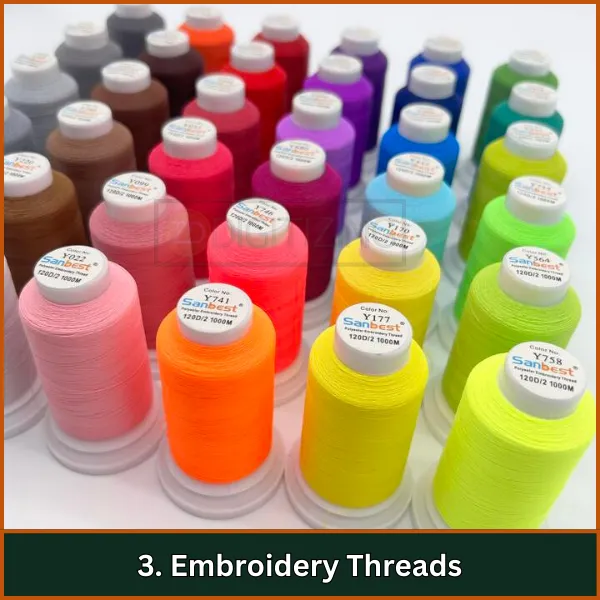
Learning about different thread types and when to use them is a key part of the basics of machine embroidery, helping you create beautiful and lasting designs.
Types of Embroidery Threads
- Polyester Thread: Polyester thread is strong, durable, and resistant to fading and shrinking. It’s great for projects that need to withstand frequent washing, like clothing and towels. It has a slight sheen, making your designs stand out.
- Rayon Thread: Rayon thread is known for its vibrant colors and beautiful, silky sheen. It’s perfect for decorative projects where a luxurious finish is desired. However, it’s less durable than polyester, so it’s best for items that won’t be washed often.
- Cotton Thread: Cotton thread has a matte finish and is softer than polyester or rayon. It’s ideal for a natural, subtle look and works well on lightweight fabrics like cotton or linen. Cotton thread is also easy to work with, making it a good choice for beginners.
- Silk Thread: It offers a rich, glossy finish and is incredibly smooth, making it perfect for high-end, intricate designs. It’s often used in heirloom projects or delicate fabrics, but it’s more expensive and requires careful handling.
- Metallic Thread: Metallic thread adds a touch of sparkle and glamour to your designs. It’s often used for special effects or accents. However, metallic threads can be tricky to work with because they are more prone to breaking, so it’s best to use them for small, detailed areas.
Recommendation: For beginners, polyester threads are recommended due to their strength, durability, and colorfastness, making them ideal for a variety of projects.
Important Note: Thread weight plays a key role in the quality and appearance of your embroidery. Most common embroidery threads are 40-weight, which works well with the needle sizes mentioned earlier. Beginners should start with 40-weight threads as they provide good coverage and are easy to work with.
4. Embroidery Stabilizers
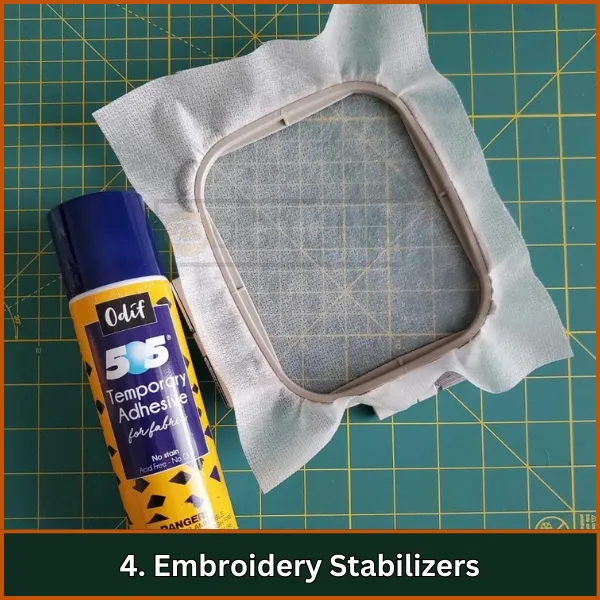
Stabilizers are essential tools in machine embroidery. They help keep the fabric steady and smooth as the machine stitches the design.
Types of Stabilizers
Now, let’s look at the type of stabilizer with uses:
- Cutaway Stabilizers: These are strong and are used to support fabric during and after embroidery. They’re great for stretchy or lightweight fabrics. After you finish embroidering, you cut away the excess stabilizer from around the design.
- Tearaway Stabilizers: They are easier to remove because you can tear them away from the embroidery once you’re done. They are best used with more stable fabrics that aren’t very stretchy, like canvas or denim.
- Water-Soluble Stabilizers: These stabilizers dissolve in water. They are perfect for delicate fabrics or when you don’t want any stabilizer to show at all, like in lace or freestanding embroidery projects.
- Heat-Away Stabilizers: These stabilizers vanish when you apply heat (like from an iron). They are useful for materials that cannot be washed.
Now that we’ve discussed the main types of stabilizers. If you want to learn which stabilizer is best for your project and what factors to consider, visit our blog.
5. Machine Embroidery Design
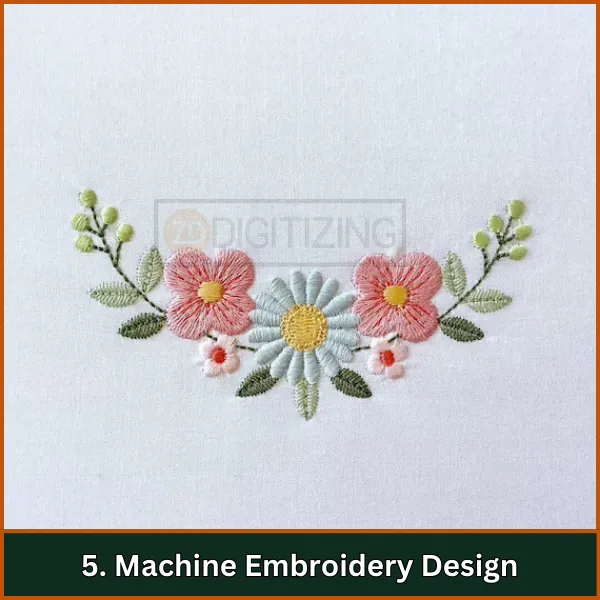
Let’s discuss the design you need to embroider. First, what is an embroidery design? An embroidery design is a digital blueprint that guides an embroidery machine on how to stitch a specific pattern onto fabric. These designs come in various types, each suited to different themes or styles of embroidery.
Machine Embroidery File Formats
Embroidery designs are read by machines in specific file formats, known as embroidery file formats. These formats include DST, PES, EXP, and several others, each compatible with different types of embroidery machines.
If you want to learn more about which file format is suitable for your machine, click here to explore detailed information on embroidery file formats and machine compatibility.
6. Embroidery Digitizing Software
For embroidery, not only do you need a design, but you also need the right software to convert that design into a machine-readable file format, as discussed above. This process is known as embroidery digitizing.
What is embroidery digitizing? It’s the conversion of artwork into a digital file that tells an embroidery machine where, how, and which colors to use while stitching the design. This is crucial for achieving high-quality embroidered products.
When it comes to digitizing software, there are several options available that are great for beginners, such as Wilcom Hatch, Brother PE-Design, and Embrilliance Essentials. These software packages offer user-friendly interfaces and a range of features that can help newcomers.
However, using these software tools can be challenging. They require skills to master, and can also be expensive. That’s why we recommend outsourcing your digitizing needs—it saves time and the cost.
For this purpose, you can choose ZDigitizing. We offer high-quality embroidery digitizing services at affordable rates, with a super-fast turnaround.
If you’re unsure about a specific design, you can visit our store. Where we offer a wide range of pre-digitized designs suitable for various tastes and requirements. Whether you need a design for a special occasion or for regular business production, our store likely has what you need.
For those who need multiple designs regularly, our subscription plan is a cost-effective solution. For just $9 a month, our subscription plan provides unlimited access to our extensive design library. This allows you to download as many designs as you want across all categories.
Additional Machine Embroidery Basics Materials You Need
Beyond the essential tools like an embroidery machine, needles, threads, and stabilizers, there are a few more materials you’ll need to start your machine embroidery journey successfully:
1. Embroidery Hoops and Frames
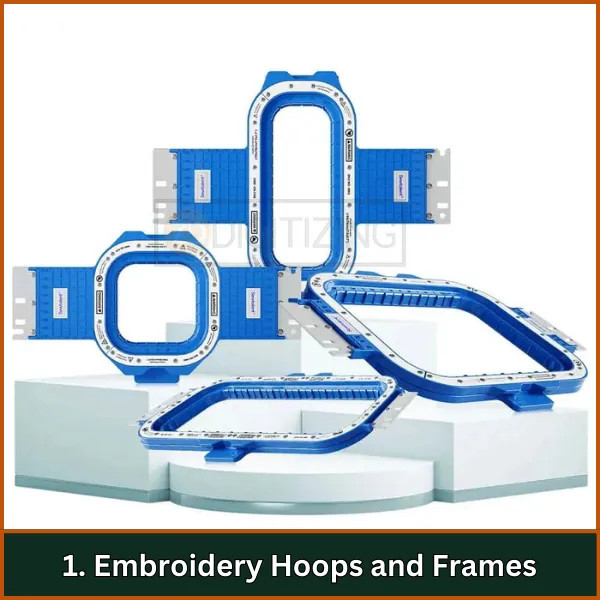
- Purpose: Hoops and frames are crucial for keeping your fabric taut while you work. They prevent the fabric from shifting, ensuring your stitches are even and your design comes out clean.
- Variety: Hoops are usually round and come in different sizes, perfect for small to medium-sized projects. Frames are larger and more rigid, ideal for bigger projects where you need to keep a larger area of fabric stable.
Tip: Some embroidery machines come with hoops and frames included, which are specifically designed to fit that machine model. When buying a machine, it’s important to check what types and sizes of hoops or frames are included to ensure they meet your needs. This way, you can be sure you’re equipped for the types of projects you plan to work on.
2. Embroidery Scissors
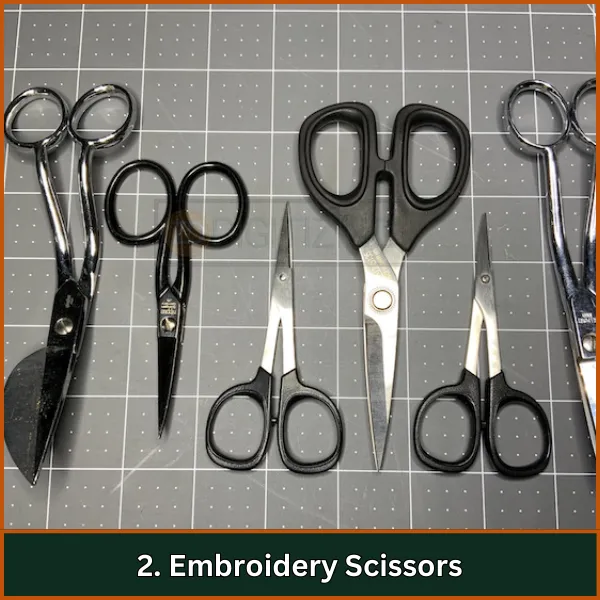
- Purpose: Embroidery scissors are small, sharp scissors designed for precision cutting. They are essential for trimming threads close to the fabric without damaging your design.
- Variety: These scissors often have a curved tip, allowing you to get close to the fabric for clean cuts. Some also have a pointed tip, perfect for snipping threads in tight spaces.
3. Embroidery Fabric
In machine embroidery, the choice of fabric is crucial. It serves as the foundation for your design, affecting both the embroidery process and the final look of the piece. There are some types of fabric commonly used such as:
- Cotton: Versatile and comfortable, cotton is great for beginners because it’s stable and easy to work with.
- Polyester: Durable and resistant to shrinking and fading, polyester is ideal for items that undergo frequent washing.
- Linen: With its natural texture and elegance, linen is perfect for decorative pieces but can be a bit trickier to embroider due to its looser weave.
Understanding the Basic Machine Embroidery Stitches
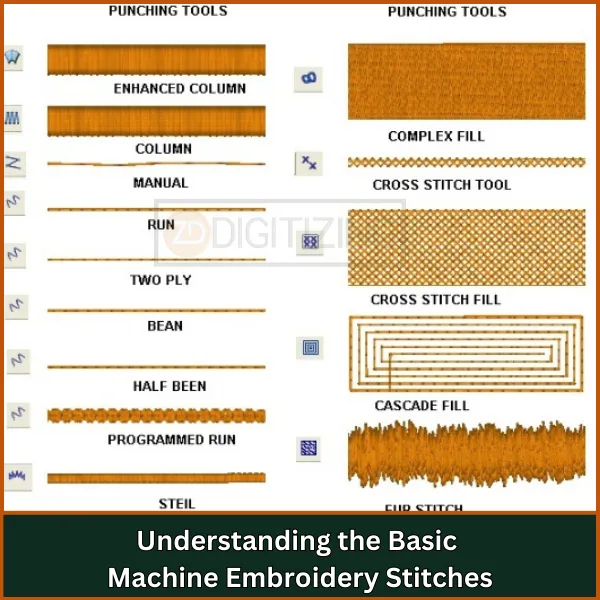
Now that you’ve got all the materials you need, it’s time to dive into the actual stitching. In the machine embroidery basics, knowing the essential stitches is just as important as having the right tools.
Let’s discuss the different types of stitches:
- Satin Stitch: The satin stitch is smooth and shiny, often used for outlining shapes or filling in smaller areas. It’s perfect for adding a polished look to your designs.
- Fill Stitch: Also known as the tatami stitch, the fill stitch is used to cover larger areas of a design. It creates a textured surface that gives your embroidery depth and dimension.
- Running Stitch: The running stitch is a simple, straight stitch that’s great for outlining designs or adding fine details. It’s one of the most commonly used stitches in machine embroidery.
- Backstitch: The backstitch is similar to the running stitch but stronger. It’s often used for outlining and gives a more solid line, making your designs stand out.
- Zigzag Stitch: The zigzag stitch is versatile and can be used for both decorative purposes and securing fabric edges. It’s a stitch every beginner should get comfortable with.
If you want to learn more about these stitches and when to use them, click here to explore further.
Embroidery Digitizing & Vector Art Services

Looking for embroidery digitizing and vector art services that are affordable and reliable? We offer fast turnaround time, guaranteed quality, and the option to preview your design before payment, we make sure you get exactly what you need. Your satisfaction is our top priority, and we’re dedicated to delivering the best results. Don’t wait—try ZDigitizing today and see the difference in quality and service!
Embroidery Digitizing & Vector Art Services
Looking for embroidery digitizing and vector art services that are affordable and reliable? We offer fast turnaround time, guaranteed quality, and the option to preview your design before payment, we make sure you get exactly what you need. Your satisfaction is our top priority, and we’re dedicated to delivering the best results. Don’t wait—try ZDigitizing today and see the difference in quality and service!
Conclusion: Ready for Embroidering Your First Project!
Now that you’ve got all the machine embroidery basics—from the tools and stitches to picking the right design—you’re ready to start your first project!
Don’t worry if it’s not perfect at first; the key is to have fun and learn as you go. Grab your materials, choose a design, and enjoy the process of bringing your creative ideas to life!
if you need help with designing, we’re here for you. At ZDigitizing, we offer high-quality digitizing services at affordable prices with a fast turnaround time. Plus, if it’s your first time, you can get 50% off your first order! So, don’t wait—take advantage of this offer and start your embroidery project today.
Once you’ve finished your project, we’d love to see the results—share them with us and let us know how it went. If you have any questions, feel free to leave a comment; we’re here to help. And if you found this guide helpful, please share it with others who might benefit.
FAQs
To get started with machine embroidery, you need an embroidery machine, threads, needles, stabilizers, and a design to stitch. These tools will allow you to create your first embroidery project.
There are single-needle, multi-needle, and free-motion embroidery machines, each designed for different levels of skill and project complexity. The right choice depends on your needs and experience level.
Digitizing is the process of converting artwork into a digital embroidery file that the machine can read. It’s crucial because it ensures your design stitches correctly on the fabric.
A stabilizer is a material used to keep fabric stable during embroidery, preventing it from shifting or puckering. It’s essential for achieving smooth and precise stitches.

