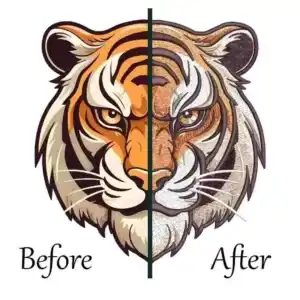
In this article we will discuss how to Auto Digitizing embroidery in Wilcom software. We are giving detailed steps below that will surely help you for this purpose.
How To Auto Digitizing Embroidery| Wilcom Software
Auto Digitizing Embroidery In Wilcom Software
Step 1:
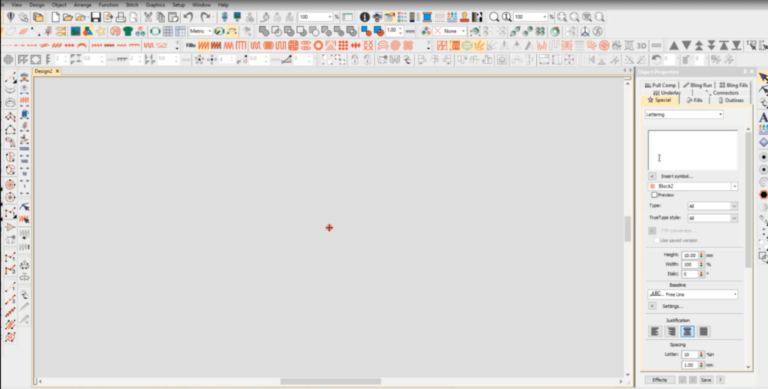
First, launch your Wilcom software on your system, and then click the Wilcom icon option(shown as orange W) on the upper corner of the left side of the main page.
Embroidery Digitizing
&
Vector Art Services
Are you looking for embroidery digitizing and vector art services at low cost with superfast turnaround, guaranteed quality and preview before pay? So, you are at right place. We can digitize and vectorize any type of artwork in your required file format.
Step 2:
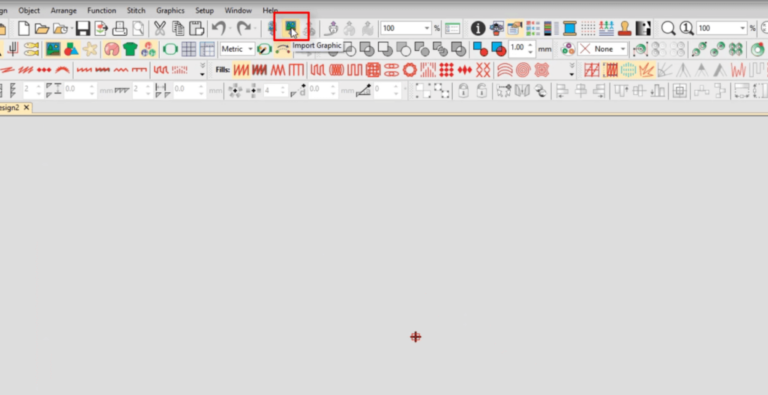
Then click and open the Import graphic option that will surely appear on the upper side of the main page, and after that, select your desired file in Wilcom and open it.
Step 3:
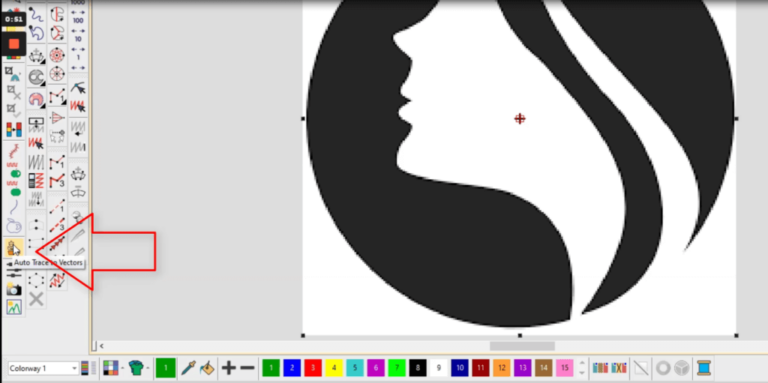
After doing so again, click the file and select Auto Trace To Vector Icon option that is probably on the lower left side.
Step 4:
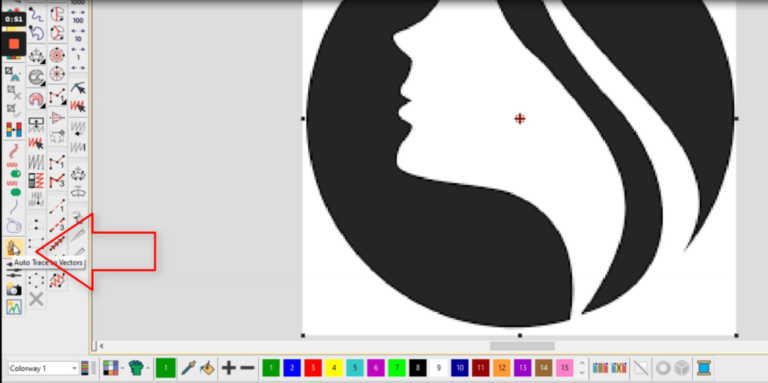
When you click on the Auto trace vector icon, the selected file will convert into a vector file whenever you press the option.
Step 5:
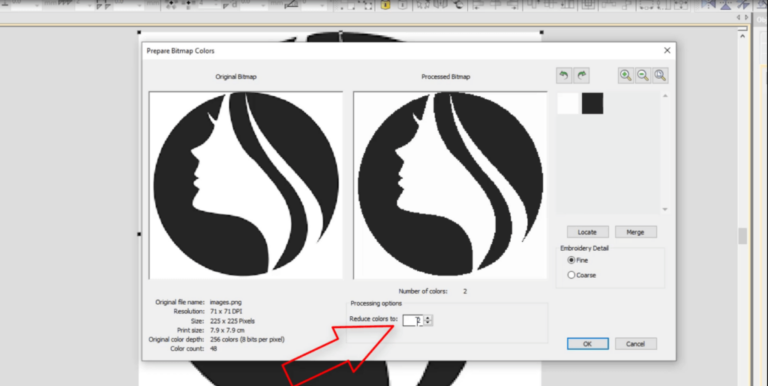
Here you see the option with you can change color quantity whether you want one, two, three, or more in your file, then press ok to continue. After these steps, you can see your file is being converted into a vector file.
Step 6:
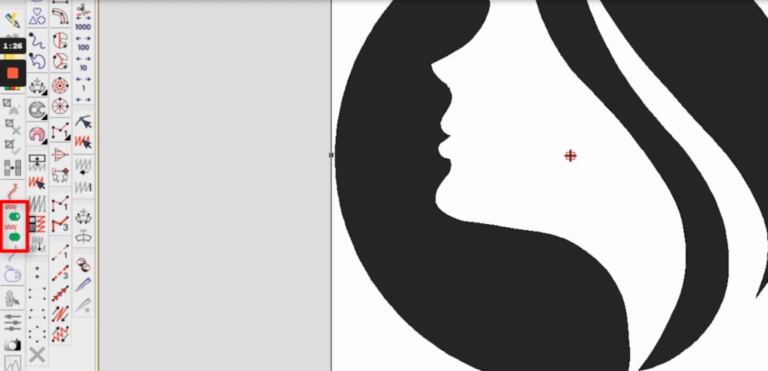
There are two icons, most probably two or three options above Auto trace to vector option that are:
•Tatami Fill Object With Holes
•Tatami Fill Object;
You can select your required stitch here
Step 7:
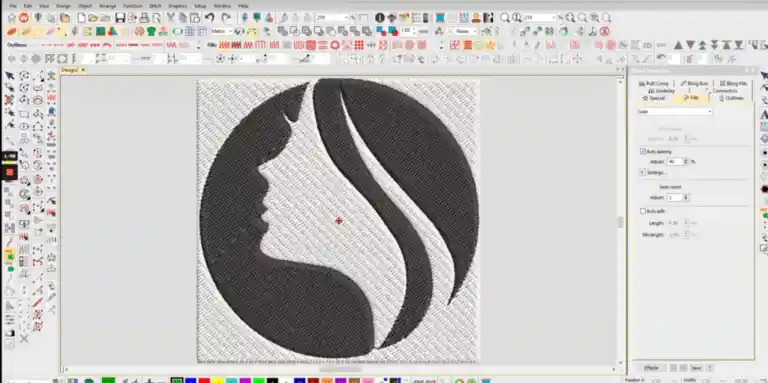
Whenever you press any one of these two icons, it will automatically convert into a digitized file. Now your file is digitized.
Step 8:
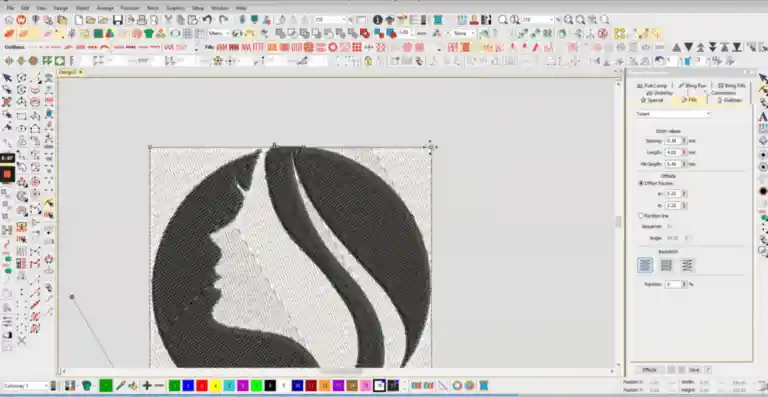
Now select the picture, and then you can adjust stitch values. You can also edit the file as per requirements, and after completing your desired task, you can save the file on your pc.
Step 9:
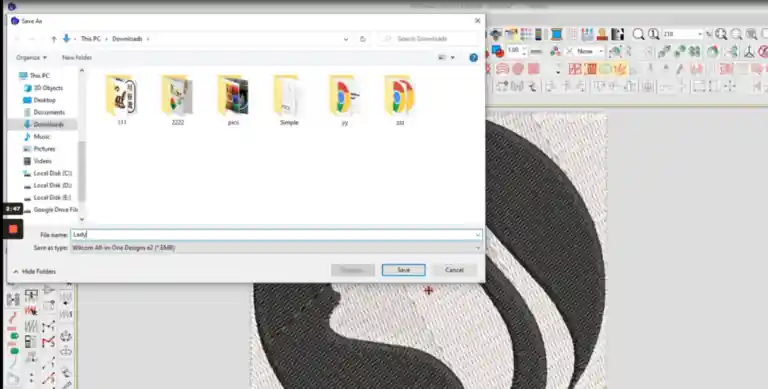
To save the file; Click on the File option and select the option Save as and then name the file and save it in which folder you want.
Step 10:
Your desired file is ready, and you can perform your desired work on it.
Hope it will be helpful for you guys!
Do you Need digitizing service for your embroidery machine, With super fast turnaround and excellent quality?
How to add embroidery outline border around the tatami object
Frequently Asked Questions
You can use Wilcom software for thirty days. Unlimited use of all the outstanding features – Wilcom embroidery designing software, professional embroidery, and apparel decoration design software!
The Wilcom Kiosk at 1500$ is priced individually and enables you to make your own work station within your store for your clients. CorelDRAW Graphics Suite X8 is included and offers completely incorporated vector and bitmap graphics software for multi-decoration, cutting, printing, engraving, and a lot more.
You can Auto digitize in Wilcom e2 online easily. Like embroidery, the studio offers a range of complementary tools and methods to digitize automatically and semi-automatically preferably prepared images and artwork.

