In this Article, we will discuss about how to do master cap embroidery easily. We will describe 8 important steps how to do master cap embroidery.
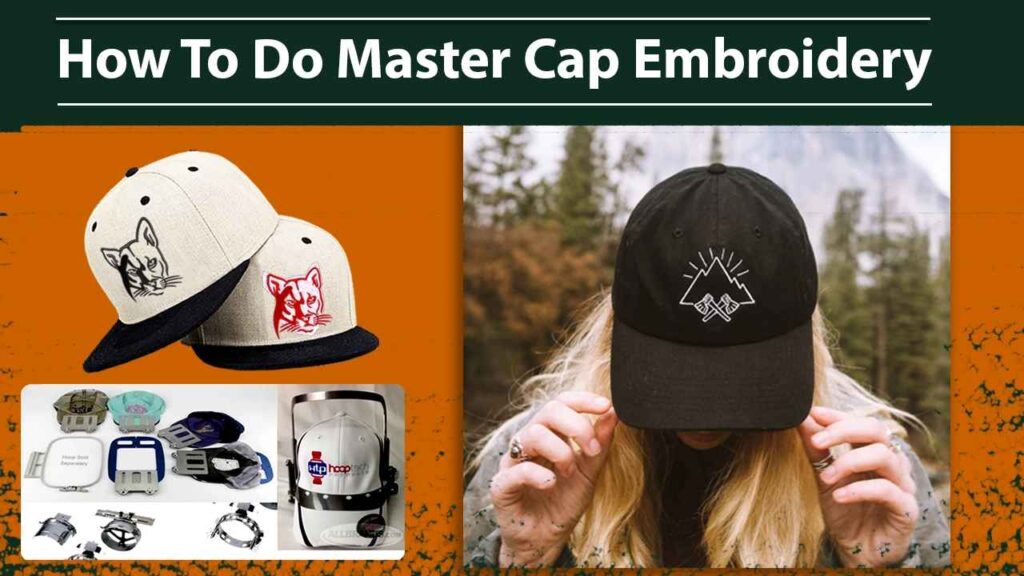
How To Do Master Cap Embroidery
Cap embroidery is a perfect way for your custom clothing business to generate more profit. Besides, you can increase your sales capacity and achieve a competitive edge in your target market if you know how to do it well.
Embroidery Digitizing
&
Vector Art Services
Are you looking for embroidery digitizing and vector art services at low cost with superfast turnaround, guaranteed quality and preview before pay? So, you are at right place. We can digitize and vectorize any type of artwork in your required file format.
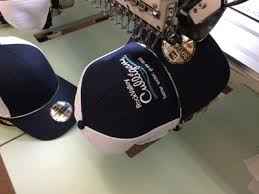
The embroidery machine is designed to adhere to flat clothes, so special attention is required when embroidering on curved surfaces. However, it doesn’t mean that it is impossible to embroider master caps.
In this article, I am going to tell you how to make master cap embroidery. We start by discussing the different types of hats available to pick the hat that fits your project. Then, we will finish with short guiding steps on how to hoop the hat for embroidery correctly. Let’s discuss!
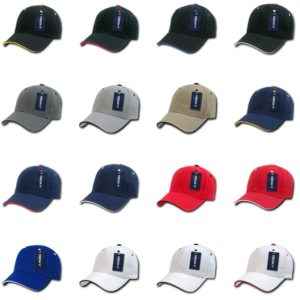
Choosing Your Cap For Embroidery:
For thousands of options, you are viewing a catalog or website for a bottle cap. Choose the color, color combination, height of the crown, a form of the banknote, back cover, and the list will always be shown. While the style of hats and manufacturers is hundreds, most of the caps are divided into three major categories:
OPF(One Piece Front)Caps
These caps are usually “truck/farmer” classified. These hats are supported by the foam laminate (which gives the structure of a hat), and the rest of the hat is more of a mesh. Since OPF caps are lined with laminated linings, buckling and embroidering is typically very simple and has no central seam.
Varsity/Collegiate Caps:
These caps are not laminated in front of the panel and tend to be nearer to the head. They are also not laminated. Those caps are therefore actually moving, so it is so important that the caps are appropriately tightened.
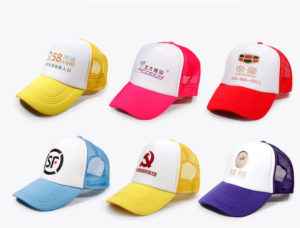
Sports Cap:
This is usually the most common cap style, particularly for sticking hats in the front panel center (also known as Bermuda triangle, you generally lose stitches on the central seam). This cap has its central seam and a laminated backrest to make the structure visible.
Embroidery On Your Cap:
Designs are typically digitized from the middle to the edges and then from the bottom to the bottle cap’s top. It is easier to handle these details from the center into segments if the design details you want to border the machine are too complicated. If the procedure is followed, the potential for distortion of the embroidery design is minimized.
To reduce design distortion, support is also necessary. The movement in the frame can be minimized, and the design quality improved. These frames need the most precise digitization so that the movement in the frame is reduced and distortion is minimized.
If you are interested in increasing your hat’s embroidery digitizing skills, please try the following techniques to optimize its performance:
- Start with the logo
- Consider the gear
- Backing is important
- Select the right lid
- Know your stitching canvas
- Get to stitching
A Step By Step Guide To Make 3d Cap Embroidery:
To correctly recognize each limit on the order, keep in mind the following step-by-step guide when you are ready to search for the latest project.
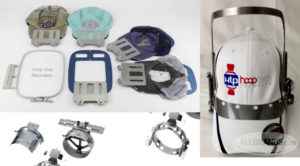
- Enable the cap frame first in an existing frame
- Check your strap style on the back of your product, unfold it and separate it if your cap has an adjustable strap so that it can be positioned better in the machine
- The next move is to use the frame system backup. Always ensure that your help protects the portion of the hat that is brooded comfortably.
- Then position the product on the linked framework carefully, ensuring the headgear base is firmly opposed to the guideboard.
- After positioning the clothes correctly, you should align the overall parameters of the cover; push up under the cover to ensure that the right side is attached to the belt buckle and the left side is securely buckled on the belt hinge.
- Now you are ready to attach the strap to the headgear, you must make sure that the brace’s teeth are tightly opposed to the seam between the cover front and the check.
- After you’ve repaired it, the belt buckle should be secured. Please make sure the headgear is straight and centered.
- Pull the fixed product to remove any wrinkles or wrinkles; slide the cap clip in the right position to ensure the final surface is tight while holding the cap.
The correct framed product will be connected to the frame machine now! Remember that for each item in the project order, the above steps should be followed, which is important. The only way to ensure a reliable, smooth presentation for each project is to keep your customers satisfied with each project, continually following the correct framing procedure.
Conclusion:
Embroidery on the cap is enjoyable as well as profitable. There are several embroidery caps now, so make sure you understand the three customers (or you) your customer is interested in before starting and placing an order. By following the above steps, you can satisfy your customers.


