How to Make Embroidery Designs: Step-by-Step Guide to Creating Digital Embroidery Files for Any Machine
Ever wondered why some embroidery looks flawless while others fall apart after a few stitches? It all comes down to knowing how to make embroidery designs the right way. This guide walks you through each step, from idea to digital file to final stitch-out, so your designs always look sharp, clean, and professional. With these methods, you’ll create embroidery that works perfectly on any machine.
How to Make Embroidery Designs: Step-by-Step Guide to Creating Digital Embroidery Files for Any Machine
Understanding Embroidery Basics
Before you learn how to make an embroidery file, it’s important to understand the basics of digital embroidery. Unlike traditional hand stitching, embroidery machines require a specially prepared digital file that tells the machine exactly where and how to place each stitch. These files act as a blueprint, guiding the needle through every detail of your design.
There are various file formats, including DST, PES, EXP, and JEF, each of which is compatible with specific machine brands. Knowing which format your machine accepts is the first step toward success.
Along with file types, you’ll also encounter common embroidery terms like stitch density, underlay, pull compensation, and thread path. These elements determine whether your design runs smoothly or causes issues like thread breaks and misalignment.
In short, mastering embroidery basics gives you the foundation to create designs that look professional, stitch efficiently, and work across different fabrics and hoop sizes. With this knowledge, you’ll be ready to move on to the actual steps of making your own embroidery file with confidence.
How to Make Embroidery Designs | Step-by-Step Process
Learning how to create embroidery designs becomes much easier when you follow a clear sequence. These steps will guide you from idea to a polished file for a digital embroidery machine.
Choose Your Design
Prepare Your Design
Choose Embroidery Digitizing Software
Import and Edit the Design
Define Stitch Types and Parameters
Define Color Stops
Test and Refine the Design
Save the Digital Embroidery File
Transfer the Design to Your Machine
Sew a Test Stitch-Out
Make Adjustments Based on Test
Following these steps gives you a clear roadmap for creating designs that stitch smoothly and look professional. Now, let’s dive into the detailed process of how to make embroidery files so you can master each stage with confidence.
Step 1: Choose Your Design
Choose Your Design
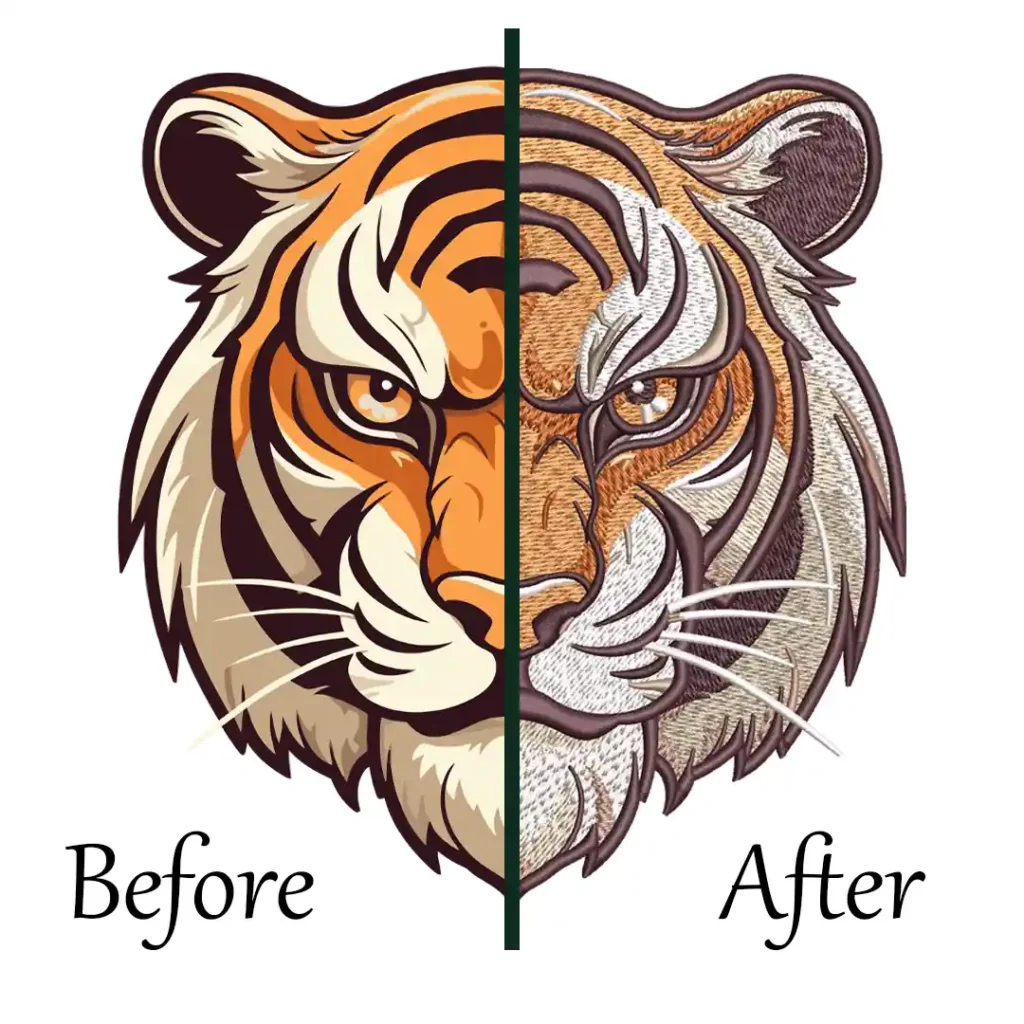
When learning how to make embroidery designs for machine, your journey begins with the right artwork. Simple logos, bold text, and clean illustrations stitch out beautifully because embroidery machines can capture their details.
On the other hand, complex images with gradients, shadows, or tiny details often fail to translate well, leading to messy stitch-outs. Always select designs with clear shapes and contrasting colors to achieve the best embroidery results.
Step 2: Prepare Your Design
Prepare Your Design
A polished file is essential before diving into how to create an embroidery file. Start by cleaning the artwork, remove unnecessary elements and simplify fine details. Converting your design into vector format (SVG or AI) ensures scalability without pixelation.
Vector graphics also make it easier for digitizing software to assign stitch types. At this stage, reduce your color palette to match your thread options. This preparation step ensures smoother digitizing and more professional embroidery results.
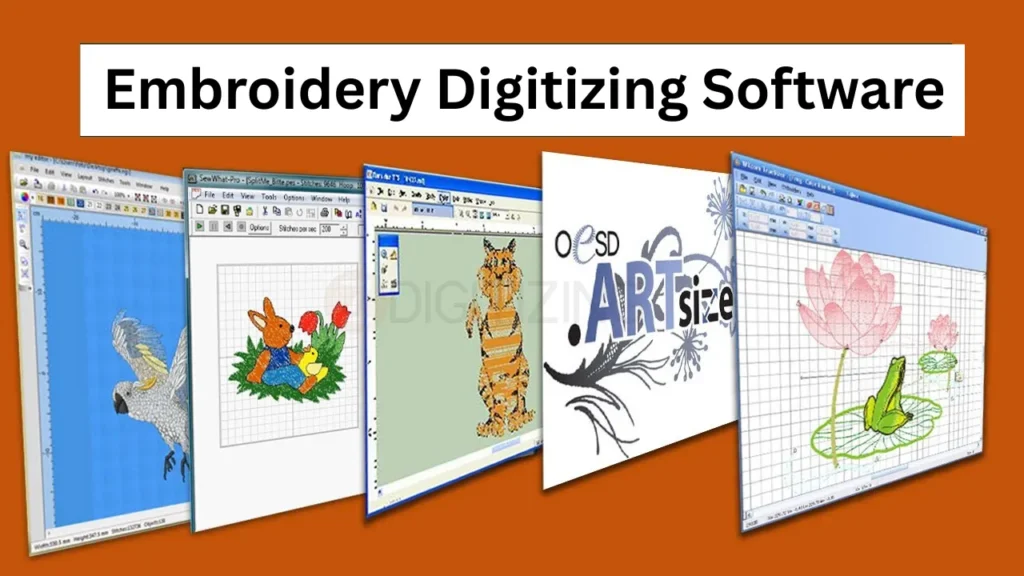
Step 3: Choose Embroidery Digitizing Software
Choose Embroidery Digitizing Software
The core of how to digitize logos lies in selecting the right digitizing software. Not all programs are equal, and the choice depends on your skill level and budget:
Wilcom Embroidery Studio – Industry-leading professional software with powerful tools for advanced digitizing, stitch simulation, and editing. Ideal for businesses.
Hatch Embroidery – A user-friendly option from Wilcom designed for hobbyists and small businesses, offering auto-digitizing and advanced editing features.
Brother PE-Design – Perfect for Brother machine owners, offering direct file compatibility (including PES files).
Embird – A versatile, affordable option with modules for digitizing, lettering, and editing.
Ink/Stitch (Free, Open Source) – A great starting point for beginners who want to practice digitizing without upfront costs.
TruEmbroidery (Mac Users) – Specialized software designed for seamless integration with MacOS.
Your choice of software determines how easily you can import designs, assign stitch types, and export files. Investing in reliable software saves time and improves quality, making the digitizing process smooth and efficient.
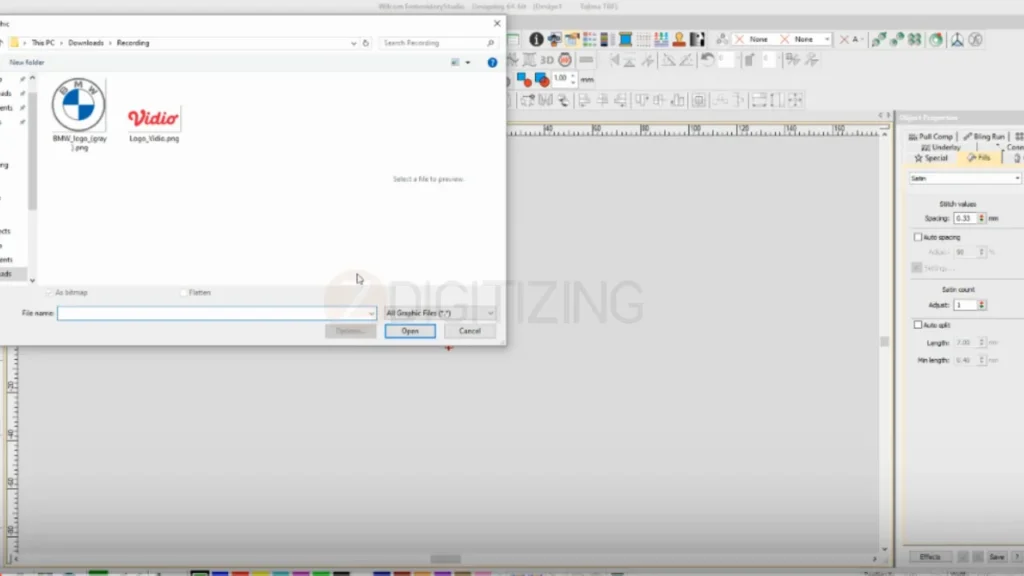
Step 4: Import and Edit the Design
Import and Edit the Design
Once your software is ready, import the cleaned vector artwork. Here’s where you’ll understand how to make a PES file, as most programs allow resizing and editing to match hoop dimensions. Always lock proportions to prevent distortion.
Crop unnecessary background areas, adjust lines, and refine curves so they’re embroidery-friendly. Editing at this stage ensures your machine won’t struggle with shapes that are too thin, small, or complex.
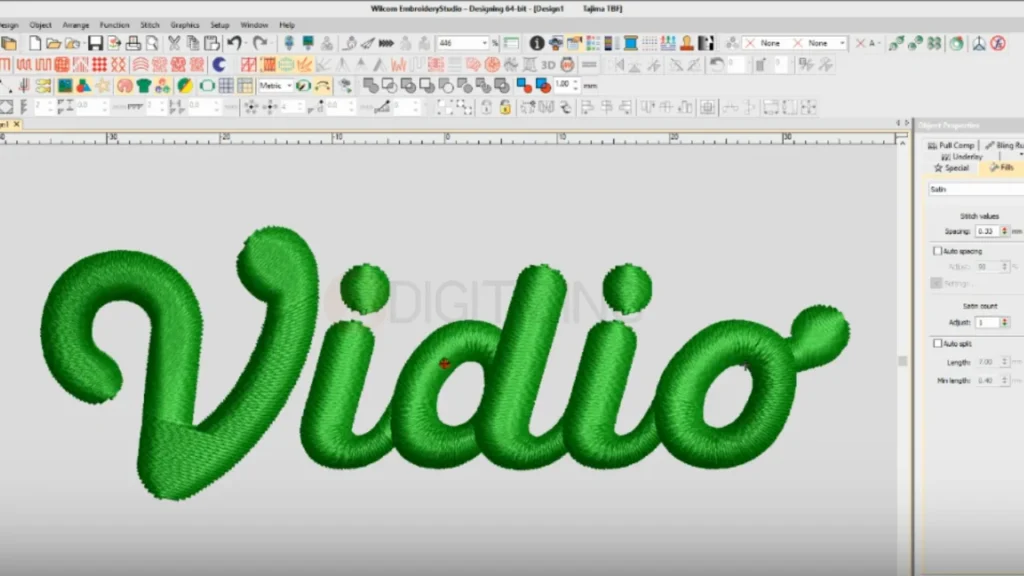
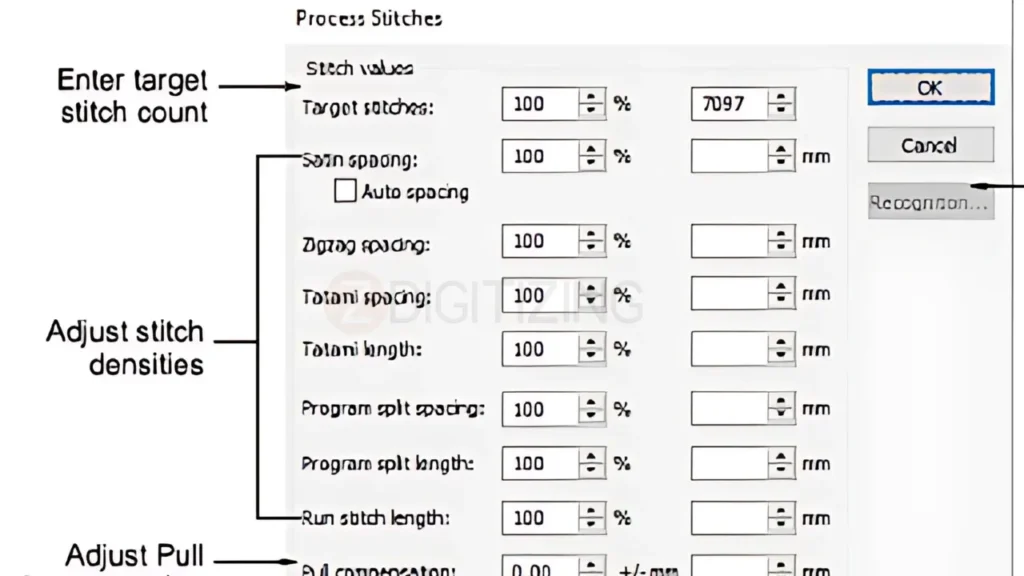
Step 5: Define Stitch Types and Parameters
Define Stitch Types and Parameters
One of the most important parts of how to create embroidery files is assigning stitch types. Each stitch type serves a unique purpose:
Satin stitches – Best for borders, text, and small details.
Fill stitches – Used for large areas, giving solid coverage.
Running stitches – Great for outlines, fine lines, or shading effects.
You’ll also need to adjust stitch density, set directions for natural flow, and add underlay stitches to stabilize the fabric. Fine-tuning these parameters makes the design more durable and prevents common problems like puckering or gaps.
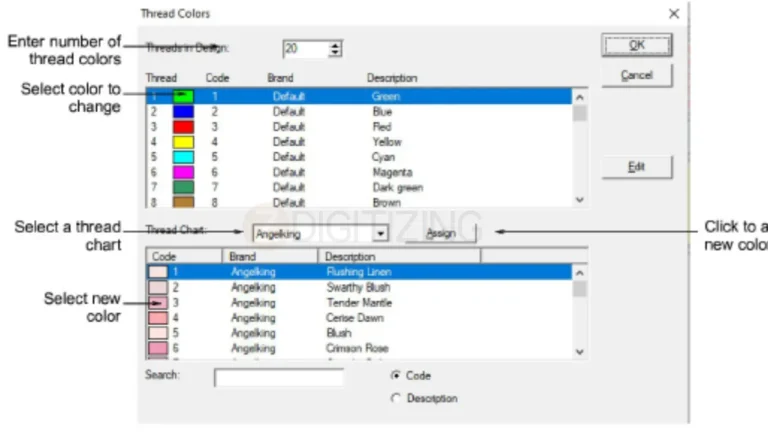
Step 6: Define Color Stops
Define Color Stops
When learning how to create PES files for embroidery, color stops are essential. They tell the machine when to pause for thread changes, ensuring accurate color placement.
Organize the stitching sequence logically to reduce excessive thread cuts and jumps. Well-planned color stops not only save time during embroidery but also make the final design cleaner and more professional.
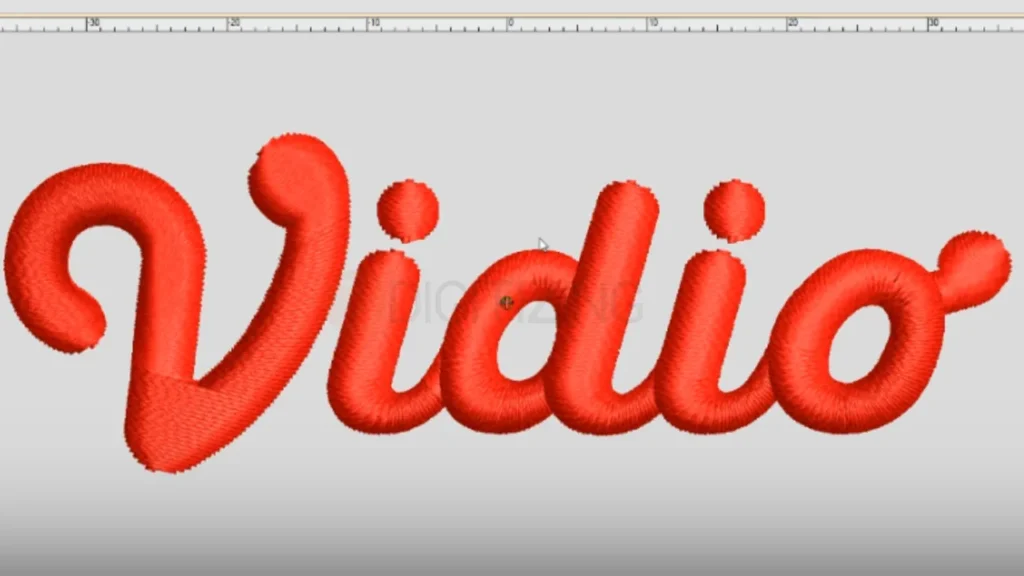
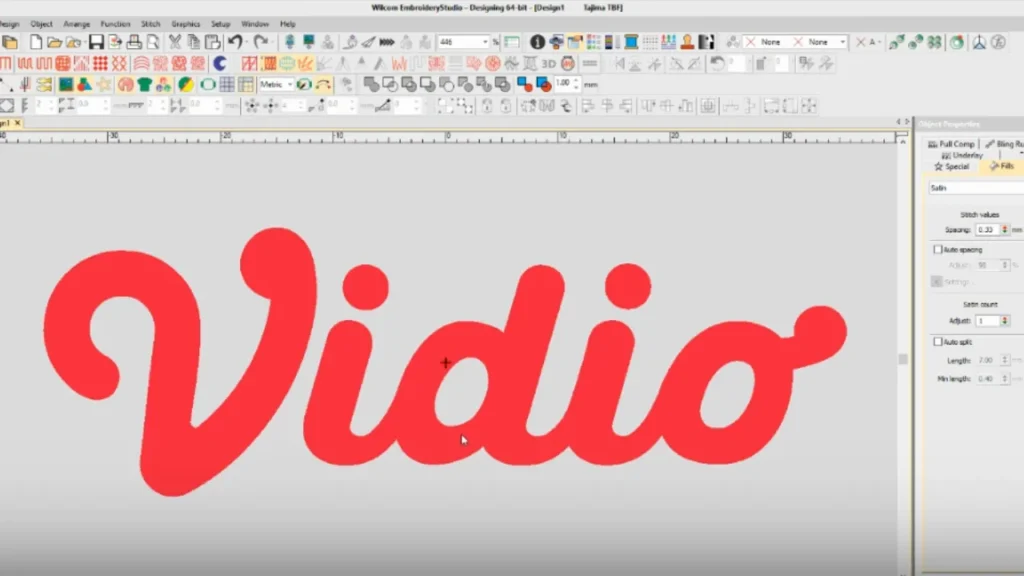
Step 7: Test and Refine the Design
Test and Refine the Design
Previewing is key in how to digitise a logo successfully. Use the software’s stitch simulator to visualize the embroidery process. Look for density issues, awkward stitch angles, or unnecessary trims.
If you spot errors, adjust stitch length, overlaps, or directions. Refining your design digitally before stitching helps avoid wasted fabric and thread during testing.
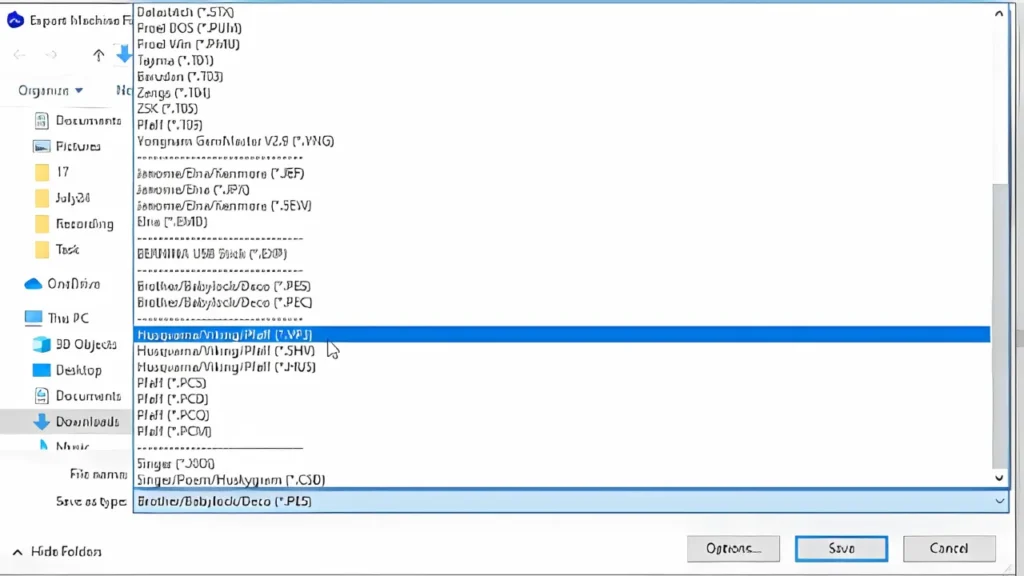
Step 8: Save the Digital Embroidery File
Save the Digital Embroidery File
Once satisfied, it’s time to save. For those learning how to digitize photo for embroidery, saving in the correct file format is crucial. Most machines accept specific formats:
DST – Standard for Tajima machines.
PES – Common for Brother machines.
EXP – Used by Melco and Bernina.
JEF – For Janome machines.
Always save two versions: an editable file (in your software’s native format) and a machine-ready file. This way, you can easily return and make changes later.
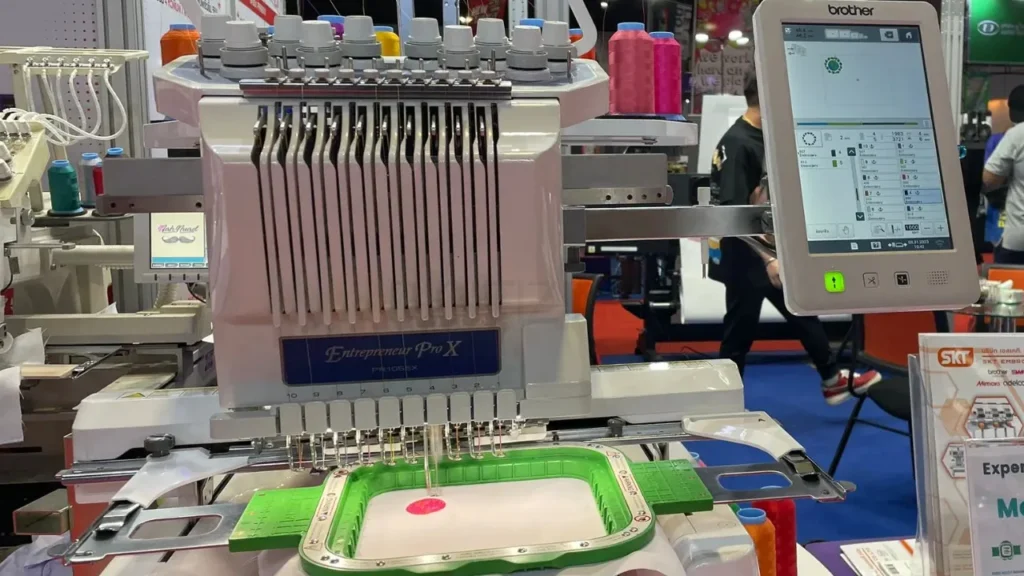
Step 9: Transfer the Design to Your Machine
Transfer the Design to Your Machine
The next step is transferring your file. Options include USB drives, memory cards, or direct connections, depending on your machine model.
Double-check hoop size, orientation, and scaling before running the design. A small mistake here can ruin fabric or waste hours of work.
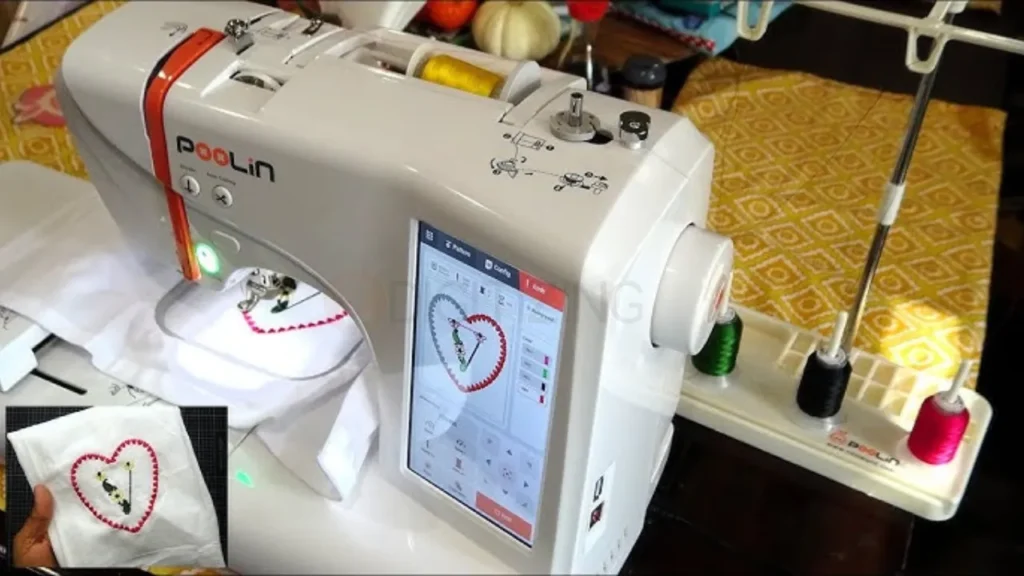
Step 10: Sew a Test Stitch-Out
Sew a Test Stitch-Out
Every guide emphasizes the importance of testing. Run your design on fabric similar to your final garment. Observe alignment, stitch quality, thread tension, and design clarity. A test stitch-out helps you catch problems early, saving you from costly errors during production.
Step 11: Make Adjustments Based on Test
Make Adjustments Based on Test
The final refinement stage showcases the value of digital embroidery. If your test reveals issues like thread breaks, puckering, or misaligned colors, return to the software and make corrections.
Adjust stitch density, underlay, or trimming points until the design looks perfect. Repeat testing if necessary until you’re confident the design is production-ready.
Tips for Creating Successful Embroidery Designs
Professional embroidery isn’t just about using a machine, it’s about following proven techniques that ensure durability, clarity, and a clean finish.
By applying these tips, you’ll avoid costly mistakes and achieve results that look sharp and consistent every time.
Keep designs simple and bold; avoid overly complex artwork. Beginners often search how to make embroidery designs on computer, and the answer starts with choosing clear, easy-to-stitch shapes.
Ensure lines are thick enough to stitch correctly, at least 0.125 cm wide, and adjust design size for better coverage.
Limit thread colors to three to five to reduce machine stops, thread changes, and errors during production.
Use solid thread colors rather than gradients; simulate shading with stitch density for a natural look.
Avoid small or thin fonts, especially when learning how to digitize a file for embroidery, since thin lettering often becomes unreadable after stitching.
Match stitch types to design elements, satin for borders, fill for large areas, running stitches for outlines.
Select proper stabilizers and strong fabrics like cotton or denim to prevent puckering and distortion.
Keep machine settings balanced, with stitch length between ⅛” and ¼” and correct tension for smooth results.
Always run a test stitch-out, then refine your design in software if needed. If adjustments are required, this is where knowing how to create a pes file makes a big difference.
Space out shapes and avoid unnecessary overlaps to prevent thread buildup and messy finishes.
Save editable versions of your design files for future modifications or resizing.
Conclusion
Learning the full process of how to make embroidery designs can transform your ideas into professional, stitch-ready files. From preparing artwork to choosing the right software and testing your stitch-outs, every step is essential for producing high-quality embroidery.
However, for complete beginners, this process may still feel overwhelming, especially when working on complex logos or detailed artwork.
That’s where outsourcing can save you time and stress. ZDigitizing is here to help with embroidery digitizing services at affordable rates, with super-fast turnaround and guaranteed quality.
Plus, we offer 50% off your first order, so you can test our service at half the price without compromising on results.
Order now and get 50% off your first digitizing order — quality guaranteed at unbeatable rates!
To turn an image into an embroidery file, you need digitizing software. Import your image, assign stitch types, adjust density, and then export it in a machine-readable format like PES, DST, or EXP.
Creating a digital embroidery file involves preparing your design, digitizing it with specialized software, and saving it in the correct format for your machine. This ensures the design stitches out exactly as intended.
To digitize a file for embroidery, upload your artwork into digitizing software, assign stitches, set directions, and save it in a format compatible with your embroidery machine.
You’ll need to open or convert the PDF into a vector format, then import it into digitizing software. From there, you can assign stitches and export the design as an embroidery file.
The best file depends on your machine brand. DST is widely used, PES is common for Brother, and EXP works with Bernina and Melco machines. Always choose the format your machine requires.
Embroidery machines use formats like DST, PES, JEF, EXP, and VP3. Each brand supports specific formats, so be sure to save your file in the one compatible with your machine.
Are you looking for embroidery digitizing and vector art services at low cost with superfast turnaround, guarranted quality and preview before pay? So, you are at right place. We can digitize and vectorize any type of artwork in your required file format.