To learn how to make patches without embroidery machine, you can use hand embroidery, a regular sewing machine, printed fabric transfers, heat-transfer vinyl, or fabric paint. The core process requires drawing or printing your design on a stabilized fabric base, executing the artwork using your chosen technique, finishing the edges with stitching or fray sealant to prevent unraveling, and applying iron-on or sew-on backing to secure the finished patch to your garment.
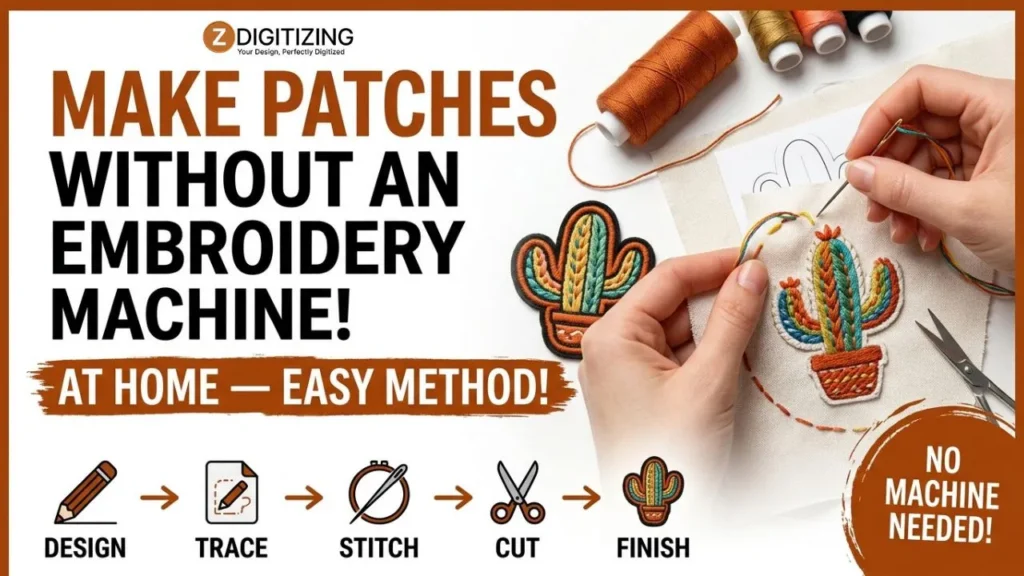
How to Make Patches without Embroidery Machine at Home?
What Are the Alternatives to Using an Embroidery Machine for Patches?
You do not need specialized embroidery equipment to create custom embroidery patches or decorative fabric patches at home. Hand stitching, a standard sewing machine, printed transfers, heat-transfer materials, and fabric paint can all produce useful results.
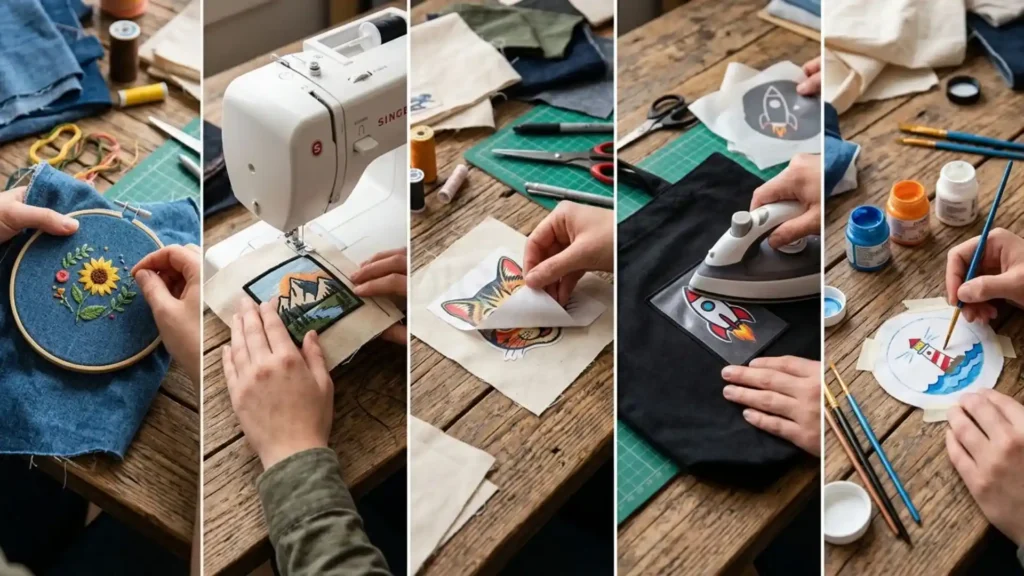
Use this overview to evaluate each DIY approach at a glance:
Method | Best For | Difficulty | Durability |
Hand embroidery | Handmade and detailed designs | Moderate | High |
Regular sewing machine | Clean borders and repeated shapes | Moderate | High |
Printed fabric | Photos and detailed artwork | Easy | Moderate |
Heat transfer | Bold text and graphic designs | Easy to moderate | Good |
Fabric paint | Artistic and casual projects | Easy | Moderate |
The easiest way to make patches at home is usually to choose the method based on the design itself. A simple flower or name can work well with hand stitching, while a full-color graphic may be better suited to printing or heat transfer.
Choose the Best Method Before You Start
Before cutting fabric, decide what you want the patch to look like and how it will be used. The best option for a one-off personalized patch is not always the best option for a work jacket or frequently washed garment.
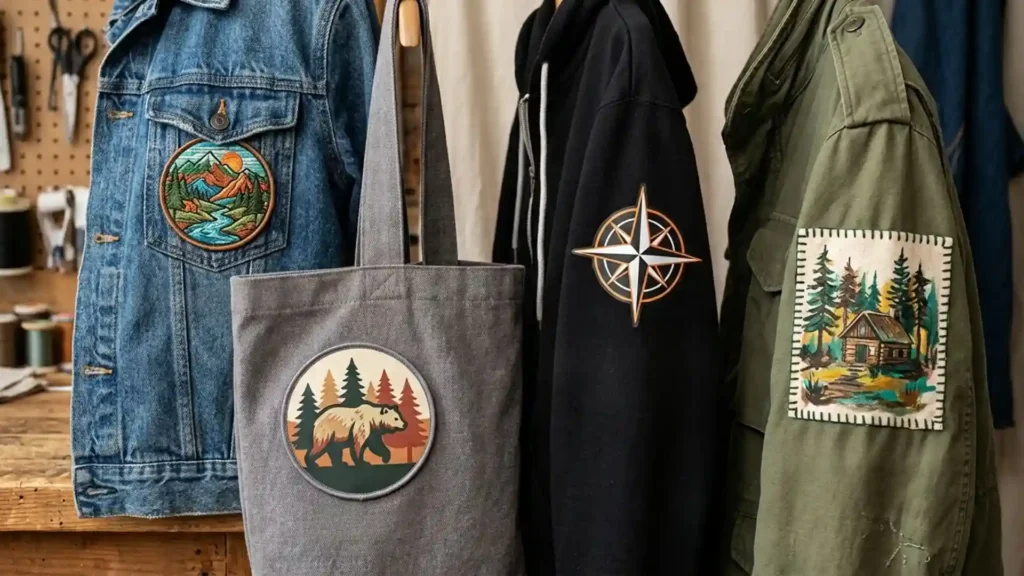
If You Want… | A Good Option |
A handmade, textured appearance | hand embroidery patches |
Several similar patches with clean edges | A regular sewing machine |
Photos, gradients, or detailed artwork | printed fabric patches |
Bold lettering or simple graphics | heat transfer patches |
A quick, low-cost creative project | Fabric paint or markers |
For decorative patches, appearance may matter more than long-term durability. For clothing patches that will be washed regularly, fabric choice, edge finishing, and backing become much more important.
How to Make Fabric Patches by Hand
The basic process for how to make fabric patches by hand stays similar regardless of whether you stitch, paint, or print the design. Start with a stable fabric base, make the design slightly oversized, and finish the edges only after the main work is complete.
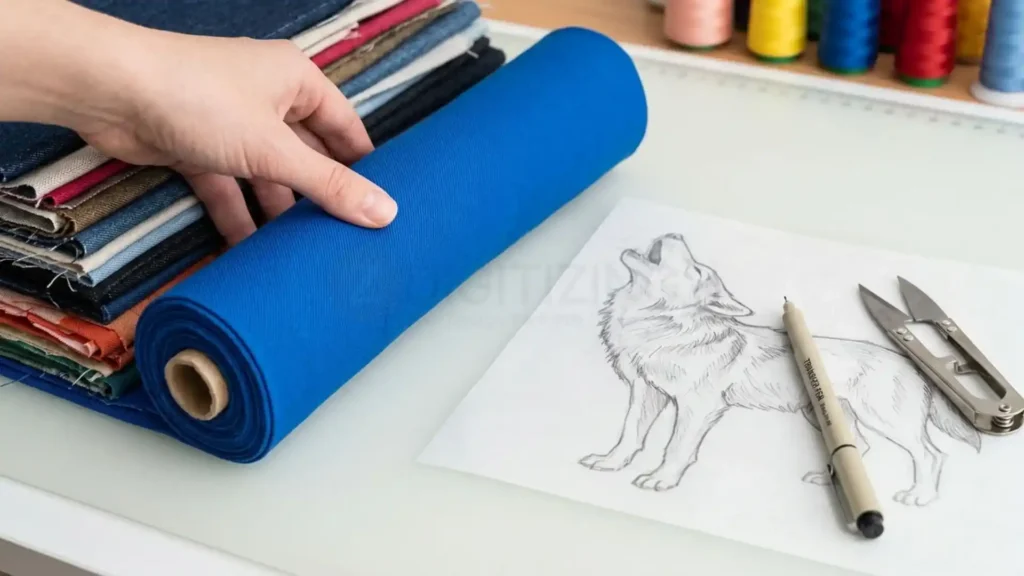
Basic Steps
- Choose a stable fabric. Cotton, twill, and denim are good starting options.
- Cut the fabric larger than the final patch. Leave extra material around the design while working.
- Transfer the artwork. Trace, draw, or transfer the design onto the fabric.
- Add support if needed. Use stabilizer or interfacing to prevent the fabric from puckering.
- Create the design. Stitch, print, transfer, or paint it using your chosen method.
- Finish the edges. Use stitching, a folded edge, or another fray-resistant finish.
- Add the backing. Choose iron-on or sew-on backing based on how the patch will be used.
- Attach the patch. Iron or stitch it onto the garment or accessory.
This basic workflow makes it easier to experiment with different patch styles without starting from scratch every time.
Method 1: How to Make Embroidered Patches by Hand
If you are researching how to make patches without an embroidery machine, hand stitching is the classic technique that gives you total texture control.
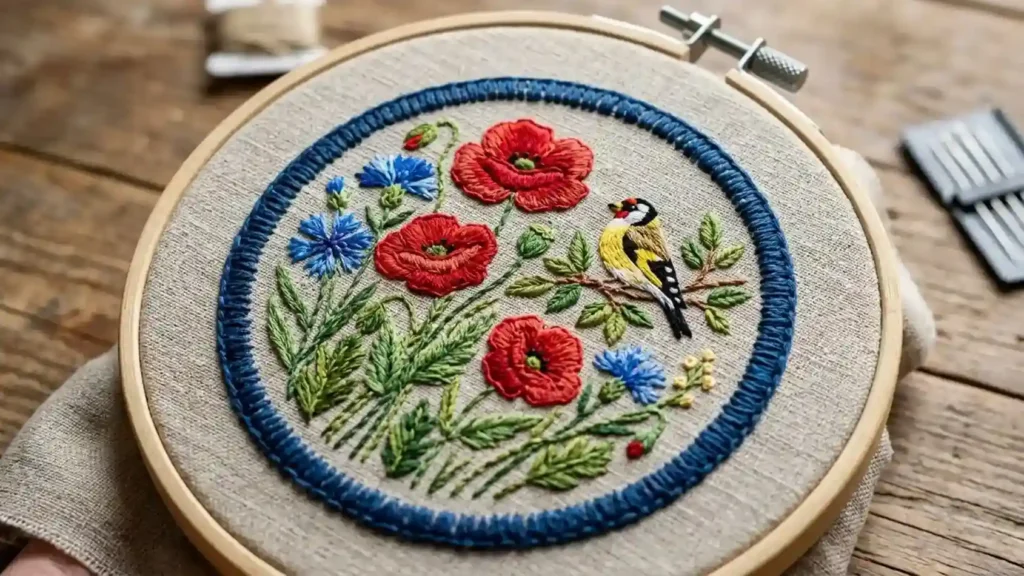
Materials You Need
Gather:
- Cotton, denim, or twill
- Embroidery floss
- Embroidery needle
- Embroidery hoop
- Stabilizer or interfacing
- Fabric marking pencil or transfer paper
- Scissors
Step-by-Step Process
- Prepare the fabric
Cut a piece of fabric larger than your final patch. Add fusible interfacing or stabilizer if the material feels thin or unstable.
- Transfer the design
Draw the design directly onto the fabric or trace it using transfer paper. Keep tiny details simple because very small elements can become difficult to stitch cleanly.
- Hoop the fabric
Place the fabric in an embroidery hoop so it stays firm and evenly supported while you work.
- Stitch the design
Build the design gradually rather than filling everything with one type of stitch. Outlines, lettering, and filled areas often require different techniques.
- Secure the thread ends
Keep the back reasonably neat by weaving thread ends underneath nearby stitches instead of leaving long loose sections.
- Finish the patch shape
Once the stitching is complete, trim around the design carefully and leave enough fabric for your chosen edge finish.
- Add backing
You can add an iron-on adhesive for simple attachment or keep the patch sew-on for heavier-use items.
Best Stitches for DIY Patches
For hand embroidery patches, these stitches are especially useful:
- Satin stitch for solid filled shapes
- Backstitch for outlines and lettering
- Stem stitch for curved lines
- Blanket stitch for visible decorative borders
Hand embroidery is slower than other methods, but it gives personalized patches a character that is difficult to reproduce exactly with automated production.
Method 2: Make a Patch Using a Regular Sewing Machine
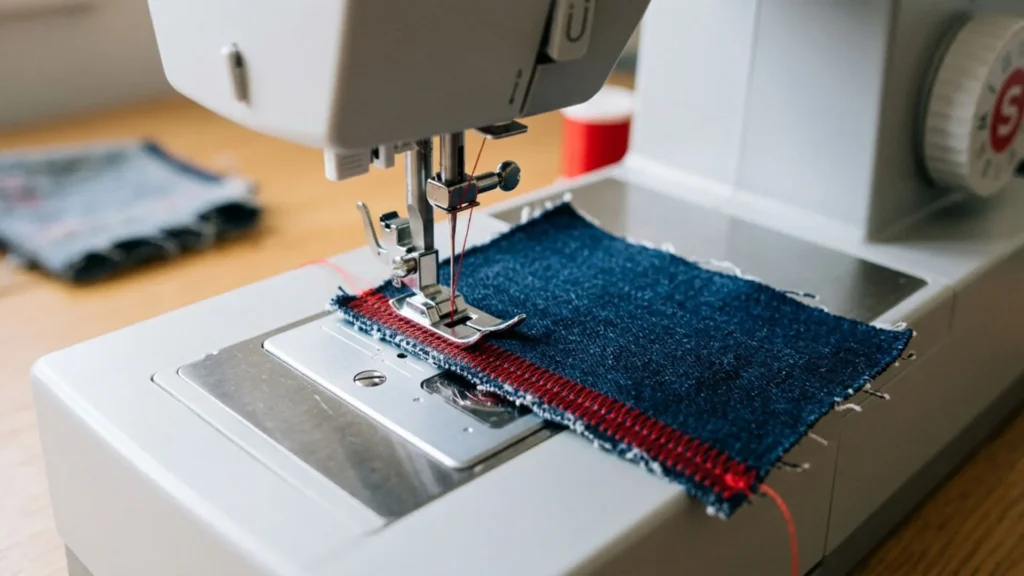
Using a household unit is one of the fastest ways when learning how to make patches without embroidery machine tools. While a standard sewing machine cannot perform automated embroidery functions, it creates clean, durable borders. A sewing machine patch often relies on fabric layering, simple stitched designs, and dense zigzag or satin borders.
Materials and Machine Settings
You will generally need:
- Patch twill, denim, or heavy cotton
- Matching or contrasting thread
- Stabilizer or interfacing
- Scissors
- Fusible backing if making an iron-on patch
For the border, use a dense zigzag or satin-style stitch. Test the width and stitch length on scrap fabric before sewing the actual patch.
Step-by-Step Process
- Prepare the patch base
Cut the fabric larger than the final shape and add stabilizer if needed.
- Add your design
You can stitch a simple design directly onto the patch or use another method, such as printing, before creating the border.
- Stitch around the perimeter
Use a dense zigzag stitch to secure the edges. Move slowly around corners so the border remains even.
- Trim carefully
Cut close to the stitched border without cutting the threads.
- Add backing
Apply adhesive backing for an iron-on finish or leave the patch ready for sewing.
This method works well when you want more consistency than hand stitching but do not need the detailed fills associated with machine embroidery patches.
Method 3: Make Printed Fabric Patches
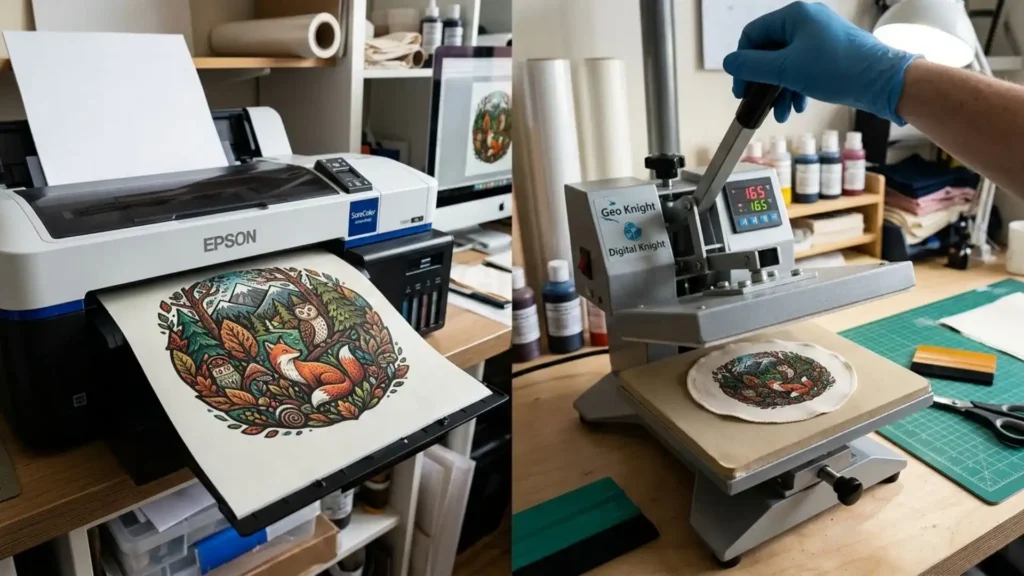
When exploring how to make patches without embroidery machine equipment for photo-realistic artwork, printed fabric patches offer a fast, flat finish. Unlike embroidered designs, printed fabric patches reproduce the artwork as an image, so the final result stays flatter.
What You Need
- Cotton or another suitable patch fabric
- Textile transfer paper or printable fabric sheets
- An inkjet printer, if required by the transfer material
- An iron or heat press
- Scissors
- Interfacing or stabilizer
- Optional edge stitching or fray-prevention product
How to Make a Printed Patch
- Prepare the artwork
Use a clear, high-resolution design. If your transfer paper requires a mirrored image, reverse the design before printing.
- Prepare the patch fabric
Cut the fabric slightly larger than the finished patch. Adding fusible interfacing can make the base firmer and easier to handle.
- Transfer the design
Follow the heat, pressure, and peeling instructions provided for your specific transfer material. Different papers do not always use the same process.
- Let it cool and trim
Once the design is fully set, trim the patch into its final shape.
- Finish the edges
A printed patch can still fray around the outside. Add a zigzag border, blanket stitch, or another suitable edge finish before attaching it.
This method is especially useful for detailed artwork that would become difficult to recreate with thread.
Method 4: Make DIY Iron-On and Heat Transfer Patches
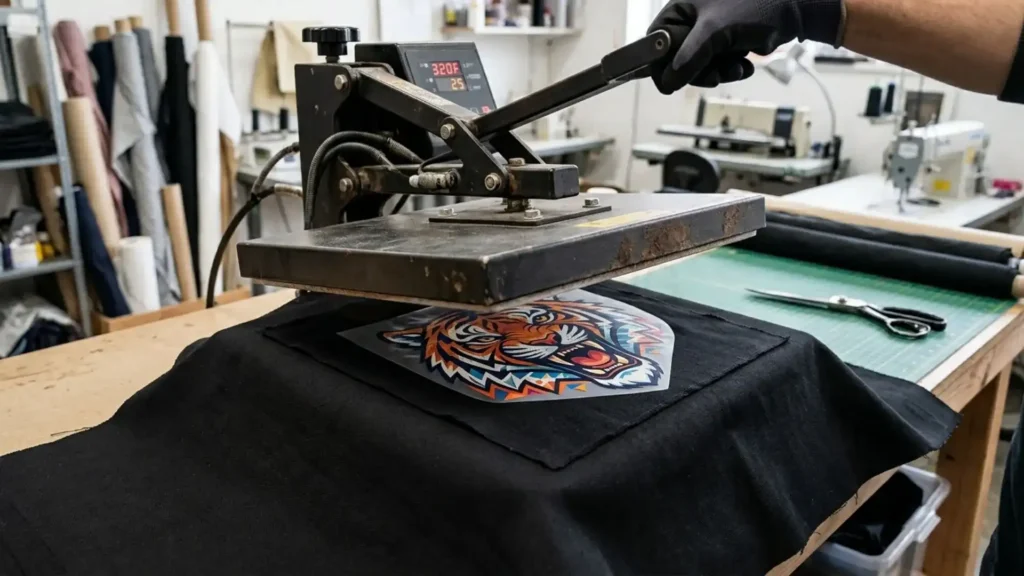
Another reliable option for how to make patches without embroidery machine setups is heat-transfer vinyl (HTV), especially for bold text and sharp vector shapes. Heat-transfer materials work particularly well for names, simple logos, shapes, and layered lettering.
What You Need
- Patch fabric
- Heat-transfer material
- An iron or heat press
- Scissors
- A design template
- Optional fusible backing
How to Make Heat Transfer Patches
- Create a simple design
Bold shapes and clear lettering are usually easier to cut and apply than highly detailed artwork.
- Prepare the material
Cut or weed the heat-transfer design according to the instructions for the material you are using.
- Prepare the patch base
Use a stable fabric and add interfacing if the material is too soft or flexible.
- Apply heat and pressure
Press the design onto the patch base using the temperature and time recommended for that material.
- Finish the patch
Allow the material to cool if required, remove the carrier sheet, and trim the patch to shape.
Heat transfer patches can give a clean result, but they are not ideal for every design. Very small details, complicated gradients, and heavily layered artwork can make the process more difficult.
Method 5: Make Simple Painted Fabric Patches
For a low-cost approach on how to make patches without embroidery machine gear, fabric paint and markers work exceptionally well on canvas and denim. This method works well for casual artwork, hand-drawn designs, and creative clothing projects.
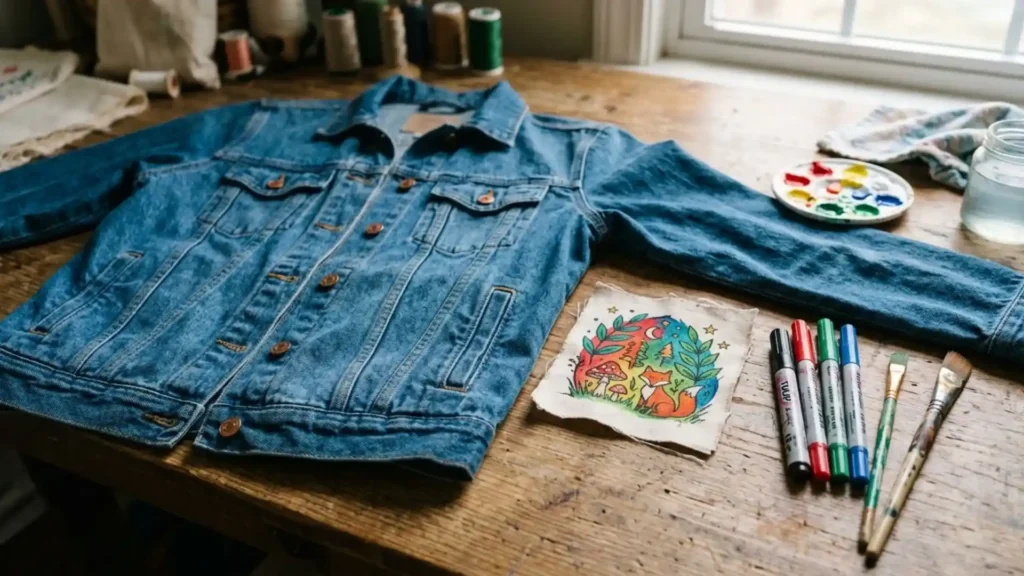
Start with a tightly woven fabric so the paint does not spread too easily through the material. Denim, canvas, and firm cotton are usually easier to control than thin or stretchy fabrics.
Basic Process
- Cut the fabric larger than the finished patch.
- Draw or trace the design.
- Apply fabric paint or permanent fabric markers.
- Allow the artwork to dry fully.
- Heat-set the design if required by the product instructions.
- Trim the patch and finish the edges.
- Add backing or sew it directly onto the item.
Painted patches are ideal for creativity, but they usually do not have the raised texture of embroidery. For heavily used jacket patches or work clothing, a stitched edge can also help the patch stay neat for longer.
How to Finish Patch Edges So They Do Not Fray
Understanding edge finishing is a crucial step when mastering how to make patches without embroidery machine systems, as unprotected edges unravel after washing. The best edge finish depends on whether you stitched, printed, transferred, or painted the patch.
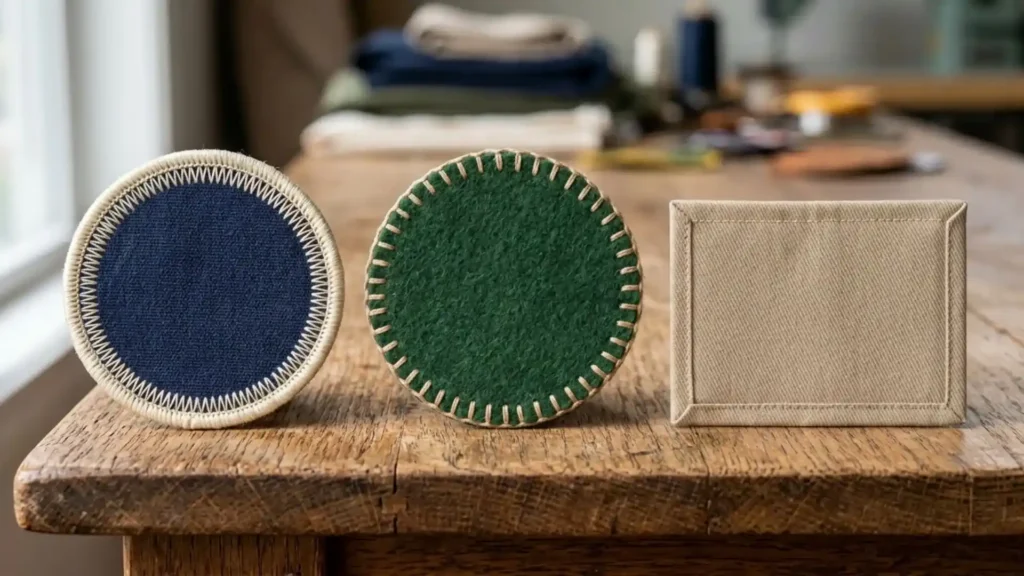
Satin or Zigzag Border
A dense zigzag stitch is one of the strongest options when using a regular sewing machine. It wraps the edge with thread and helps prevent loose fibers from working their way out.
This is useful for patches that will be washed or handled frequently.
Blanket Stitch
A blanket stitch works well for handmade projects because it creates a visible border while also helping secure the fabric edge.
It can give hand embroidery patches a deliberately handmade appearance rather than trying to imitate a commercial machine-made border.
Folded Edge
For simple fabric patches, you can fold the raw edge toward the back and stitch it in place. This works best with thinner fabrics that are easy to turn neatly.
Fray Prevention Products
Fray-prevention products can help seal loose fibers, particularly around printed or painted patches. However, they work best as extra protection rather than replacing a strong edge finish when the patch will receive regular wear.
A simple rule is to avoid cutting too close to your stitching. Leave enough material around the design while finishing the border, then trim carefully once the edge is secure.
How to Add Backing and Attach Your Patch
Applying secure backing completes the process of how to make patches without embroidery machine tools, whether you choose heat-activated adhesive or sew-on backing. The right backing depends on whether you want a permanent attachment, a removable patch, or additional strength.
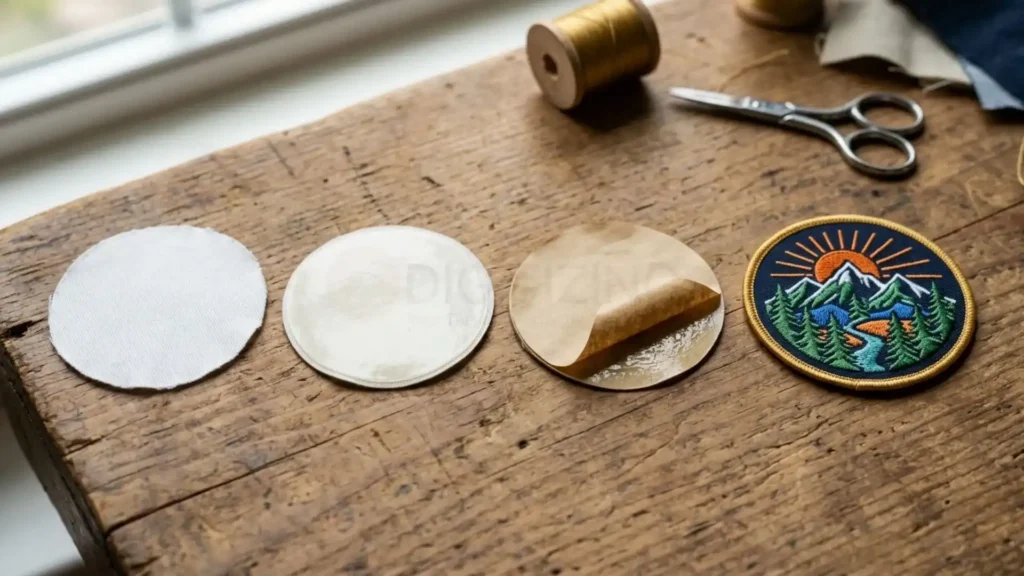
Sew-On Backing
Sewing gives the most secure attachment for frequently worn items. It is a strong option for uniforms, bags, denim, and other items exposed to regular movement.
Iron-On Backing
Iron-on backing is convenient when making DIY iron-on patches for casual clothing. Heat activates the adhesive and attaches the patch without stitching.
For items that will experience frequent washing or heavy use, adding a few stitches around the edge can provide extra security.
Temporary or Removable Options
Some patches are intended for temporary use or display. In these cases, removable backing systems may be more suitable than permanent adhesive.
Before attaching any patch, test the garment material first. Some synthetic or heat-sensitive fabrics can be damaged by high ironing temperatures.
Hand Embroidery vs Machine Embroidery Patches
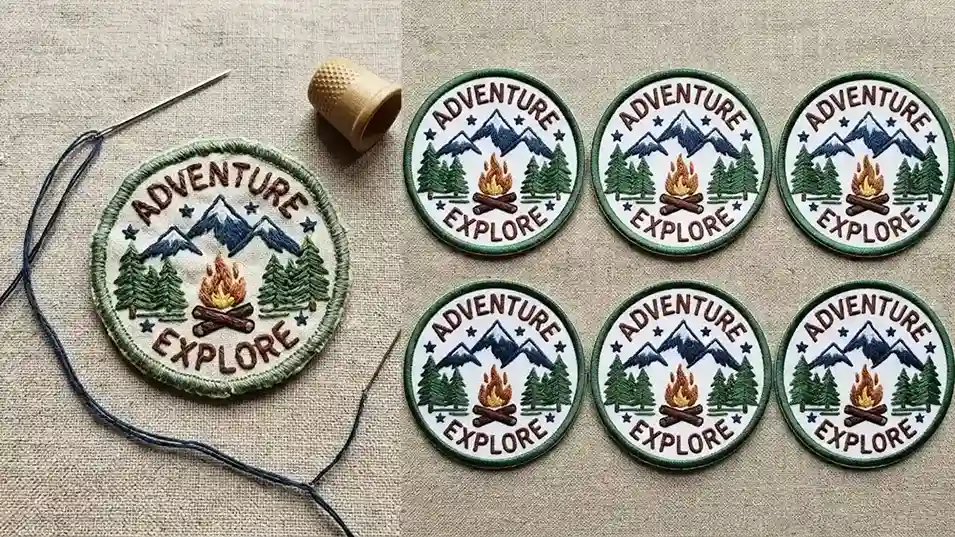
Both methods can create durable patches, but they suit very different types of projects. Hand embroidery vs machine embroidery patches mainly comes down to time, consistency, design complexity, and how many patches you need.
Factor | Hand Embroidery Patches | Machine Embroidery Patches |
Time | Slower; each patch is stitched individually | Faster once the design is prepared |
Consistency | Small variations are normal | Patches can be reproduced consistently |
Detail | Best for simple or artistic work | Better for small details and repeat designs |
Upfront cost | Low | Higher because equipment is required |
Best for | One-offs and creative projects | Logos, uniforms, and repeated orders |
While hand stitching offers artistic control for single pieces, machine production becomes necessary once you need exact repetition across multiple items.
Embroidered Patch vs Printed Patch: Which Should You Choose?
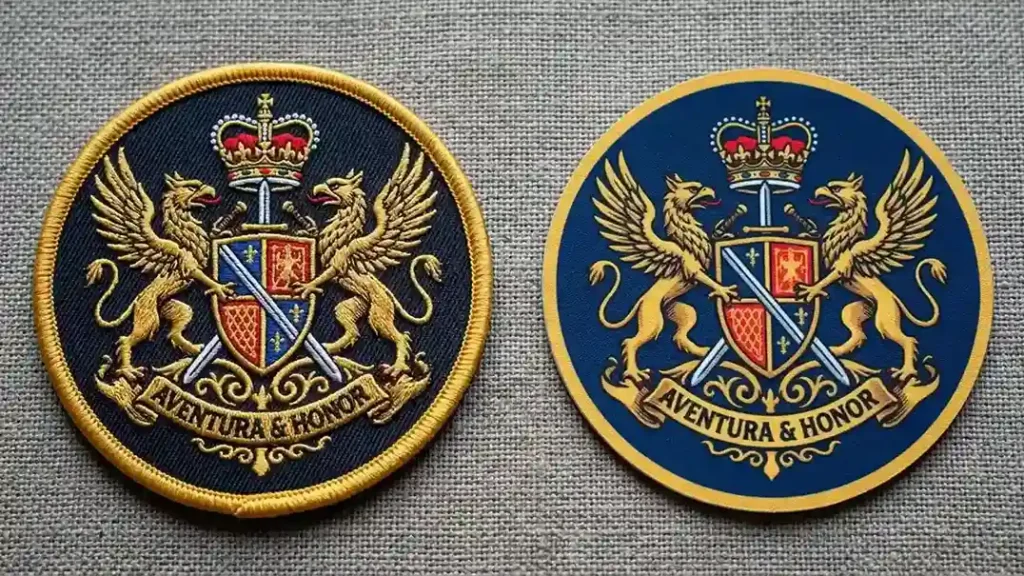
The difference between an embroidered patch vs printed patch is not only about appearance. It also affects how much detail you can include and how the patch feels after it is attached.
Feature | Embroidered Patch | Printed Patch |
Texture | Raised and textured | Smooth and flat |
Fine detail | Limited by stitch size | Better for tiny details |
Photos and gradients | Difficult to reproduce | Easier to reproduce |
Appearance | Traditional patch look | More graphic or image-based |
Best for | Bold logos, lettering, symbols | Artwork, photos, and complex colors |
Choose an embroidered patch when the texture is part of the design. Choose a printed version when preserving fine artwork or multiple color transitions matters more.
This distinction is helpful when creating custom embroidery patches, because not every design actually needs to be stitched. Sometimes printing gives a cleaner result for the artwork you have.
Embroidery Machine vs Hand Embroidery: When Does DIY Stop Making Sense?
DIY methods are useful, but there comes a point where the time and effort required for each patch become difficult to justify. The main difference in embroidery machine vs hand embroidery is not simply speed—it is repeatability.
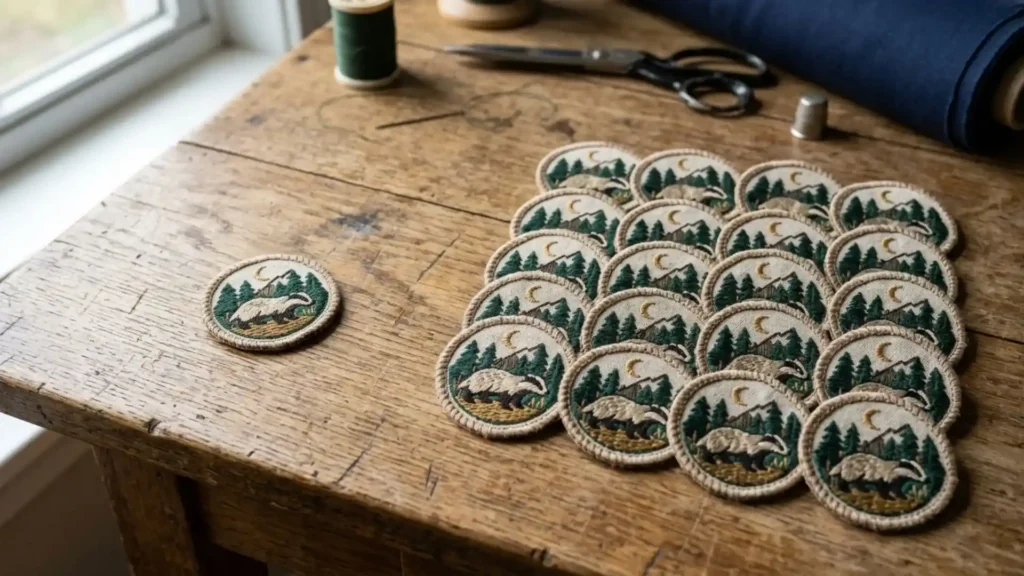
DIY is usually enough when:
- You need only one or a few patches.
- The design is simple.
- You enjoy the handmade process.
- Small variations are acceptable.
Machine-based production makes more sense when:
- You need the same patch repeatedly.
- A logo must remain consistent.
- The design includes small lettering.
- Production time matters.
- Several garments need matching patches.
For example, making one name patch for a denim jacket by hand may be enjoyable. Producing fifty matching patches for a team is a completely different project.
That is often the point where how to make patches without embroidery machine changes from a DIY question into a production decision.
When a DIY Patch Design Becomes Difficult to Reproduce
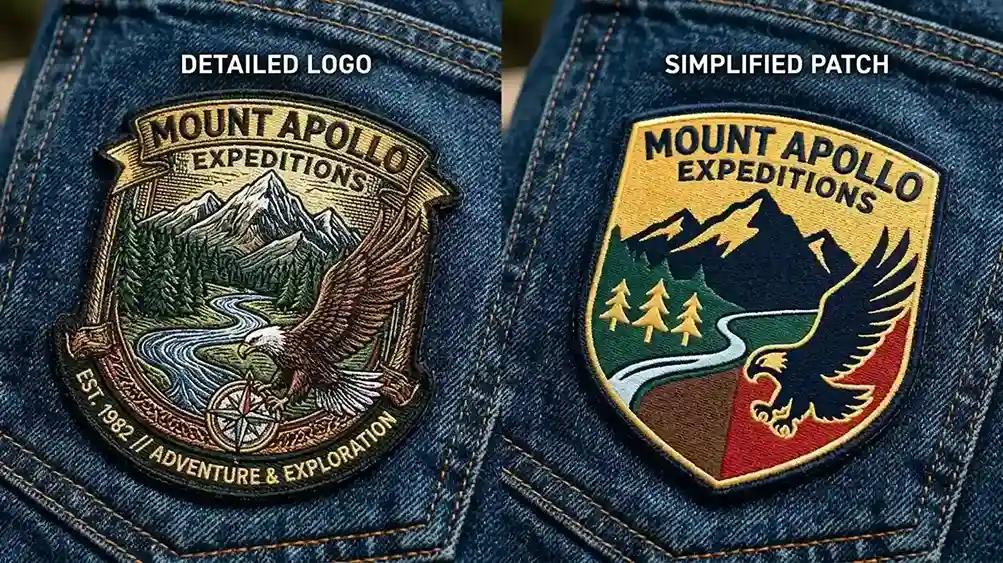
One of the biggest problems with DIY patch making appears when a design looks simple on a screen but becomes difficult to recreate on fabric.
The Problem
You may successfully make one patch by hand but struggle to create the next one with the same size, spacing, thread placement, or level of detail.
This becomes particularly noticeable with logos containing tiny lettering, thin lines, multiple colors, or closely spaced shapes.
Why It Happens
DIY methods have practical limits. A detailed design can require hours of stitching, while tiny elements may become difficult to reproduce clearly.
Handmade pieces also naturally vary. That is part of their appeal for artistic work, but it can become a problem when personalized patches need to follow a specific logo or brand design.
The Practical Solution
Before making the patch, simplify the artwork where possible:
- Remove unnecessary tiny details.
- Increase the size of small lettering.
- Reduce the number of colors.
- Use stronger outlines.
- Choose bold shapes that are easier to stitch or transfer.
For DIY work, simplifying a design often produces a better final patch than trying to copy every small detail from the original artwork.
How ZDigitizing Helps When You Need a Machine-Ready Patch Design
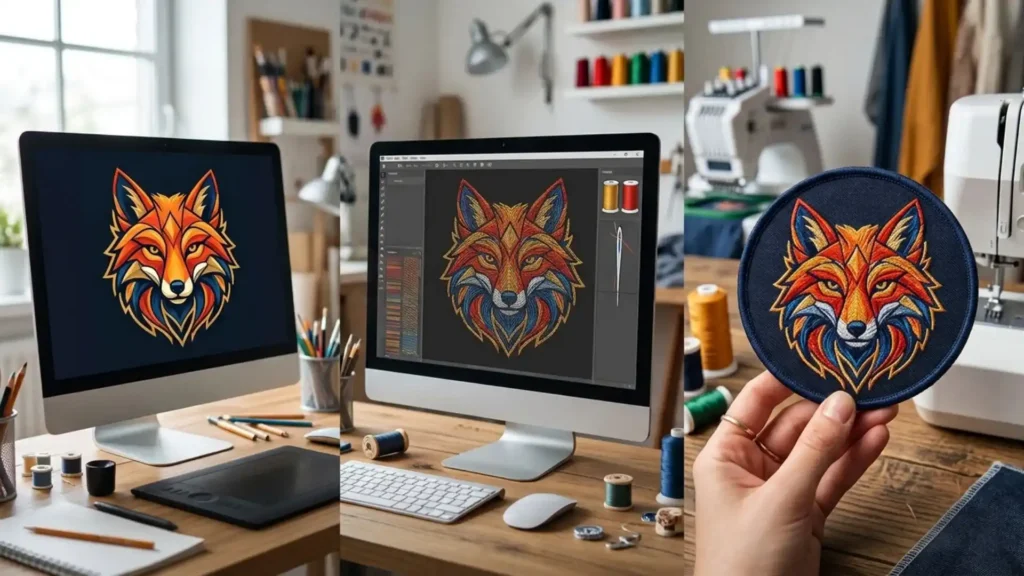
DIY patch making can also become the first stage of a larger project. You might create a sample by hand, test the size on a garment, and later decide that you need the same design reproduced consistently.
Converting Hand Artwork into Stitch Data
A hand-drawn, painted, or printed patch design cannot simply be loaded into an embroidery machine and stitched automatically.
Why Raw Images Cannot Be Loaded Directly
Embroidery machines require a stitch file containing instructions for stitch paths, direction, density, underlay, and other production settings.
The Role of Professional Digitizing
This process is called professional embroidery digitizing. Instead of treating the artwork like a normal image, a digitizer prepares instructions that tell the machine how each part of the design should be stitched.
For detailed logos, manual digitizing can provide more control than simply relying on automatic conversion tools. Stitch direction, density, underlay, and pull compensation can be adjusted according to the artwork and intended fabric.
How ZDigitizing Can Help
A machine embroidery digitizing service in USA can help convert suitable artwork into a machine-ready file when you move beyond the DIY stage.
This becomes particularly useful for repeated production, detailed branding, and effects such as 3d puff embroidery designs, where the artwork and stitch structure need to work together correctly.
The important point is that professional digitizing is not always necessary for a simple handmade patch. It becomes useful when accuracy, consistency, and machine production become more important than the DIY process itself.
Common Problems When Making Patches at Home
Even when following proper guides on how to make patches without embroidery machine setups, minor errors can affect edge quality or fabric tension. Most issues can be avoided by testing the materials before completing the final piece.
Patch Edges Keep Fraying
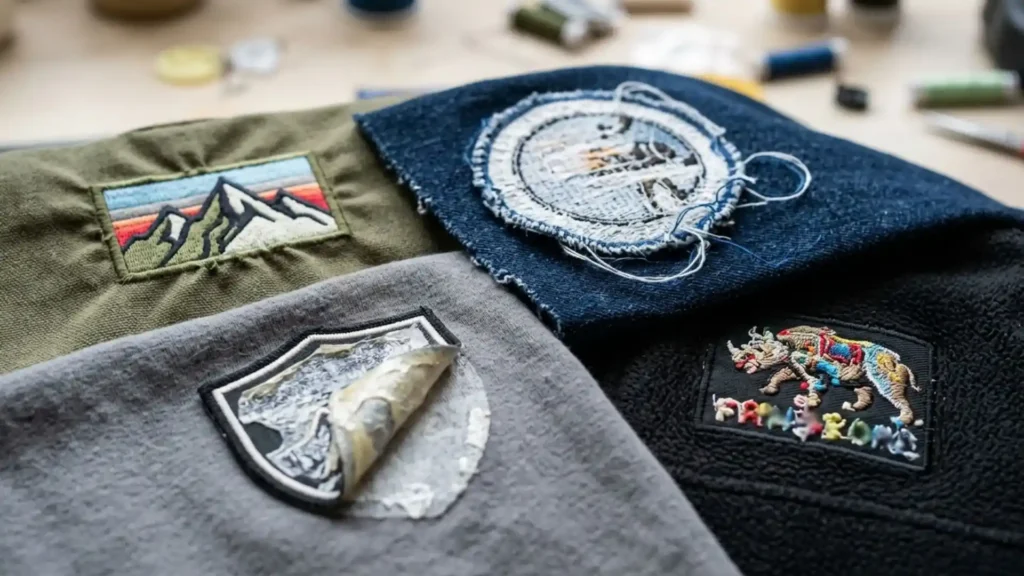
This usually happens when the fabric is cut too close to the design or the edge has not been properly secured.
Use a stitched border, folded edge, or suitable fray protection before the patch receives regular wear.
The Fabric Starts Puckering
Puckering often means the fabric did not have enough support. Lightweight or stretchy material can move while you stitch or apply the design.
Add suitable stabilizer or interfacing and test the process on a small fabric sample first.
The Iron-On Patch Keeps Peeling
Incorrect heat, pressure, or pressing time can prevent the adhesive from bonding properly.
Always follow the instructions for the specific backing material. For high-wear clothing patches, reinforcing the edge with stitching can provide extra security.
Small Details Look Messy
The design may simply be too detailed for the method you selected.
Instead of forcing tiny text or narrow lines into a handmade patch, simplify the artwork or choose a printed method that handles fine detail more effectively.
Matching Patches Look Different
Variation is normal when patches are made individually by hand. Use templates, consistent measurements, and the same materials to improve uniformity when making several pieces.
How to Care for DIY Patches After Making Them
Making the patch is only part of the process. How you wash and wear it can affect the edges, adhesive, and overall appearance, especially with DIY iron-on patches, printed designs, and hand-stitched work.
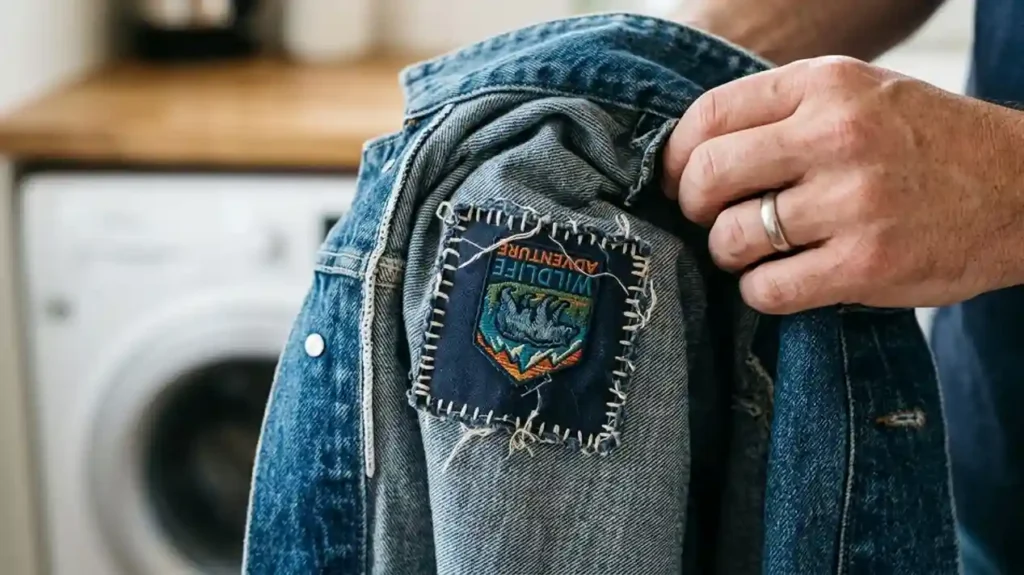
For better durability:
- Wash patched clothing inside out whenever possible.
- Use a gentle cycle and avoid harsh bleach directly on the patch.
- Let iron-on patches cool completely after application before wearing or washing.
- Add a few stitches around the edge of high-wear clothing patches if the adhesive alone feels weak.
- Avoid excessive heat when caring for printed fabric patches, as repeated high heat can affect some transfer materials.
For jackets, bags, uniforms, and other items that receive frequent use, stitching around the patch edge is usually more secure than relying only on adhesive.
Final Thoughts
Learning how to make patches without embroidery machine is simple once you choose the method that matches your design and durability needs. Hand stitching delivers classic texture for personal projects, a regular sewing machine creates strong edge borders, and printed or heat-transfer techniques offer fast solutions for complex graphic artwork.
You do not need expensive equipment to start creating custom embroidery patches or decorative designs at home. Focus on selecting a stable fabric base, applying a secure edge finish, and picking the right backing.
If your handmade design eventually requires uniform, large-scale production, moving to a professional digitizing service ensures your artwork transitions into a flawless machine-ready stitch file. Plus, new customers receive 50% off their first order, making it seamless to scale your DIY prototype into commercial-grade embroidery.