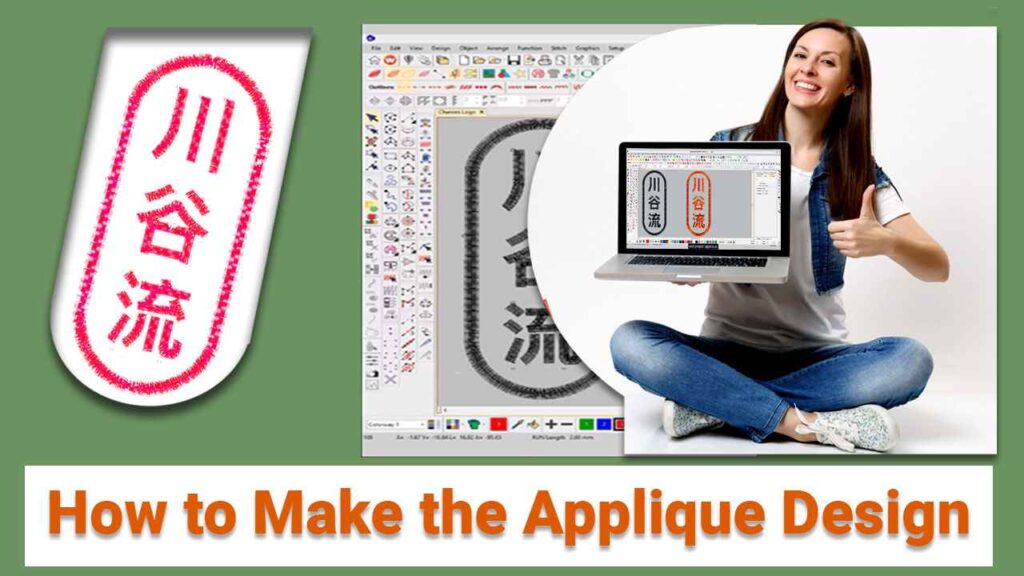
How To Make The Applique Design|6 Great Steps
In this Article, we will discuss about how to make the apploque design with the help of 6 great steps. In these steps, we will describe how to to make the applique design with easy way.

How to Make the Applique Design
Applique is ornamental needlework that not only looks stunning but also is unique and quite in demand.
And if we look into embroidery digitizing about applique Designs, then you would find them pretty much in.
Embroidery Digitizing
&
Vector Art Services
Are you looking for embroidery digitizing and vector art services at low cost with superfast turnaround, guaranteed quality and preview before pay? So, you are at right place. We can digitize and vectorize any type of artwork in your required file format.
Let Us Divide Applique Design Guide into steps:
Step 1 - Open Your Design:
Open your design that you want to convert into applique, load it into Wilcom Studio.
Step 2 - Remove The Tatami:
After the design has been loaded you must remove the Tatami, and only the outline should remain.
In order to remove Tatami, you have to move the stitch cursor to start.
You can do that by simply choosing the option from the toolbar. Once you click it, your design’s stitch would move to start.
Step 3 - Digitize Run:
Once it is done, click on Digitize Run from the toolbar option, and start drawing a straight line right along with the border.
This will create an outline on the border of your design.
Now you must change the color, select any color you want and then again move the stitch cursor in the start, select the option from the toolbar by clicking the left mouse button.
Step 4 - Travel By Color:
You will notice your selected color has appeared on first, now from the toolbar option click on “Travel by Color”, you can also press the page up or page down button as the shortcut keys.
Travel by color indicates which color is running behind the design; our outline was in red which is being indicated here.
Step 5 - Run Your Outline:
For the applique design, it is important that you select and run your outline, and thereafter you can place your fabric in the machine and the outline will hold your fabric firmly.
Step 6 - Prepare Your Design:
After you are done with running the outline and the border of your design you can then run anything that your design contains in it, but make sure you first run the outline and then the border.
And that is about it, you have successfully prepared your design to have strong and proper applique.
If you need more information just head over to Zdigitizing!
Hope it will be helpful for you guys!
If you are looking for quality digitizing services then head over to ZDigitizing and claim your first-month free digitizing offer before it’s gone!
Frequently Asked Questions
Appliqué is a type of embroidery, and it features a vast variety of designs and could be achieved through different methods relying on your choice. Appliqué embroidery designs could be done by hand and some on a sewing machine like: 1. Smooth edge appliqué 2. Raw edge appliqué 3. Multi-needle hoop appliqué 4. Reverse appliqué 5. Decorative appliqué 6. The Lowdown
Here are some tips you can take into consideration while cutting out appliqué shapes: 1. CUT THE MATERIAL AND FUSIBLE WEBBING TOGETHER: All of the shapes have been fused on the wrong side of the material pieces. Now it’s time to cut them. Please note it is not important to cut the shapes out of the fusible webbing directly on the tracing line. Because: – It takes extra time to fussy cut the shapes from the fusible webbing and then you would have to fussy cut the shapes once they are fused to the material. By only fussy cutting once, you save a bit of time. – Make sure that the fusible webbing gives total coverage at the appliqué shape edges. If you try to cut on the lines the second time, the fusible webbing would be missed in several spots right along the edges where it’s most complex. This would cause the edges with no fusible webbing under to fray. 2. MOVE THE SHAPE NOT SCISSORS: It is crucial to have a blunt pair of scissors to do thing cutting step. Blunt scissors would help avoid frayed edges. When you cut try and keep the scissors in one direction and move the shapes in your opposite hand. That outcome is a smoother cut! After cutting the shapes, it is time to place them in the background. Cut the background a little bigger than its actual size. Once all the stitching is completed, trim the background to a suitable size and round the corners. 3. FUSE OVERLAPPING PIECES TOGETHER: If there’re pieces that overlap, fuse those overlapping shapes together before placing them on the background in order to treat them as one piece. This makes the final placement procedure a whole lot simpler.
Appliqué is a type of embroidery, and it features a vast variety of designs and could be achieved through different methods relying on your choice. You turn an appliqué into an embroidery design by: 1. Smooth edge appliqué 2. Raw edge appliqué 3. Multi-needle hoop appliqué 4. Reverse appliqué 5. Decorative appliqué 6. The Lowdown


