10 Tips on How to Remove Embroidery from Shirt

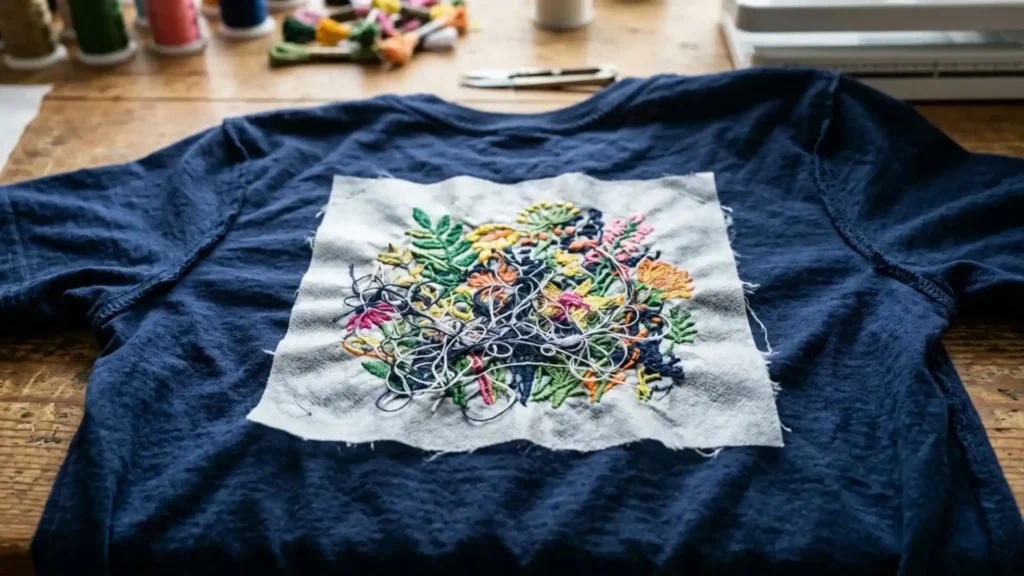
For most garments, how to remove embroidery from shirt safely starts with cutting the stitching from the back rather than pulling the design from the front. Turn the shirt inside out, carefully cut the bobbin threads in small sections, and lift the loosened top threads with tweezers. After the embroidery is removed, take out the backing and use gentle steam or pressing to reduce visible needle holes. The result depends mainly on the fabric, stitch density, and type of stabilizer used.

10 Tips on How to Remove Embroidery from Shirt

10 Tips on How to Remove Embroidery from Shirt

Tools You Need Before Starting Embroidery Removal

The right tools make embroidery removal from shirts much easier because you can separate the stitches from the fabric instead of cutting through both.

Tools You Need Before Starting Embroidery Removal

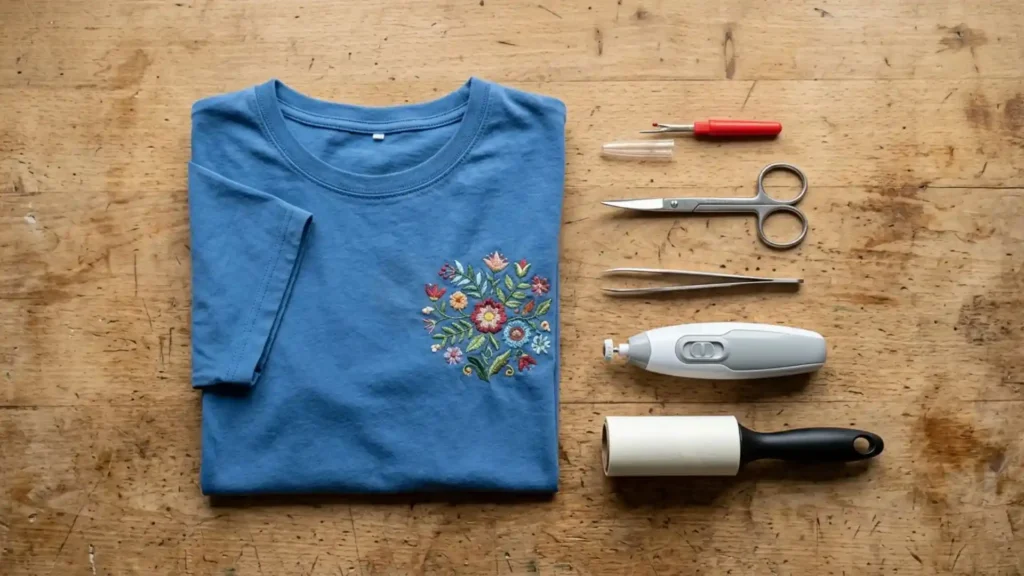
Before starting, place the shirt on a flat surface with good lighting and keep the following tools nearby:

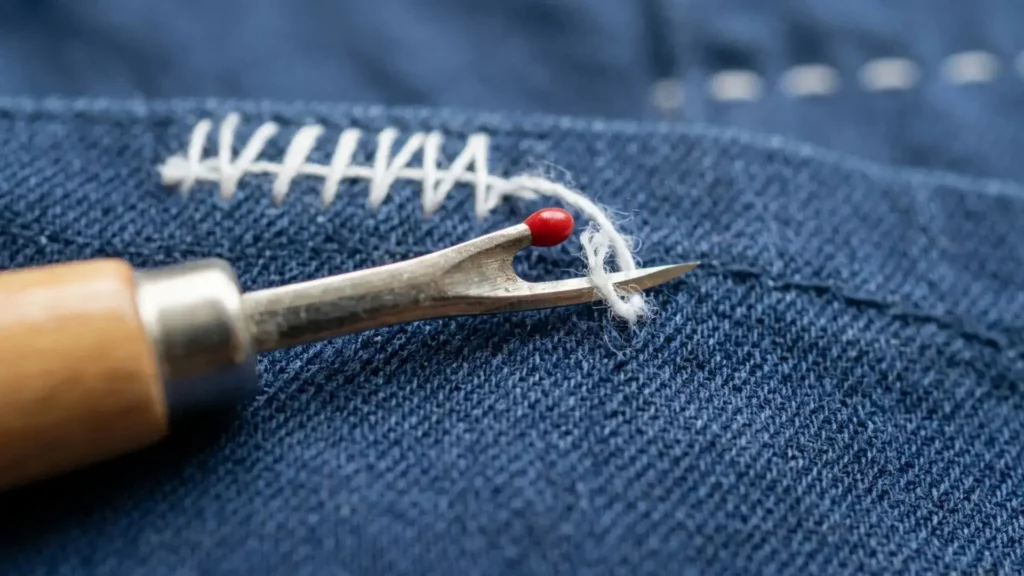
  • Seam ripper: Gives you precise control when cutting individual or small groups of stitches.
  • Embroidery scissors: Useful for trimming loose threads and cutting away stabilizer.
  • Tweezers: Help lift and remove threads after they have been released.
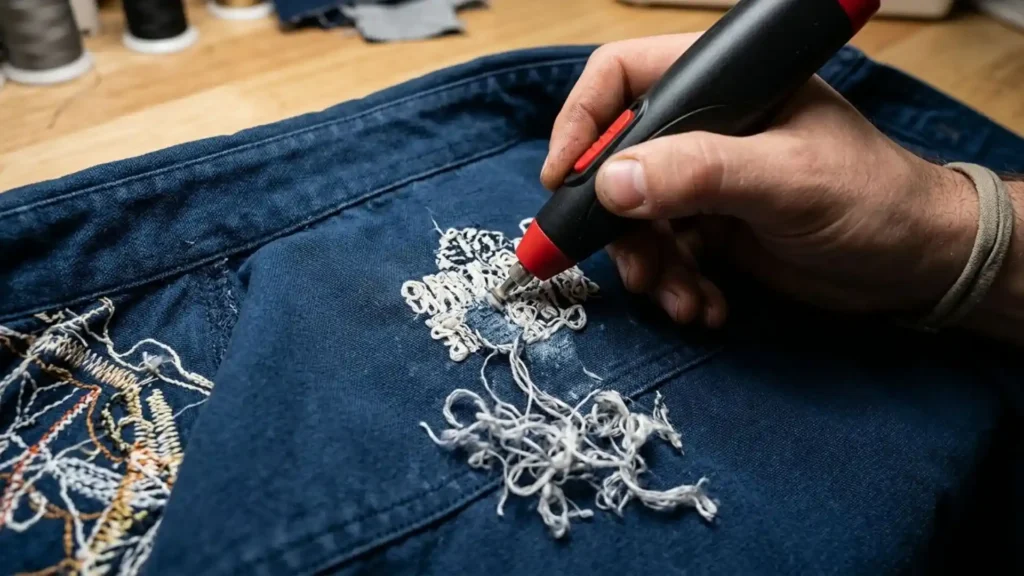
  • Stitch eraser: A faster option for dense machine embroidery on sturdy fabrics.
  • Lint roller or soft brush: Removes small thread pieces and fuzz afterward.
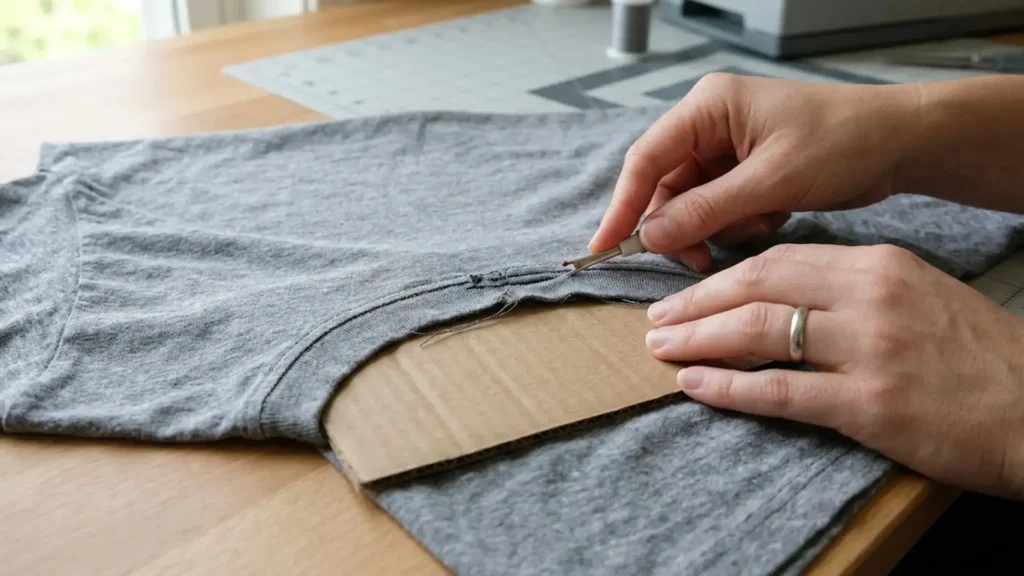
  • Small piece of cardboard: Protects thin T-shirts and stretch fabrics from accidental cuts.

Selecting an appropriate embroidery removal tool like a sharp seam ripper gives you better control on light or moderately dense designs. A stitch eraser can save time on dense embroidery, but it removes stitches quickly, so using it on thin knits requires considerably more care.

10 Tips on How to Remove Embroidery from Shirt Without Damaging Fabric 

Tip 1: Turn the Shirt Inside Out Before Cutting Any Stitches

When planning how to remove embroidery from shirt designs, the safest starting point is always the back of the embroidery, where the bobbin threads and stabilizer are visible. Working from this side lets you release the stitches without cutting directly against the shirt’s visible surface.

Turn the Shirt Inside Out Before Cutting Any Stitches

Look closely at the area before cutting. Identify where the embroidery ends, check whether the fabric is woven or stretchy, and see whether the backing is tear-away, cut-away, or adhesive. If the fabric is already puckered or weakened, use extra caution because removing a dense design may expose permanent needle holes.

Tip 2: Cut Bobbin Threads in Small Sections

Once you have exposed the back, use a seam ripper to get underneath a small group of bobbin threads. Cut only a few stitches at a time instead of sweeping the tool across the entire design.

Cut Bobbin Threads in Small Sections

After cutting one section, turn the shirt over and check the front. The top threads should now lift more easily. If they remain tight, do not pull harder; return to the back and release a few more stitches.

This small-section method is one of the most important parts of how to remove embroidery from shirt safely because it keeps the cutting controlled and reduces unnecessary stress on the fabric.

Tip 3: Pull Loose Top Threads With Tweezers Instead of Your Fingers

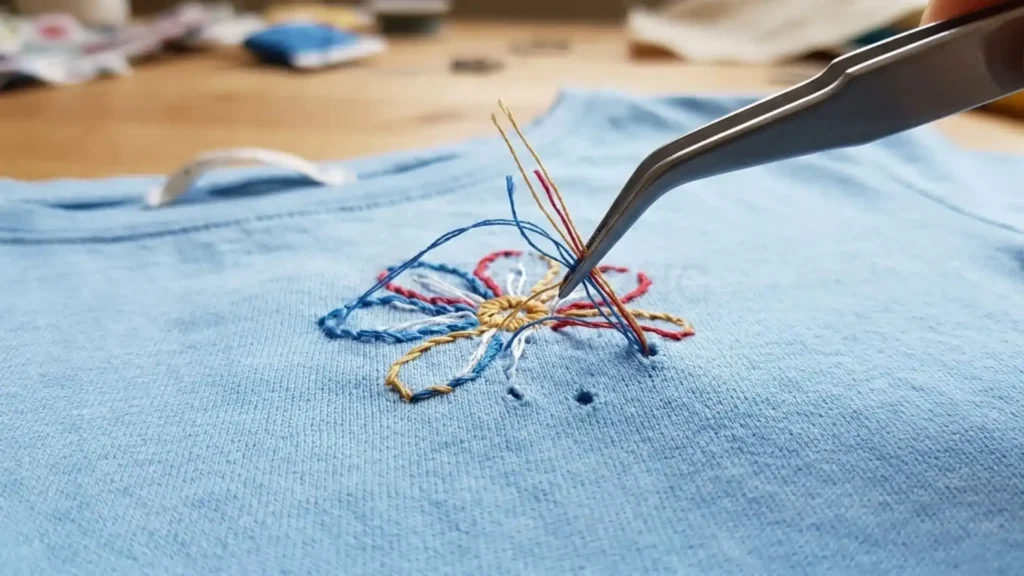
After the bobbin threads have been cut, turn the garment right side out. Use tweezers to lift the loosened embroidery threads and pull them away gently.

Pull Loose Top Threads With Tweezers Instead of Your Fingers

Pull only threads that come away with little resistance. If a thread catches, stop and inspect the area rather than forcing it. A remaining stitch underneath can cause the fabric to stretch or leave a larger hole when pulled.

This technique is particularly useful when you need to remove embroidered logo from shirt fabric while keeping the surrounding material stable.

Tip 4: Divide Dense Embroidery Into Small Removal Areas

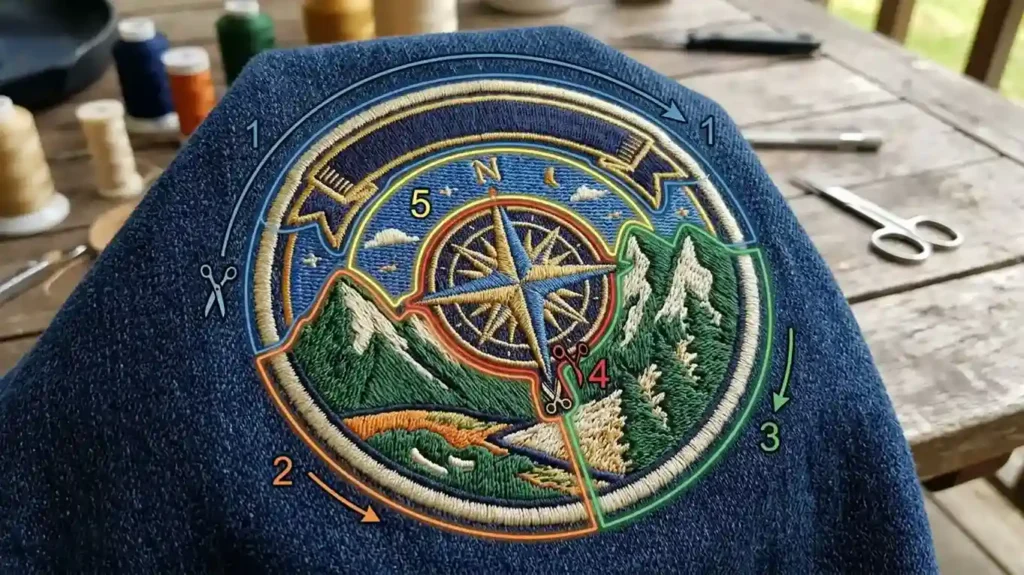
A simple outline may come away quickly, but dense logos with fill stitches, satin stitches, and underlay require more patience. Instead of trying to clear the entire design at once, work through it section by section.

Divide Dense Embroidery Into Small Removal Areas

Cut a manageable section from the back, remove the loosened threads from the front, and then move to the next section. If the design contains multiple layers, expect to repeat the cutting and pulling process several times.

This is especially important when you remove embroidery from a T-shirt, because thin knit fabric can stretch or develop runs when dense stitching is pulled out too aggressively.

Tip 5: Remove the Stabilizer Only After the Threads Are Gone

An essential rule of how to remove embroidery from shirt layers is inspecting the inside for remaining backing before cutting more thread. Removing the stabilizer too early can make the fabric harder to control while you are still cutting stitches.

Remove the Stabilizer Only After the Threads Are Gone

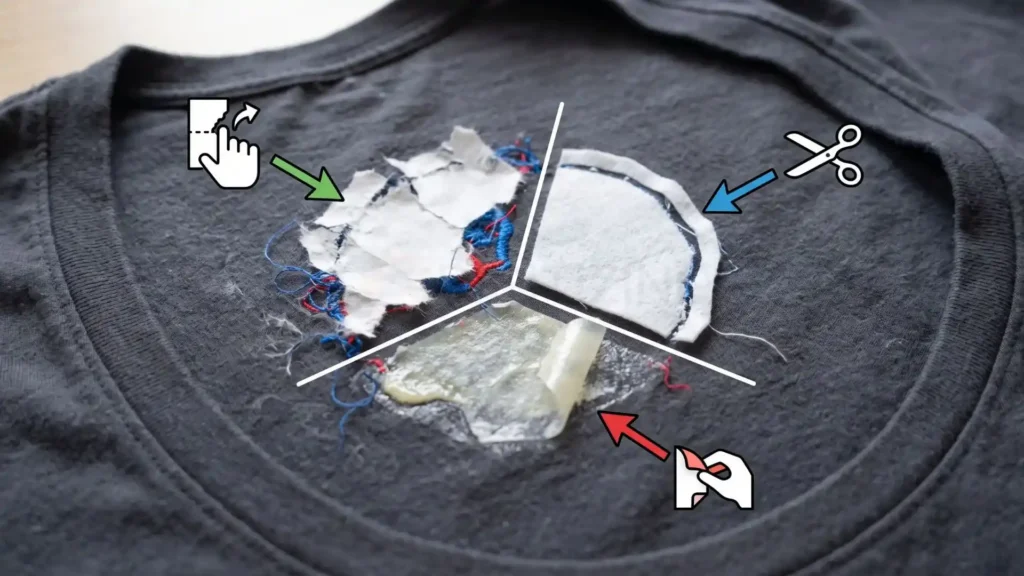
If you are working with tear-away backing, remove it gradually in small pieces rather than pulling one large section. Cut-away stabilizer should be trimmed close to the remaining stitching with small scissors. For adhesive backing, gentle steam or low heat may help loosen it, but always test the method on an inconspicuous area first.

Tip 6: Use Extra Support When You Remove Embroidery From a T-Shirt

Thin T-shirts and stretchy jersey fabrics need more protection because the needle holes are close together and the fabric can easily stretch while you work.

Use Extra Support When You Remove Embroidery From a T-Shirt

When you learn how to remove embroidery from a shirt made of thin jersey fabric, place a small piece of cardboard behind the embroidered area before cutting.  Keep the seam ripper at a shallow angle and work through short sections. Avoid dragging a blade across the fabric, as one slip can create a cut or start a run.

The same principle applies when you remove embroidery from a polo shirt, although piqué fabric has a textured surface that can become distorted if the stitches are pulled aggressively.

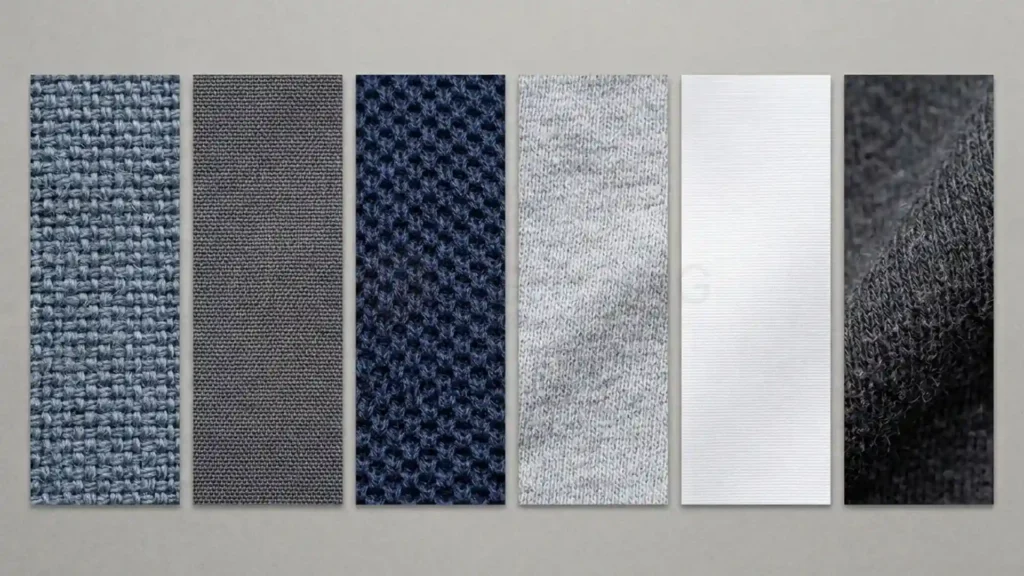
Tip 7: Adjust the Technique for Cotton and Polyester Shirts

Fabric type affects how well a shirt recovers after embroidery removal. Woven cotton is generally more forgiving because its structure can often settle back after the stitches are removed.

Adjust the Technique for Cotton and Polyester Shirts

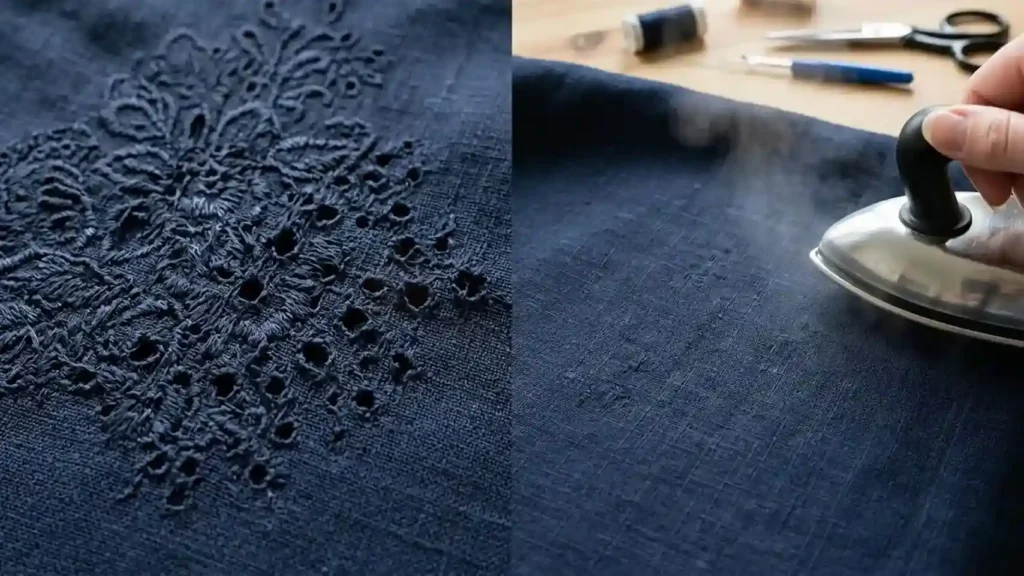
When you remove embroidery from cotton shirt fabric, gentle steam followed by light pressing can help the fibers relax and reduce the appearance of needle holes.

Polyester requires more caution with heat. When you remove embroidery from polyester shirt fabric, use a lower temperature and a pressing cloth rather than applying a hot iron directly to the surface. Excessive heat can create shine, distortion, or even damage the fibers.

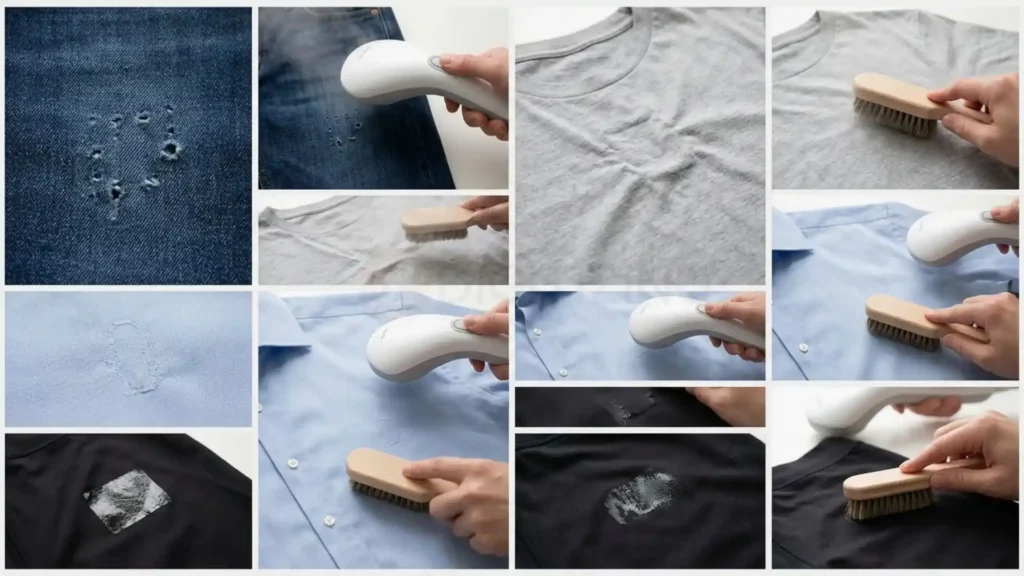
Tip 8: Use Steam to Reduce Needle Holes and the Old Logo Outline

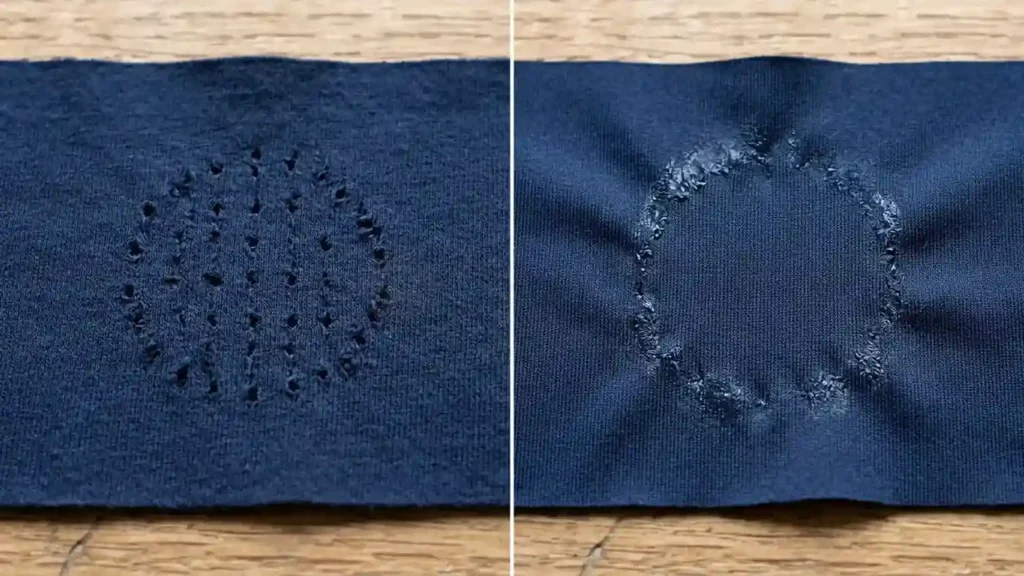
Removing every thread does not always make the shirt look completely untouched. You may still see tiny needle holes, compressed fibers, or a faint outline where the embroidery protected the fabric from wear and fading.

Use Steam to Reduce Needle Holes and the Old Logo Outline

For woven shirts, hold steam over the area and then gently press according to the garment’s care instructions. You can also massage the fabric lightly with your fingers to encourage the weave to settle back into place.

If a faint outline remains after washing and steaming, it may be ghosting rather than leftover thread. The fabric underneath the old embroidery can look different from the surrounding area because it experienced less abrasion, sunlight, or movement.

Tip 9: Choose a Stitch Eraser Only When the Fabric Can Handle It

A stitch eraser can make how to remove embroidery from shirt much faster when dealing with dense machine embroidery. It cuts through multiple threads quickly from the back, making it useful for sturdy garments and heavily stitched logos.

Choose a Stitch Eraser Only When the Fabric Can Handle It

Speed is also its main risk. A stitch eraser can remove garment fibers along with embroidery if it is pressed too deeply or moved carelessly. For thin T-shirts, delicate fabrics, or expensive garments, a seam ripper and tweezers usually provide better control.

Tip 10: Stop Removing the Embroidery When the Fabric Starts Showing Damage

Not every embroidered design should be completely removed. If the fabric begins puckering, fraying, developing runs, or showing enlarged holes, continuing the removal can make the final result worse.

10 Tips on How to Remove Embroidery from Shirt Without Damaging Fabric

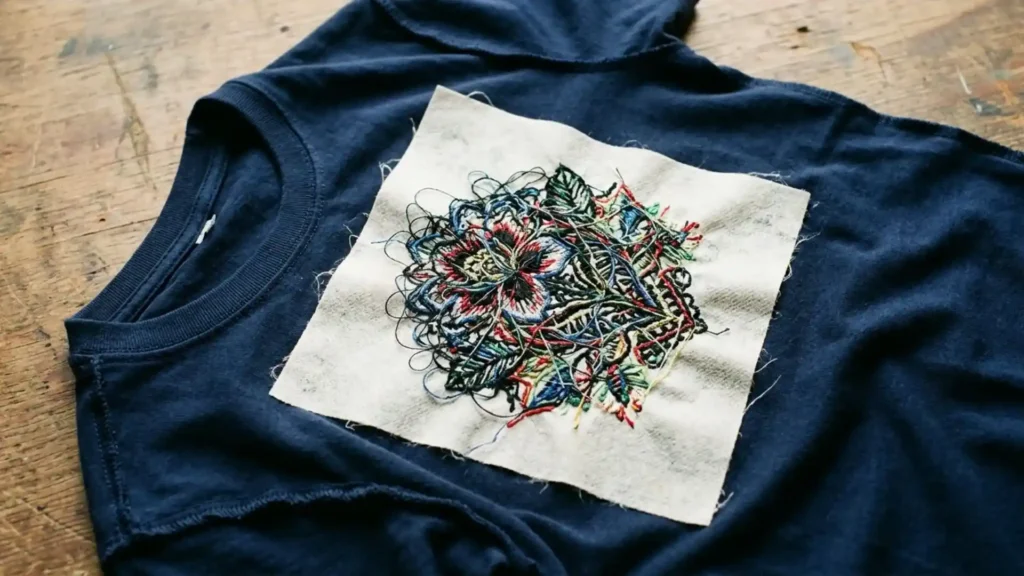
At this point, consider whether covering the old design would produce a better result. A larger embroidered design, patch, or another suitable decoration can sometimes hide the previous logo without putting the garment through further damage.

For valuable garments, leather, vinyl, silk, or heavily damaged fabric, professional repair is usually safer than continuing a DIY attempt. Knowing when to stop is just as important as knowing how to remove embroidery from shirt.

What to Do After Removing the Embroidery

Once the threads and backing are gone, do not judge the result immediately. Loose fibers, compressed fabric, and tiny thread fragments can make the area look worse than it actually is.

Use a lint roller or soft brush to clear the surface, then follow the garment’s care label for washing. After washing, inspect the area again and use gentle steam or pressing if the fabric allows it.

If an outline remains, the issue may not be your technique for how to remove embroidery from shirt panels, but rather fabric fiber compression.  Differences in fabric wear, color, and fiber compression can remain even after every stitch has been removed.

How Embroidery Removal Changes With Different Shirt Types

The general method for how to remove embroidery from shirt materials changes depending on fabric thickness, stretch, and heat tolerance. This can change both the technique and the likelihood of leaving visible marks.

How Embroidery Removal Changes With Different Shirt Types

Cotton Shirts

Cotton is generally one of the easier fabrics for embroidery removal, particularly when the shirt has a tightly woven structure. When you remove embroidery from cotton shirt panels, steam and gentle pressing can help the fibers recover from needle perforations. 

If the embroidery is dense, however, the number of needle holes may still leave a faint outline even after careful removal.

Polyester Shirts

Polyester needs more attention to heat because high temperatures can create shine or affect the fabric’s surface. When you remove embroidery from polyester shirt fabric, use controlled cutting and keep ironing temperatures within the garment’s care instructions.

A pressing cloth is useful when treating the area after removal.

Polo Shirts

Piqué polo fabric has a textured construction that can hide small imperfections but can also show distortion if the embroidery was very dense. When you remove embroidery from polo shirt fabric, avoid pulling large groups of threads at once.

Work in short sections and allow the fabric to relax before deciding whether additional treatment is needed.

T-Shirts

Thin T-shirts are among the more difficult garments because their knit structure can stretch while stitches are being removed. When you remove embroidery from T-shirt fabric, support the area from underneath and use a seam ripper rather than aggressive cutting.

If the original design was dense, small holes or slight distortion may remain permanently.

Dress Shirts

Fine woven dress shirts can respond well to careful embroidery removal, but their thinner fabric makes needle holes more noticeable. When you remove embroidery from dress shirt fabric, pay particular attention to the finishing stage.

Steam and gentle pressing can help the weave settle, but avoid excessive pressure that could create a shiny patch.

Hoodies

Hoodies are usually thicker and more forgiving than T-shirts, although fleece and brushed interiors can retain loose fibers after removal. When you remove embroidery from hoodie fabric, clean the area with a lint roller or soft brush after removing the backing.

When you need to digitize logo for embroidery designs on heavy garments, setting proper underlay prevents thread bunching, making a stitch eraser safer to use if the logo ever needs removal. 

Common Problems After Embroidery Removal and How to Fix Them

Even when every stitch is removed correctly, the fabric may not immediately look normal. Most problems come from the original stitching, the removal technique, or differences between the embroidered area and the rest of the garment.

Common Problems After Embroidery Removal and How to Fix Them

Problem

Likely Cause

What to Try

Small visible holes

Repeated needle penetration

Steam, gentle pressing, and washing may help the fibers recover

Large holes or tears

Pulling threads too hard or cutting fabric

Stop removing stitches and consider repair or covering the area

Faint logo outline

Different fabric wear or compressed fibers

Wash, steam, and reassess after the fabric settles

Puckering

Dense embroidery or excessive pulling

Steam and gently relax the fabric; severe distortion may need professional repair

Adhesive residue

Backing left behind

Use gentle heat or a tested fabric-safe remover appropriate for the garment

Shiny polyester area

Excessive heat during finishing

Stop applying heat and follow the garment’s care instructions

Loose fibers or fuzz

Dense thread cutting, especially on fleece/knits

Use a lint roller or soft brush rather than pulling individual fibers

The important distinction is between leftover embroidery and fabric damage. If threads remain, more controlled removal may solve the problem. If the fabric itself has been cut, stretched, or permanently marked, removing more stitches will not repair it.

When Should You Avoid DIY Embroidery Removal?

Some garments are poor candidates for home embroidery removal, even when the embroidery itself can technically be removed.

Avoid experimenting on leather, vinyl, coated fabrics, delicate silk, lace, cashmere, vintage garments, or valuable clothing. Their surfaces can be permanently damaged by a seam ripper, stitch eraser, heat, or adhesive-removal products.

You should also reconsider DIY removal when the design is extremely dense, contains metallic or 3D embroidery, covers a large area of thin fabric, or has already caused puckering and fabric weakness.

If the garment is important or expensive, the safer decision may be professional garment repair rather than trying to achieve a perfect result through repeated removal attempts.

How to Address Permanent Marks and Embroidery Ghosting

Can you remove embroidery from a shirt? Yes, but whether the fabric returns to brand-new condition depends on needle perforations and fiber compression. The stitches may come out completely while the fabric still shows evidence that embroidery was there.

This happens because embroidery creates hundreds or thousands of needle penetrations and compresses the surrounding fibers. The embroidered area may also have been protected from sunlight and everyday wear, leaving it slightly different in color from the rest of the shirt.

If steaming and washing do not reduce the outline, consider the purpose of the garment. A larger replacement design, patch, or other decoration can cover the area without subjecting the fabric to another aggressive removal attempt.

Removing an Old Logo vs. Replacing It With New Embroidery

If the reason for removing embroidery is a rebrand, uniform change, or updated company logo, complete removal may not always be the best solution.

A new design can sometimes be positioned over the original area, provided the new embroidery is large enough to cover the previous stitching and the garment can handle another round of needle penetration. The new design should be planned around the existing holes rather than simply placed over them.

If you are preparing a replacement logo, working with a professional digitizer can also prevent the same problem from happening again. Proper embroidery digitizing can account for fabric type, stitch density, underlay, and design size before the logo reaches the garment.

For businesses ordering new uniforms or promotional apparel, custom embroidery digitizing services in USA can also help prepare production-ready files that are better suited to the selected garment instead of forcing one stitch setup onto every fabric.
Conclusion

Learning how to remove embroidery from shirt fabrics safely depends on stitch density, tools, and backing material. Working from the reverse side, snipping bobbin threads in small sections, and finishing with gentle steam protects the garment while eliminating unwanted designs.

If you plan to replace an old design with a new logo, ZDigitizing offers high-quality custom embroidery digitizing to keep your files clean and fabric-friendly. New customers receive 50% off their first order.

MOST POPULAR EMBROIDERY DIGITIZED DESIGN

Girl-Flower-300x300_

2576 Sold

Girl Flower Embroidery Design
Price 1.99$ Only

1.99$ Only

Your Favorite Design is

JUST ONE CLICK AWAY
Buy Now
Mickey Mouse Design

1341 Sold

Mickey Mouse Embroidery Design
Price 2.99$ Only

2.99$ Only

Your Favorite Design is

JUST ONE CLICK AWAY
Buy Now
Honey Bee Design

3721 Sold

Cute Bee Embroidery Design
Price 4.99$ Only

4.99$ Only

Your Favorite Design is

JUST ONE CLICK AWAY
Buy Now
Mermaid-300x300_3_11zon

1541 Sold

Mermaid Fish Embroidery Design
Price 3.99$ Only

3.99$ Only

Your Favorite Design is

JUST ONE CLICK AWAY
Buy Now
Love-Floer-300x300_2_11

2216 Sold

Love Flower Embroidery Design
Price 1.99$ Only

1.99$ Only

Your Favorite Design is

JUST ONE CLICK AWAY
Buy Now
Dog Design

1724 Sold

Jumping Dog Embroidery Design
Price 2.99$ Only

2.99$ Only

Your Favorite Design is

JUST ONE CLICK AWAY
Buy Now
squid_

1721 Sold

Squid Embroidery Design
Price 1.99$ Only

1.99$ Only

Your Favorite Design is

JUST ONE CLICK AWAY
Buy Now
Skull Design

3721 Sold

Skull Embroidery Design
Price 3.99$ Only

3.99$ Only

Your Favorite Design is

JUST ONE CLICK AWAY
Buy Now
Cat With Heart Design

1421 Sold

Cute Bear Embroidery Design
Price 5.99$ Only

5.99$ Only

Your Favorite Design is

JUST ONE CLICK AWAY
Buy Now
Pooh Embroidery Design

1245 Sold

Phoo Embroidery Design
Price 1.99$ Only

1.99$ Only

Your Favorite Design is

JUST ONE CLICK AWAY
Buy Now

Embroidery Digitizing & Vector Art Services

Are you looking for embroidery digitizing and vector art services at low cost with superfast turnaround, guarranted quality and preview before pay? So, you are at right place. We can digitize and vectorize any type of artwork in your required file format.

0
0
Your Cart Items
Empty CartYour cart is emptyReturn to Shop

Create Custom Plan