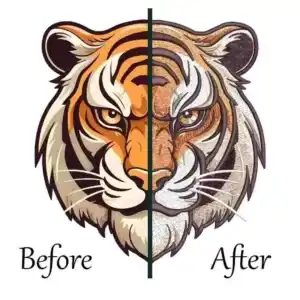
How To Remove Design Background In Wilcom
Step 1:
Open up your Wilcom application and import your required design file,
Step 2:
Select the area of your design that you want to delete, make sure you only select the area that you do not want in your embroidery design.
Embroidery Digitizing
&
Vector Art Services
Are you looking for embroidery digitizing and vector art services at low cost with superfast turnaround, guaranteed quality and preview before pay? So, you are at right place. We can digitize and vectorize any type of artwork in your required file format.
Step 3:
After selecting the specific area of your design just press “Delete” from your keyboard.
Or you can also choose to right-click on that area and select the “Delete” option from the menu bar.
And that is about it, you have successfully deleted the background from your design file.
Now you can add any other background if you want to, or just use it on your embroidery machine as it is.
Hope it will be helpful for you guys!
Do you Need digitizing service for your embroidery machine, With super fast turnaround and excellent quality.
Frequently Asked Questions
You can easily change the background on Wilcom by following these steps: 1. Use View > Show item to toggle on or off any item image that might be included in the color way. 2. Click the drop list next to the background and display the colors icon. 3. Change color through the background color pop-out menu.
You can turn off Wilcom overlap by following these steps: Use appliqué > remove overlaps to remove an underlying layer of stitching in overlapping objects using the chosen object as a cutter. Click the right button for settings, click right of the remove overlaps tool would show the overlap settings dialog. A shortcut key, Ctrl+Shift+E, has been added to remove overlaps rapidly.
You can use Wilcom software for thirty days. Unlimited use of all the outstanding features – Wilcom embroidery designing software, professional embroidery and apparel decoration design software!
You can remove stitches from Wilcom by: Use appliqué > remove overlaps to remove an underlying layer of stitching in overlapping objects utilizing the chosen object as a CUTTER. Click right for settings, and use the remove overlaps command to remove underlying stitching in overlapping objects.


