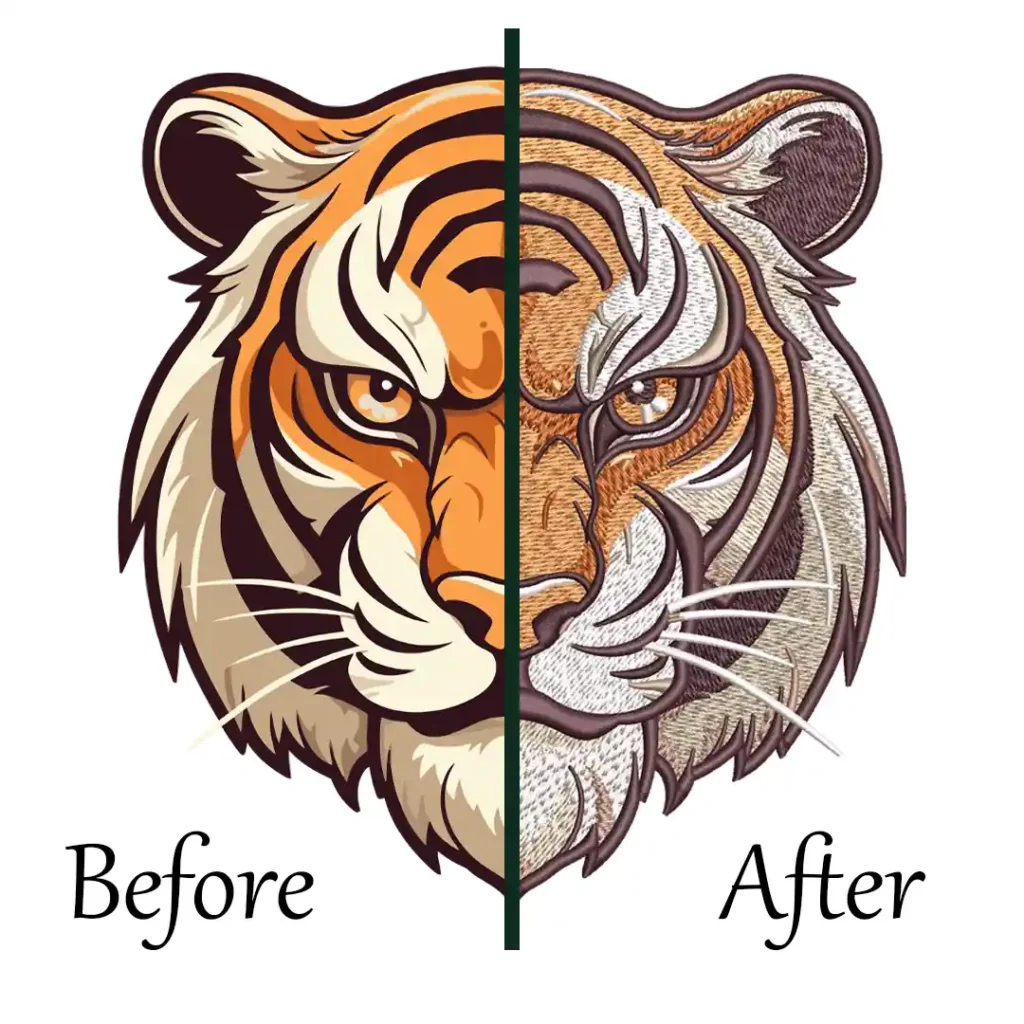
Embroidery enthusiasts are no strangers to the beauty and versatility of different stitching techniques. Among these techniques, satin stitch holds a special place for its ability to create smooth, solid, and vibrant designs.
In this article, we will explore its fundamentals, techniques, troubleshooting tips, and advanced variations. So, let’s dive in.
What Is A Satin Stitch In Machine Embroidery?
What Is A Satin Stitch?
It is like the Beyoncé of machine embroidery stitches – smooth, sleek, and versatile. It’s a technique where parallel rows of stitches are closely stacked together, creating a solid, satin-like effect on your fabric.
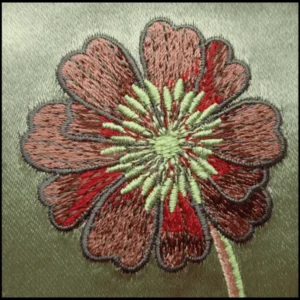
Think of it as the embroidery version of filling in a coloring book with a nice, even coat of color.
Role Of Satin Stitch In Machine Embroidery
You know those gorgeous, intricate designs you see on embroidered patches, monograms, or appliqué?
Chances are, they involve some of this snazzy stitch action. It is perfect for creating bold, vibrant designs with a smooth and polished finish.
Whether you want to add some pizzazz to your denim jacket or personalize a gift with a monogram, this is your go-to stitch for that extra touch of elegance.
Understanding The Basics Of Satin Stitch
First you need to understand the basics of this stitch:
Anatomy Of A This Stitch
The anatomy of this stitch is pretty straightforward. It consists of parallel stitches that run closely side by side, covering the desired area with a solid fill.
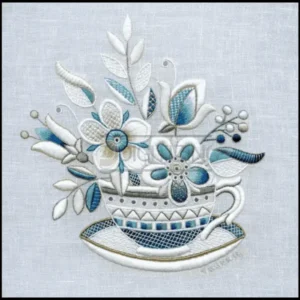
These stitches can be either straight or slightly slanted, depending on the design and effect you want to achieve.
Choosing The Right Thread And Fabric
When it comes to this stitch, thread and fabric choice can make a big difference. Opt for a thread that is strong and smooth, like rayon or polyester embroidery thread.
As for the fabric, a stable and tightly woven option, such as cotton twill or denim, works best. You want a fabric that can handle the density of the this stitch without puckering or distorting.
Preparing Your Machine For This Embroidery Stitch Type Work
Before diving into the ths stitch wonderland, it’s important to ensure that your embroidery machine is ready for the task. Make sure your machine is clean, oiled, and in good working condition.
Adjust the tension to achieve balanced stitches, and consider using a stabilizer to support your fabric during stitching. And don’t forget to grab a cup of coffee or your favorite energizing beverage – embroidery is serious business!
Process Of Creating A Satin Stitch
Setting Up Your Design: First things first, choose a design that you want to fill with a satin embroidery stitch. This could be a shape, a letter, or even a complex design like a floral motif. Make sure your design is digitized or transferred onto your embroidery machine.
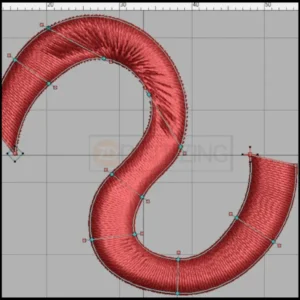
Setting Stitch Length And Width: When you’re ready to rock the this stitch, adjust the stitch length and width on your machine. A shorter stitch length creates a denser fill, while a longer stitch length gives a more open effect. Experiment a bit to find your sweet spot.
Starting And Ending Your Stitch: To get your satin embroidery stitch party started, position your needle at the edge of your design and lower your presser foot. Begin stitching slowly and steadily, following the outline of your design. When you reach the end, make sure to secure your stitches with a few backstitches or tie-offs to prevent unraveling.
Techniques For Achieving A Flawless Satin Stitch
Some techniques you need to know to get best results:
Stabilizing Your Fabric
To avoid any puckering or distortion during this embroidery stitch, it’s crucial to stabilize your fabric. Use a stabilizer, such as tear-away or cut-away, to add support and keep your fabric in place.
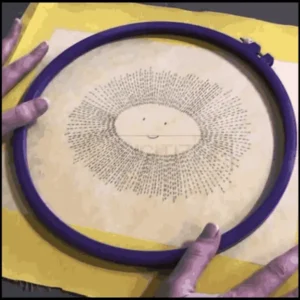
This will give your stitch the smooth and professional finish you’re aiming for.
Tension Control For Smooth Satin Embroidery Stitch
Tension is the unsung hero of embroidery. Achieving balanced tension ensures your stitch looks flawless.
Adjust your machine’s tension settings according to the recommendations in your machine’s manual. Don’t be afraid to make small adjustments until you achieve that perfect stitch tension.
Stitching Techniques For Even And Precise Stitch
When stitching your satin embroidery stitch, take your time and focus on maintaining even and precise stitches. Move the fabric smoothly and steadily under the needle, guiding it along the outline of your design.
If needed, practice on scrap fabric to get comfortable before diving into your actual project. Remember, practice makes perfect stitches!
Advanced Tips And Tricks For Mastering Satin Stitch Embroidery
Ready to take your satin stitch embroidery skills to the next level? Here are a couple of tips and tricks to help you become a satin stitch pro.
Using Different Stitch Lengths And Widths For Texture And Dimension
Who said satin embroidery stitch has to be a one-size-fits-all affair?
Experiment with different stitch lengths and widths to add texture and dimension to your designs. Shorter stitches can create a denser and smoother look, perfect for filling in small areas.
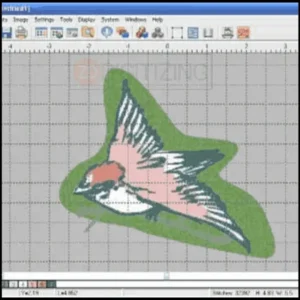
On the other hand, longer stitches can add a touch of whimsy and bring attention to specific elements. Play around and let your creativity run wild – the possibilities are endless!
Layering And Blending Colors
Want to take your satin stitch game to the next level?
Try layering and blending colors!
By using multiple shades of thread, you can create stunning gradients and realistic effects. Start with a base color and gradually transition to lighter or darker shades as you stitch.
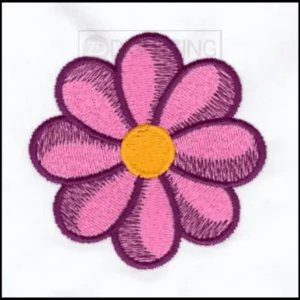
This technique works wonders for floral designs, shading, and even creating realistic animal fur. Just be sure to choose thread colors that complement each other and watch your designs come to life.
Combining this Stitch With Other Embroidery Techniques
Why settle for just satin embroidery stitch when you can mix and match embroidery techniques?
Combine this embroidery stitch with other stitches like backstitch, French knots, or even appliqué to create unique and eye-catching designs.
Let your imagination guide you and don’t be afraid to push the boundaries of traditional embroidery. Who knows, you might just stumble upon a winning combination that sets your work apart from the rest.
Adding Shading And Gradients
Take your stitch to the next level by mastering shading and gradients. By varying the density and direction of your stitches, you can add depth and realism to your embroidery.
Start with a light hand and gradually build up the layers, blending the colors seamlessly. Patience and practice are key in achieving the perfect shading, so don’t be discouraged if it doesn’t happen overnight.
Keep experimenting and refining your technique, and you’ll soon become this stitch shading pro.
Final Thoughts
It is a versatile and essential technique in machine embroidery that allows you to create smooth, solid, and eye-catching designs.
While it may present some challenges, with a little patience and practice, you can master the art of satin stitch. Whether you’re using this stitch for its simplicity or pushing the boundaries of its possibilities, enjoy the journey and let your personality shine through your stitches.
Happy embroidering!
ZDigitizing: The Best Choice for Embroidery Digitizing Services
Are you looking for the best embroidery digitizing services? Well, you’re in luck because ZDigitizing is here to meet all your needs!
At ZDigitizing, we specialize in providing top-quality embroidery digitizing and vector art services. Whether you need embroidery or printing, we’ve got you covered.
And the best part? Our prices are highly competitive, so you don’t have to break the bank to get the best results.
Exciting news! Right now, we’re offering an amazing 50% discount on your first order for all our services. That’s a great deal you don’t want to miss!
So don’t hesitate to reach out to us and take advantage of this fantastic offer.
Discuss your requirements with us and receive a FREE QUOTE within just 5 minutes. We value your time and want to make the process as smooth as possible for you.
If you’ve found value in this article, please share it with your friends. We believe that everyone deserves to know about our amazing services and discounts.
So spread the word and let your friends join in on the fun!
Thank you for reading, and we wish you happy stitching!
Frequently Asked Questions:
Yes, you can machine embroider on satin, but it requires careful handling and appropriate stabilizers due to its delicate and slippery nature.
Typically, 2 to 4 strands of embroidery floss are used for a satin stitch in hand embroidery, providing a smooth, satin-like finish.
A sharp embroidery needle, often size 7 or 9, is ideal for satin stitch as it can smoothly penetrate fabric without causing snags.
In machine embroidery, the size of a satin stitch varies based on the design but generally ranges from 1mm to 6mm in width, providing a smooth, lustrous appearance.

