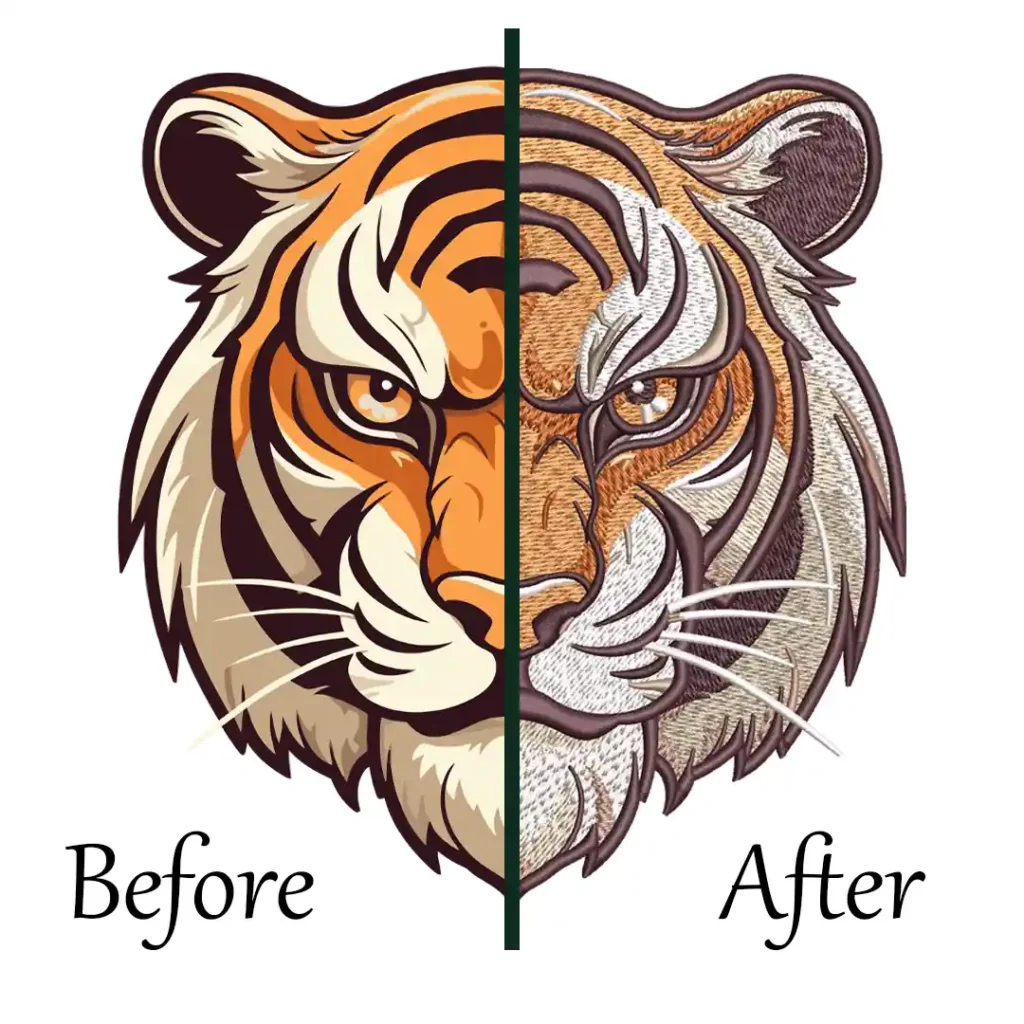
In this detailed guide, we will walk you through the step-by-step process of fixing holes with embroidery machine in clothing and garments. With the right techniques and a little practice, you’ll be able to seamlessly repair your garments and give them a new lease on life.
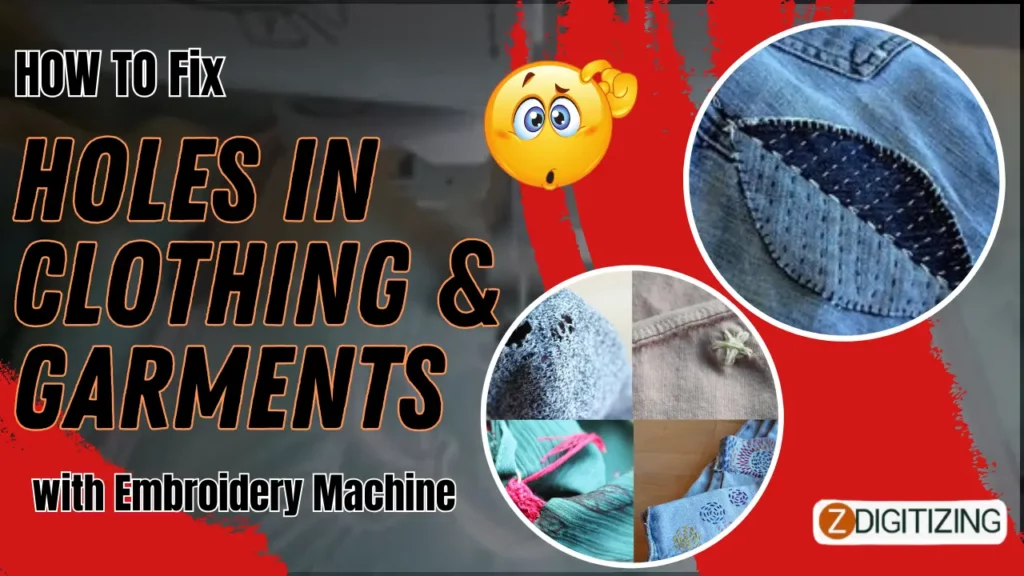
Repairing holes in clothing and garments can be a daunting task, but with the help of an embroidery machine, it becomes much easier and efficient. Whether you want to mend a small hole or transform it into an artistic embroidery design, using an embroidery machine provides you with the tools and precision to achieve professional-looking repairs.
How To Fix Holes In Clothing & Garments With Embroidery Machine
Fixing holes in clothing & Garments with embroidery machine:
When it comes to fixing holes with embroidery machine in clothing and garments, there are several steps you can follow for successful repairs. Let’s see on how to use machine embroidery to repair holes:
Prepare the Fabric:
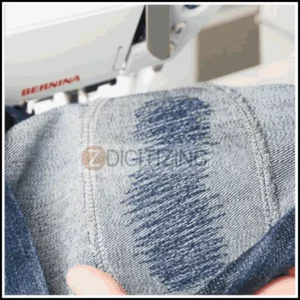
Start by cleaning the embroidery garments and removing any loose threads or debris around the hole. This will ensure a clean and smooth surface for stitching on embroidery clothing.
Choose the Right Stabilizer:
Select a stabilizer that matches the fabric and the size of the hole. Stabilizers provide support and prevent stretching or distortion during the stitching process.
Hoop the Fabric:
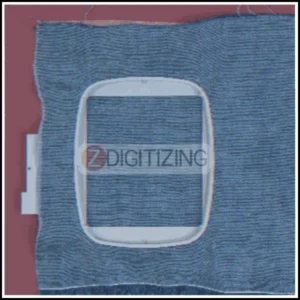
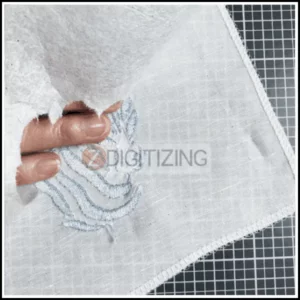
Hoop the fabric along with the stabilizer, making sure the hole is centered within the hoop. Tautly secure the fabric to prevent shifting during embroidery.
Select the Stitching Design:
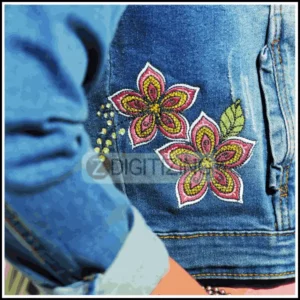
Choose an appropriate embroidery design, embroidery patch, embroidery pocket designs or stitch pattern that will cover the hole and blend seamlessly with the surrounding fabric. You can either select a pre-designed pattern or create your own using embroidery software.
Position and Align the Design:
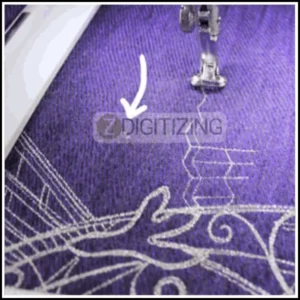
Use the embroidery machine’s software like hatch software or on-screen controls to position and align the design over the hole. Ensure that the design fully covers the hole and extends slightly beyond its edges for secure stitching.
Thread the Machine:
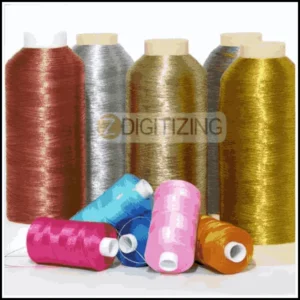
Thread the embroidery machine with thread that matches the knit fabrics and the design. Make sure the tension is properly adjusted for optimal stitching.
Test Stitch on Scrap Fabric:
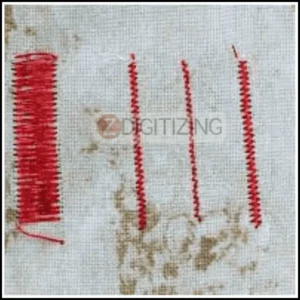
Before stitching on the actual garment, perform a test stitch on a scrap piece of Reinforce Worn Fabric to ensure the design, tension, and thread color are suitable.
Start the Embroidery:
Once satisfied with the test stitch, start the embroidery process. The machine will stitch the design over the hole, securing the fabric and creating a seamless repair L shaped.
Embroidery Digitizing
&
Vector Art Services
Are you looking for embroidery digitizing and vector art services at low cost with superfast turnaround, guaranteed quality and preview before pay? So, you are at right place. We can digitize and vectorize any type of artwork in your required file format.
Monitor the Process:
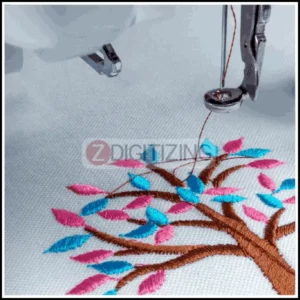
Keep a close eye on the machine as it embroiders to ensure smooth stitching and proper coverage of the hole. Make any necessary adjustments, such as thread tension or design position, if needed.
Trim Excess Threads:
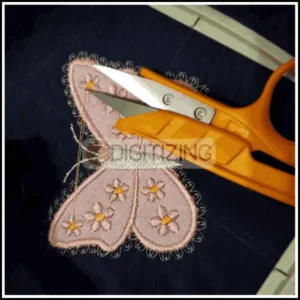
Once the embroidery is complete, carefully trim any excess threads on the front and back of the fabric to create a neat and tidy finish.
Finishing Touches:
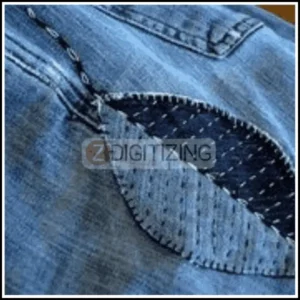
If desired, you can further enhance the repair by adding additional decorative stitches or embellishments around the repaired area.
Remember to practice on scrap fabric before attempting repairs on valuable or delicate garments. With practice and patience, you can achieve professional-looking repairs and extend the life of your clothing and garments using an embroidery machine.
Tips for fixing holes with embroidery machine in Clothing & Garments:
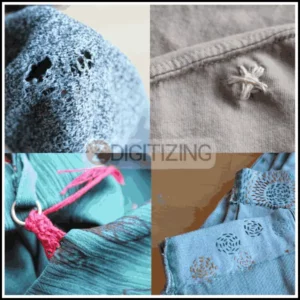
- Choose a stabilizer that matches the fabric and weight of your garment. This will provide the necessary support during the embroidery process and prevent further damage to the fabric.
- Before beginning the repair, ensure that the area around the hole is clean and free of any loose threads or debris. Trim any frayed edges or loose threads to create a smooth surface for embroidery.
- Depending on the size and location of the hole, select an embroidery design that will effectively cover the damaged area. Consider using decorative stitches or patterns that complement the overall design of the garment.
- Securely hoop the garment, making sure that the hole is centered within the hoop. This will ensure accurate placement of the embroidery design and prevent any distortion during stitching.
- Select a needle and thread that are suitable for the fabric and the design you are working with. Use a needle specifically designed for embroidery to ensure smooth and precise stitching.
- Before stitching on the garment, it is advisable to test the design and settings on a scrap piece of fabric. This will help you adjust the tension, stitch density, and other settings to achieve the desired result.
- Take your time when stitching over the hole. Guide the embroidery machine carefully and make sure that the stitches cover the entire damaged area. Monitor the stitching closely to ensure that the thread tension remains consistent.
- Once the embroidery is complete, trim any excess threads and secure them using a knot or by backstitching. This will prevent the threads from unraveling and ensure the longevity of the repair.
- After repairing the hole, follow the garment’s care instructions to maintain the integrity of the embroidery. Avoid excessive stretching or pulling that could cause further damage to the repaired area.
- Don’t be afraid to practice on scrap fabric or less visible areas of the garment to improve your embroidery skills and explore different techniques. With practice, you’ll gain confidence and be able to tackle more complex repairs.
- If the hole is too large to be covered with embroidery alone, you can create or purchase a fabric patch that matches the garment. Secure the patch over the hole using a combination of stitching and embroidery, blending the design seamlessly.
- Tear-away stabilizers are an excellent option for repairing small holes or tears. They provide temporary support during stitching and can be easily removed once the embroidery is complete.
- Explore various embroidery techniques, such as appliqué or satin stitch, to repair holes creatively. These techniques can add dimension and texture to the repaired area, making it visually appealing.
- Enhance the repaired area by incorporating decorative elements like beads, sequins, or rhinestones into the embroidery design. This can help camouflage the hole and create a unique embellished look.
- Adjust the tension settings on your embroidery machine to ensure even and balanced stitches. Incorrect tension can cause puckering or pulling around the repaired area, so make necessary adjustments for a professional finish.
- Choose embroidery thread that matches the original color of the garment or select a contrasting color for a bold statement. Opt for high-quality embroidery thread that is durable and colorfast to ensure long-lasting results.
Remember, fixing holes in clothing with an embroidery machine requires patience, precision, and practice. Take your time, experiment with different techniques, and enjoy the process of transforming damaged garments into unique and beautiful pieces.
Winding Up:
With the versatility and precision of an embroidery machine, fixing holes in clothing and garments becomes an opportunity for creative transformation. By following these step-by-step guidelines, you can confidently repair and enhance your wardrobe, turning imperfections into stunning embroidery designs. Explore the possibilities and breathe new life into your favorite garments with the help of your embroidery machine.
If you are looking to digitize your embroidery designs, ZDigitizing is a reliable and professional company that provides complete digitizing and vector art services worldwide.
With a quick turnaround time and excellent quality, ZDigitizing is a great choice for your digitizing needs. You can click the link below to get a free quote in less than 5 minutes and avail a 50% discount on all our services for potential customers on their first order.
Hope it will be helpful for you guys!
If there’s any question related to this article you can simply ask in the comment section and don’t forget to share with those you think might be helpful for them.
And finally, thanks for reading!
Frequently Asked Questions:
To fix holes in fabric, you can use techniques like patching, darning, or appliqué to repair the damaged area and ensure it blends seamlessly with the surrounding fabric.
You can use a basic running stitch or a whip stitch to fix a small hole in fabric.
You can create holes in embroidery by using techniques like cutwork, eyelet embroidery, or creating perforations with specialized embroidery tools.
Yes, you can embroider over holes in fabric by securing the edges of the hole with stitches and incorporating the embroidery design to cover and reinforce the area.

