Have you ever seen a cool jacket customized with a unique embroidered patch and thought, “I wish I could create something like that!”
Well, you can!
Making your own custom iron on patches is a fun and beneficial way to personalize your clothes, bags, or even hats. Imagine a backpack with a bright, fun monster for your child or a denim jacket with a cool phoenix design showing your love for legends.
This guide will walk you through everything you need to know, from designing your custom iron on transfer patch to attaching it to your favorite item.
So, let’s get started!
How To Make & Apply Your Own Custom Iron On Patches?
What are Custom Iron on Patches?
Custom embroidered patches for clothes are decorative embellishments designed to be attached to fabric using heat and pressure. They are made of fabric or synthetic materials, with the backside coated with a heat-activated adhesive.
When applied with an iron or heat press, the adhesive melts and bonds the patch firmly to the garment or material.
Designing Your Custom Iron on Patches
Are you looking to create personalized iron on logos embroidery patches for your group, team, or just for fun? Here’s a simple guide to help you design your own unique iron-on patches.
First, start by searching online for design ideas like you want iron on denim patches or iron on patches for jeans. Look for emblems, logos, emojis, and other images that inspire you. These can give you a good starting point and help you decide what you want your patch to look like.
If you’re not planning to draw or trace the design yourself, you’ll need an inkjet printer. Make sure to use high-quality images with excellent resolution. This way, the images will look sharp and clear when printed onto the patch material.
Creating your own design can sometimes be tricky. If you find it difficult to make customizable iron on patches on your own, don’t worry!
ZDigitizing is here to help!
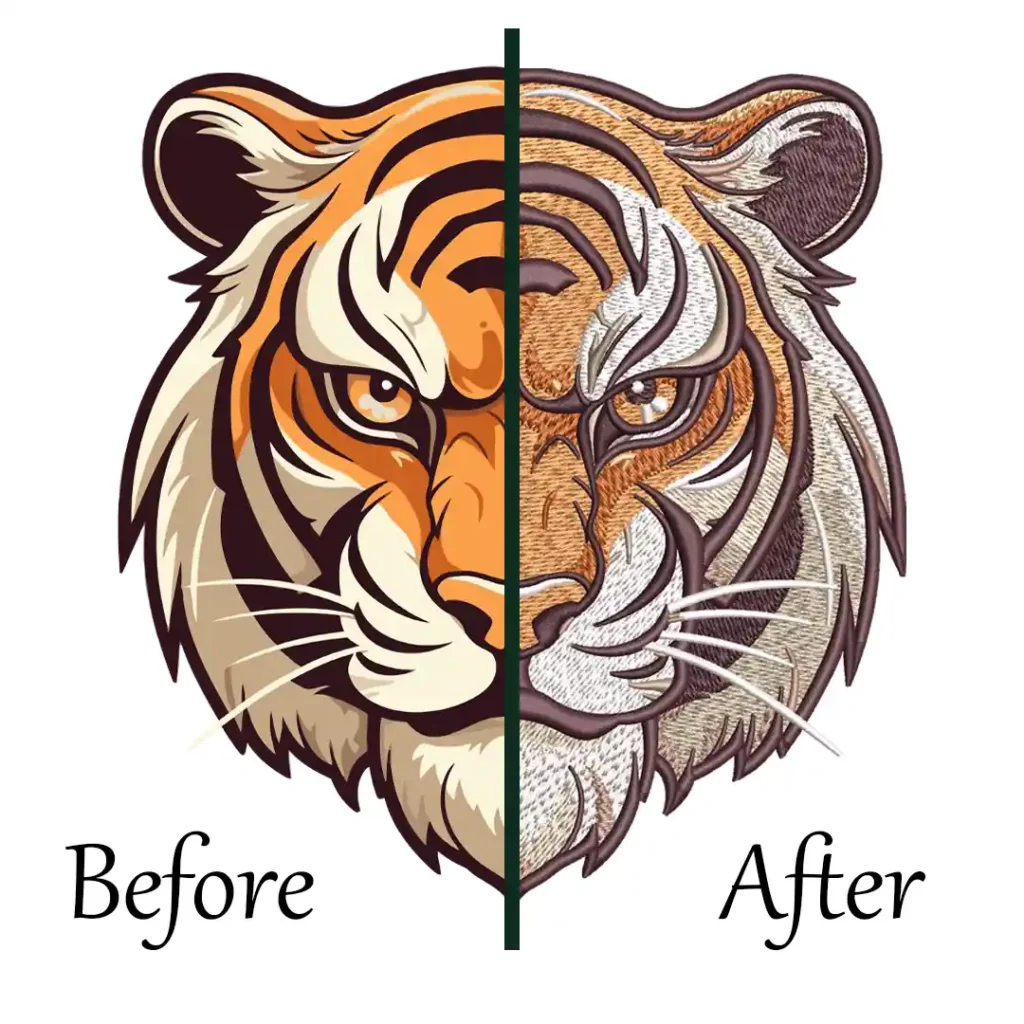
We can take your design and digitize it, making it ready for embroidery machines. By using ZDigitizing, you can be confident that your custom iron on embroidery patches will turn out just the way you want them, with high-quality and long-lasting results.
Also, you can hire us for iron on patches bulk orders with fast turnaround time. For that, you can buy our subscription plan where you can digitize 100+ designs from us at half price along with additional benefits. We offer three plans, so you can pick the one that’s best for you.
3 Ways To Make Your Own Custom Iron On Patches
Making your own custom iron-on patches is fun and easy! You can use a printer, a sewing machine, or an embroidery machine to create your vintages iron on patches or iron on patches for caps.
Let’s explore these three simple methods to make your patches.
1. Using Inject Printer
This method is great for simple and colorful designs.
Materials Needed:
- Inkjet printer
- Transfer paper
- Fabric for patches
- Iron
- Scissors
Step-by-Step Process:
- Print the Design: Print your selected design onto transfer paper using an inkjet printer. Make sure to print the image in mirror mode so it transfers correctly.
- Cut Out the Design: Carefully cut out the printed design from the transfer paper.
- Prepare the Fabric: Place the fabric for your patch on a flat surface. Make sure it is smooth and has no wrinkles.
- Heat transfer patches design: Place the cut-out transfer paper design face down on the fabric. Use an iron to apply heat and transfer the design onto the fabric, following the instructions on the transfer paper package.
- Cut the Patch: Once the design is transferred and the fabric has cooled, cut out the patch to your desired shape and size.
- Add Iron-On Adhesive: Apply iron-on adhesive to the back of your patch by following the product instructions.
2. Using Sewing Machine
This method is perfect for those who love sewing and want to add a personal touch to their custom sew on patches.
Materials Needed:
- Fabric for patches
- Iron-on adhesive
- Sewing machine
- Embroidery thread
- Scissors
- Needle

Step-by-Steps Process:
- Choose Your Fabric: Pick a thick fabric like denim, canvas, or felt for your sew on cloth patches.
- Draw Your Design: Trace your design onto the fabric.
- Set Up Your Sewing Machine: Set the stitch length to 0 or 2 for thick borders. Use a smaller stitch length if you need the stitches closer together.
- Sew the Design: Use a zigzag stitch to carefully follow the lines of your design. Start from one corner and work your way around.
- Sew Carefully: Press the foot pedal to start stitching. Hold the fabric in place with your hands and guide it through the machine.
- Finish the Patch: Sew in patches until you reach the edge of your design.
- Cut the Patch: Cut the excess fabric to your desired size and shape.
- Add Iron-On Adhesive: Peel the iron on patch backing off the adhesive sheet and stick it to the back of your patch.
- Trim the Edges: Cut away any extra adhesive sheet to match the shape of your patch.
- Ready to Iron On: Now your stitch iron on patch is ready to be ironed onto your clothing.
3. Using Machine Embroidery
This method is ideal for creating professional and detailed patches.
Materials Needed:
- Embroidery machine
- Embroidery software
- Fabric for patches
- Stabilizer
- Embroidery thread
- Iron-on adhesive
- Scissors
Step-by-Step Process:
- Create Your Design: Use embroidery software to create or upload your patch design. If this is difficult or you’re new to embroidery software, don’t worry. You can get help from ZDigitizing. We offer affordable digitizing services with high-quality results. You can also get 50% off on your first order so, order today!
- Prepare the Fabric: Hoop the fabric with a stabilizer to keep it in place while the machine works.
- Load the Design: Transfer your design to the embroidery machine.
- Embroider the Design: Start the machine and let it embroider the design onto the fabric.
- Cut the Patch: Once the embroidery is complete, remove the fabric from the hoop and cut out the patch.
- Apply Iron-On Adhesive: Attach iron-on adhesive to the back of your patch using the instructions on the adhesive package.
- Finish the Patch: If necessary, trim any excess fabric and make sure the edges are neat.
Important Note: Using an embroidery machine is the best method for making personalized sew on patches because it creates durable and professional-looking designs. This method ensures your patches are high-quality and long-lasting. We highly recommend using an embroidery machine for the best results.
How to Apply Custom Iron on Patches?
Once your patch is ready, here’s how to apply it to your clothing or fabric.
Materials Needed:
- Iron
- Ironing board or a hard surface
- Thin cloth or towel

Steps:
- Choose the Spot: Decide where you want to place your patch on your clothing or fabric. Make sure the spot is clean and smooth.
- Position the Patch: Place the patch on the chosen spot with the adhesive side down (the side with the iron-on backing).
- Cover with Cloth: Place a thin cloth or towel over the iron on adhesive patches. This protects the patch and fabric from direct heat.
- Heat the Iron: Set your iron to the cotton setting, without steam. Let it heat up.
- Iron the Patch: Press the iron firmly onto the cloth covering the patch. Hold it in place for about 30 seconds. Apply even pressure and make sure the heat covers the entire patch.
- Check the Edges: Lift the iron and carefully check if the patch edges are sticking well. If any part is lifting, place the cloth back and iron again for a few more seconds.
- Let it Cool: Allow the heat press patches to cool completely. This helps the adhesive set properly.
- Final Check: After it has cooled, check to make sure the patch is fully attached and the edges are secure.
Now your custom iron-on patch is applied and ready to show off!
Conclusion
With a little planning and these easy steps, you’ll be great at making custom iron on patches in no time! Don’t be scared to try different designs, stitches, and decorations.
There are so many options! Show off your unique style and express yourself with embroidery.
Who knows, maybe your personalized iron on patches will get others talking and inspire them to get creative and add some handmade magic to their own things!
ZDigitizing: Your Go-To for Premium Embroidery Digitizing Services
Need awesome embroidery digitizing services?
ZDigitizing is here for you! We offer top-notch embroidery digitizing and vector art services that fit both your embroidery and printing needs.
And here’s a cool deal – we’re giving you 50% off your first order!
Getting started is super easy. Just chat with us and we’ll give you a free quote in just 5 minutes. We like to keep things simple and fast for you.
Found this article helpful?
Share it with friends and spread the word about our incredible services and discounts. It’s a chance for everyone to experience top-notch digitizing services.
Thanks for reading, and we can’t wait to help you with your embroidery projects!
Frequently Asked Questions:
To make iron-on patches, first design or find a picture you like. Print it on transfer paper, then iron it onto fabric. Cut out the fabric in the shape you want and add iron-on adhesive to the back.
Place the patch where you want it on the hat. Cover the patch with a cloth. Heat up an iron and press it firmly on the cloth for about 30 seconds. Let it cool down, and the patch should stick.
Yes, you can sew iron-on patches. After ironing them on, you can use a needle and thread to sew around the edges to make sure they stay on securely.
Create your design using embroidery software, then use an embroidery machine to stitch it onto fabric. Cut out the patch and add iron-on adhesive to the back.
To remove an iron-on patch, use a hot iron to heat the patch again. Carefully peel off the patch while it’s warm. You can also use a fabric adhesive remover if any glue is left behind.
Design your patch on a computer and print it onto transfer paper using an inkjet printer. Then, iron the printed transfer paper onto your fabric and cut out the patch.
Yes, you can turn any patch into an iron-on patch by adding iron-on adhesive to the back. Just follow the adhesive instructions to attach it.
Iron-on patches use a special heat-activated adhesive that melts and sticks when you apply heat with an iron. This glue is strong and keeps the patch in place.