In this comprehensive guide will delve into the intricacies of achieving the best thread tension for your embroidery machine.
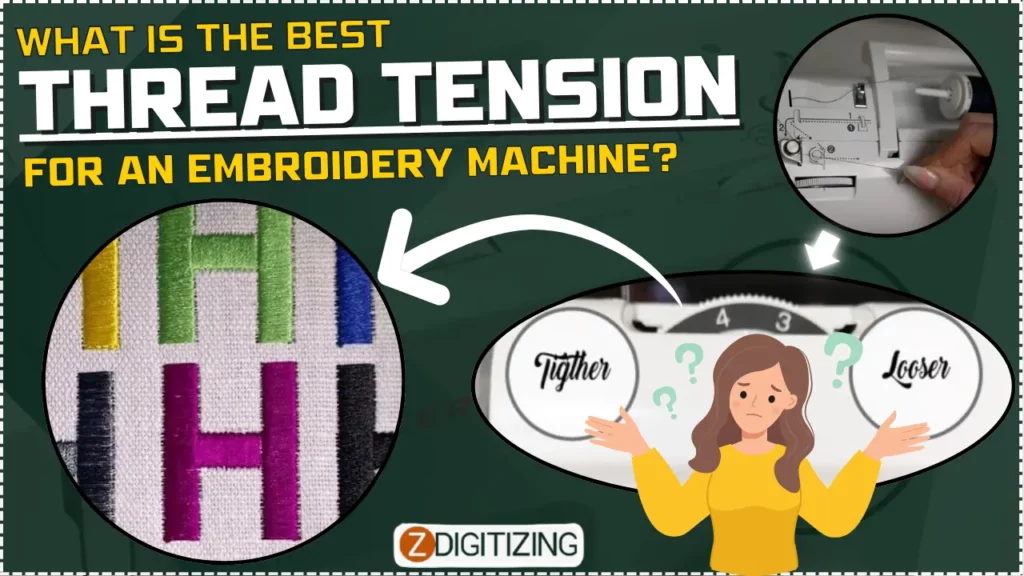
Embroidery is a captivating art form that transforms plain fabrics into intricate and vibrant designs. One of the crucial aspects that determine the success of an embroidery project is thread tension. Proper thread tension ensures that the stitches are even, the embroidery designs are well-defined, and the finished product looks professional.
What Is The Best Thread Tension For An Embroidery Machine?
Understanding Thread Tension:
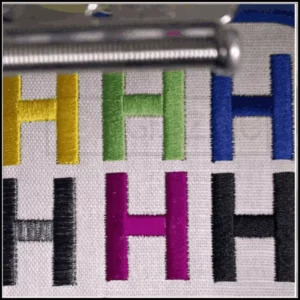
Thread tension refers to the balance between the upper and lower threads in your embroidery machine. It directly affects the appearance and integrity of the embroidered design. Too tight thread tension can cause puckering, looping, and broken threads, while too loose thread tension can result in loose, messy stitches.
Factors Influencing Thread Tension:
Let’s see the factors that influence thread tension:
Machine Type and Model:
Different embroidery machines have varying mechanisms for controlling thread tension. Consult your machine’s manual to understand its specific requirements.
Thread Type and Weight:
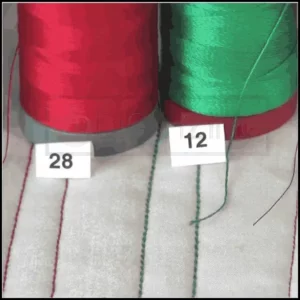
Thread type comes in various weights and materials such as cotton, polyester, metallic, and nylon. Each thread type may require slightly different thread tension settings due to their differing elasticity and thickness.
Fabric Type:
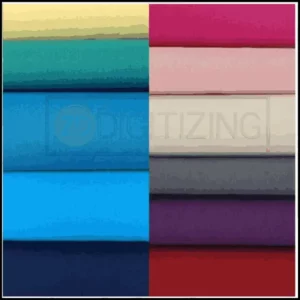
The fabric you’re embroidering on plays a significant role. Delicate fabrics like silk or chiffon require lighter tension, while heavier fabrics like denim or canvas may need slightly tighter tension.
Design Complexity:
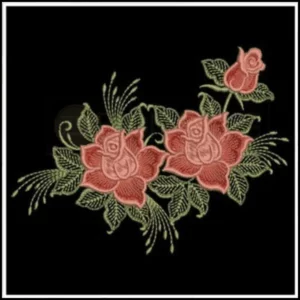
Intricate embroidery designs with many stitch changes or dense areas may require adjustments in bobbin tension to prevent thread breakage or distortion.
Needle Size:
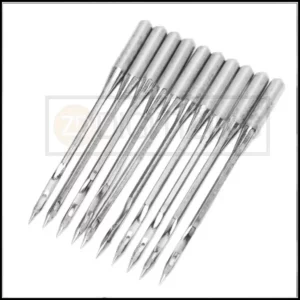
The size of the needle affects the thread’s interaction with the fabric and the tension required. A larger needle might need slightly looser tension, while a smaller needle might need a tighter one.
Thread Path And Thread Guides:
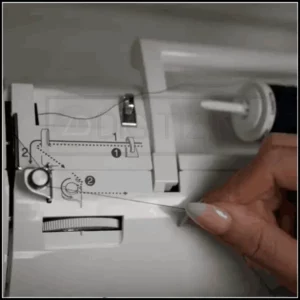
The path the thread takes through your machine, including the thread guides, tension discs, and thread paths, can impact tension. Make sure the thread is correctly threaded and properly seated in the tension discs to ensure consistent tension control.
Stitch Length:
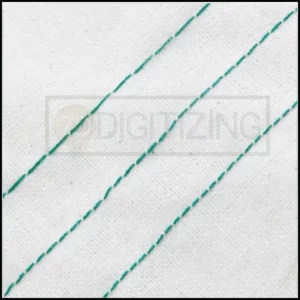
The length of your stitches can affect tension. Longer stitches might require slightly different tension settings compared to shorter stitches. Adjust thread tension accordingly if you’re working with varied stitch lengths in your embroidery design.
Hooping Technique:
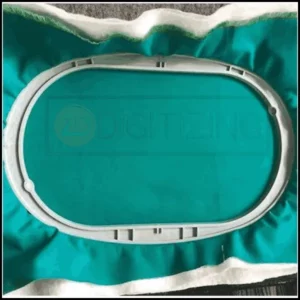
How you hoop your fabric can affect tension type. If the fabric is too tight or too loose in the hoop, it can cause bobbin tension issues. Ensure your fabric is securely but not overly stretched in the hoop to maintain proper tension.
Backing and Stabilizers:
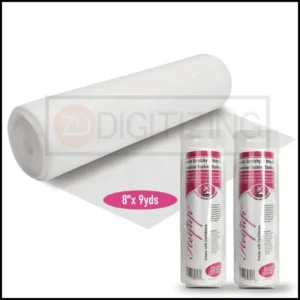
The type and thickness of backing or stabilizers you use can influence tension. Thicker stabilizers might require slightly looser tension to allow the needle to penetrate easily, while thinner stabilizers might require slightly tighter tension.
Temperature and Humidity:
Environmental conditions can impact thread tension. Changes in temperature and humidity can cause threads to expand or contract, affecting tension. If you’re working in varying conditions, you might need to make minor tension adjustments.
Thread Lubrication:
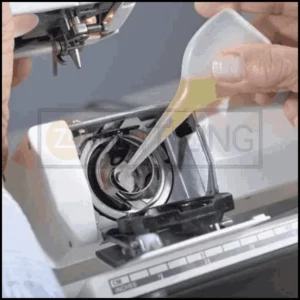
Some threads, especially metallic or specialty threads, might benefit from a bit of lubrication to reduce friction. This can affect tension, so if you’re using such threads, consider experimenting with slight tension adjustments.
Machine Maintenance:
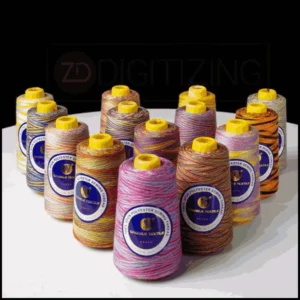
Regular maintenance of your embroidery machine is essential for consistent tension. Dust, lint, or debris can accumulate in the tension discs, affecting their performance. Clean your machine regularly to ensure smooth thread flow.
Bobbin Case Condition:
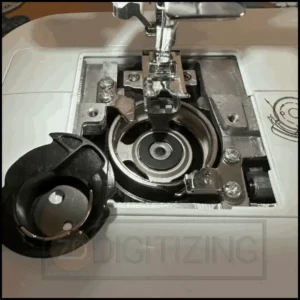
The condition of your bobbin case can impact tension. A damaged or worn bobbin case can lead to inconsistent tension. Replace the bobbin case if it shows signs of wear or damage.
Thread Storage:

How you store your thread can also matter. Improper storage, such as exposing thread to direct sunlight or extreme temperatures, can affect its elasticity and tension behavior.
Remember, achieving optimal thread tension often requires a combination of adjustments based on these factors. It’s a dynamic process that might involve fine-tuning as you gain experience and encounter various embroidery scenarios. Keeping a record of your tension settings for different fabrics, threads, and designs can be immensely helpful in achieving consistent results over time.
Achieving Perfect Thread Tension:

Let’s see some tips that will help you achieve perfect thread tension:
Test and Calibrate:
Begin by testing your embroidery machine on a scrap fabric of the same type you plan to use for your project. Create a test design with different stitch types, densities, and colors. This will help you understand how the thread interacts with the fabric and guide your tension adjustments.
Upper Thread Tension:
Start with the default tension setting recommended by your machine’s manual. Embroider a test pattern and evaluate the results. If the upper thread is too loose (forming loops on the underside), increase the tension slightly. If it’s too tight (pulling the bobbin thread to the top), decrease the tension.
Lower Thread Tension (Bobbin Tension):
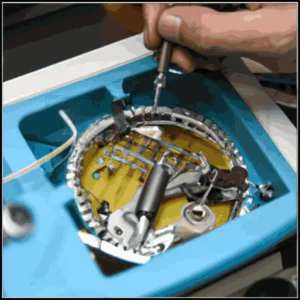
The bobbin tension can often be overlooked, but it’s equally crucial. Adjust the bobbin tension following your machine’s manual. It usually involves turning a small screw on the bobbin case. Test the adjusted tension with your sample design.
Balance the Tension:
Aim for a balance between the upper and lower thread tensions. The stitches should interlock neatly in the middle of the fabric layers. Fine-tune both tensions until you achieve this equilibrium.
Monitor as You Embroider:
Thread tension can change during the course of a design due to factors like thread consumption, design density, and fabric type. Keep a close eye on your machine as it embroiders and make necessary adjustments as you go along.
Practice and Patience:
Achieving the perfect thread tension requires practice and patience. Don’t be discouraged by initial challenges. Keep experimenting and refining your settings until you’re satisfied with the results.
Thread Tension Test Grid:
Create a test grid with different stitch densities, ranging from light to heavy. This will allow you to quickly identify the optimal tension settings for various design elements. Label each section of the grid with the tension settings used for reference.
Fine-Tune with Small Adjustments:
When adjusting thread tension, make small changes at a time. This will help you pinpoint the ideal setting without making drastic changes that could lead to unexpected results.
Stitch Out a Sample Design:
Choose a sample design that includes a variety of stitch types, such as satin stitches, fill stitches, and outline stitches. Stitch out this design on the same fabric you plan to use for your project. This will help you assess how different stitch types interact with the fabric and how the tension settings affect each stitch.
Winding Up:
Mastering thread tension in embroidery is a skill that takes time and practice. The ideal tension can vary based on a multitude of factors, so it’s important to understand your embroidery machine, thread, fabric, and design. Regularly consult your machine’s manual, keep a record of successful tension settings for different scenarios, and most importantly, embrace the learning process. With dedication and persistence, you’ll be able to consistently achieve impeccable embroidery results that showcase your creativity and skill.
If you’re in need of digitizing your embroidery designs, ZDigitizing stands out as a dependable and expert company offering comprehensive digitizing and vector art services globally. With our fast turnaround and top-notch quality, ZDigitizing emerges as an optimal selection for your digitizing requirements. By clicking the provided link, you can easily obtain a free quote within five minutes and unlock a 50% discount on all services for first-time orders from potential customers.
Hope it will be helpful for you guys!
If there’s any question related to this video you can simply ask in the comment section and don’t forget to like, share and subscribe to this channel.
And finally, thanks for watching!
Frequently Asked Questions:
To ascertain correct thread tension, examine the stitches on your fabric. Ideal tension results in balanced stitches with neither the top nor bottom thread dominating, creating a seamless appearance.
Thicker thread generally requires slightly higher tension to maintain a balanced stitch formation. Adjust tension incrementally while considering fabric and design intricacy.
Loose bottom thread can be due to factors such as incorrect tension settings, improperly wound bobbin, or threading issues. Review machine manuals, rethread, and make gradual tension adjustments to resolve the issue.


