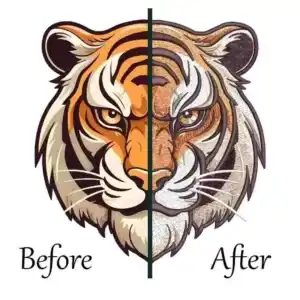
In this article we will discuss blending thread colors in embroidery designs. Blending thread colors in embroidery digitizing is an advanced technique that requires a solid understanding of color theory and expertise in digitizing software.
It allows embroiderers to achieve lifelike and captivating designs by seamlessly transitioning between different thread colors. Whether it’s creating a smooth gradient, shading an object, or adding depth to a design, the art of blending colors in embroidery digitizing opens up endless possibilities for creativity.
Blending of thread colors in embroidery digitizing
Understanding Color Theory:
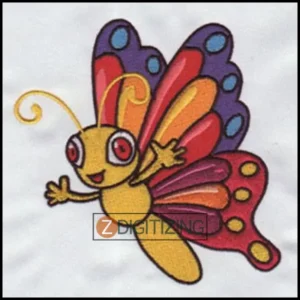
Before diving into the process of manual blending in digitizing, it’s essential to have a basic understanding of color theory of blending thread colors. Colors can be categorized into primary, secondary, and tertiary colors, as well as warm and cool tones. Complementary colors, analogous colors, and monochromatic color schemes play a vital role in creating harmonious blends. By understanding color relationships, embroiderers can effectively plan and execute color transitions in their designs.
Tools and Techniques for Blending Colors:
When it comes to blending colors with digitizing software in embroidery, there are various tools and techniques that can help you achieve seamless and harmonious color transitions. Here are some tools and techniques to consider in blending colors:
Color Wheel:
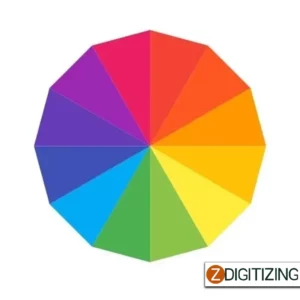
The color wheel is a valuable tool for understanding color relationships and creating harmonious blends. The color wheel is organized in a circular format and includes primary, secondary, and tertiary colors. By selecting colors that are adjacent or opposite on the color wheel, you can create pleasing color blends.
Thread Charts:
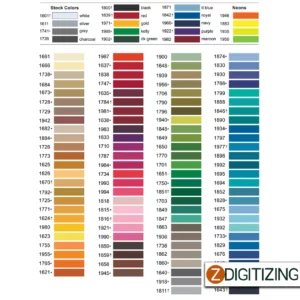
Thread charts provided by embroidery thread manufacturers offer a wide range of replicate color blending options and shades. These charts often indicate thread color numbers and names, making it easier to select and blend colors. Refer to these charts to identify colors that blend well together and achieve the desired gradient effect.
Thread Selection:
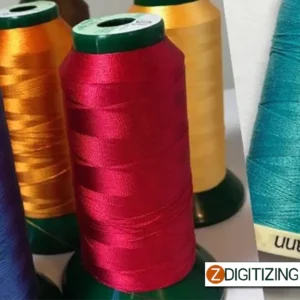
Choose embroidery threads with similar tones or shades for smooth color blending. Gradations within a specific color family, such as light to dark or pastel to vibrant, can create beautiful gradients. Additionally, consider the thread’s sheen and texture, as they can influence the overall appearance of the blend.

Digitizing Software:
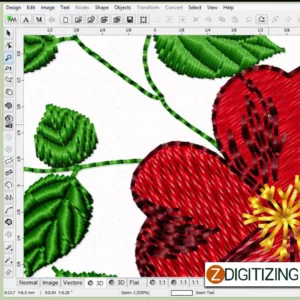
Utilize embroidery digitizing software to precisely control the placement and blending of colors in your design. Such software allows you to create gradients and control stitch densities for smooth color transitions. Experiment with different gradient tools, blending modes, and stitch types to achieve the desired effect.
Underlay Stitches:
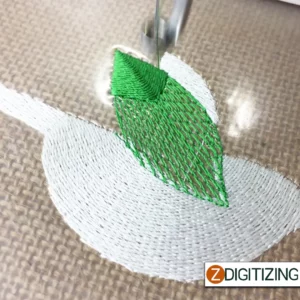
Underlay stitches are the foundation stitches that provide stability and structure to an embroidery design. They can also be used strategically to enhance color blending. By using underlay stitches with a lighter shade of the main color, you can create a subtle blending effect as the top stitches overlay them.

Stitch Density and Direction:
Adjusting the density and direction of stitches can impact the appearance of color blends. Increasing or decreasing stitch density gradually along the blend can create a smoother transition. Similarly, changing stitch directions, such as using angled stitches or spiral patterns, can help blend colors seamlessly.
Embroidery Digitizing
&
Vector Art Services
Are you looking for embroidery digitizing and vector art services at low cost with superfast turnaround, guaranteed quality and preview before pay? So, you are at right place. We can digitize and vectorize any type of artwork in your required file format.
Test Stitch outs:
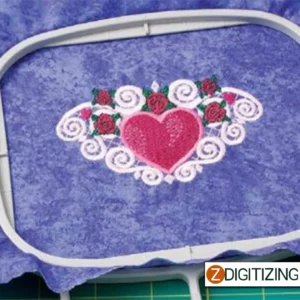
It’s crucial to test your color blends before finalizing the design. Stitch out small samples or color swatches to assess the effect of the blend and make adjustments if necessary. This allows you to fine-tune the colors and achieve the desired blending outcome. Remember, practice and experimentation are key to mastering color blending in embroidery. Take the time to explore different tools, techniques, and color combinations to develop your skills and create stunning blends that elevate your embroidery designs.
Tips for Successful Blending Thread Colors:
Adjusting the density and direction of stitches can impact the appearance of color blends. Increasing or decreasing stitch density gradually along the blend can create a smoother transition. Similarly, changing stitch directions, such as using angled stitches or spiral patterns, can help blend colors seamlessly.

Plan ahead:
Before digitizing, visualize the color transitions and decide on the color scheme you want to achieve. Consider the design elements, lighting, and desired visual effect.
Start with a solid base:
Begin by digitizing the base color or shape before adding gradient or shading effects. This provides a foundation for the color blends and ensures a smooth transition.
Use the right stitch types:
Different stitch types, such as fill stitches, satin stitches, or blending stitches, can be employed to create specific blending effects. Experiment with stitch lengths, densities, and directions to achieve the desired outcome.
Test and adjust:
Always test your embroidery designs on sample fabric or scraps before stitching on the final project. This allows you to make adjustments to the color blends, stitch densities, and other parameters if needed.
Refine the details:
Pay attention to small details, such as stitch angles and stitch lengths, to create smooth and seamless color transitions. Fine-tuning these details can significantly enhance the overall appearance of the design.
Use a color chart:
Keep a color chart or swatch book of your embroidery threads handy. This will allow you to visually compare and select colors that blend well together. Experiment with different combinations to find the perfect blend for your design.
Consider thread types:
Different thread types, such as rayon, polyester, or metallic threads, may have different sheen and texture. Take these characteristics into account when blending colors to ensure a cohesive and visually pleasing result.
Opt for gradual transitions:
When blending colors, aim for gradual transitions between shades rather than abrupt changes. This creates a smoother and more natural-looking gradient effect. Use multiple shades of thread to achieve a seamless transition from one color to the next.
Pay attention to stitch direction:
The direction of stitches can impact the appearance of blending thread colors blends. Experiment with stitch directions, such as horizontal, vertical, diagonal, or circular, to achieve the desired effect. Adjusting stitch angles can help create smoother transitions between colors.
Utilize layering techniques:
Layering stitches of different colors on top of each other can create unique blending effects. Experiment with overlaying stitches in different densities and angles to achieve depth and dimension in your design.
Seek inspiration:
Look for inspiration from other embroidered designs or artwork. Study how colors are blended in paintings, illustrations, or photographs, and apply those techniques to your embroidery digitizing. Don’t be afraid to get creative and try new approaches.
Practice and experiment:
Blending colors in embroidery digitizing is a skill that develops with practice. Experiment with different color combinations, stitch techniques, and thread types to find what works best for your designs. The more you practice, the more confident and proficient you will become in achieving beautiful color blends.
Remember, mastering the art of blending colors in embroidery digitizing takes time and experimentation. With patience, practice, and attention to detail, you can create stunning and captivating designs that showcase seamless color transitions and gradients.
Winding Up:
Blending thread colors in embroidery digitizing opens up a world of possibilities for creating visually stunning and dynamic designs. By understanding color theory, utilizing digitizing software tools, and following best practices, embroiderers can achieve seamless and realistic color blends in their embroidery projects. Whether it’s adding depth to a floral design or creating a lifelike portrait, mastering the art of blending colors in embroidery digitizing will elevate your creations to a whole new level.
If you are looking to digitize your embroidery designs, ZDigitizing is a reliable and professional company that provides complete digitizing and vector art services worldwide.
With a quick turnaround time and excellent quality, ZDigitizing is a great choice for your digitizing needs. You can click the link below to get a free quote in less than 5 minutes and avail a 50% discount on all our services for potential customers on their first order.
Hope it will be helpful for you guys!
If there’s any question related to this article you can simply ask in the comment section and don’t forget to share with those you think might be helpful for them.
And finally, thanks for reading!
Frequently Asked Questions
Blending colors on an embroidery machine is achieved by using multicolor or variegated threads, adjusting stitch density, and utilizing gradient embroidery designs to create smooth transitions between colors.
Digitizing a gradient involves creating a sequence of color stops in the embroidery design software and assigning different stitch colors to each stop. The digitizer then adjusts the stitch density and direction to achieve a gradual color transition.
Digitization in embroidery refers to the process of converting artwork or designs into a digital format that can be read and stitched by an embroidery machine. It involves mapping out the design, assigning stitch types, colors, and densities, and creating a digital file that guides the machine during the embroidery process.
Digitizing art for embroidery involves importing the artwork into specialized embroidery software and manually tracing or digitizing each element to define stitch paths, colors, and densities. This process requires knowledge of the embroidery machine’s capabilities and the desired embroidery effect.

