If you’ve ever enlarged a logo and watched it turn blurry, learning how to convert image to vector art is the key to keeping edges sharp at any size. Most people discover vectors when a printer or embroidery shop suddenly asks for a vector file instead of a JPG or PNG. That’s because pixel-based images break when scaled, while vectors are built with mathematical paths that stay clean and professional forever.
In this guide, we’ll walk step by step from simple basics to advanced production tips, so you can create artwork that impresses clients, printers, and embroidery shops every time.
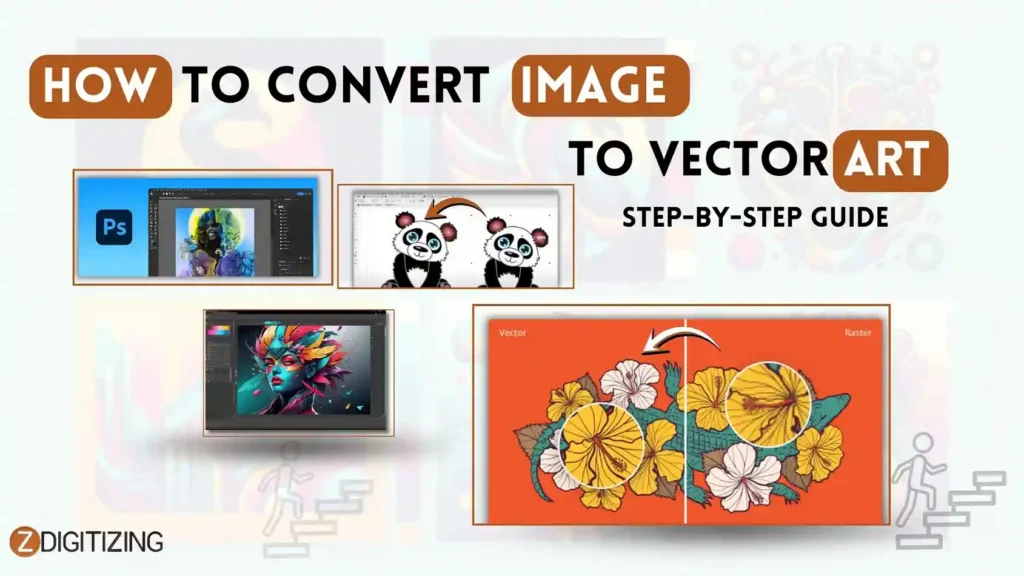
How to Convert Image to Vector Art: Step-by-Step Guide
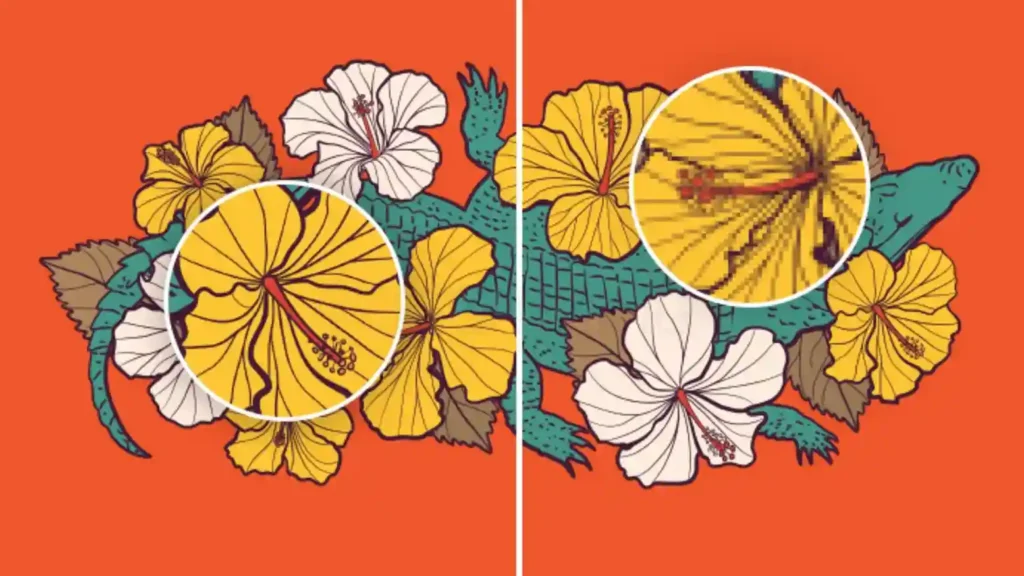
Raster vs Vector Graphics: The Basics You Need to Know
If you’re new to design files, raster and vector may sound confusing, but the difference is actually very simple. Raster images are made from tiny colored squares, while vectors are built from lines and curves that can be resized smoothly. That’s why learning how to convert image to vector art is so important when you want clean results at any size.
This is also why a logo taken from a website looks blurry on a banner, but the same logo in vector form stays sharp on business cards, hoodies, and even billboards.
What Is a Raster Image (JPG, PNG, Bitmap)?
Raster images include formats like JPG, PNG, GIF, and BMP. These images are made from pixels, and each pixel holds a single color. When you zoom in, those pixels become visible, which is why raster images start to look blocky and unclear.
Raster images work great for photos and detailed shading, but they are not ideal for logos or graphics that need to be enlarged for printing or embroidery.
How Vector Graphics Are Built and Why They Matter?
Vector graphics are created using points, lines, and curves that are controlled by math. This is the reason professionals often convert image to vector art when they need designs that stay sharp at any size.
Because vectors are math-based, the computer redraws them perfectly every time you scale them, so they never become blurry or pixelated. That’s why vector graphics are widely used for logos, icons, badges, simple illustrations, and branding designs where flexibility and clean edges are essential.
Why Image to Vector Conversion Is So Important?
When you perform this conversion, you are turning a limited image into a clean, scalable design. This allows you to resize, recolor, and export your artwork without losing quality.
It also helps avoid common problems like jagged edges, blurry prints, or files being rejected by print or embroidery providers, making your artwork ready for real-world use.
Before You Start: Preparing Your Image for Raster to Vector Conversion
Good preparation makes a huge difference in final results, especially when you want clean and professional artwork. Before you turn photo into vectorizing art, spending a little time on the source image will save you from messy paths and extra cleanup later.
- Always start with the highest-resolution image you can find, preferably an original file instead of something downloaded from social media.
- If possible, use images with a transparent or plain background, because busy backgrounds create extra shapes.
- PNG files are usually easier to work with than JPG files, since JPG compression can damage edges and fine details.
- Remove shadows, textures, gradients, and unnecessary background elements before tracing to keep the vector clean.
- Increase contrast so edges are clearly visible and shapes are easy to detect during conversion.
- Simplify colors where you can, especially for logos, so the tracing process focuses on solid shapes instead of noise.
- Check small text and fine details carefully, if something is unclear in the image, vectorizing will not magically fix it.
- When text looks distorted or unreadable, retyping it with a similar font and redrawing shapes manually often gives better results.
Choosing the Right Software and Tools for Image to Vector Conversion
The best software depends on your budget, your experience level, and how often you work with designs. There is no single “best” tool for everyone, but choosing the right one makes it much easier to convert image to vector art cleanly and efficiently.
Below are the most common options, explained simply, so you can pick what fits your workflow.
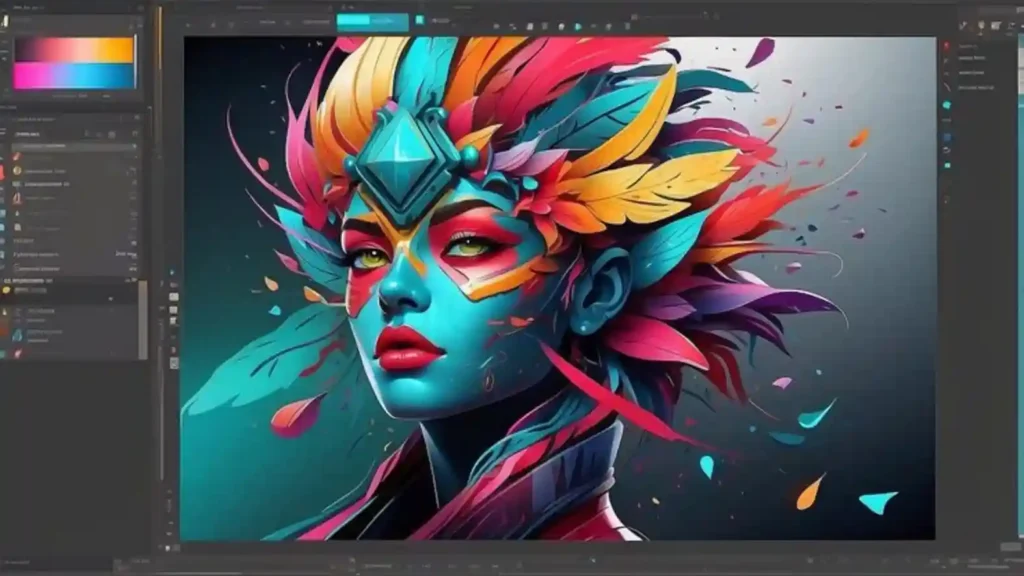
1. Adobe Illustrator: Industry Standard for Professional Results

Adobe Illustrator is widely used in design, printing, and branding industries. Its Image Trace feature allows you to import a raster image, apply tracing presets, and adjust settings for paths, corners, and noise.
What makes Illustrator powerful is the ability to combine automatic tracing with manual cleanup using the Pen Tool. This hybrid approach is ideal when you need smooth edges, clean curves, and reliable results for vector art for printing and other production work.
2. Inkscape: A Strong Free Option for Beginners
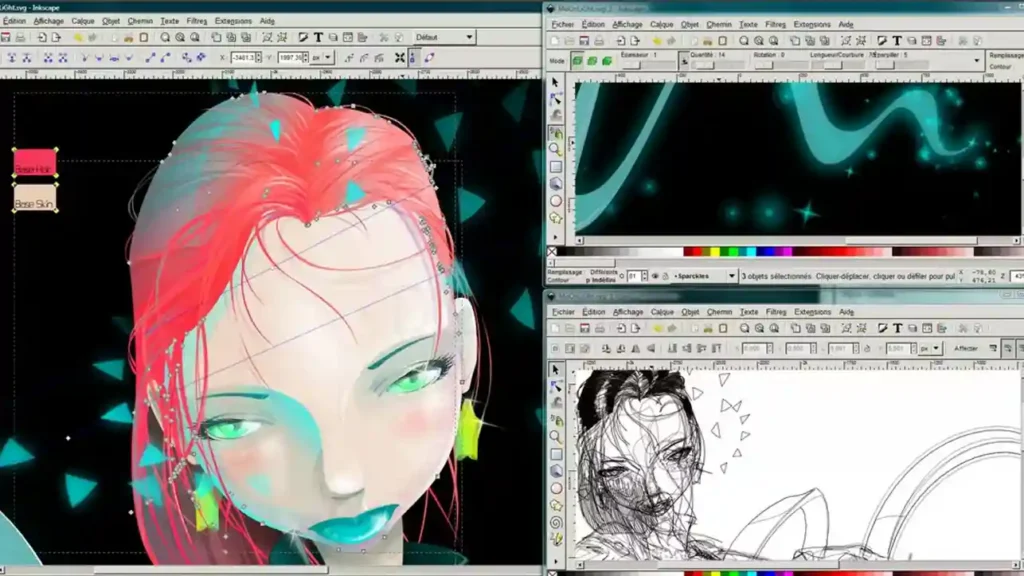
Inkscape is an open-source program that offers a “Trace Bitmap” feature for converting raster images into vectors. It supports both single-color and multi-color artwork and works well for logos and simple graphics.
For beginners, hobbyists, and small businesses, Inkscape is one of the most reliable free vector conversion tools available. While it may require more manual cleanup than paid software, it can still produce solid results with the right settings.
3. CorelDRAW and Affinity Designer: Professional Alternatives

CorelDRAW is popular in sign-making, engraving, and printing shops. Its built-in tracing feature (often called PowerTRACE) is effective for logos and bold artwork. Many professionals prefer it because it offers strong vector tools without a subscription model.
Affinity Designer is another cost-effective option with excellent drawing and editing tools. While its automatic tracing features are more limited, it works well for manual vector work and pairs nicely with other Affinity apps.
4. Adobe Photoshop: Helpful, but Not a Full Vector Solution
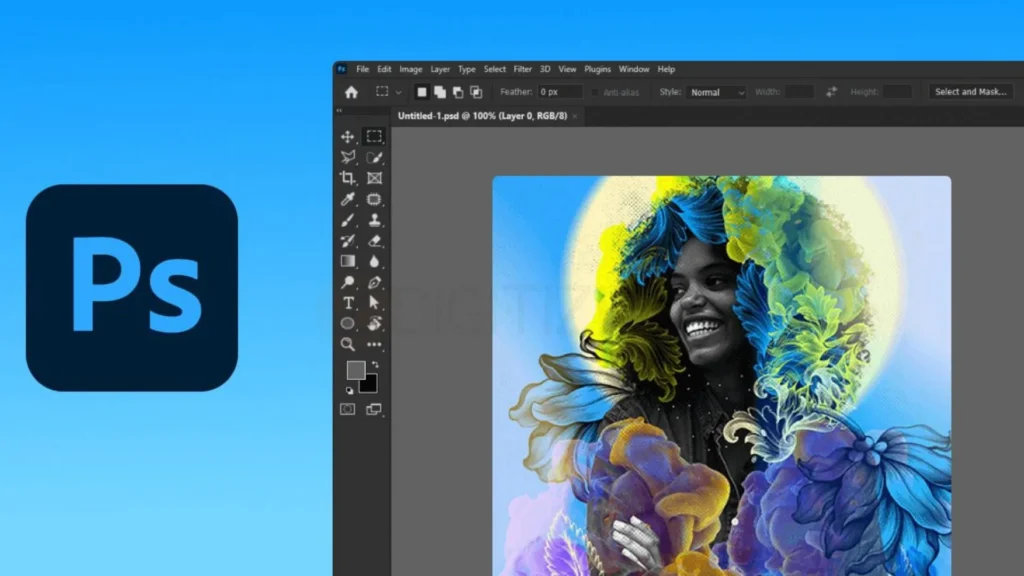
Photoshop is mainly designed for raster editing, but it can still be useful in a vector workflow. You can use it to clean backgrounds, isolate shapes, or create paths before exporting them into a vector editor.
However, Photoshop alone is not ideal if your main goal is to convert image to vector art. Think of it as a supporting tool rather than a complete solution.
5. Online Image to Vector Converter Tools: When Speed Matters
Web-based tools can be convenient when you need fast results without installing software. An online converter can handle simple logos or icons with clear edges in just a few clicks.
That said, these tools often create extra nodes and rough paths, so cleanup is usually required in desktop software. Also, be cautious when uploading client or branded artwork, as file privacy and ownership can be a concern.
How to Convert Image to Vector Art in Adobe Illustrator?
Adobe Illustrator makes it easy to convert if you follow the process carefully instead of relying on one-click results. The goal is to get clean, editable shapes that work smoothly for printing, cutting, and production.
- Start by opening Adobe Illustrator and creating a new document at a comfortable size so you can clearly see details while working.
- Place your image using File > Place and keep it centered on the artboard. If the artwork has transparency, beginning with a PNG to vector workflow usually gives cleaner edges and fewer tracing issues compared to low-quality images.
- Select the image and open the Image Trace panel. Choose a preset that matches your artwork type, then turn on Preview so you can see how Illustrator is interpreting the image before finalizing anything.
- Slowly adjust Threshold, Paths, Corners, and Noise, this step is about balance, not maxing sliders. Zoom in and make sure outlines, text, and important edges look smooth before moving forward to convert to vector art properly.
- Once the preview looks clean, click Expand to turn the trace into editable vector shapes. Ungroup everything and carefully clean the artwork by deleting stray objects, merging overlapping areas, and fixing rough edges. This cleanup is critical when the design will be used as vector files for screen printing, where solid shapes and clean separations are required.
- After cleanup, refine colors and strokes by keeping the palette simple and consistent. Smooth curves, reduce unnecessary anchor points, and double-check edges so the artwork stays easy to edit and production-ready. These steps are what separate basic results from high-quality vector art.
- Finally, save your main working file so you can edit it later, then export additional formats as needed for printing or sharing.
Following this structured flow helps you convert image to vector art in a controlled way that looks professional and works smoothly in real production environments.
How to Convert Image to Vector Art in Inkscape (Free Method)
Inkscape is a great choice if you want to learn vector work without spending money on software.
It is simple enough for beginners but still powerful enough to handle real projects, especially when you want to convert raster to vector for practice, small jobs, or learning purposes.
- Open Inkscape and importing your image using File > Import. You can work with both PNG and JPG to vector files, but always choose the clearest version you have.
- Once the image is placed, select it and open Path > Trace Bitmap, which is Inkscape’s main tracing tool.
- Inside the Trace Bitmap panel, you’ll see different scan options. Single-scan modes are best for simple, one-color designs, such as icons or basic logos. Multi-scan modes split artwork into multiple color layers, which can work well for flat graphics but may feel messy for detailed images.
Note: For vector art for logo design, single-scan usually gives cleaner and more controllable results.
- After applying the trace, the first result may look rough, and that’s normal. Switch to the node editing tool and start cleaning the artwork by removing extra points and smoothing shaky curves. The goal is not to match every tiny detail, but to create clear, balanced shapes that are easy to edit and scale later.
- As you refine the paths, remember that fewer nodes usually mean better results. Cleaner curves make the design easier to cut, print, or reuse in other projects. This cleanup stage is where free tools really require patience, but it’s also where you learn the most about how vectors actually work.
- Once the artwork looks clean and organized, save your master file in SVG format so you can edit it again in the future. You can also export SVG or PDF files for printing, cutting machines, or sharing with vendors. Testing a small sample first is always a smart move when using a new workflow.
If you take your time and follow these steps calmly, Inkscape can help you convert image to vector art successfully, even as a free method. It may need more manual cleanup than paid software, but it’s an excellent way to understand vector fundamentals and build confidence.
How to Convert an Image into a Vector in CorelDRAW and Other Apps?
CorelDRAW and similar programs are useful when you want more control than basic converters.
They follow a simple import–trace–clean–export workflow that helps you convert image to vector art in a more reliable way.
- Import your image into CorelDRAW, select it, and open the vectorization tool (PowerTRACE). Choose a preset that matches your artwork and preview the result before applying it.
- Adjust detail, smoothing, and color settings carefully so shapes stay clean without creating too many nodes. A balanced trace is easier to edit and works better in production.
- Ungroup the traced artwork and clean it by removing extra paths and merging overlapping shapes. This step is important for cutting, printing, and engraving accuracy.
- Save the working file, then export EPS, PDF, or SVG based on vendor needs. Clear file names help avoid confusion later.
- For complex or low-quality artwork, professional vector tracing services can save time and deliver cleaner results than automated tools. This is often the best choice when you need to turn photo into vector art for important branding or production work
Quality Checklist: Make Sure Your Vector Is Ready for Real Production
Before you send artwork to a printer, cutter, or embroidery shop, always pause and review quality. When you convert image to vector art, these small checks make the difference between average output and professional results.
- Check that all shapes are fully closed with no broken paths, because open paths can cause printing, cutting, or stitching errors.
- Look closely at curves and corners to confirm they are smooth and balanced, not shaky or over-detailed.
- Reduce unnecessary anchor points so the design stays clean, easy to edit, and faster to process.
- Keep colors consistent and well-defined, especially if the artwork will be used across different production methods.
- Zoom in and zoom out to test clarity at both small and large sizes, professional vectors should stay sharp at any scale.
- Save a clean master AI vector file so future edits are simple and you don’t have to rebuild the artwork again.
Using this checklist ensures your vector artwork is not just editable, but truly production-ready and reliable for real-world use.
Essential Uses of Vector Graphics in Modern Design
They are used everywhere in professional design and production because they stay clean and flexible. When you convert image to vector art, your design becomes easy to resize, edit, and use across many industries without losing quality.
- Brand identity and logo design: Vectors are the standard choice for logos because they stay sharp on business cards, websites, social media, and large office signage. One vector logo works everywhere without needing redesigns.
- Commercial printing and marketing: Brochures, posters, banners, and large prints rely on vector artwork to keep lines crisp and text clear, even at very large sizes.
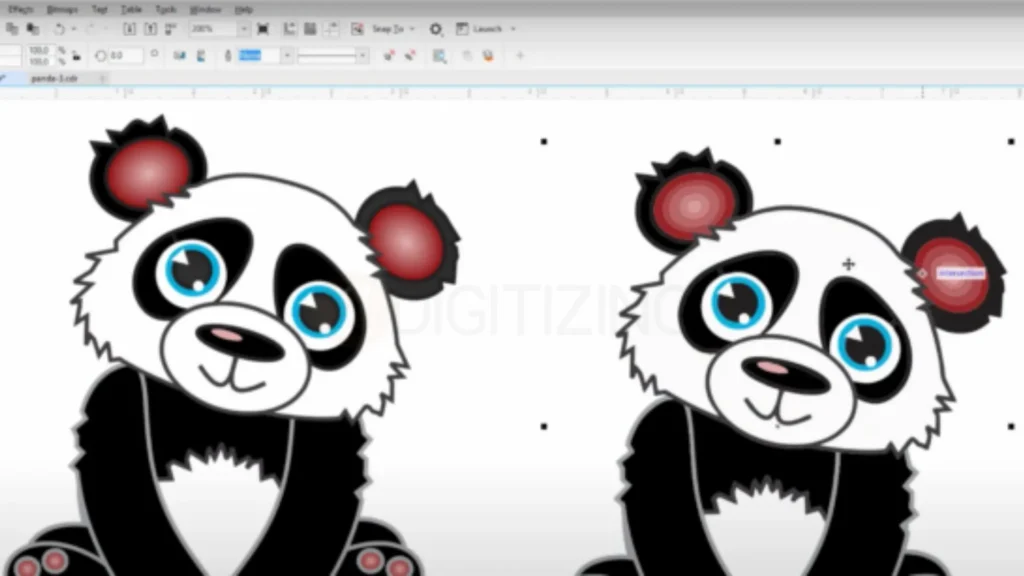
- Apparel and textile manufacturing: Clean vector outlines are essential for embroidery and fabric work. The best applique digitizing results start with accurate vector shapes that clearly define fabric placement and stitching areas.
- Product packaging and labels: Vectors allow designers to resize artwork for different box sizes, bottles, and labels while keeping text, logos, and barcodes readable.
- Signage and wayfinding: From vinyl decals to large outdoor signs, vector paths help machines cut smooth edges and avoid rough, jagged lines.
- Technical illustrations and diagrams: Engineers and architects use vector files because every line and measurement stays precise, making vectors ideal for detailed plans and instructions.

Conclusion: Clean Artwork Means Better Results
When your design is used in real production, quality always matters. Learning how to convert image to vector art helps keep your artwork sharp, easy to edit, and ready for printing or embroidery. Clean vectors make sure your design looks professional at every size.
But embroidery needs more than just good artwork, it needs accuracy. That’s where experience comes in. ZDigitizing provides both machine embroidery digitizing services and vector art services, turning your designs into clean stitch files and production-ready vectors. With over 10+ years of experience, our expert team knows how to handle every detail.
We work with a 24/7 production team and offer 24/7 customer support. Quality is guaranteed, you get a preview before payment, and minor edits are always free. Our prices are already lower than the market, and you also get 50% OFF on your first order.
If you want reliable results, start with the right artwork. Convert image to vector art properly and trust ZDigitizing to deliver professional quality every time.


