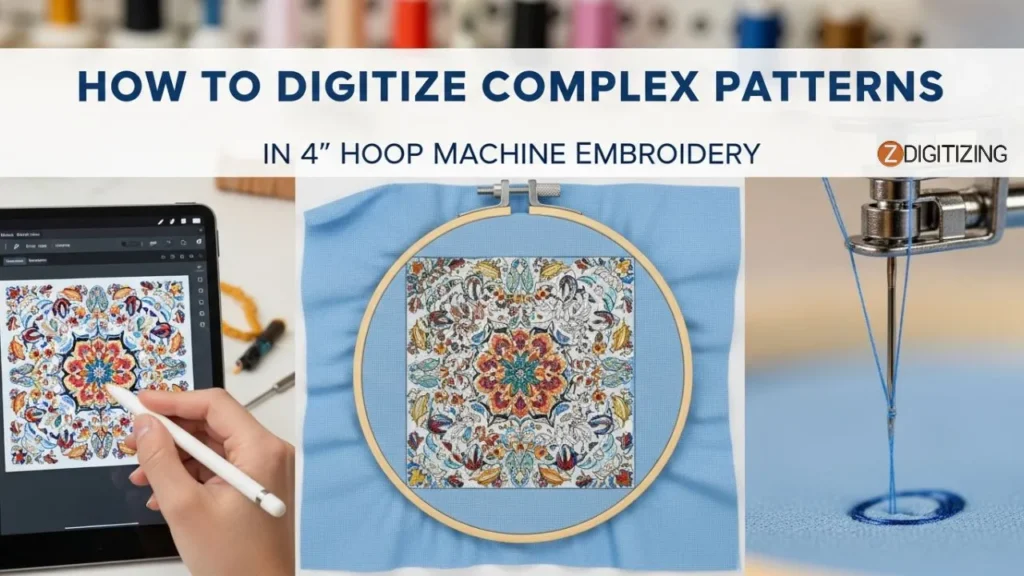
How to Digitize Complex Patterns in 4′ Hoop Machine Embroidery?
Digitize complex patterns in a 4″ hoop can feel challenging because the space is small and the design details demand precision. But with the right techniques, even complex artwork can stitch out cleanly and beautifully. This article will guide you through practical steps that reduce mistakes, improve clarity, and make your small-hoop embroidery look professional.
Keep reading, the methods ahead will help you achieve sharper results and avoid the most common digitizing issues.
How to Digitize Complex Patterns in 4' Hoop Machine Embroidery?
Understanding the 4" Hoop Limitations Before You Start Digitizing
Before you start to digitize complex patterns, you must understand one simple truth: a 4″ hoop gives you minimal space. And when the space is small, every mistake becomes bigger, and every detail becomes more sensitive. This is why knowing the hoop limitations is just as important as the digitizing itself.
When you work on pattern digitizing for a small hoop, thin lines, tiny shapes, and extra density don’t behave the same way as they do in larger hoops. The machine has less room to place stitches, so even beautiful artwork can lose clarity. This is where most beginners face problems in complex embroidery, not because their design is wrong, but because the hoop cannot support such fine detail without adjustments.
Understanding the 4 Hoop Limitations Before You Start Digitizing
The same goes for detailed embroidery. If the artwork has too many elements packed into a small area, the stitches overlap, colors blur, and the final result looks heavy or messy.
But once you understand how the 4″ hoop limits your stitch placement, you start making better digitizing decisions. You simplify the right areas, control density, use smarter stitch types, and keep your design readable.
This understanding is what separates a clean, professional result from a blurry, unbalanced one. And once you respect these limits, digitizing becomes smoother, faster, and far more accurate.
How to Digitize Complex Patterns for a 4-Inch Hoop?
Now let’s move towards the actual process of digitizing complex designs in a 4″ hoop. If you follow a clear workflow, small hoop digitizing becomes much easier and more predictable.
This section will give you a clean roadmap for how to digitize for a 4-inch hoop, especially when you are working on how to digitize manually in professional software. Follow these steps in order, and your chances of getting a clean, readable stitch-out increase a lot.
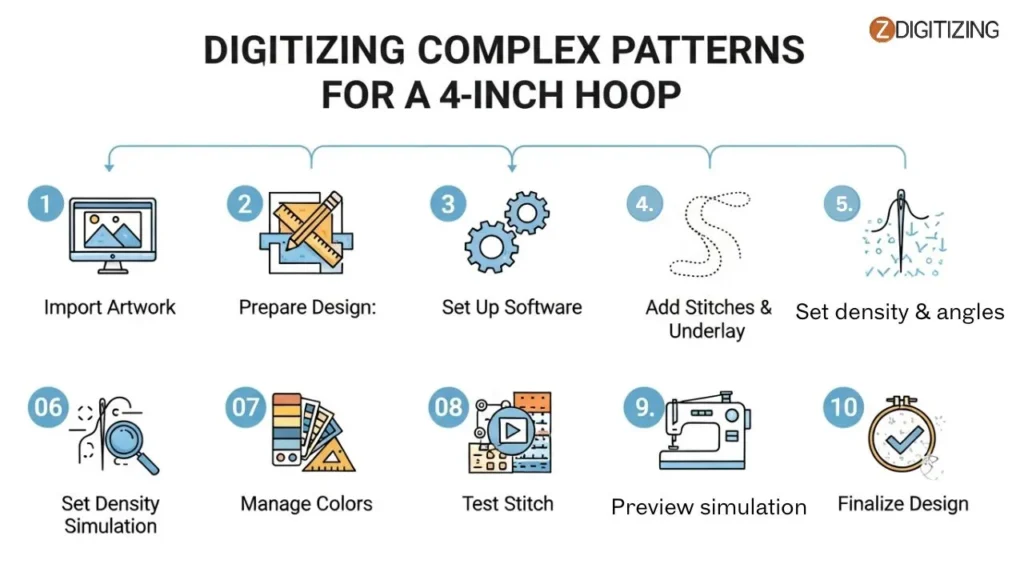
How to Digitize Complex Patterns for a 4-Inch Hoop
Select and Import Artwork
Prepare the Design in Editing Software
Set Up Digitizing Software
Plan Stitch Pathing and Sequencing
Apply Stitch Types and Underlays
Optimize Density, Angles, and Compensation
Handle Colors and Layers
Preview and Simulate
Test Stitch-Out
Refine and Finalize
Step 1: Select and Import Artwork
The first part of your embroidery setup always begins by choosing artwork that will stitch clearly in a 4-inch hoop. Start by selecting a high-resolution image, vector file, or scanned drawing of your complex pattern. Make sure it has clean shapes and a limited number of colors so you can easily digitize complex patterns without losing important details.
Import the file into simple editing software like Photoshop or GIMP and resize the canvas to exactly 4×4 inches (or 3.8×3.8 inches for a safe stitching area). Set the resolution to 300 PPI so every edge stays sharp.
Remove any background, check the estimated stitch count (ideally under 15,000 for a small hoop), and save as a transparent PNG. This keeps your design clean when you load it into complex digitizing tools later.
Step 2: Prepare the Design in Editing Software
Open the artwork in Photoshop and make it clearer before you digitize complex patterns. Use Levels or Curves to increase contrast so each color is easier to separate. Remove extremely small details that won’t stitch well inside a 4-inch hoop. If needed, use the Pen Tool to trace outlines and convert them into smooth vector paths.
Prepare the Design in Editing Software
Simplify gradients into stepped color layers and clean up any noise. Keep your artwork organized into layers; this helps later during digitizing. Export the improved artwork as a high-quality PNG or JPG without compression issues. Clean artwork leads to better accuracy in professional digitizing for complex designs.
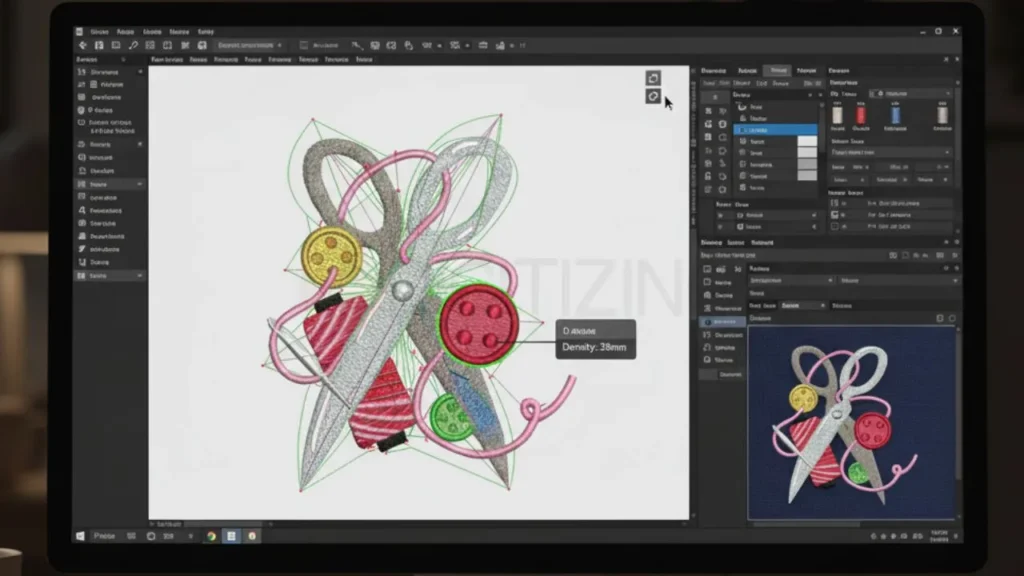
Step 3: Set Up Digitizing Software
Open your digitizing program, Wilcom Hatch, Embrilliance StitchArtist, Embird, or even free embroidery digitizing software, depending on your setup, and create a new design file using the exact 4-inch hoop settings.
Set Up Digitizing Software
Import your prepared artwork and place it in the center using accurate grid guides. Load a thread palette that matches your embroidery machine brand, so your preview looks closer to the real stitch-out.
Before you digitize complex patterns, set basic defaults: low density (5-6 lines/mm), short underlay (2-3mm), and enable snapping for smooth shape editing. Zoom into your artwork at 200-400% to see small details clearly when working in a limited space.
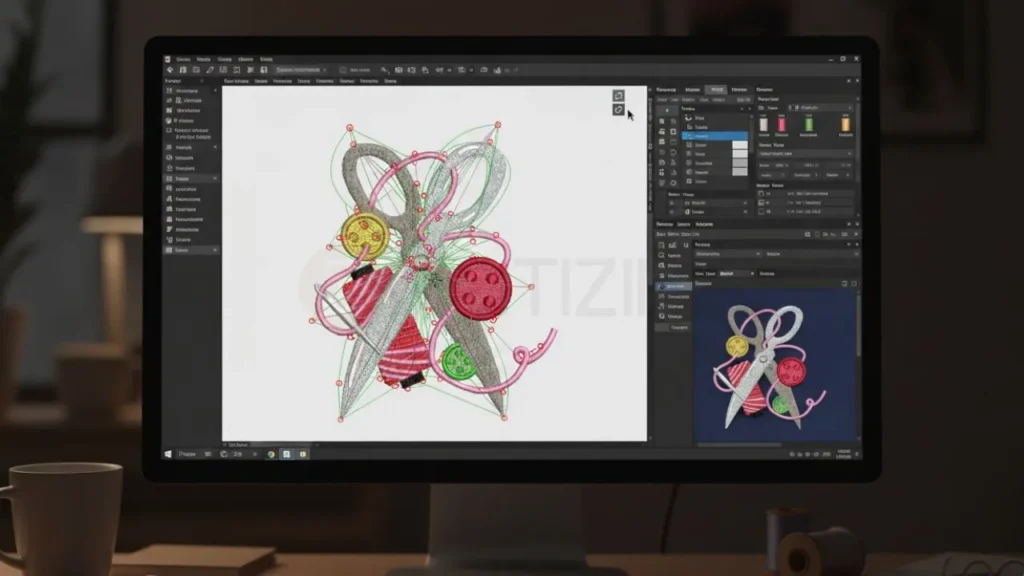
Step 4: Plan Stitch Pathing and Sequencing
Now begin planning the stitching order, which is a crucial part of how you digitize embroidery patterns properly. Break the design into objects from largest to smallest. Start with big fill shapes, then move to mid-details, and finish with outlines. This layering prevents fabric from shifting inside a tight hoop.
Plan Stitch Pathing and Sequencing
Group similar colors together to reduce unnecessary color changes. Use inside-out sequencing for closed shapes and bottom-to-top order for vertical designs. Add tie-offs for stability, and always check jump lengths to avoid thread breaks during stitching.
Step 5: Apply Stitch Types and Underlays
Choose the correct stitch types for each part. Use running stitches for fine details, satin stitches for clean borders, and tatami or fill stitches for larger areas. Make sure stitch widths match the small design scale to avoid bulkiness.
Add underlay, such as zigzag or lattice, where needed to keep fabric stable during stitching. Adjust entry and exit points so the needle moves smoothly across curves, reducing tension problems in a small hoop.
Step 6: Optimize Density, Angles, and Compensation
Lower density to avoid overcrowding stitches in a tight space. Use fill angles that change gradually between areas to add texture and avoid thread buildup. Apply 1-3% pull compensation so shapes don’t shrink after stitching; this matters a lot in a small 4-inch hoop.
Optimize Density, Angles, and Compensation
After making changes, recheck your stitch count to be sure your design still fits the hoop limitations and stitches smoothly when you digitize complex patterns at this size.
Step 7: Handle Colors and Layers
Assign colors in a smart sequence, keeping the total reasonable for a 4-inch hoop. Use running stitches or variable-density fills for shading without adding too much density.
Organize layers so the base shapes stitch first and the top details stitch last. Edit nodes to smooth curves and keep everything inside the hoop boundaries. Merge overlapping elements that may cause thread buildup.
Step 8: Preview and Simulate
Run a full simulation to preview how your design will stitch out in real life. Watch carefully for puckering, uneven fill areas, or long jumps. Rotate the design in preview mode to check for potential hoop burn or crowded areas.
If something looks off, make small adjustments and simulate again. This step prevents real-fabric mistakes when you digitize complex patterns for production.
Step 9: Test Stitch-Out
Test Stitch-Out
Export the file as PES, DST, or your machine’s required format. Transfer it to your embroidery machine and stitch it on fabric similar to your final material.
Watch for thread issues, density problems, or distortion caused by hoop tension. Compare the stitched piece with your original artwork to see if resizing or pathing needs improvement.
Step 10: Refine and Finalize
Bring test results back into your digitizing software. Fix any issues like uneven outlines, missing fills, or incorrect compensation. Run one more simulation if needed.
Once satisfied, save the final version and create organized backup files. This is the last step in ensuring your design is ready for clean production using complex digitizing tools.
Pro Tips to Digitize Complex Patterns (Especially for 4″ Hoop Work)
Before you finalize your design, here are a few important digitizing software tips that you should always follow while working with complex patterns. These tips help you avoid mistakes, keep details clean in a 4″ hoop, and ensure your stitch-out looks professional.
Use bold contrast colors in tight areas so details stay readable even after stitching.
Keep all text at a minimum 4-5 mm height to prevent letters from closing or merging.
Reduce jump stitches by grouping tiny shapes into one continuous run whenever possible.
Always add a light underlay for thin outlines to prevent thread sinking into fabric.
Avoid using more than 6 color changes inside a 4″ hoop to keep the design clean.
Increase stitch length slightly in micro-details so small curves don’t turn into knots.
Make sure all satin stitches are 1 mm or wider; anything thinner will break or skip.
When two fills touch each other, shift angles by 10-20° to avoid thick ridges.
Use manual pathing instead of automatic tools for complex curves to control movement.
Re-check the final design at 100% zoom. This view shows the real result, not the software illusion.
Why You Should Consider Hiring a Professional Digitizer for Small-Hoop Projects?
When you’re working with a complex design for a 4-inch hoop, sometimes doing everything yourself becomes too risky. The space is small, the details are sensitive, and one wrong stitch setting can easily ruin the whole design. That’s where hiring a professional digitizer truly makes a difference.
Why You Should Consider Hiring a Professional Digitizer for Small-Hoop Projects
Professionals understand how to digitize complex patterns without losing the important details, and they know exactly how to manage density, pull compensation, stitch order, and small-hoop limitations. Instead of spending hours trying to fix issues, you get clean results from the first attempt.
This is exactly where ZDigitizing comes in. We’ve been providing high-quality embroidery digitizing services since 2002, and our experience is what helps you avoid all the struggles that come with small-hoop designs.
Our team works with advanced tools, understands different fabric behaviors, and knows how to adjust every stitch, so your design comes out clean, sharp, and balanced. We handle complex artwork every single day, so nothing is too detailed or too tricky for us.
You also get fast delivery, professional revision support, and stitch files that run smoothly on any machine without errors.
And the best part is, you don’t have to worry about quality. Our customers trust us because we deliver stable stitch-outs, clean outlines, and perfectly optimized designs that save both time and material. You’re not just ordering a file; you’re getting expert work backed by years of experience, top-level customer service, and consistency you can rely on.
So if you want your 4-inch hoop designs to look professional without the stress, let us handle the digitizing for you.
ORDER NOW and get 50% off on your first order of digitizing with fast delivery and quality guaranteed!
Are you looking for embroidery digitizing and vector art services at low cost with superfast turnaround, guarranted quality and preview before pay? So, you are at right place. We can digitize and vectorize any type of artwork in your required file format.