How to digitize an image for embroidery is more than just using software, it’s the process that turns artwork into clean, machine-ready stitch files. Studies show that nearly 68% of embroidery failures happen due to poor digitizing, including puckering, gaps, and thread breaks. Modern AI-powered tools can reduce manual work by up to 45%, allowing shops to handle 50+ designs per week efficiently.
When digitizing is done correctly, rework can be reduced by almost 80%, resulting in smoother stitch-outs and better production quality.
How to Digitize an Image for Embroidery Using Popular Software Tools
Image Preparation Basics: Your 80/20 Rule
Digitizing starts with prep, 80% of stitch quality comes from here. Skip it, and even Wilcom can’t save blurry edges when learning how to digitize an image for embroidery.
Resolution and Cropping
Target 300–600 DPI; under 200 DPI causes pixelated fills. Crop 10–15% beyond final design (e.g., 4.5×4.5 for a 4×4 hoop) to account for fabric stretch. Use GIMP (free): Image > Crop to Content, then Canvas Size +10%.
Contrast and Color Reduction
Embroidery hates gradients, limit to 6–10 colors. In Photoshop/Inkscape: Image > Adjustments > Levels (midtones +25%, shadows −15%). Convert RGB to Pantone equivalents via Wilcom’s Color Palette matcher to help convert image to embroidery design accurately.
Vectorization
Raster-to-vector is mandatory when turning pictures into embroidery patterns. Inkscape’s Trace Bitmap (Multiple Scans, Scans: 8, Brightness Cutoff 0.45) yields clean paths 90% faster than Illustrator. Simplify nodes (Path > Simplify, 85%) to under 500 per object, reducing machine lag.
Background Removal and Sharpening
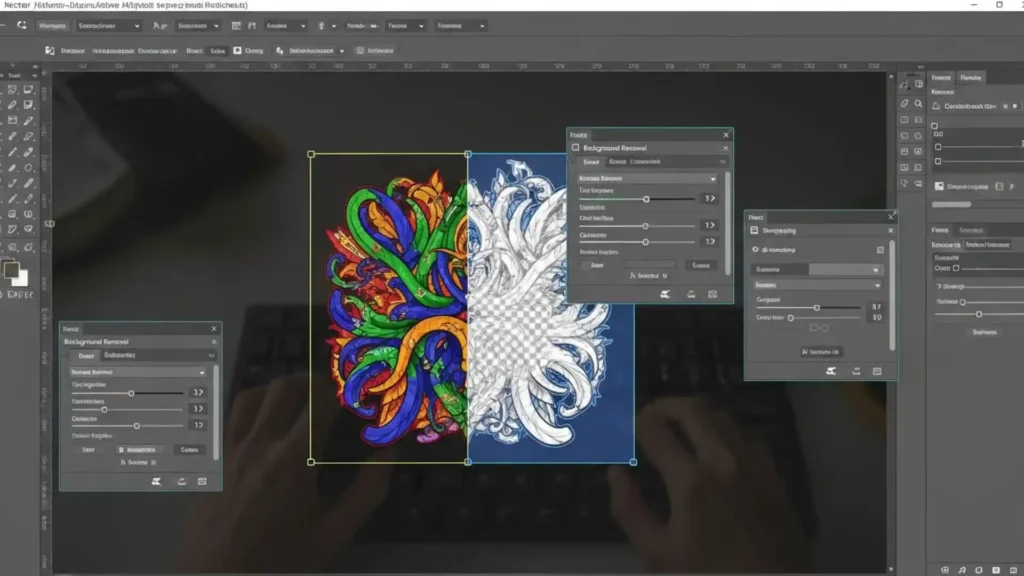
Magic Wand (tolerance 25–35) or Channels for hairline precision. Unsharp Mask: Amount 150%, Radius 1.2px, Threshold 0px. Test: Zoom 300%; edges must snap cleanly, especially during image tracing for embroidery.
Hoop-Specific Resizing
Match machine hoops, Brother PE800 (100×100mm), Ricoma (360×200mm). Add 5–8% outline bleed:
new width = design width × 1.06.
This step is essential for how do you digitize an image for embroidery correctly.
Pro Checklist:
- PNG/SVG export (no JPEG compression artifacts)
- 72% stitchable area max (leave hoop margins)
- Test print at actual size on fabric texture paper
Example: A prepped eagle PNG digitized 3x faster in Hatch, zero gaps on fleece.
Popular Software Overview: 2026 Comparison
This comparison helps identify the best software to digitize images for embroidery using modern embroidery digitizing software tools.
Software | Best For | Platforms | Key 2026 Strength | Price (USD) | Machine Compat. |
Wilcom EmbroideryStudio e4 | Commercial (100+ designs/wk) | Windows 11 | AI Node Prediction, True 3D Puff | $1,499 perpetual | All (DST native) |
Hatch Embroidery 3 | Shops (20-80 designs/wk) | Win/Mac (Parallels) | Fabric-Aware Auto-Density | $169 Digitizer + $299 PhotoStitch | Ricoma/Brother |
Ink/Stitch v3.1.2 | Free scaling, SVG experts | Win/Mac/Linux | Live Parametric Previews | Free | Universal |
SewArt v1.9.9 | Prototyping (<10 designs/wk) | Windows 7+ | One-Click Raster-DST | $75 (30-day trial) | Basic DST |
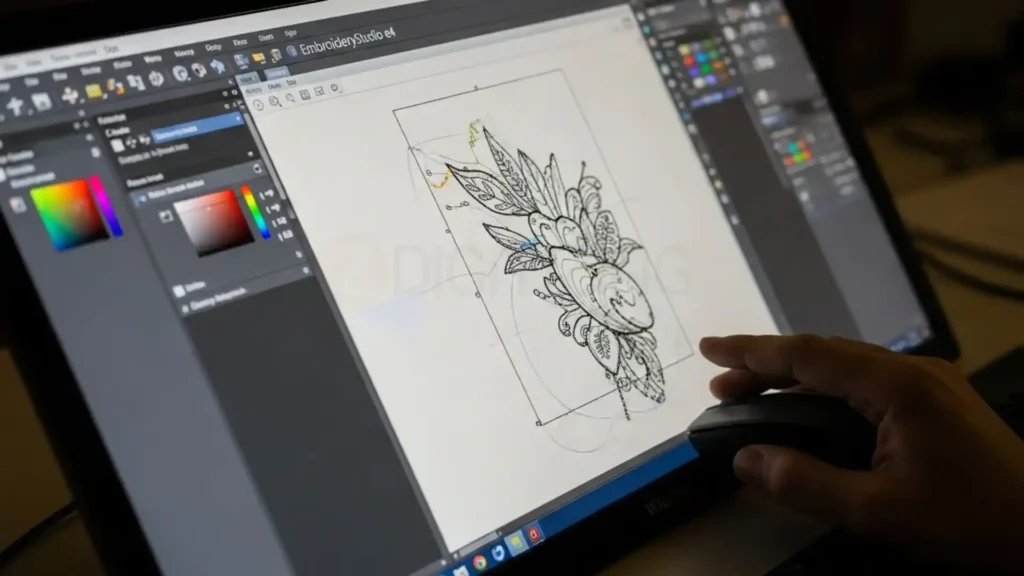
Digitizing in Wilcom EmbroideryStudio e4: Pro Production Workflow
Wilcom reigns for precision and is trusted by 85% of US commercial digitizers. This professional workflow explains how to digitize an image for embroidery efficiently for large-scale production. The software requires 16GB RAM for handling complex embroidery files smoothly.
Step 1: Workspace Setup and Import
- New Design → Set Units (inches)
- Select Hoop Size (Ricoma 8×12)
- File → Import Bitmap → Place at 0,0
- Resample the image to 600 DPI if required
Proper setup at this stage ensures accurate stitch placement during the embroidery digitizing process.
Step 2: Bitmap Wizard Auto-Digitizing
- Bitmap → Digitize Bitmap Wizard → Complex Mode
- Settings:
- Max Colors: 8
- Satin Width: 3–5 mm
- Fill Density: 5–7 mm⁻¹
AI tracing generates 85–95% accurate objects, significantly reducing manual effort when learning how to digitize an image for embroidery. Always review the color sequence after auto-digitizing.
Step 3: Advanced Object Refinement
- Select Satin Column → Properties → Node Edit (delete collinear points)
- Add Tack Run Underlay:
- Density: 70%
- Angle: 45° (minimizes distortion)
- Pull Compensation: 3–6%
- Formula: comp = 0.04 × satin width
- 3D Realistic Preview → Lighting → Rotate 360° to fix shadow gaps
This refinement stage is critical when you convert image to embroidery design with professional stitch quality.
Step 4: Sequencing and Optimization
- Color-Object List → Drag left-to-right
- Merge jumps under 2 mm
- TrueType to Stitch:
- Text → Convert → Satin (0.4 mm spacing)
- Resize Tool: Keep Maintain Density checked
- Density recalculates automatically based on size change
Efficient sequencing improves machine performance and reduces unnecessary trims.
Step 5: Export and Machine Test
- Save master file as .EMB
- Export formats:
- DST v7 (Ricoma)
- PES v6 (Brother)
- Stitch Simulator detects 95% of errors before hooping
This final step is essential in how to digitize an image for embroidery and ensures smooth, accurate stitch-outs in real production.
Fabric Tweaks Table
Fabric | Underlay Density | Pull Compensation | Max Satin Width |
Polo | 65% | 4% | 4 mm |
Fleece | 55% | 6% | 6 mm |
Denim | 75% | 2% | 3 mm |
Digitizing in Hatch Embroidery 3: Scalable Business Powerhouse
Hatch’s modular pricing scales easily with business growth, start with Digitizer ($169) and unlock advanced modules as needed. Mac users can run Hatch smoothly using Parallels Desktop 20. This workflow explains how to digitize an image for embroidery efficiently for apparel brands and growing embroidery shops.

Step 1: Organizer Import and Prep
- File → Import
- Auto-Fabric Detection (scans 50+ presets)
- Resize to Hoop: Object → Scale → Density Preserve
Automatic fabric detection helps maintain stitch consistency from the start.
Step 2: PhotoStitch for Images ($299 Module)
- PhotoStitch → Enhanced Photo → Segment by Color
- Density Gradient:
- Low center: 4 mm⁻¹
- High edges: 7 mm⁻¹
- Blend Mode for gradients: 20% overlap
PhotoStitch is ideal for image-based designs that need smooth color transitions.
Step 3: Manual Digitizing Mastery
- Digitizer Tab:
- Column Run (text)
- Tatami Fill (areas)
- Gradient Tool: 3-stop color fade, auto direction
- Objects Docker:
- Sequence → Optimize Trims
- Auto-merge trims under 3 mm
Manual control at this stage improves stitch flow and reduces thread trims.
Step 4: Advanced Simulation
- Stitch Player:
- Speed: 1000 SPM
- Detects thread breaks and stitch issues
- Lettering:
- 300+ fonts
- Auto-kern satin stitching
Simulation helps catch problems before production, saving time and material.
Step 5: Multi-Needle Export
- Export → EXP (Ricoma native format)
- Auto color sorting enabled
- Batch processing:
- Export 50 files using Queue Manager
This makes Hatch suitable for high-volume multi-needle embroidery machines.
Free Digitizing with Ink/Stitch v3.1.2: Open-Source Beast
Ink/Stitch is a powerful open-source solution with zero cost and unlimited scale. It runs inside Inkscape (version 1.4+ required) and is ideal for users who want full control while learning how to digitize an image for embroidery without investing in paid software.

Step 1: Extension Install and SVG Import
- Extensions → Manage Extensions → Install Ink/Stitch
- File → Import SVG
- Path → Trace Bitmap (Edge Detection)
This step converts artwork into editable stitch paths.
Step 2: Parametric Stitch Assignment
- Select Path → Extensions → Ink/Stitch → Parameters
- Fill: Tatami
- Angle: 45°
- Row spacing: 3.5 mm
- Satin:
- Zigzag width: 4 mm
- Zigzag spacing: 0.3 mm
- Running stitch: 0.45 mm for outlines
Parametric controls allow precise stitch behavior for clean results.
Step 3: Live Optimization
- Visualize → Stitches (wireframe / realistic toggle)
- Per-object settings:
- Compensation: 3.5%
- Underlay: Enabled
- Auto-Join:
- Tolerance: 1.5 mm
Live previews help detect issues before exporting.
Step 4: Hoop and Export
- Ink/Stitch → Preferences → Hoops → Brother 5×7
- Embroider → Export DST / PES / JEF
- Includes EXP support for Ricoma machines
Power User Tip: Parametric mode allows live resizing while automatically adjusting stitch density: Density′ = Density ÷ Scale Factor. This prevents stitch distortion during resizing.
Quick Start in SewArt v1.9.9: Budget Prototyping
SewArt is ideal for simple 5×5 logos and fast testing. The 30-day trial is generous for beginners who want to understand how to digitize an image for embroidery quickly before moving to advanced software.
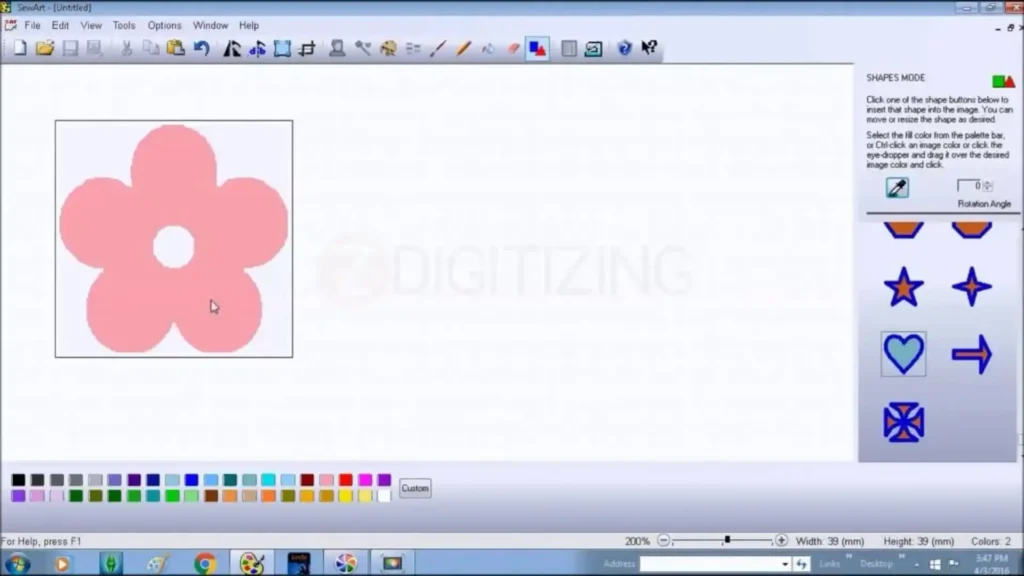
Step 1: Load and Enhance
- File → Open
- Enhance → Sharpen (Amount 120%)
Step 2: Vectorize Bitmap
- Vector → Vectorize Bitmap
- Mode: Color
- Brightness Steps: 7
Step 3: Generate Stitches
- Embroidery → Generate
- Stitch mix: Satin + Fill
- 3D View: Rotate and adjust the density slider
Step 4: DST Export
- Save As → DST
- Size limit: 10×10 max
Fast for samples and T-shirts; upgrade recommended for production.

Conclusion: Choosing the Right Way to Digitize for Perfect Embroidery Results
If you want clean, smooth, and professional embroidery results, understanding how to digitize an image for embroidery is extremely important.
In this guide, we covered the full journey, from preparing images and using different software tools to optimizing stitches and avoiding common digitizing mistakes, because every small detail directly affects your final stitch-out quality.
Good digitizing helps prevent issues like puckering, gaps, and thread breaks, and ensures your designs stitch correctly on real fabric. If you’re a beginner or don’t want to invest in expensive software right away, starting with a beginner guide to digitizing images is a smart move to learn the basics. But as soon as your designs become detailed or your workload increases, professional digitizing becomes the safest and most reliable option.
This is where ZDigitizing comes in, ZDigitizing provides professional embroidery digitizing services with over 10+ years of experience, an expert digitizing team, a 24/7 working team, and 24/7 customer support.
Quality is guaranteed, a preview is provided before payment, minor edits are free, and prices are already lower than the market. To make it even easier to get started, ZDigitizing offers 50% OFF on your first order.
So you can visit ZDigitizing, place your first order, get 50% OFF, and experience premium embroidery digitizing quality with complete peace of mind.