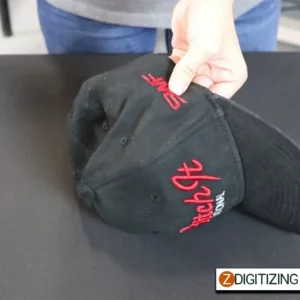
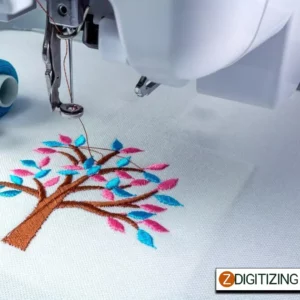
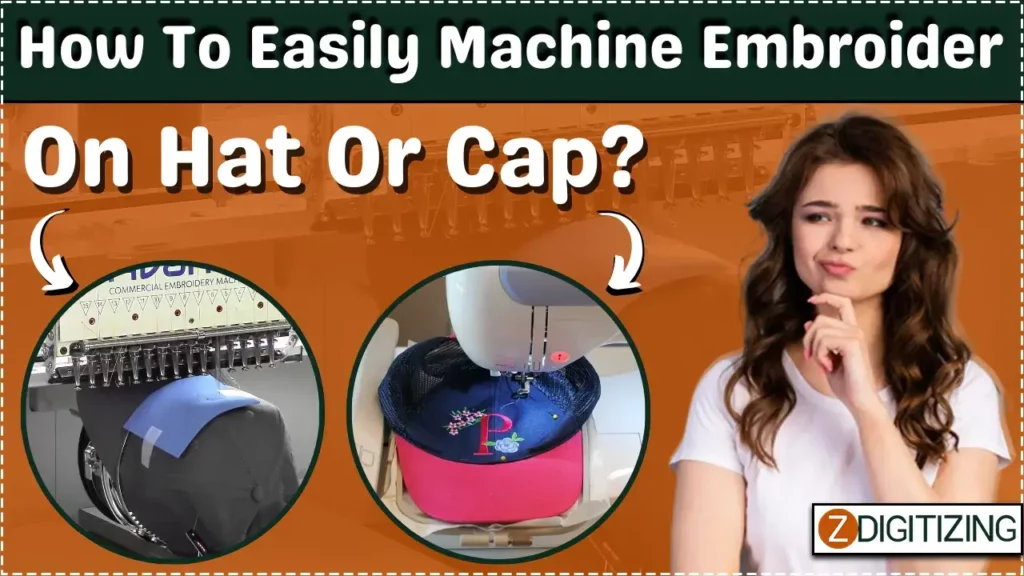
How to Easily Machine Embroider on a Hat or Cap | Full Guide
In this article, we will take you through the step-by-step process to easily embroider on hat and cap using a machine. From selecting the right materials to hooping, stabilizing, and stitching, we will provide detailed instructions to help you achieve professional-looking results. Get ready to unleash your creativity and enhance your headwear with stunning machine embroidery!
To embroider on hat and cap can add a unique and personalized touch to your headwear. Whether you want to showcase your brand logo, create custom designs, or simply add a personal flair, machine embroidery on hats offers endless possibilities.
How to Easily Machine Embroider on a Hat or Cap | Full Guide
Step-By-Step Guide On How To Easily Machine Embroider On Hat Or Cap:
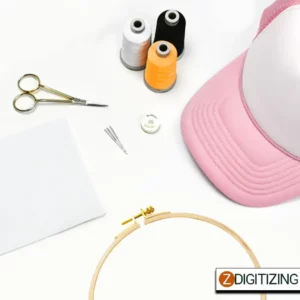
Embroidering on a hat or cap can add a personalized touch and make it stand out. With the right tools and techniques, you can easily machine embroider on a hat and create stunning designs. To embroider cap hats, follow these steps precisely:
Choose the Right Hat:
Choose the Right Hat
Select a hat or sports caps made of a suitable material for machine embroidery, such as cotton, polyester, or a blend. Make sure the fabric is firm enough to hold the embroidery stitches well.
Prepare the Hat:
Flatten the hat by removing any creases or wrinkles. You can use a hat press or steam iron to gently press the fabric and create a smooth surface for embroidery.
Prepare the Hat
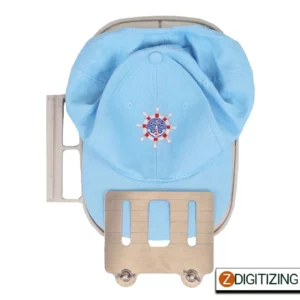
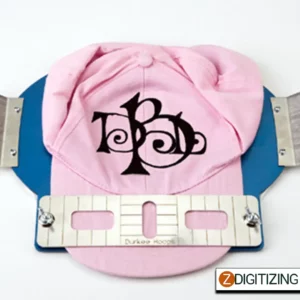
Use a Cap Frame Attachment:
Use a Cap Frame Attachment
Cap frame attachments are specifically designed for embroidering on hats. They securely hold the hat in place while allowing the machine to maneuver and stitch the design accurately.
Hoop the Cap Frame:
Place the hoop cap hats frame attachment into the embroidery hoop of your machine. Adjust the size of the hoop to fit the cap frame securely, ensuring it’s centered and level.
Hoop the Cap Frame
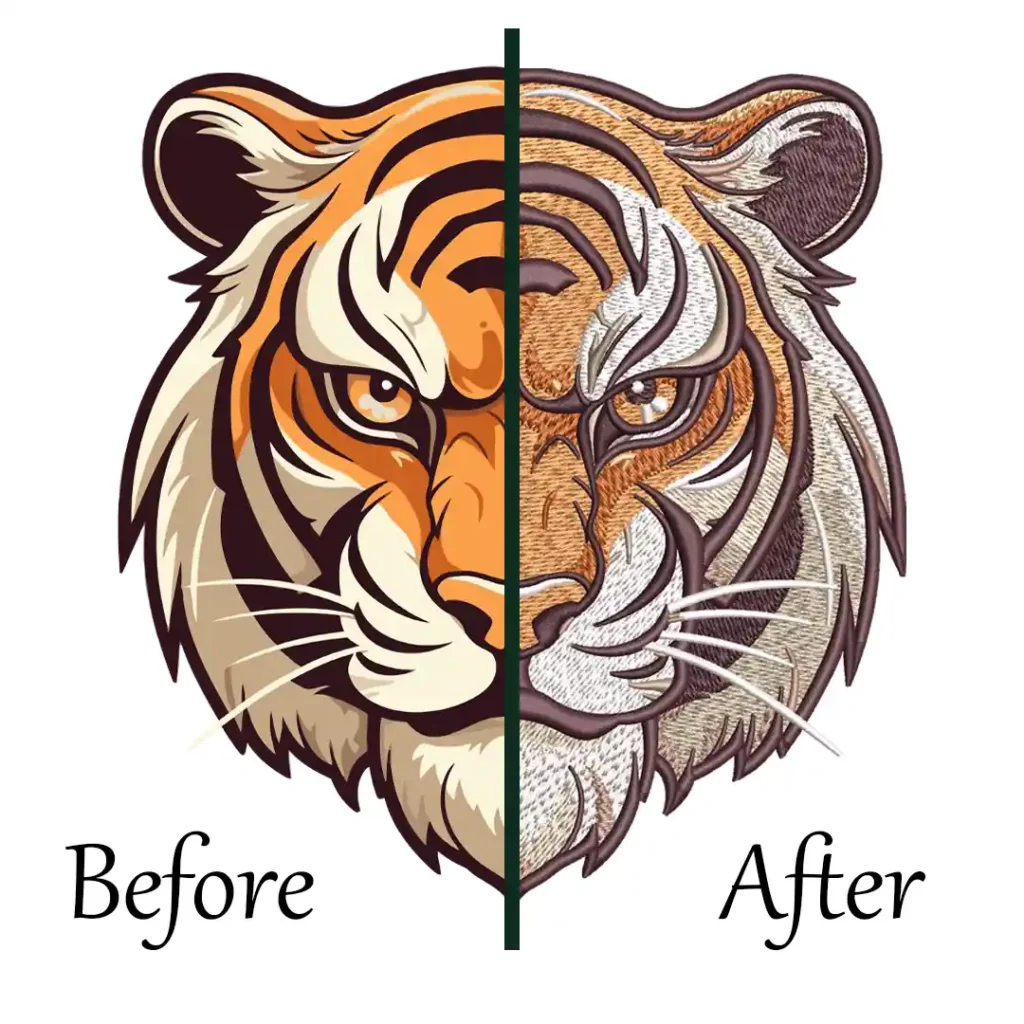
Embroidery Digitizing & Vector Art Services
Are you looking for embroidery digitizing and vector art services at low cost with superfast turnaround, guaranteed quality and preview before pay? So, you are at right place. We can digitize and vectorize any type of artwork in your required file format.
Insert the hat into the cap frame, making sure the area to be embroidered is centered and aligned with the machine’s needle. Secure the hat tightly using the clamps or clips provided with the cap frame.
Stabilize the Hat:
To prevent distortion and ensure clean embroidery, use a suitable stabilizer. Cut a piece of stabilizer slightly larger than the embroidery area on the hat. Attach it to the inside of the hat using temporary adhesive or pins.
Stabilize the Hat
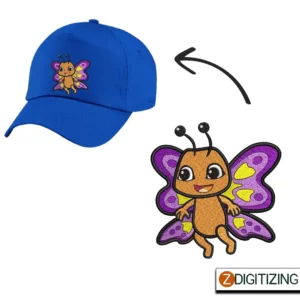
Select the Design:
Select the Design
Choose an embroidery design that fits within the embroidery area of the hat and complements its shape and style. Ensure the digitizing design is digitized and compatible with your embroidery machine.
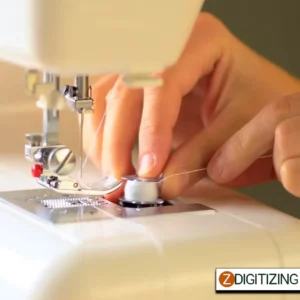
Thread the Machine:
Thread your embroidery machine with the desired thread color. Use high-quality embroidery thread suitable for your machine and design requirements.
Thread the Machine
Test and Adjust:
Before embroidering on the hat, run a test stitch on a similar fabric to check the design placement and make any necessary adjustments. This will help ensure the design is properly aligned and the tension is correct.
Start Embroidering:
Start Embroidering
Place the hooped OPF hats onto the machine, ensuring the needle is positioned accurately over the embroidery area. Begin the embroidery process, following the digitized instructions for the embroidery design. Monitor the stitching to ensure proper alignment and tension throughout.
Finishing Touches:
Once the embroidery is complete, remove the varsity hats from the cap frame. Trim any excess stabilizer from the back of the embroidery carefully. To give the design a polished look, use a steam iron or heat press to gently flatten the embroidered area and set the stitches.
Practice on scrap fabric or hats before working on your final project to refine your skills. With patience and practice, you’ll be able to create stunning machine-embroidered designs on hats and caps. Enjoy the process and let your creativity shine!
Tips for Machine Embroidering on Hats or Caps:
Select hats or caps made of fabric that is suitable for embroidery, such as cotton or polyester. Avoid materials that are too stretchy or have a rough texture, as they may not yield optimal results.
Stabilizer is essential for maintaining the stability of the fabric during embroidery. Consider using tear-away or cut-away stabilizers, depending on the hat material and design complexity.
Hooping is crucial for keeping the fabric taut and in place during embroidery. Use a cap hoop or a hat hoop attachment specifically designed for embroidering on curved surfaces. Ensure the hat is securely hooped but not overly stretched to prevent distortion.
Mark the center point of the hat to align your design accurately. Consider the hat’s brim or front panel for optimal visibility. Use a template or embroidery digitizing software for hats to preview and position the design before stitching.
Place the hooped hat onto the machine’s embroidery arm, ensuring it is securely attached. Double-check that the hat does not interfere with the machine’s movement and that it remains stable throughout the embroidery process.
Before embroidering on the hat, conduct a test run on a similar fabric or a scrap piece to ensure the design size, density, and thread tension are suitable. Adjust the settings as needed to achieve the desired results.
Keep a close eye on the embroidery process to ensure the design is stitching smoothly. Periodically check the tension, thread breaks, and any potential issues that may arise. Make any necessary adjustments promptly.
Once the embroidery is complete, carefully remove the hat from the machine and trim away any excess stabilizer. Take care not to cut through the fabric while removing the stabilizer, ensuring a clean and professional finish.
Use a pressing cloth and a warm iron to gently press the embroidered area, helping to flatten and set the stitches. Be cautious not to apply excessive heat or pressure that may damage the hat material.
Once the hat is properly finished, proudly wear or showcase your personalized creation. Whether it’s for personal use, promotional purposes, or gifting, your embroidered hat is sure to make a statement.
Remember, practice makes perfect when it comes to machine embroidery on hats. Don’t be afraid to experiment with different designs, threads, and techniques to achieve the desired outcome. With time and experience, you’ll become more proficient in creating stunning embroidered hats or caps.
Winding up:
In conclusion, machine embroidering on hats or caps can be a rewarding and creative endeavor. By following the steps outlined in this comprehensive guide and implementing the tips provided, you can achieve professional-quality results.
With practice and patience, you’ll gain confidence in machine embroidering on hats, allowing you to create personalized and unique designs that make a statement. So, grab your favorite hat, fire up your embroidery machine, and embark on your journey to create stunning and stylish embroidered headwear. Happy embroidering!
If you are looking to digitize your embroidery designs, ZDigitizing is a reliable and professional company that provides complete digitizing and vector art services worldwide.
With a quick turnaround time and excellent quality,
ZDigitizing is a great choice for your digitizing needs. You can click the link below to get a free quote in less than 5 minutes and avail a 50% discount on all our services for potential customers on their first order.
Hope it will be helpful for you guys!
If there’s any question related to this article you can simply ask in the comment section and don’t forget to share with those you think might be helpful for them.
To embroider on a hat, secure the hat in an embroidery hoop, stabilize the fabric, choose your design and thread, and carefully stitch the design onto the hat, following the desired pattern.
The cost of getting a hat embroidered can vary depending on factors such as the complexity of the design, the number of stitches, and the embroidery method used. It’s best to consult with an embroidery service provider for an accurate cost estimate.
To put a hat in embroidery, you can typically use a special hoop or frame designed specifically for hats. The hat is stretched and secured in the hoop or frame, allowing the embroidery machine to accurately stitch the design onto the hat’s fabric.
To embroider the side of a baseball cap, use a cap frame attachment on an embroidery machine to secure the cap in place. Adjust the design placement, thread the machine with the desired color, and let the machine embroider the design onto the side of the cap.
{
"@context": "https://schema.org",
"@type": "BlogPosting",
"mainEntityOfPage": {
"@type": "WebPage",
"@id": "https://zdigitizing.com/how-to-easily-machine-embroider-on-a-hat-or-cap/"
},
"headline": "How to Easily Machine Embroider on a Hat or Cap | Full Guide",
"description": "In this article, we will take you through the step-by-step process to easily embroider on a hat and cap using a machine.",
"image": "https://zdigitizing.com/wp-content/uploads/2023/11/How-to-Easily-Machine-Embroider-on-a-Hat-or-Cap-Full-Guide.webp",
"author": {
"@type": "Organization",
"name": "Zdigitizing",
"url": "https://zdigitizing.com/"
},
"publisher": {
"@type": "Organization",
"name": "Zdigitizing",
"logo": {
"@type": "ImageObject",
"url": "https://zdigitizing.com/wp-content/uploads/2020/04/logo-min.png"
}
},
"datePublished": ""
}
Are you looking for embroidery digitizing and vector art services at low cost with superfast turnaround, guarranted quality and preview before pay? So, you are at right place. We can digitize and vectorize any type of artwork in your required file format.

