Let’s now discuss Ricoma MT-2003-8S problems and Ricoma MT-2003-8S common errors & solution.
Ricoma Embroidery Machine MT-2003-8S:
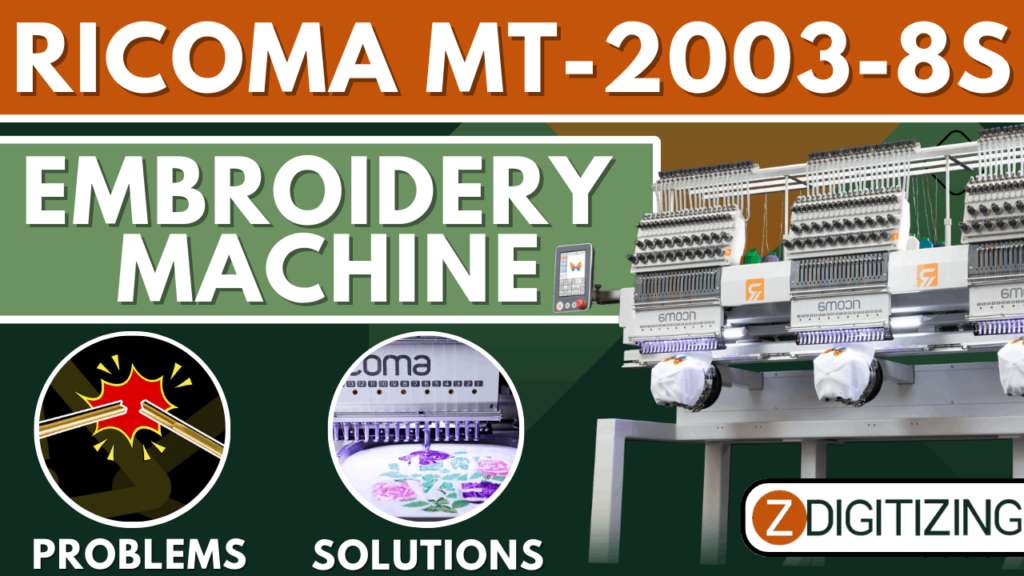
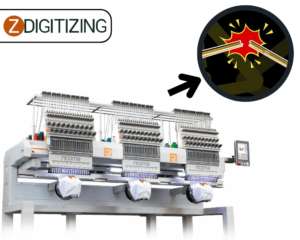
This MT-2003-8S is part of Ricoma’s latest commercial embroidery machine series. This three-head model is equipped with the latest control panel for ease of use and is ideal for businesses that want to boost their productivity and needs to embroider on a vast variety of items, including both heavy and narrow items.
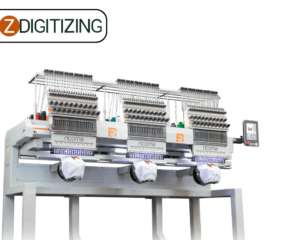
Ricoma MT-2003-8S Problems:
You will learn how to easily correct the Ricoma MT-2003-8S common errors & solution error messages you might be getting on your embroidery machine. We will cover the following common errors Ricoma machine:
- No Needle Error
- Main Axis Error
- Thread Break
- No Bobbin
- Needle Break
- Emergency Stop Error
Let’s describe everything precisely, starting with part one…
1. No Needle Error:

A no-needle error means that the machine is not able to detect which needle is over the needle plate. To fix this error first clear the error message by pressing “OK”. Locate the red knob on the right side of the head of the machine. Then turn the knob gradually unless there is a number from one to five on the needle switch display.
Let’s continue with part two…
2. Main Axis Error:
The machine has to be aligned to hundred degrees to function properly. The main axis is not at a hundred degrees error means that the main axis is not lined up to hundred degrees which is the right position for the machine to begin and stop sewing. This error could be caused if a needle hits the hoop If you get a bird’s nest and other causes. If you get this error, clear the message by pressing “OK”. Then ensure there is a working needle from one to fifteen displayed on the icon. Now turn off the machine. On the left side of your machine, you will see 2 small openings. On one, you will see that the degree of the machine is aligned, and on the other, you will see an Allen head screw. Place the Allen wrench into the Allen head screw and rotate it in a counterclockwise direction until the number shows a hundred degrees again.
Now you can turn on the machine. When the panel shows the main menu screen, press the hundred-degree button on your panel. Now the machine would be all set to embroider.
Next, let’s head over to part three…
3. Thread Break:

The machine will stop automatically if a thread break occurs and a message on the stitch float icon will appear. This icon is placed on the first row in the 4rth column and would show the message “T-BREAK”. If this happens, you can rewind your design by pressing the stop button. Press the stop button again, once you reach the desired location. After that, re-thread the needle, locate the reset switch on your machine’s head, and pull downward and upward. Now you can press start and your machine will continue where it left off.
Let’s head over to part four…
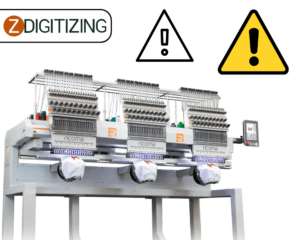
4. No Bobbin:
The machine will automatically stop if the bobbin thread runs out, and a message on the stitch float mode icon will appear. This icon is placed on the first row in the 4rth column and would show the message “T-BREAK”. The same message appears when a thread break occurs. To differentiate a thread break from the bobbin running out, have a look at the thread from the working needle. If it is still attached to the material, it means the bobbin ran out of thread or there is a problem with the bobbin thread.
To correct this, remove the bobbin from the bobbin case and replace it with a new bobbin and then place the bobbin case back in the rotary hook.
Let’s continue with part five…
5. Needle Break:
Needles break sometimes when they wear out from embroidering on harsh fabrics. For example, caps are made up of thick material that causes needles to break sometimes. If a needle break occurs, first remove the needle excess, if it is still attached to the clothing, tweezers might help. After that, with the help of a screw driver lose the screw to release the broken needle. Insert a new needle, ensuring the groove and the needle’s eye are facing completely forward. Once it is in the right position, tighten the screw if required. Rethread the missing path and you may now continue embroidering.
Let’s conclude with part six…
6. Emergency Stop Error:
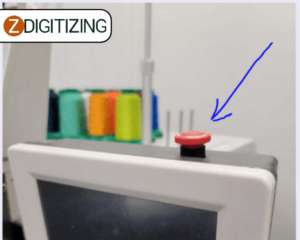
An emergency stop error is caused when the emergency stop switch has been pushed. It happens usually during shipping or in an emergency condition. If a dialog box reading emergency stop appears on the screen, resolve this problem by rotating the emergency stop button in the clockwise direction following the direction of the arrows on the button.
These were the simple steps for troubleshooting Ricoma MT-2003-8S embroidery machine. Now that you very well know how to solve MT-2003-8S embroidery issues, it is time to start embroidering. Good luck!
Winding up with offer:
We hope this article would be helpful for you. If you want to digitize embroidery design you would need a professional like ZDigitizing.
Zdigitizing is a digitizing embroidery company that provides complete digitizing and vector art services all over the world to businesses, industries, and corporations.
So, if you need a digitizing or vector art service for your embroidery machine, with a super-fast turnaround and excellent quality, ZD will be your best choice. Just click the link below and get a free quote in less than 5 minutes. We offer 50% off on all our services to our potential customers.
Hope it will be helpful for you guys!
If there’s any question related to this article you can simply ask in the comment section and don’t forget to share with those you think might be helpful for them.
And finally, thanks for reading!
Frequently Asked Questions
The most common problems with Ricoma MT-2003-8S embroidery machine are:
- An emergency stop error
- A needle break
- When the bobbin runs out
- A thread break
- Main access is not at a hundred degrees error
- A no needle error or color-changing error
The machine has to be aligned to hundred degrees to function properly. The main axis is not at a hundred degrees error means that the main axis is not lined up to hundred degrees which is the right position for the machine to begin and stop sewing. This error could be caused if a needle hits the hoop If you get a bird’s nest and other causes. If you get this error, clear the message by pressing “OK”. Then ensure there is a working needle from one to fifteen displayed on the icon. Now turn off the machine. On the left side of your machine, you will see 2 small openings. On one, you will see that the degree of the machine is aligned, and on the other, you will see an Allen head screw. Place the Allen wrench into the Allen head screw and rotate it in a counterclockwise direction until the number shows a hundred degrees again.
The machine will stop automatically if a thread break occurs and a message on the stitch float icon will appear. This icon is placed on the first row in the 4rth column and would show the message “T-BREAK”. If this happens, you can rewind your design by pressing the stop button. Press the stop button again, once you reach the desired location. After that, re-thread the needle, locate the reset switch on your machine’s head, and pull downward and upward. Now you can press start and your machine will continue where it left off.
The machine will automatically stop if the bobbin thread runs out, and a message on the stitch float mode icon will appear. This icon is placed on the first row in the 4rth column and would show the message “T-BREAK”. The same message appears when a thread break occurs. To differentiate a thread break from the bobbin running out, have a look at the thread from the working needle. If it is still attached to the material, it means the bobbin ran out of thread or there is a problem with the bobbin thread.
To correct this, remove the bobbin from the bobbin case and replace it with a new bobbin and then place the bobbin case back in the rotary hook.
Needles break sometimes when they wear out from embroidering on harsh fabrics. For example, caps are made up of thick material that causes needles to break sometimes. If a needle break occurs, first remove the needle excess, if it is still attached to the clothing, tweezers might help. After that, with the help of a screw driver lose the screw to release the broken needle. Insert a new needle, ensuring the groove and the needle’s eye are facing completely forward. Once it is in the right position, tighten the screw if required. Rethread the missing path and you may now continue embroidering.
An emergency stop error is caused when the emergency stop switch has been pushed. It happens usually during shipping or in an emergency condition. If a dialog box reading emergency stop appears on the screen, resolve this problem by rotating the emergency stop button in the clockwise direction following the direction of the arrows on the button.